Crab Rangoon
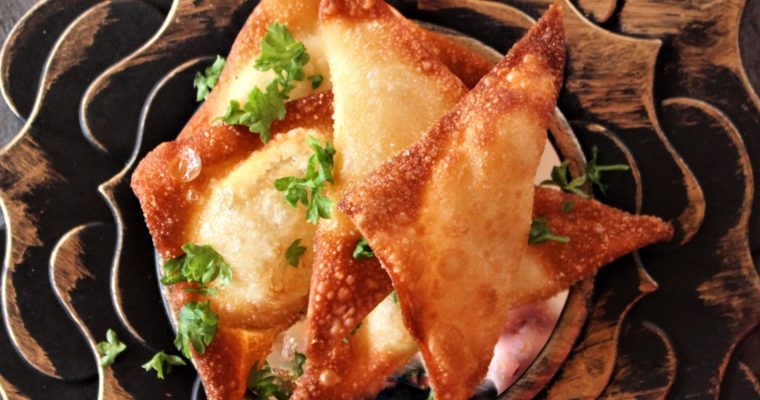
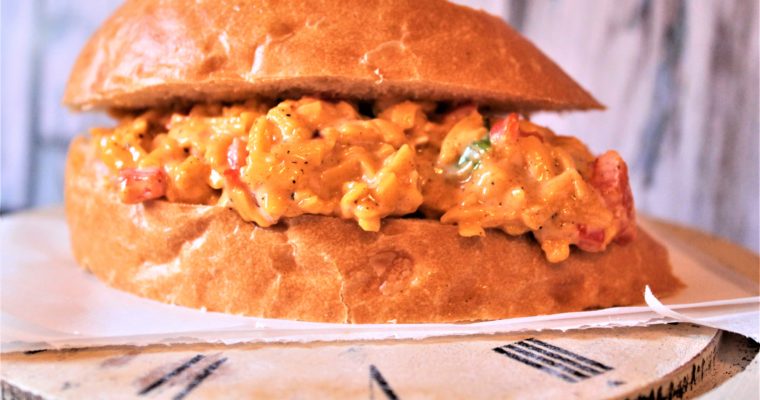
wontons stuffed with a mixture of crab, cream cheese, garlic powder, green onions, and Worcestershire sauce. The wontons are fried until golden brown and crispy.
a bite, a blog, a story
wontons stuffed with a mixture of crab, cream cheese, garlic powder, green onions, and Worcestershire sauce. The wontons are fried until golden brown and crispy.

Nothing gets a better reaction than ice cream cone cupcakes! I love how everybody’s eyes light up when they see these fun treats!
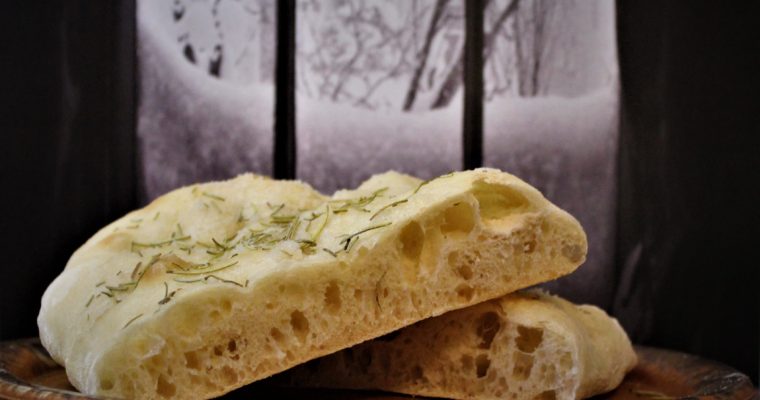
Deep Dish Sicilian pizza is my all-time favorite food, but I’ve never been able to accomplish making it ideally at home. The dough never came out the way I wanted.
The best deep-dish pizza is soft around the edges but able to hold the layers of sauce, toppings, and cheese, and yes, there will be a lot of cheese. It needs to hold its shape when I pick up a slice.
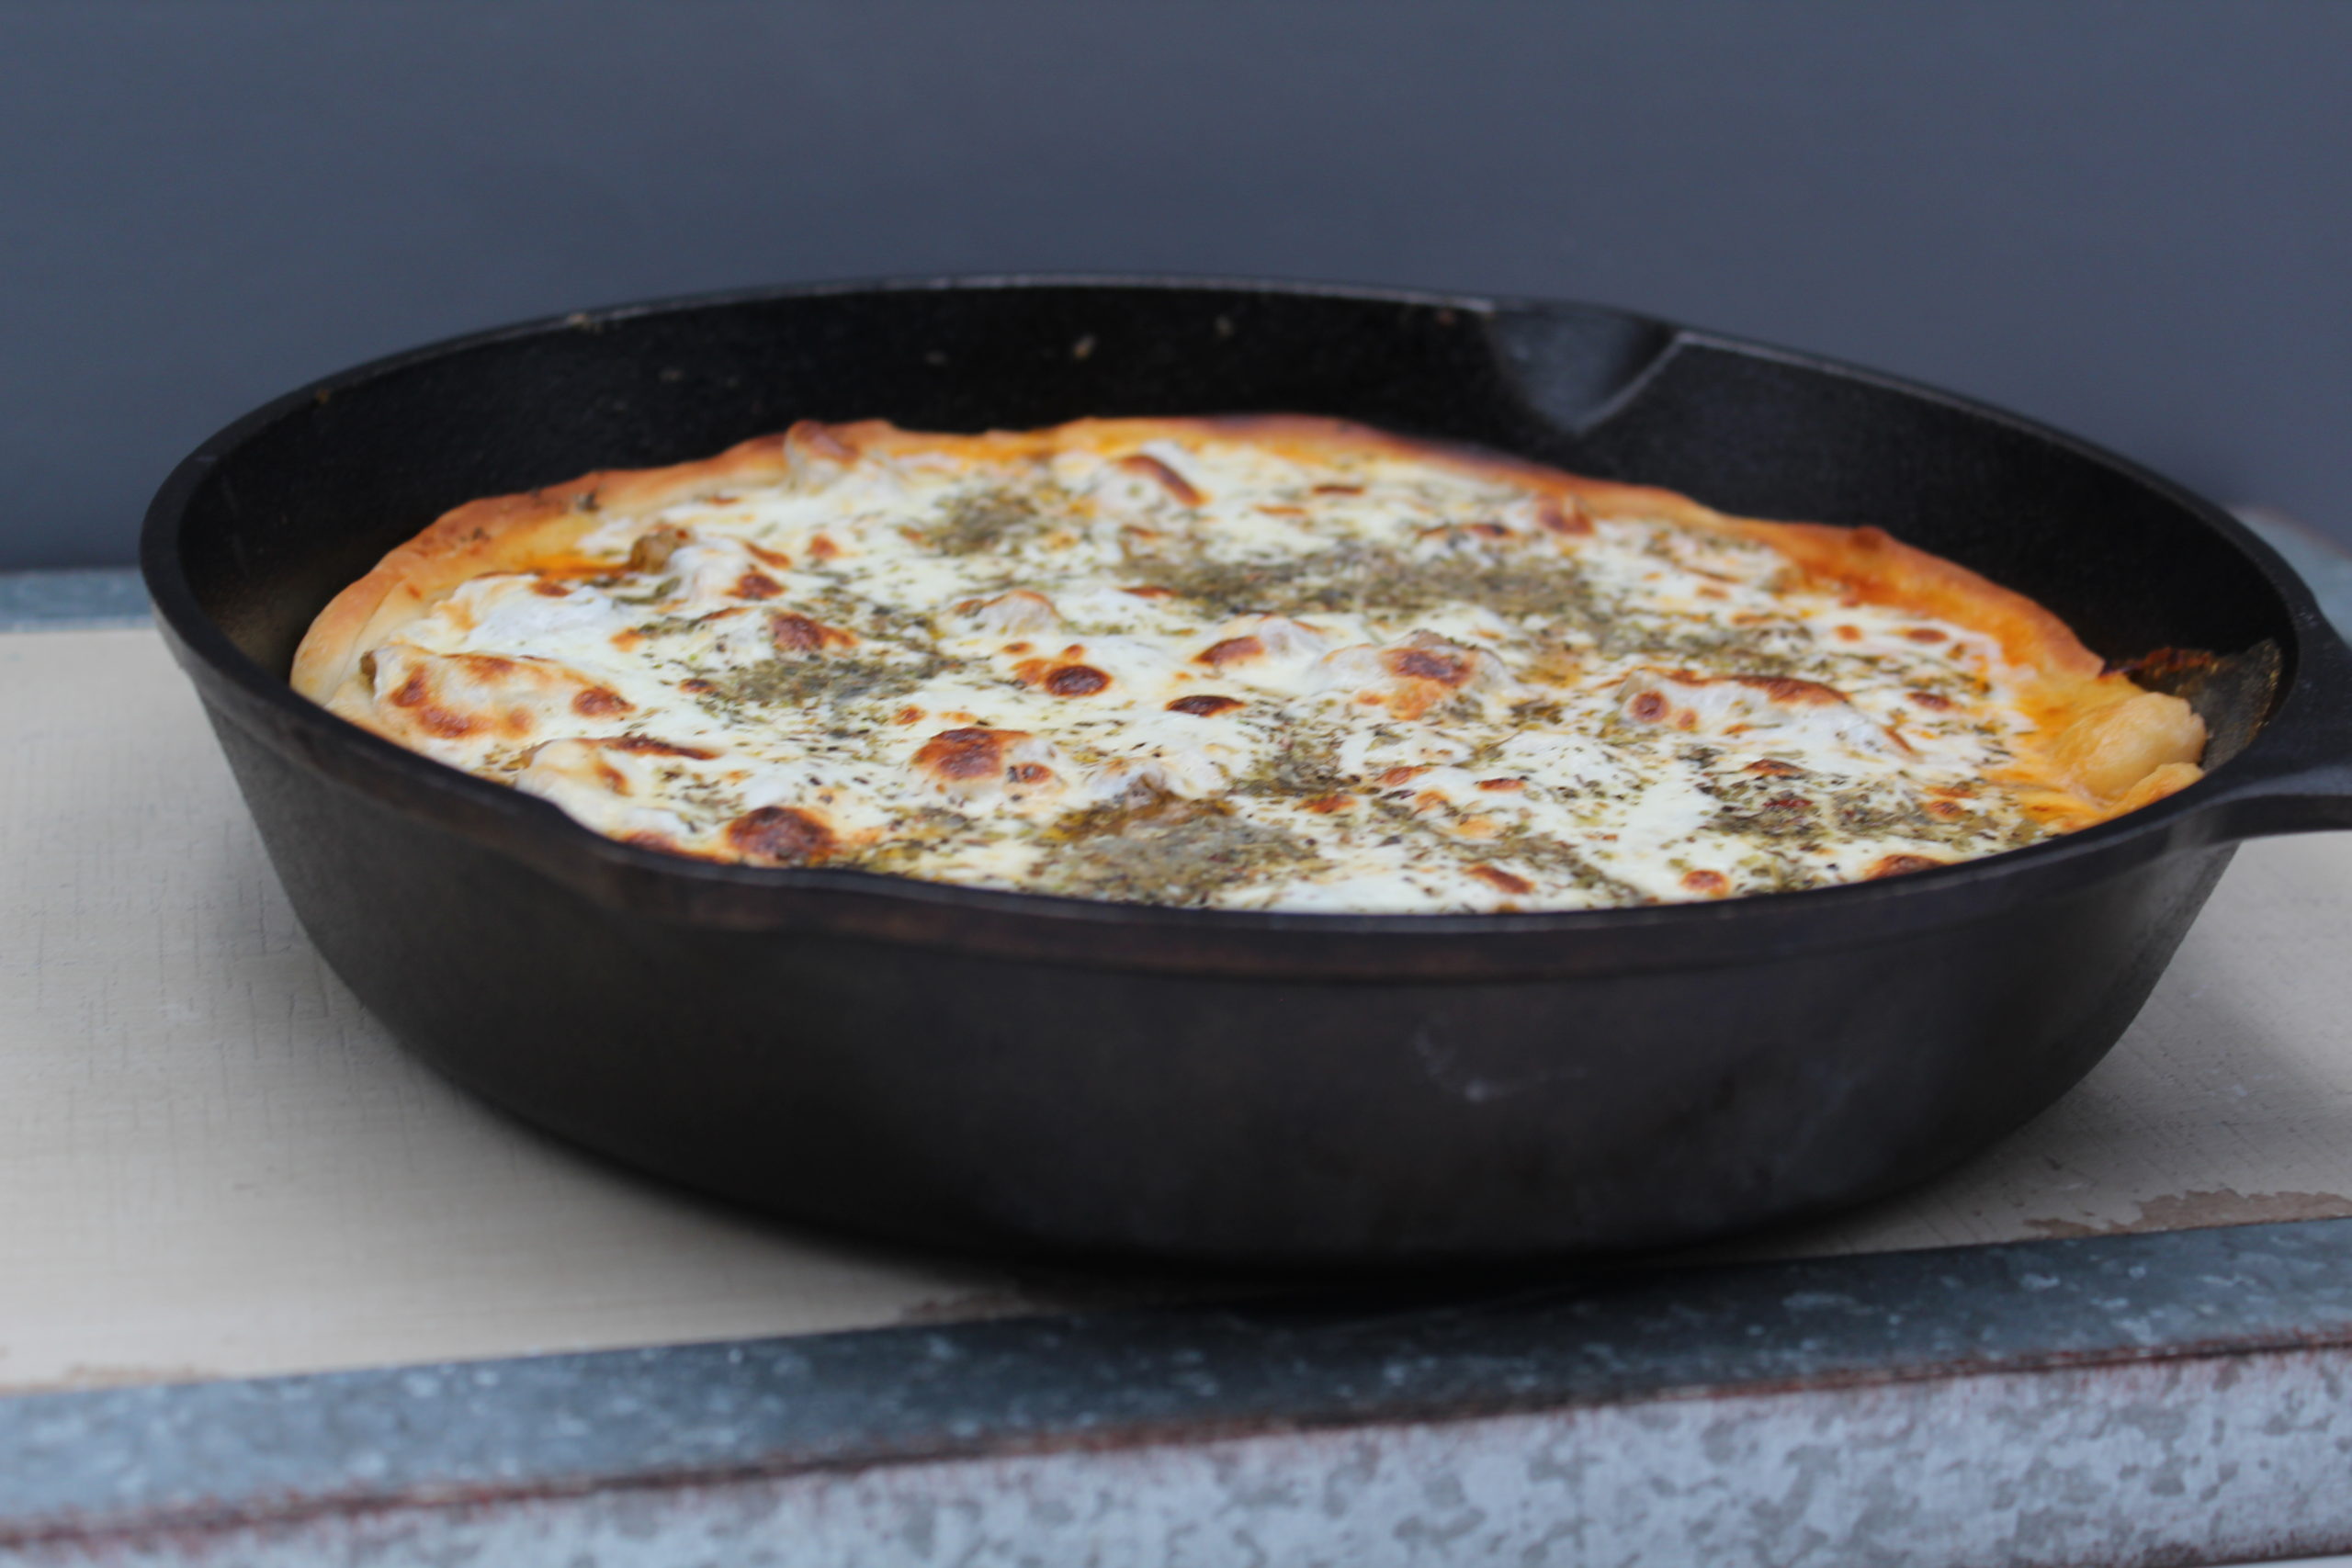
As I said, I wasn’t able to get the crust right until I decided to try to use a cast-iron skillet.
I grew up where my mother was always cooking with cast-iron skillets, so I’m not sure why it took me so long to figure this out. The insulated heat of the skillet produces the crust I had always looked for in a homemade pizza.

I must warn you; the dough needs 24 hours in the refrigerator, so plan. We like to have this pizza for Sunday night dinner.
The dough is made with two kinds of flour, all-purpose, and semolina. The semolina flour produces a softer cake-like dough, while the all-purpose flour adds more structure. The two flours together make the perfect deep-dish crust.
The sauce is simple and comes along quickly. The spices are understated so they will not overpower the pizza if you like a heavily sauced pie.

Remember to allow the pizza time to rest after removing it from the oven, or the cheese will pour out, and you will be sad.
Try this fantastic pizza! You will be speaking Italian after the first bite.

An amazing thick crust pizza baked in a cast iron skillet and topped with a rich tomato sauce and a ton of Parmesan and mozzarella cheese. This recipe makes two 10" skillet pizzas. The dough and sauce should be divided between the two skillets.
This pizza can be made using a 9×13 baking sheet without dividing.
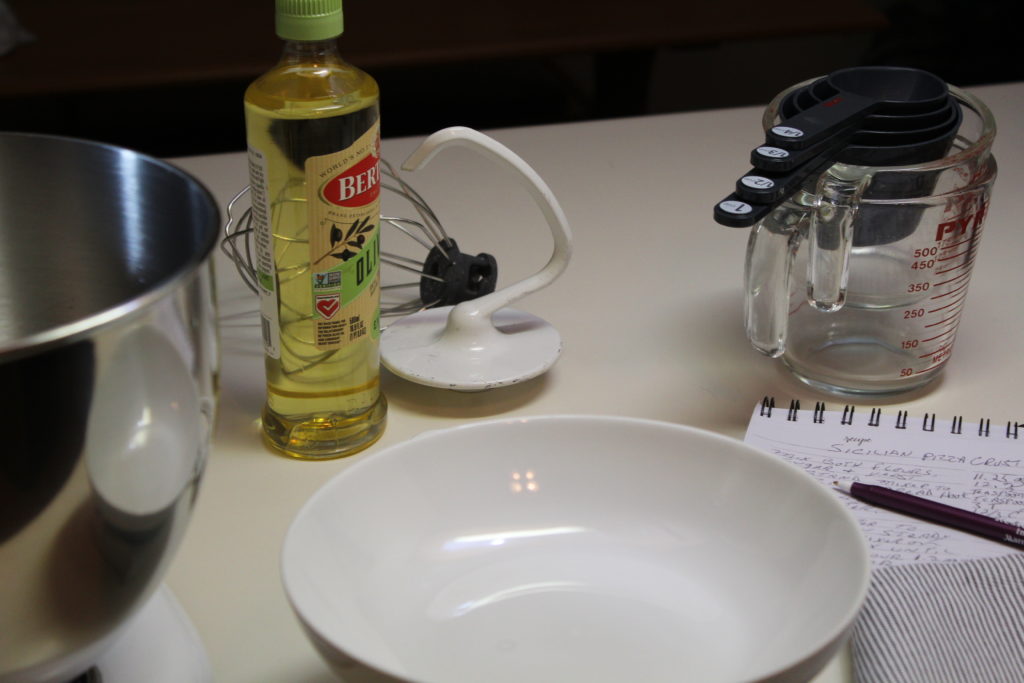
Using a stand mixer fitted with a dough hook, mix the all-purpose flour, semolina flour, sugar, and yeast on low speed until combined. With the machine running, slowly add the water and oil until a dough forms and no dry flour remains 1 to 2 minutes. Cover with plastic wrap and let the dough rest for 10 minutes.
Add the salt to the dough and mix on medium speed until the dough forms a smooth, sticky ball that clears the sides of the bowl, 6 to 8 minutes. Remove the dough from the bowl and knead briefly on a lightly floured counter until smooth, about 1 minute. Shape the dough into a tight ball and place in a large, lightly oiled bowl. Cover tightly with plastic wrap and refrigerate for at least 24 hours or up to 48 hours.
Make the Sauce: Heat the oil and garlic in a medium saucepan over medium-low heat, occasionally stirring, until the garlic is fragrant and just beginning to brown, about 2 minutes. Add the tomato paste, oregano, and red pepper flakes and cook until fragrant, about 30 seconds. Add the crushed tomatoes, sugar, and salt and cook, occasionally stirring, until the sauce measures 2 cups, 25 to 30 minutes. Transfer to a bowl, allow to cool and refrigerate until needed.
Place a baking stone on the upper-middle rack and preheat oven to 500 degrees F. Spray a rimmed baking sheet with non-stick cooking spray, then coat the bottom of the pan with the olive oil.
Remove the dough from the refrigerator and transfer it to a lightly floured surface. Lightly flour the top of the dough and gently press into a 12×9-inch rectangle. Using a rolling pin, roll the dough into an 18×13-inch rectangle. Transfer the dough to the prepared baking sheet, fitting the dough into the corners. Spray the top of the dough with non-stick cooking spray and lay a sheet of plastic wrap over the dough. Place a second baking sheet on the dough and let it stand for 1 hour.
Remove the top baking sheet and plastic wrap. Gently stretch and light dough to fill the pan. Spread the sauce in an even layer over the surface of the dough, leaving a ½-inch border. Sprinkle the Parmesan evenly over the entire surface of the dough, then repeat with the mozzarella cheese.
Place the pan on the baking stone, reduce the oven temperature to 450 degrees F and bake until the cheese is bubbly and browned, 20 to 25 minutes, rotating the pan halfway through baking. Remove the pan from the oven and cool on a wire rack for 5 minutes. Run a knife around the rim of the pan to loosen the pizza. Transfer to a cutting board, cut into squares, and serve.
Swiss meringue buttercream has a better flavor and texture than American buttercream. Once you try it, you will want to use it on all of your cakes and everything else! Swiss Meringue Buttercream keeps well overnight at room temperature without drying out or forming a …
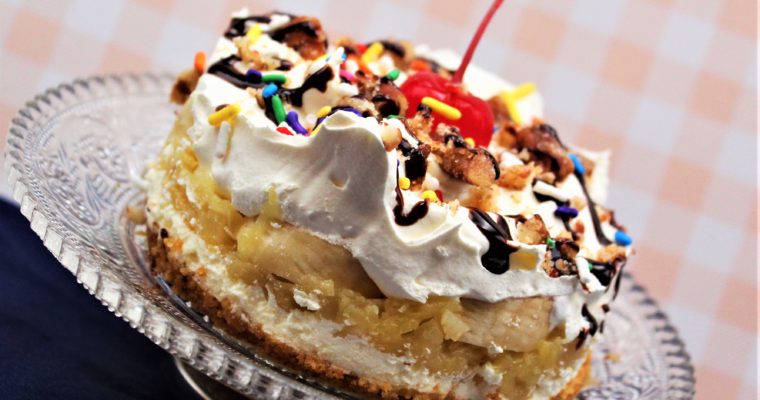
This recipe has all the hallmarks of classic banana split (without the ice cream)— with its sweet layer of bananas, a delicious custard filling with pineapple, a drizzle of decadent chocolate syrup, and a graham cracker crust pulls it all together.
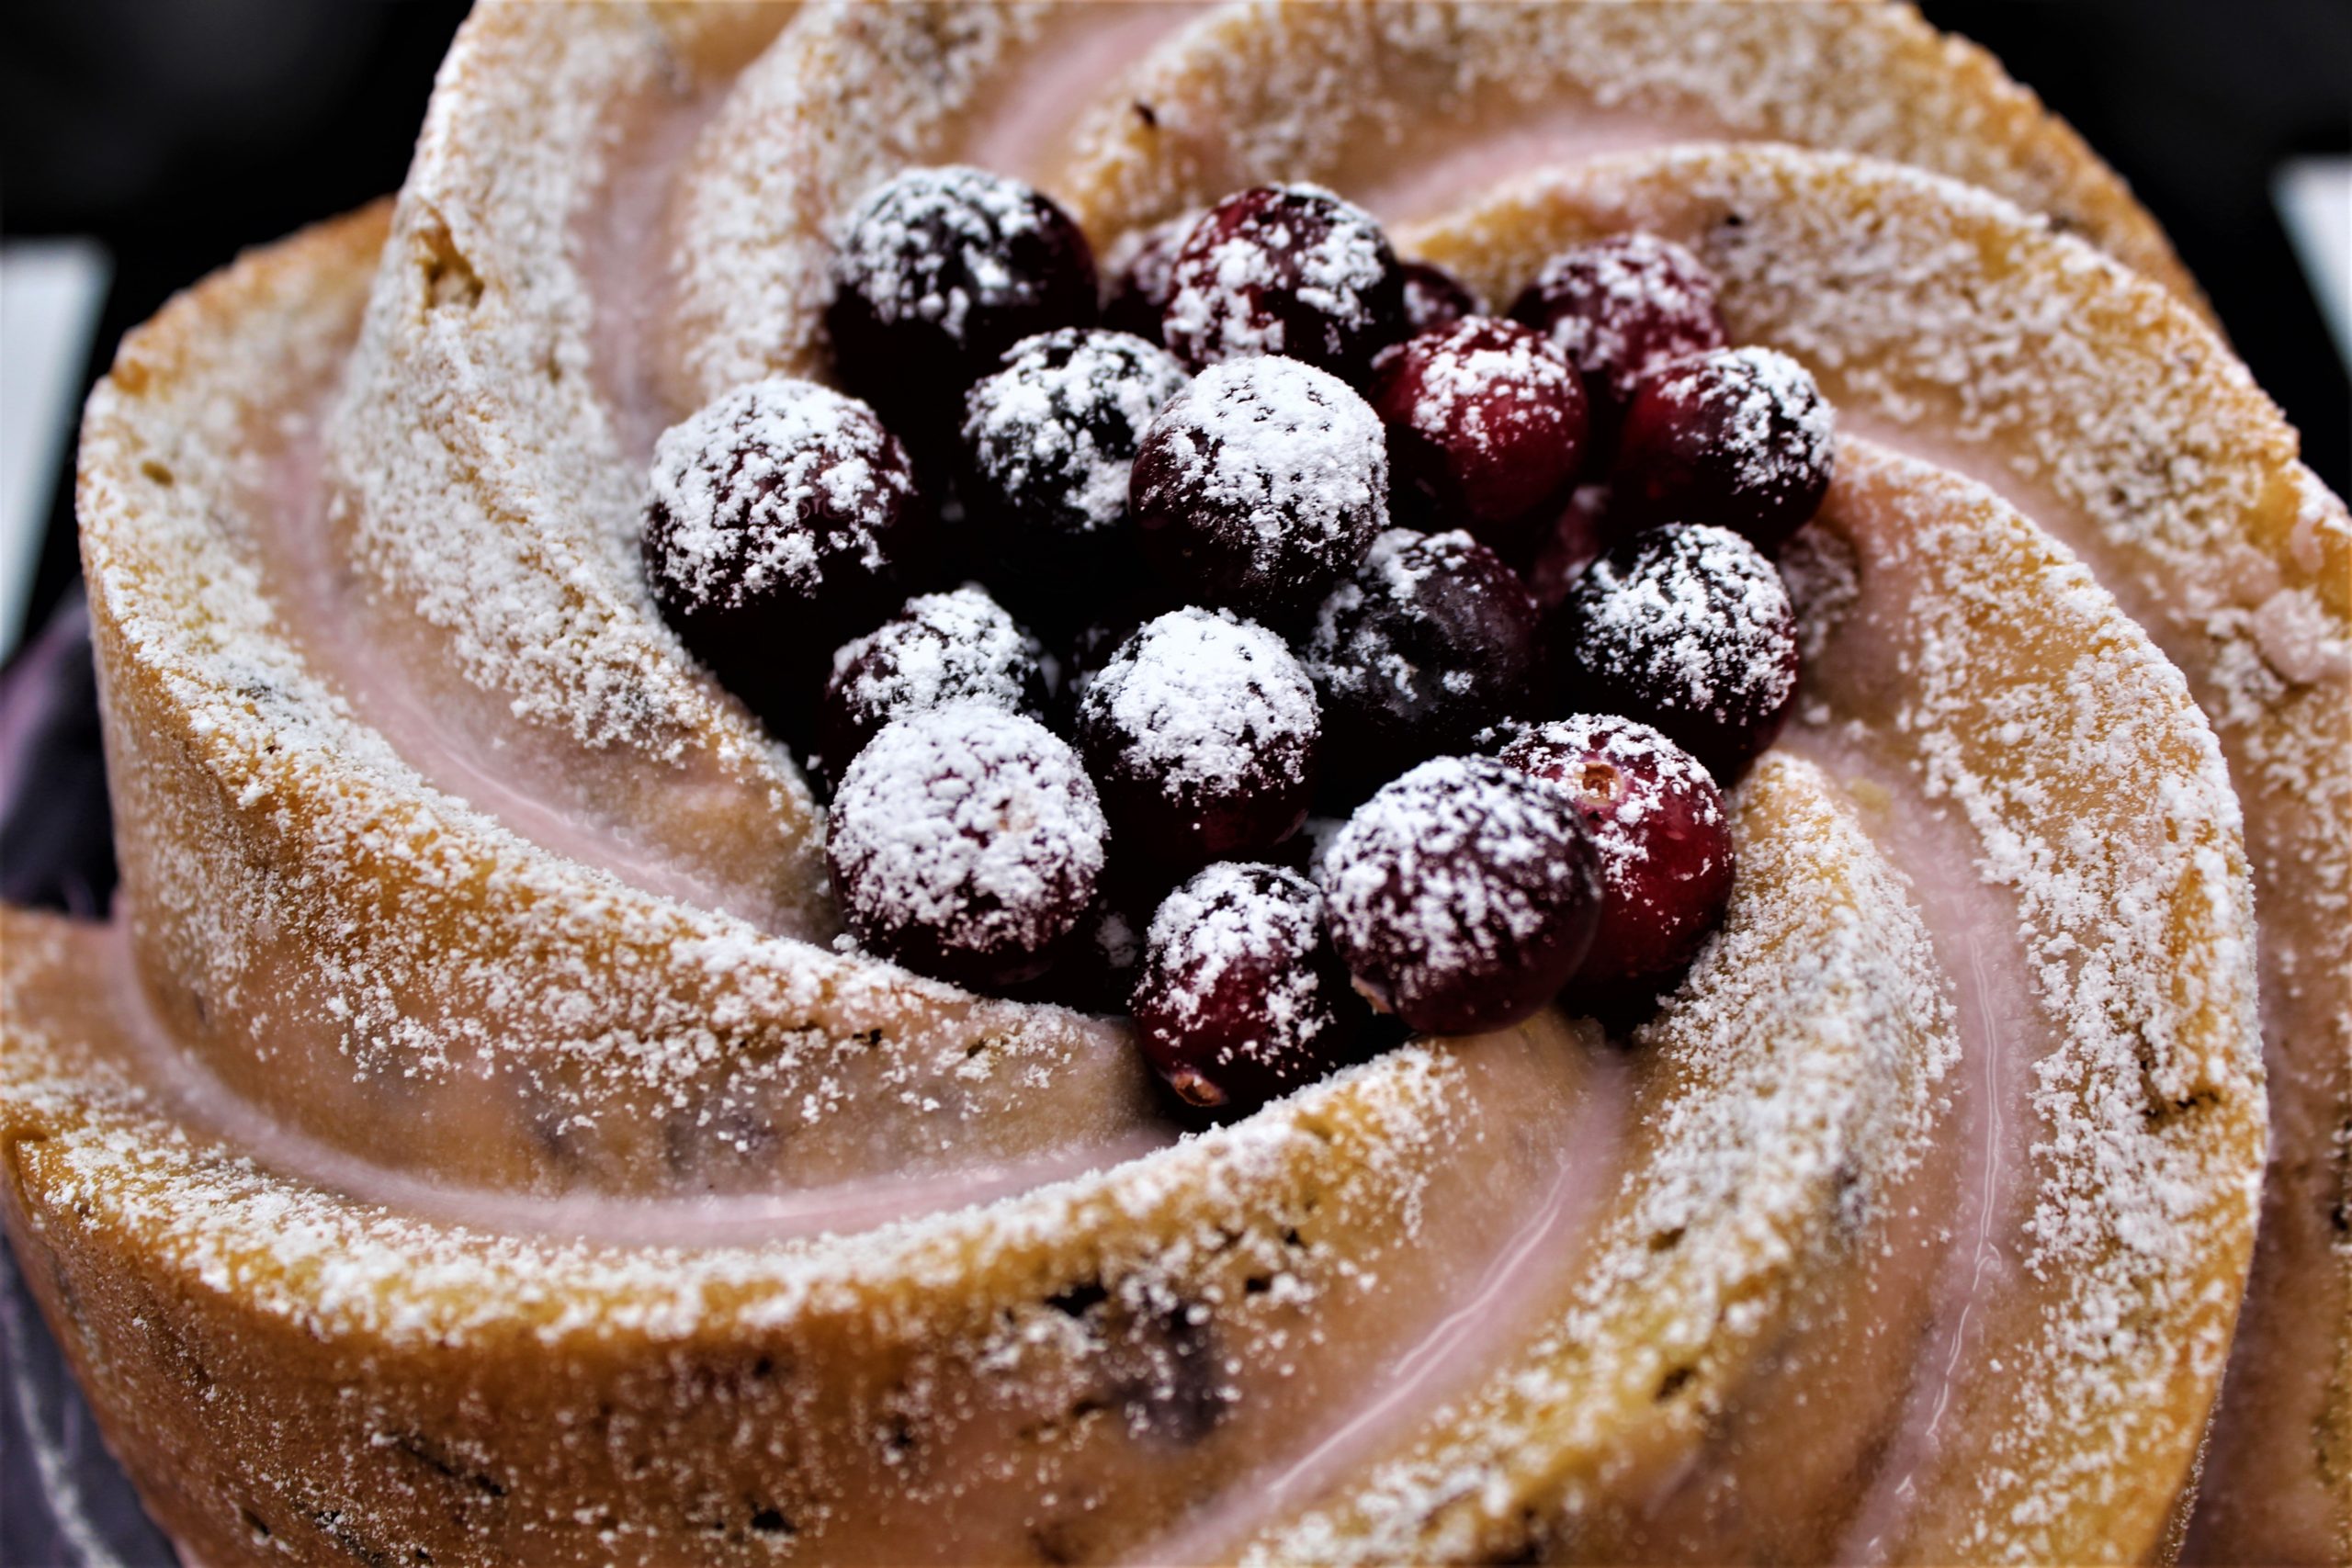
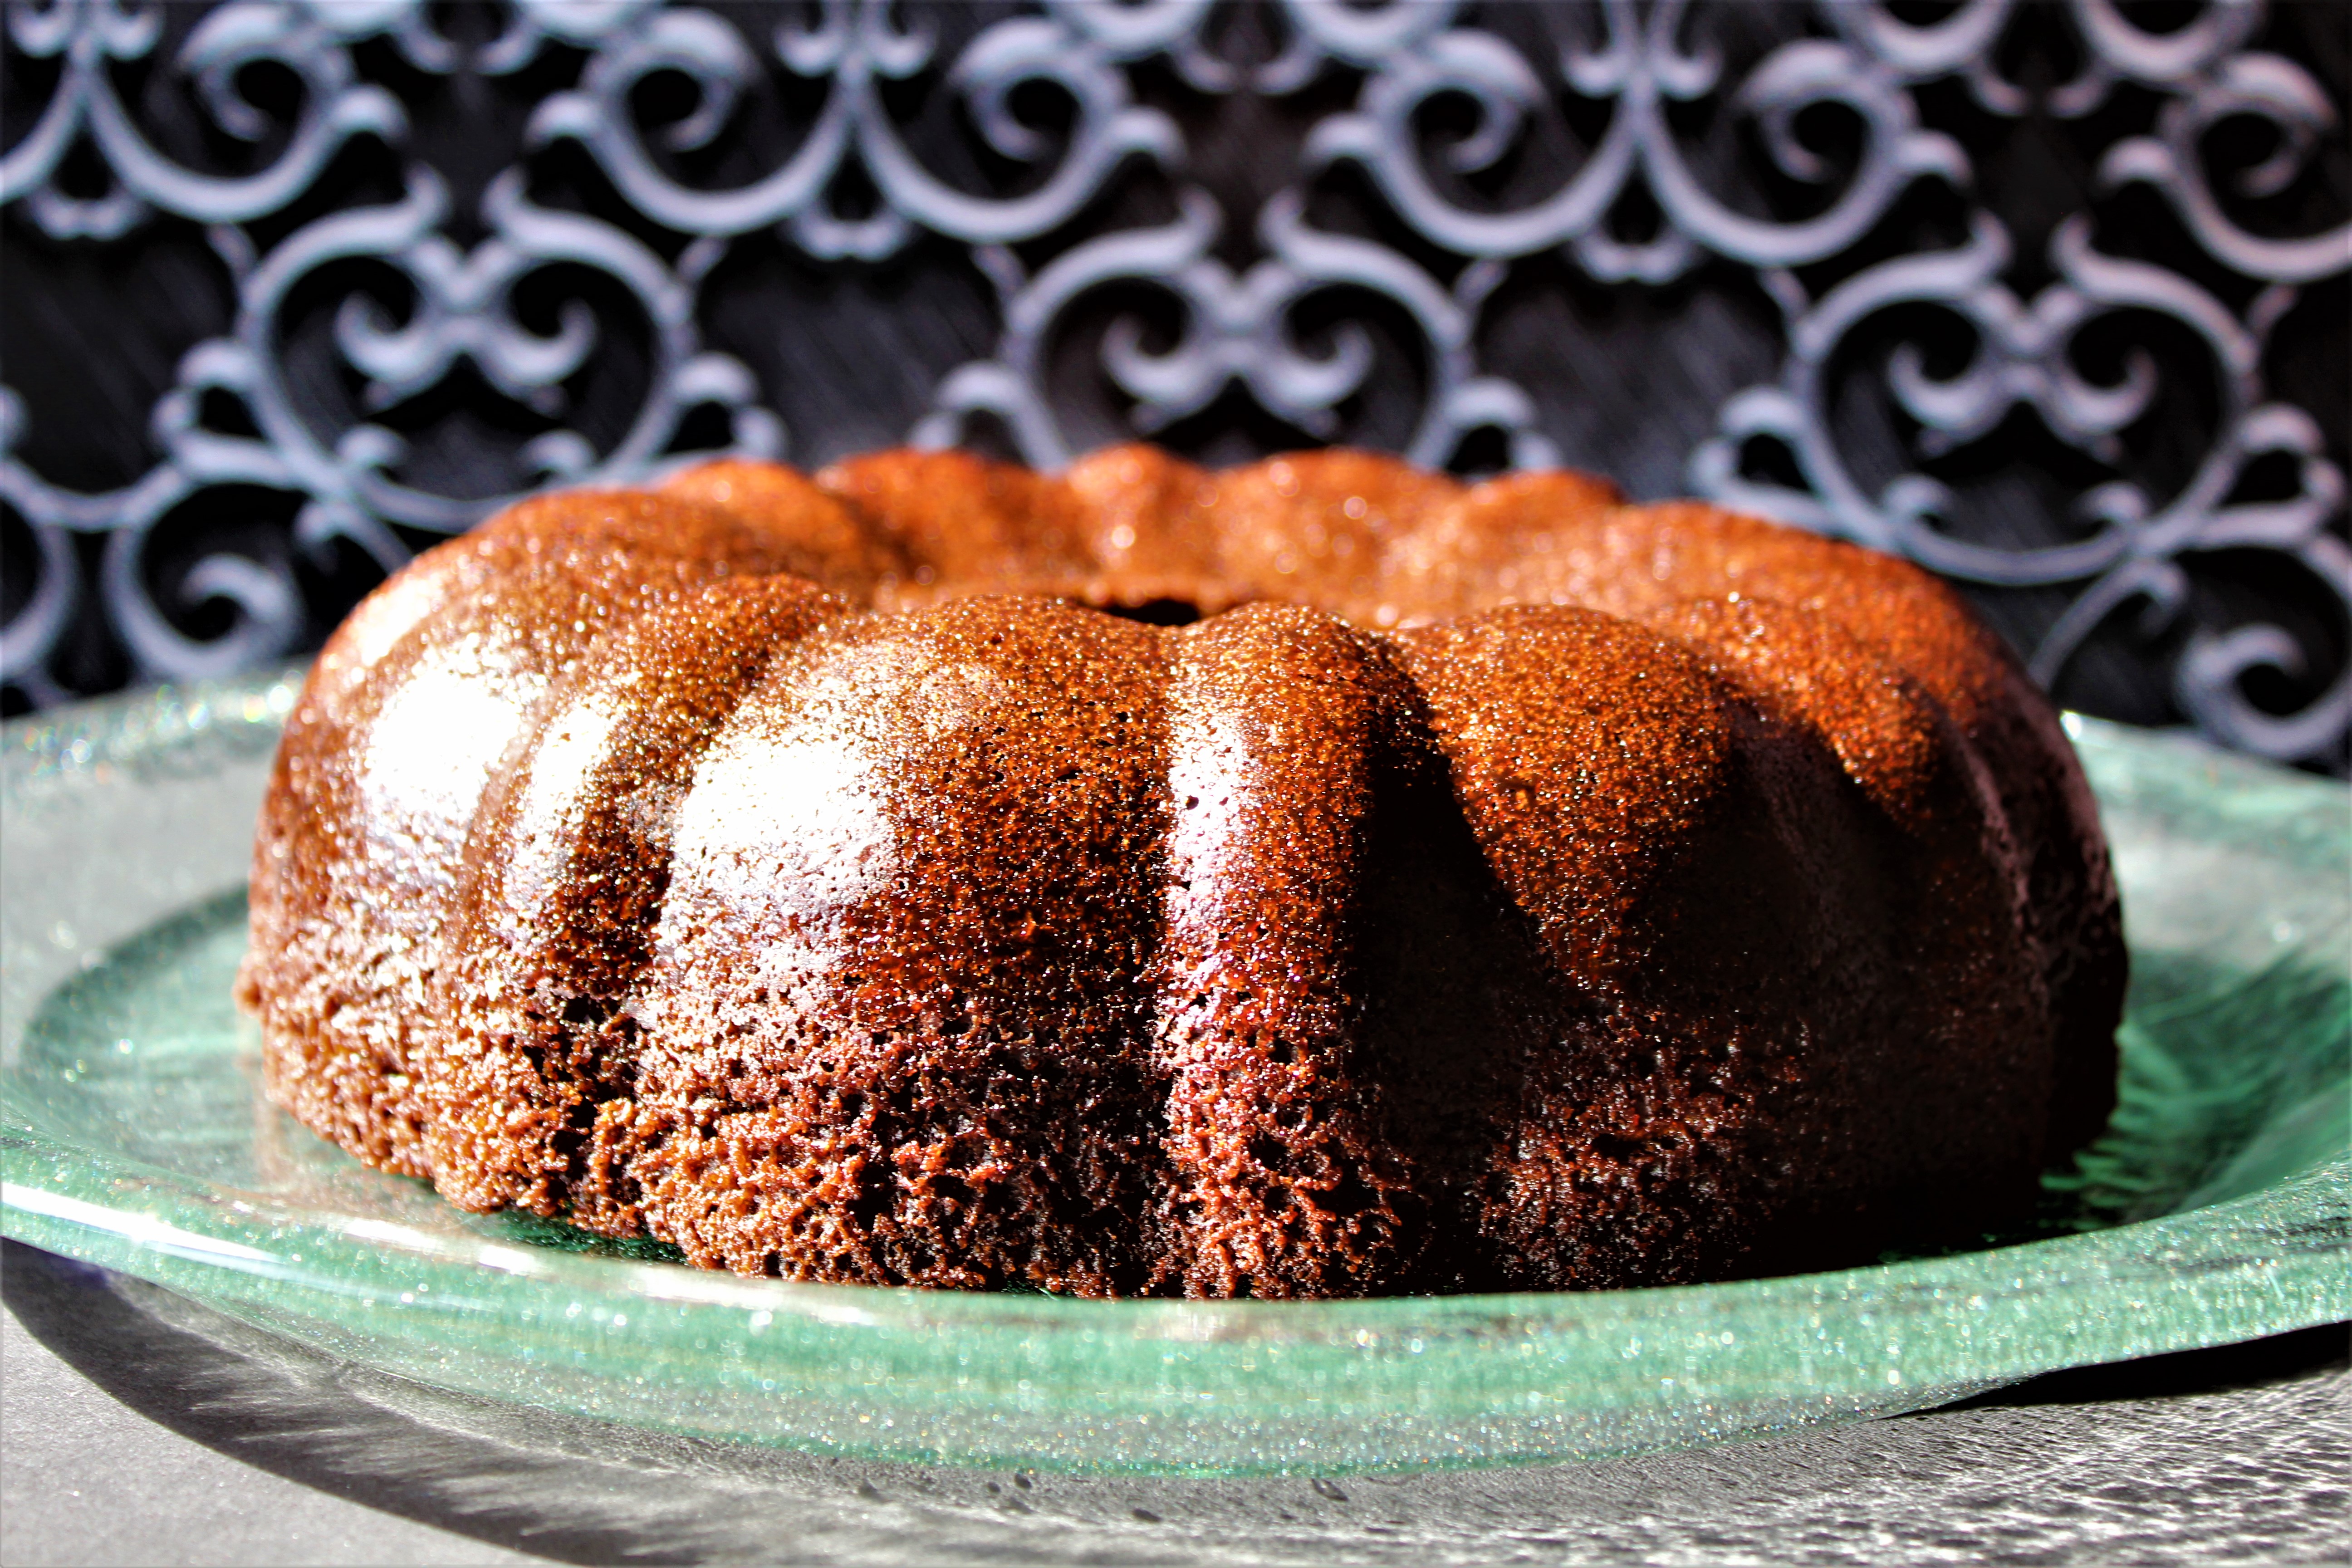
Bundt cakes are my favorite cakes to bake. They’re easy to make and always turn out beautifully. This Cranberry Orange Bundt Cake, with a blood orange glaze, is no exception.
All you have to do is mix up the batter, bake it, then top it with an easy glaze. This cake is a perfect recipe that you can make ahead of time for parties too.
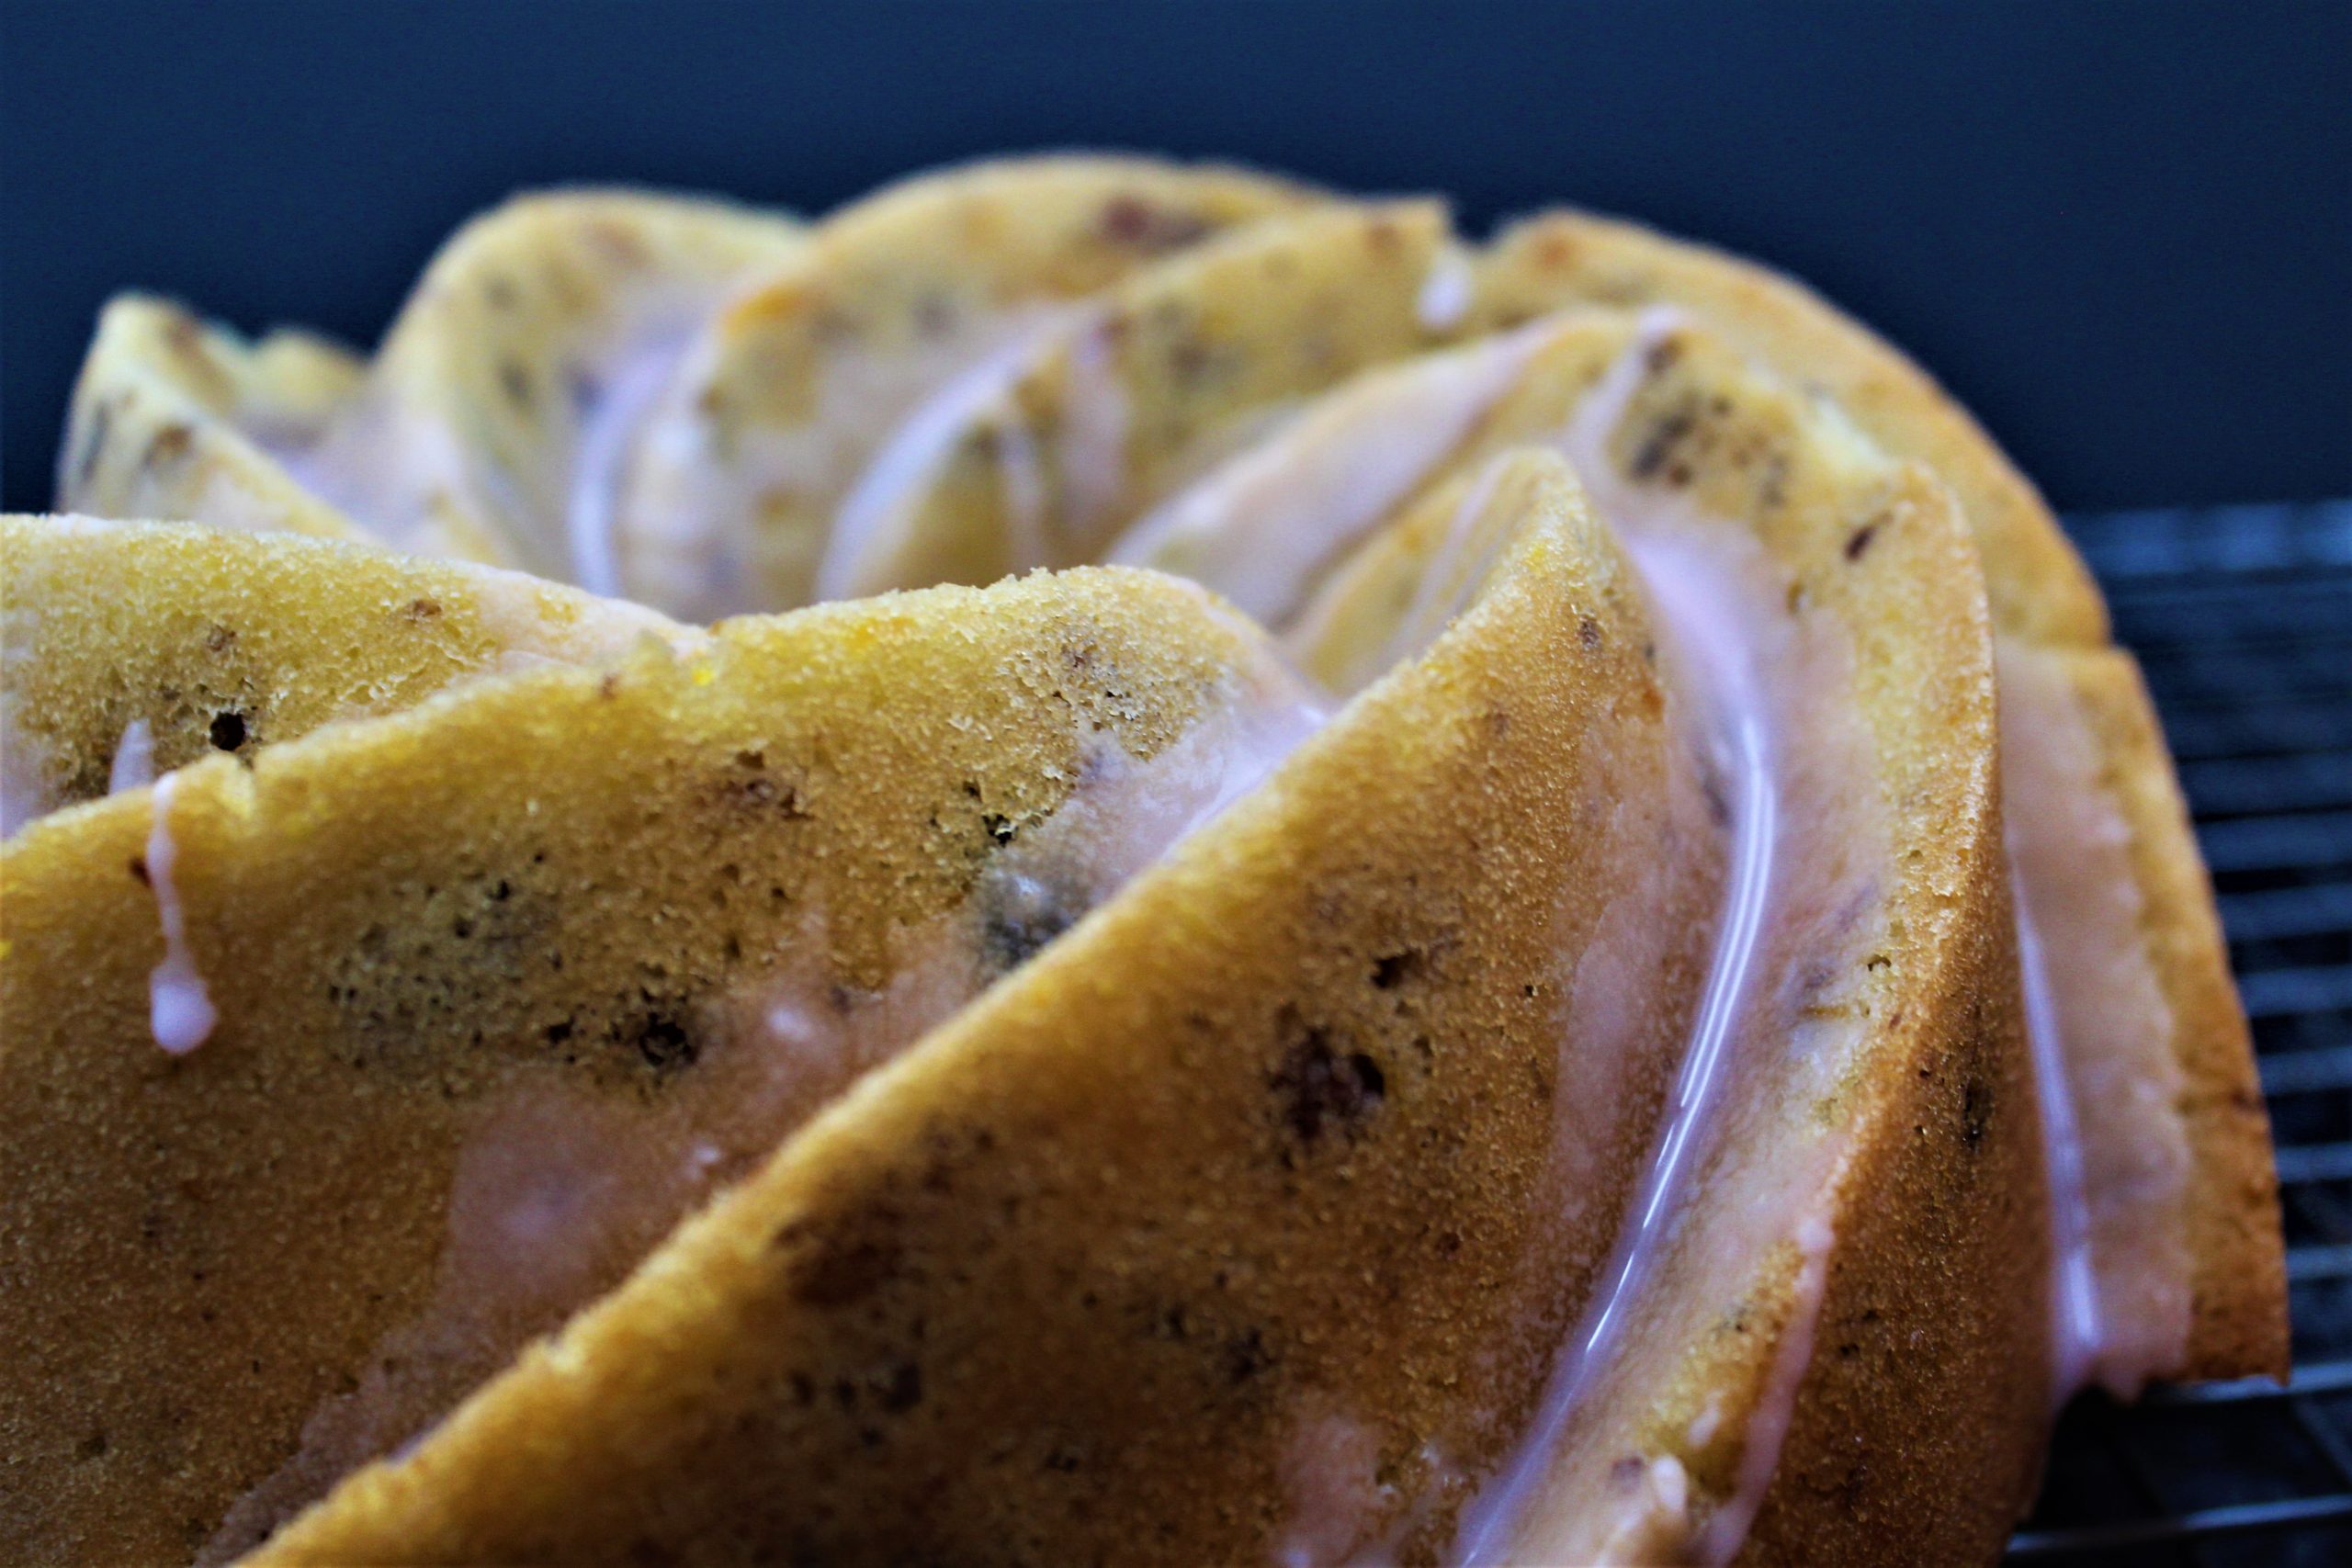
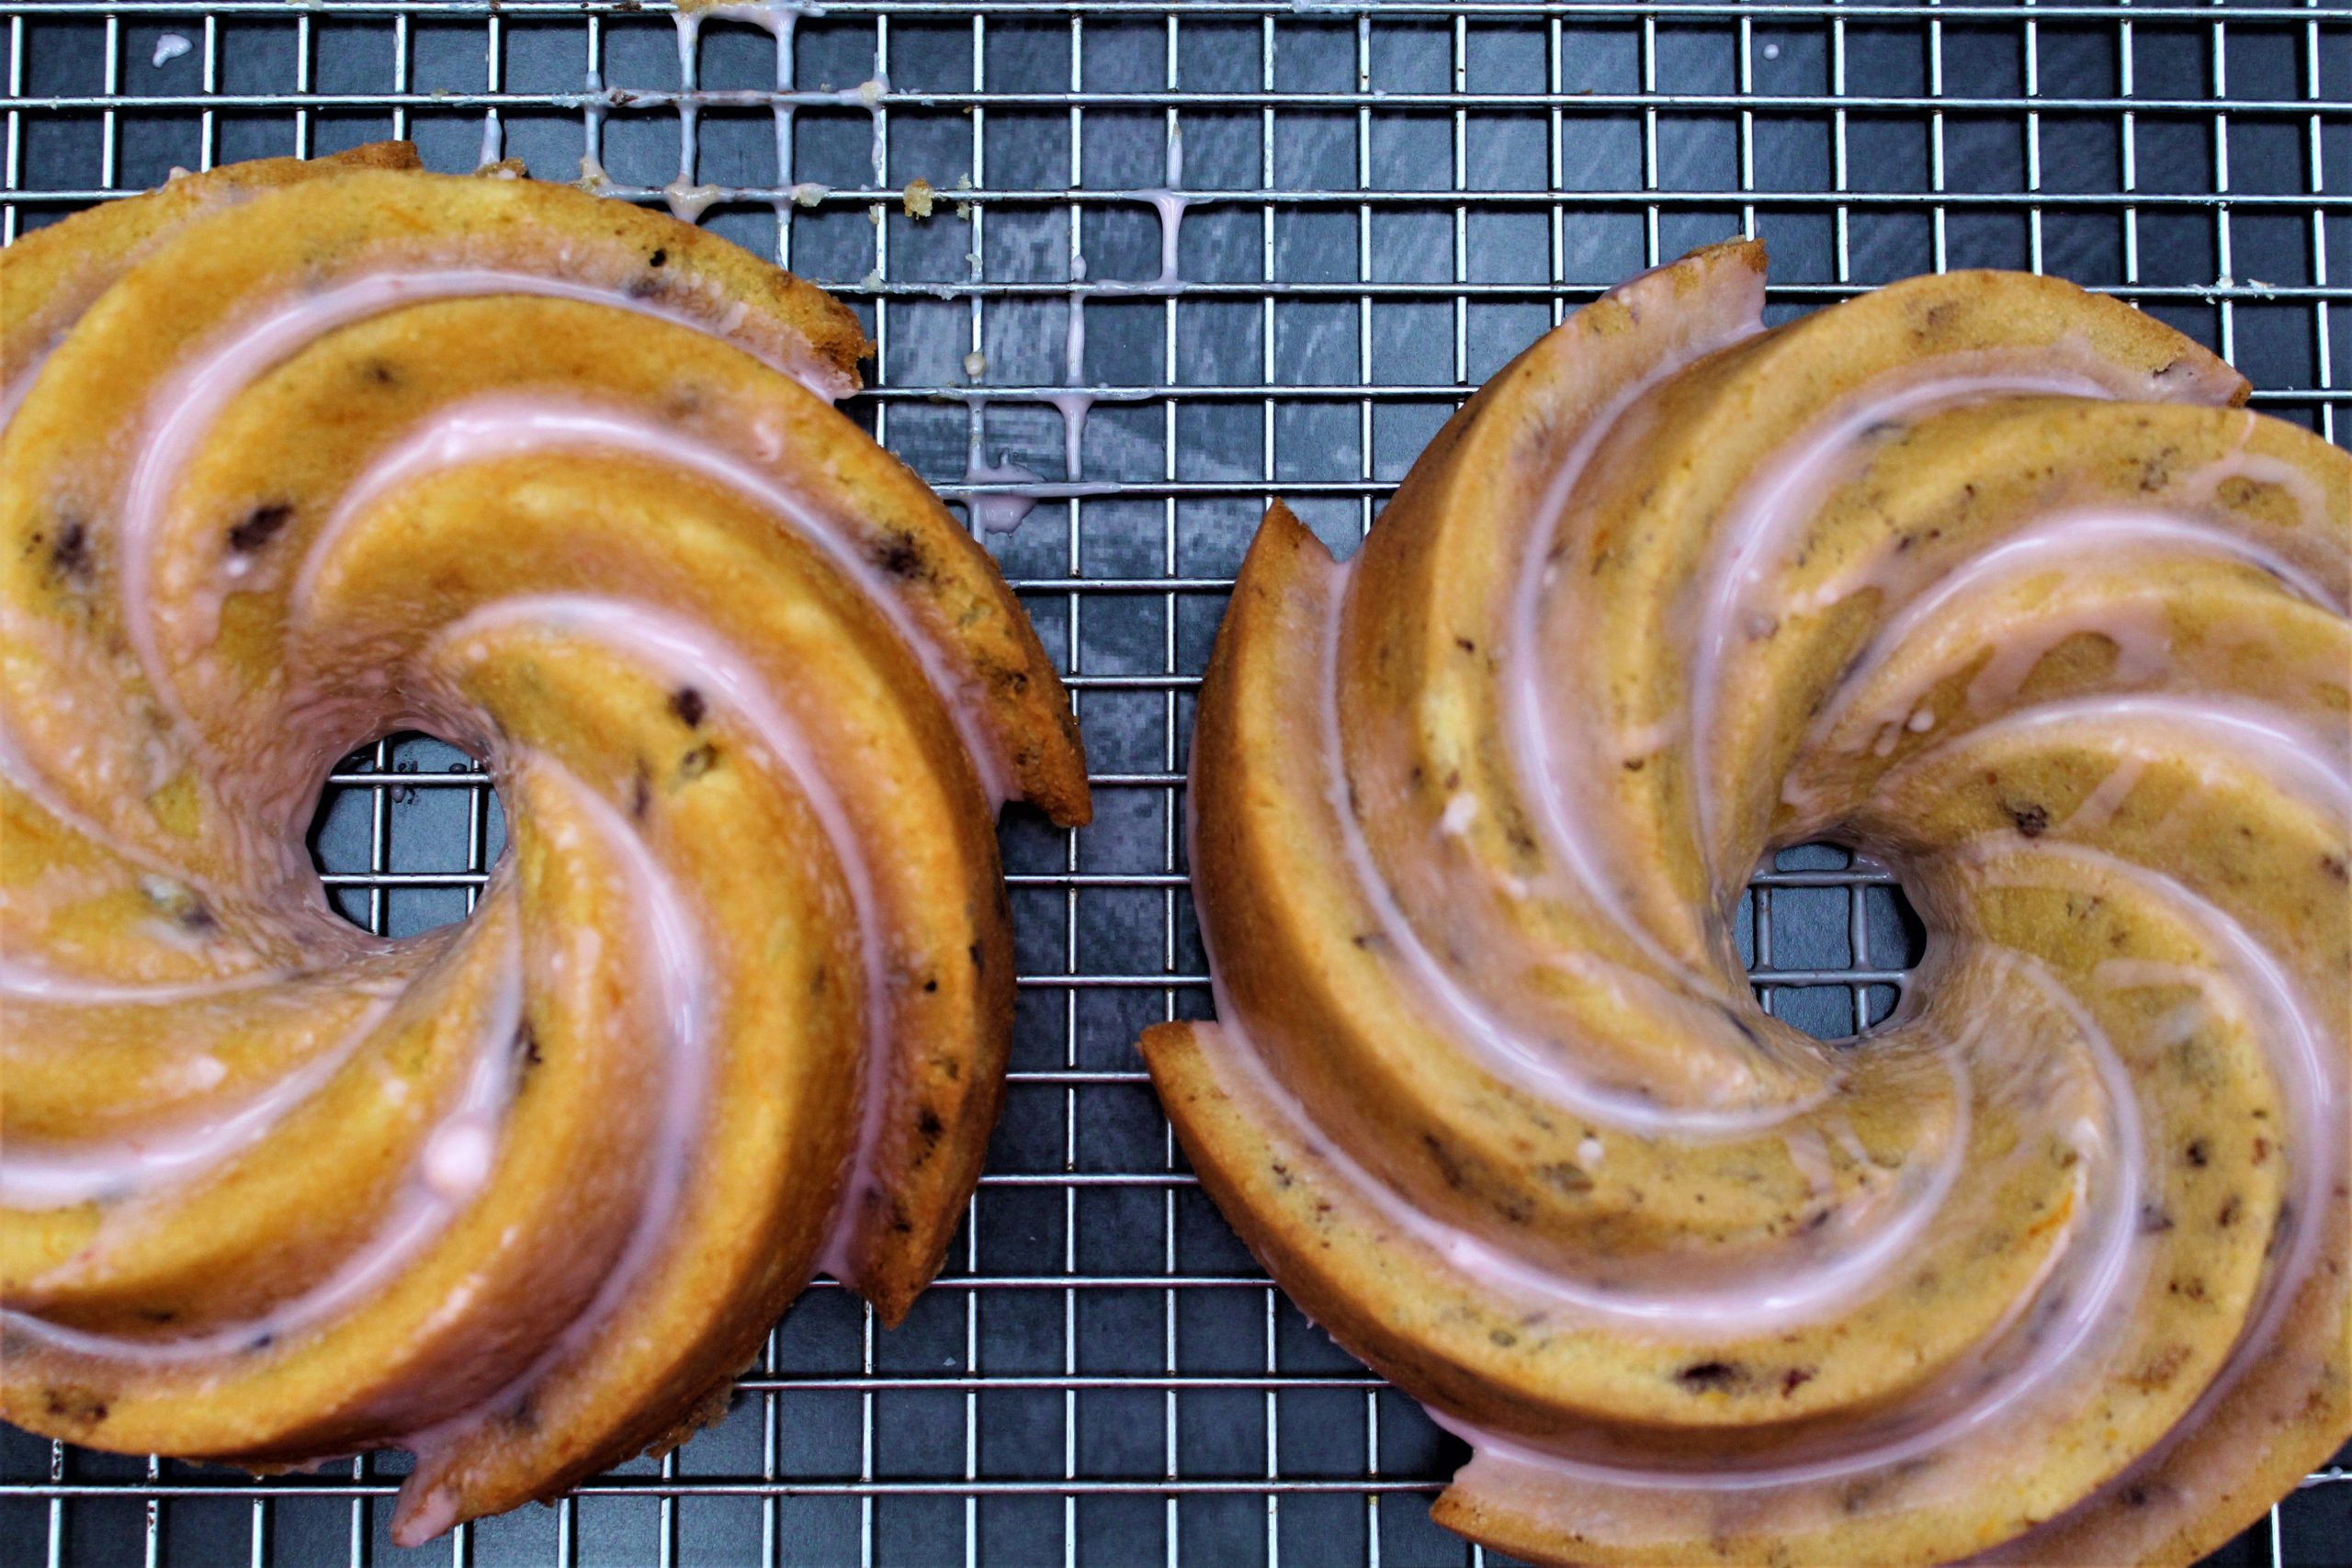
For this cake, I use the Nordic Ware Heritage pan. I love the whirls and the dramatic finish of the cake. If you do not have a Nordic Ware pan, any bundt pan will do. I use the six cup pan, it is smaller, and the batter will make enough for two cakes.
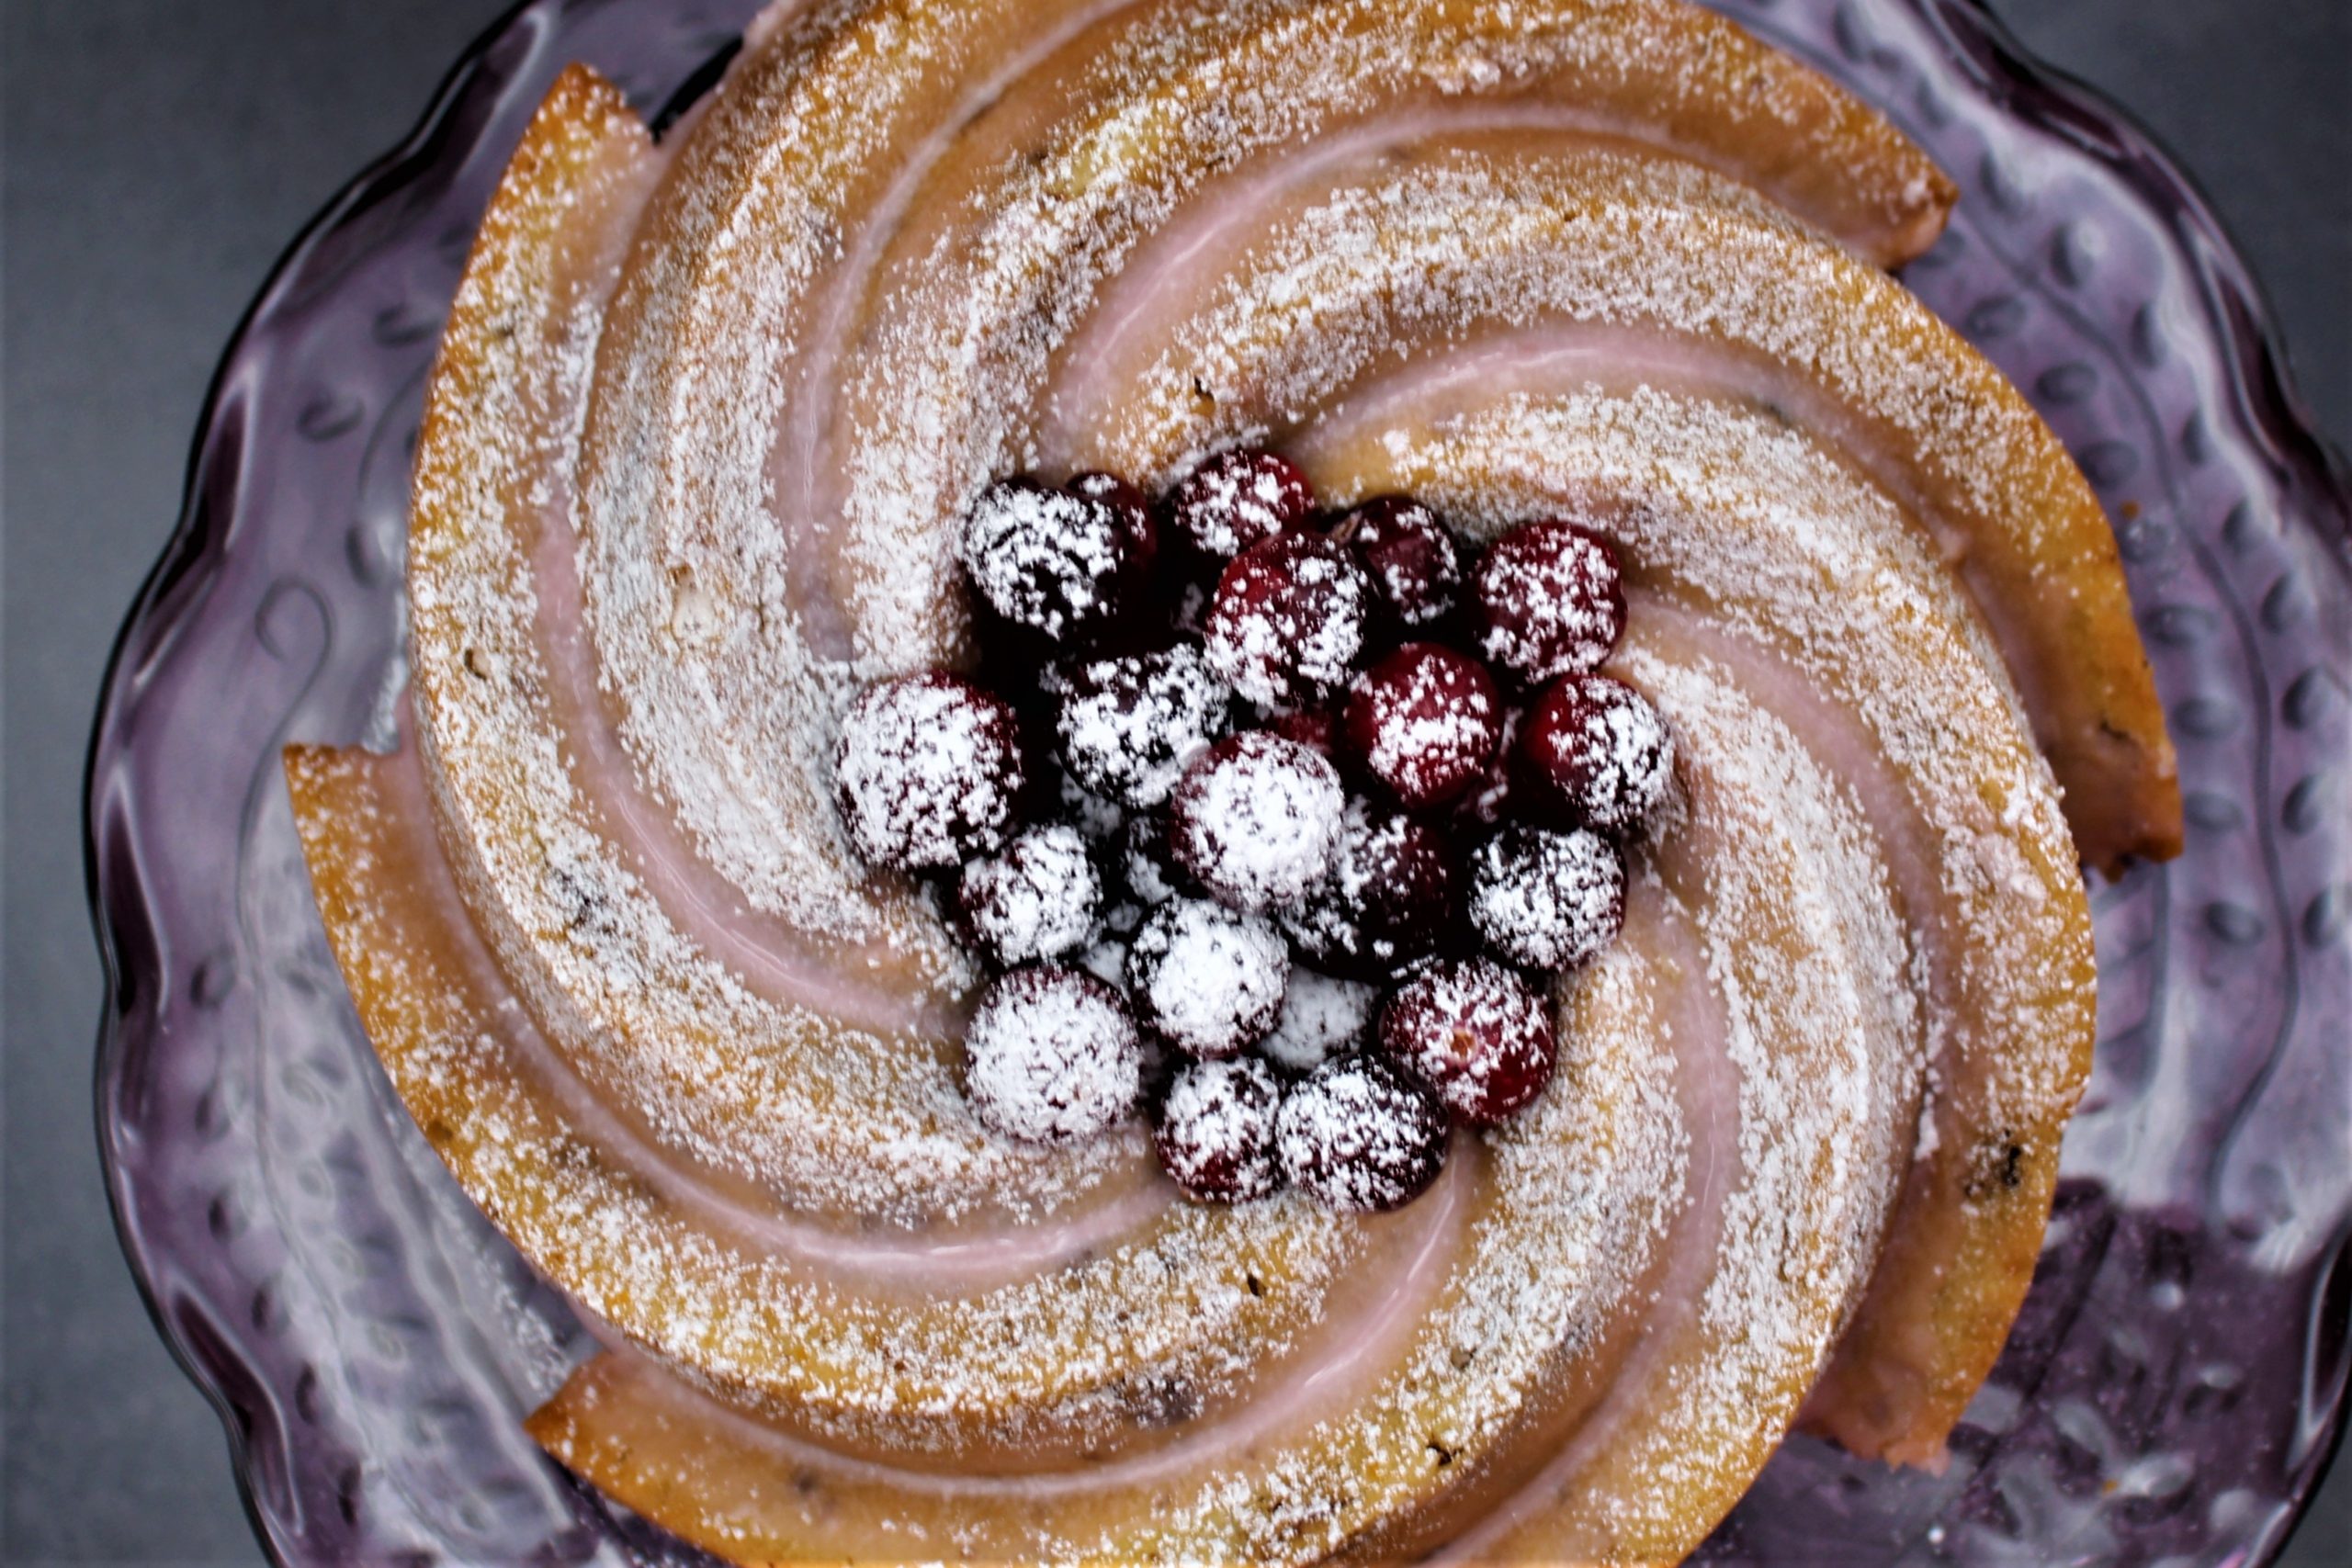
The orange flavor in this recipe compliments the cranberries and isn’t overpowering, but you can taste little hints of the orange in each bite. To add a little extra flavor of orange, I like to use fresh blood-orange juice in the glaze. It is a beautiful pink color that looks amazing. I hope you try this moist, tasty cake soon. It will be a family favorite.

This delicious Bundt cake is so moist. Instead of butter, I used extra virgin olive oil. The flavor of this cake is fantastic and healthier than most cakes made from butter.
Preheat oven to 350 degrees
Toast pecans and crush them up.
Measure out 1 cup or 1 1/2 cups depending on preference. Coat with 1 tbsp flour. Set aside
Put dried cranberries in a bowl. Coat with flour. Set aside.
Sift flour, baking powder and salt. Whisk and set aside.
In a stand mixer fitted with a whisk attachment, add in 1 1/2 cups sugar and eggs, Add in the zest of an orange. A bit of lemon zest if you like, but optional.Mix on high for about 8 minutes or until thickened.
In a large bowl, add orange juice, olive oil, and sour cream to your stand mixer and mix it to incorporate.
While the mixer is running on low, slowly pour in olive oil mixture.
Add the flour mixture. Mix until combined then Turn off mixer and remove whisk
Reserve 1/2 cup of batter before adding nuts and cranberries and set aside
To the batter, add toasted walnuts, and dried cranberries.
Spray or butter and flour your pan. Pour reserved 1/2 cup of batter in the pan first. Spread the mixture around into the crevasse of the pan to make sure it is well coated.
Pour the walnut/cranberry batter into your pan. Fill up about 2/3 of the way to leave room for rising.
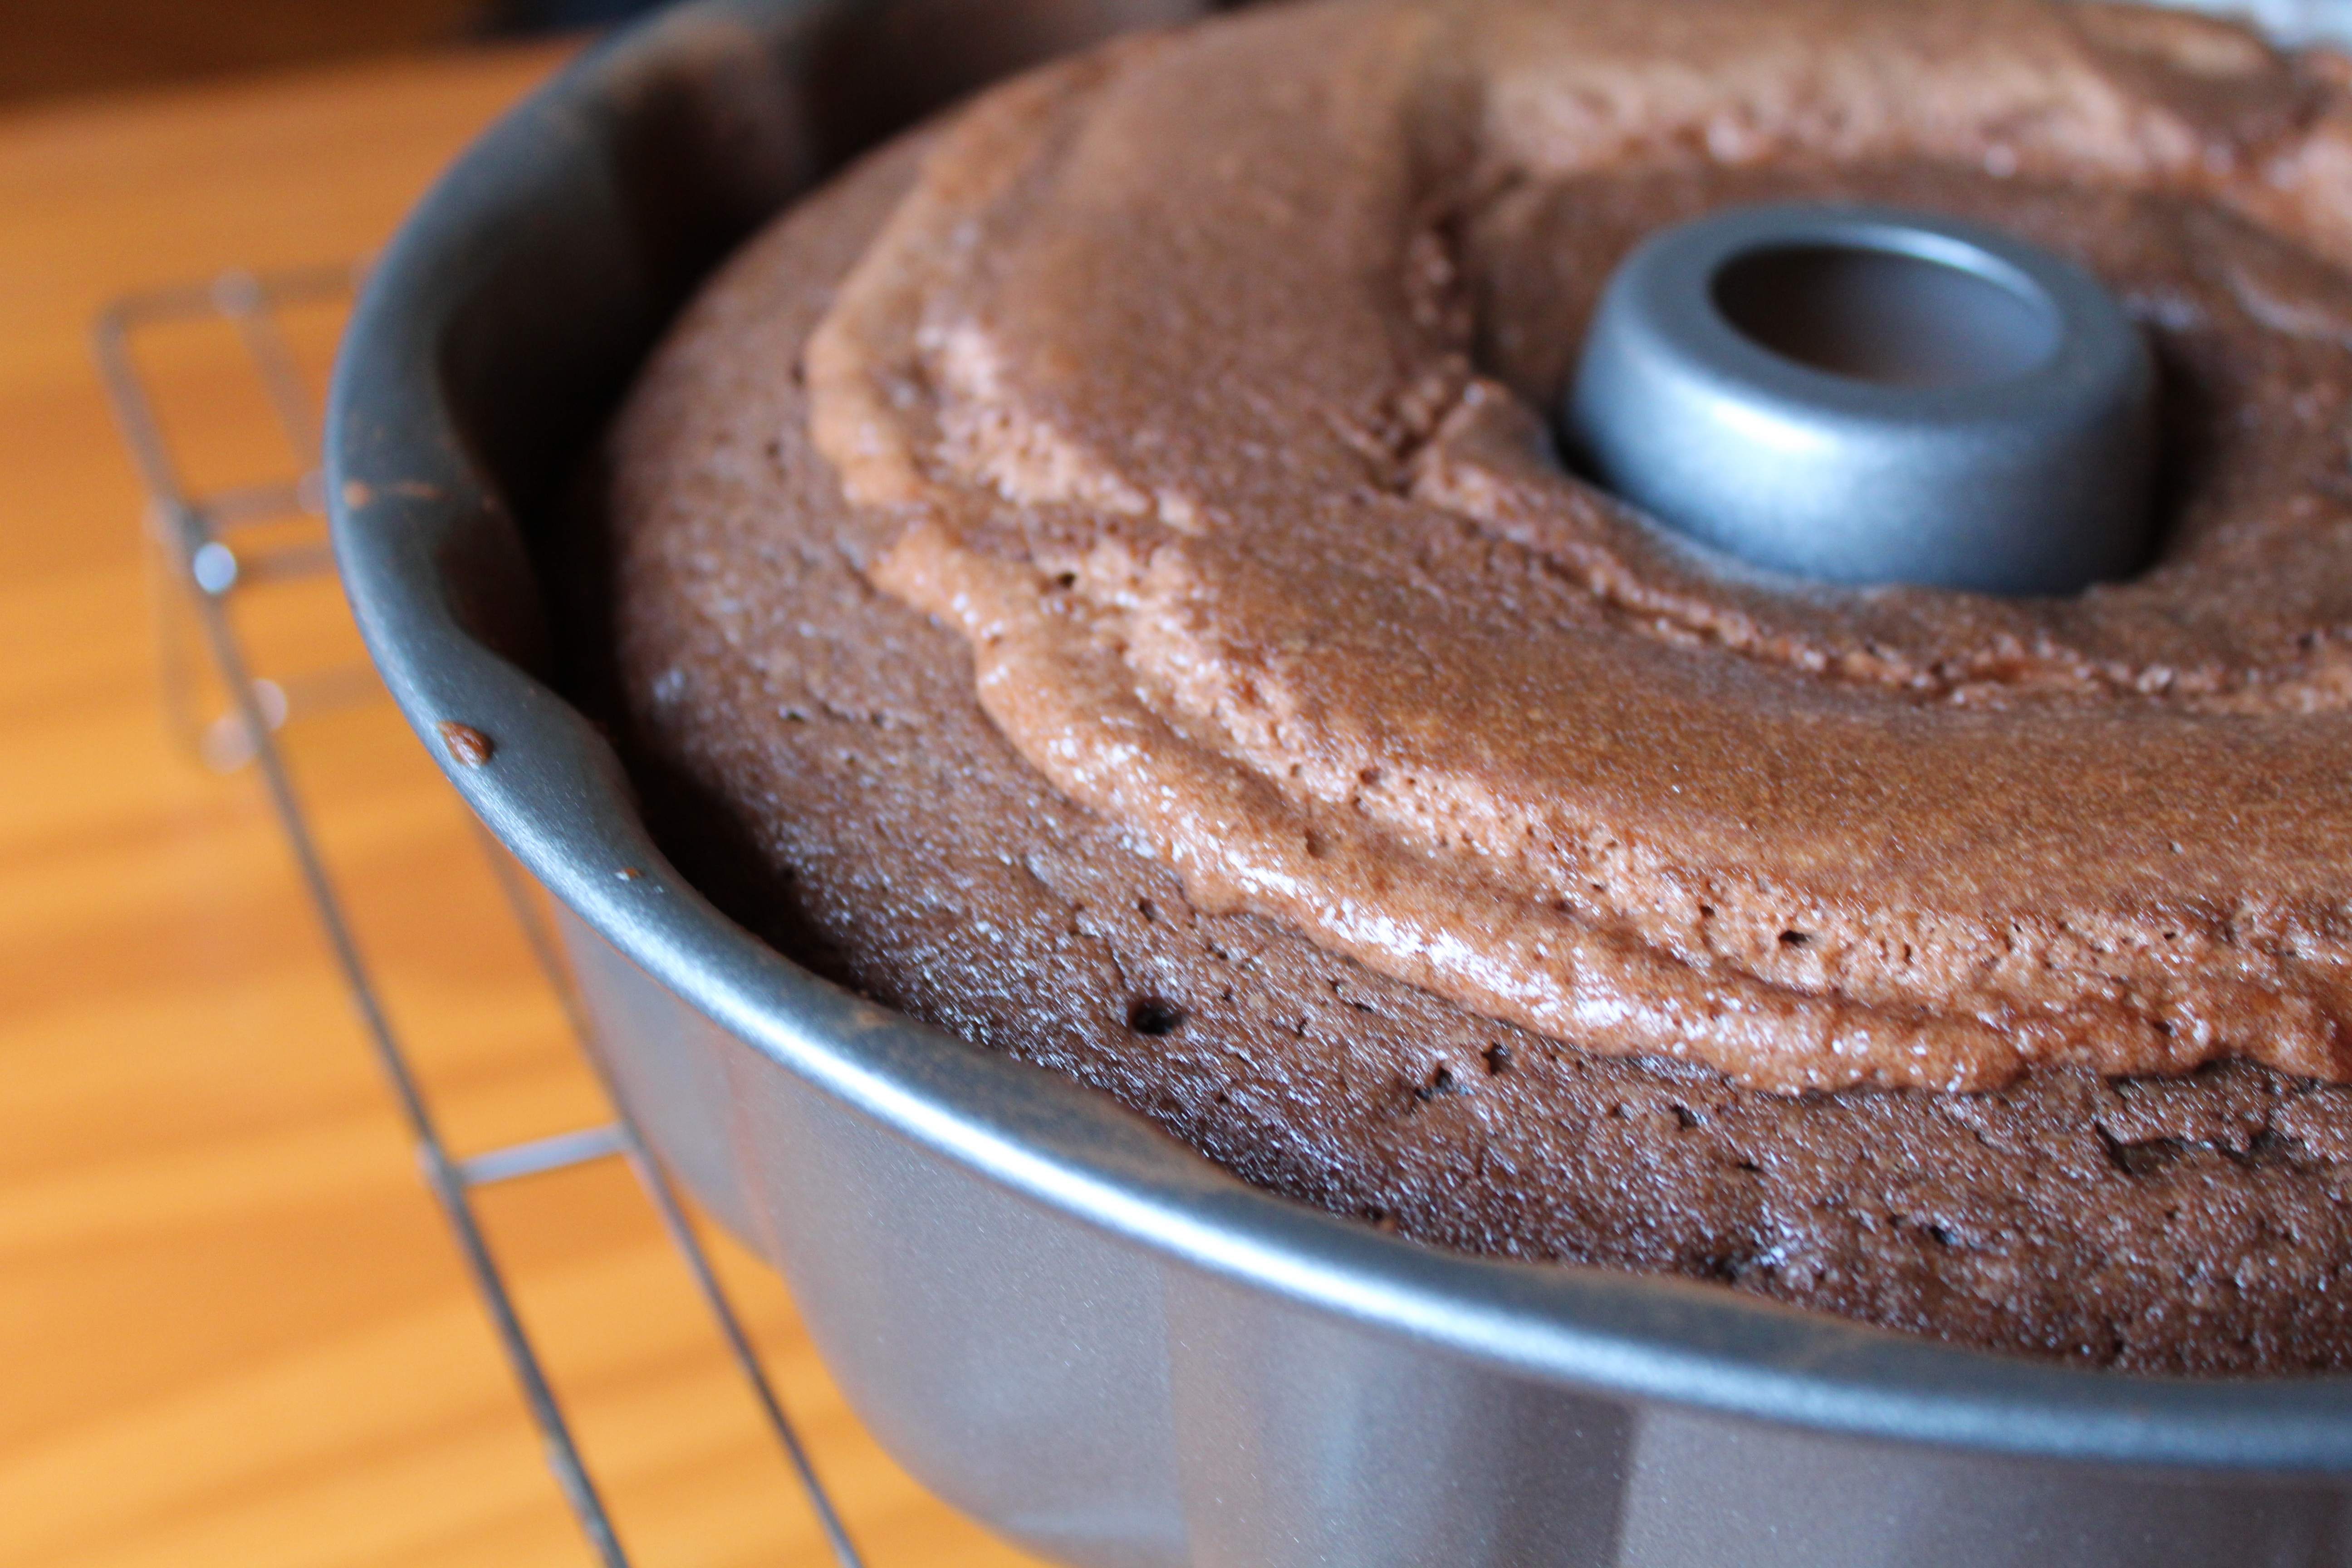
Bake for about 40 minutes or until a toothpick inserted in the middle comes out clean. Let cool for ten minutes then remove from pan.
Add confectioners sugar and about 2 tbsp blood-orange juice to a large bowl, and whisk it.
Add 1 tsp juice from the lemon
Add more confectioners sugar or blood-orange juice until desired consistency is reached.
Once the glaze is at a pouring consistency, pour over the cake and down the sides of the cake.
There’s just something about the individual, mini-sized desserts that are so fun.
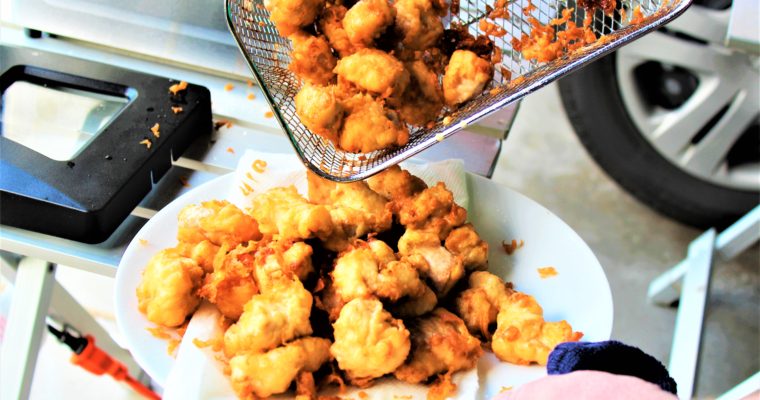
When this delicious Beer Battered Fried Pork comes out of the fryer, I recommend that you guard it carefully.
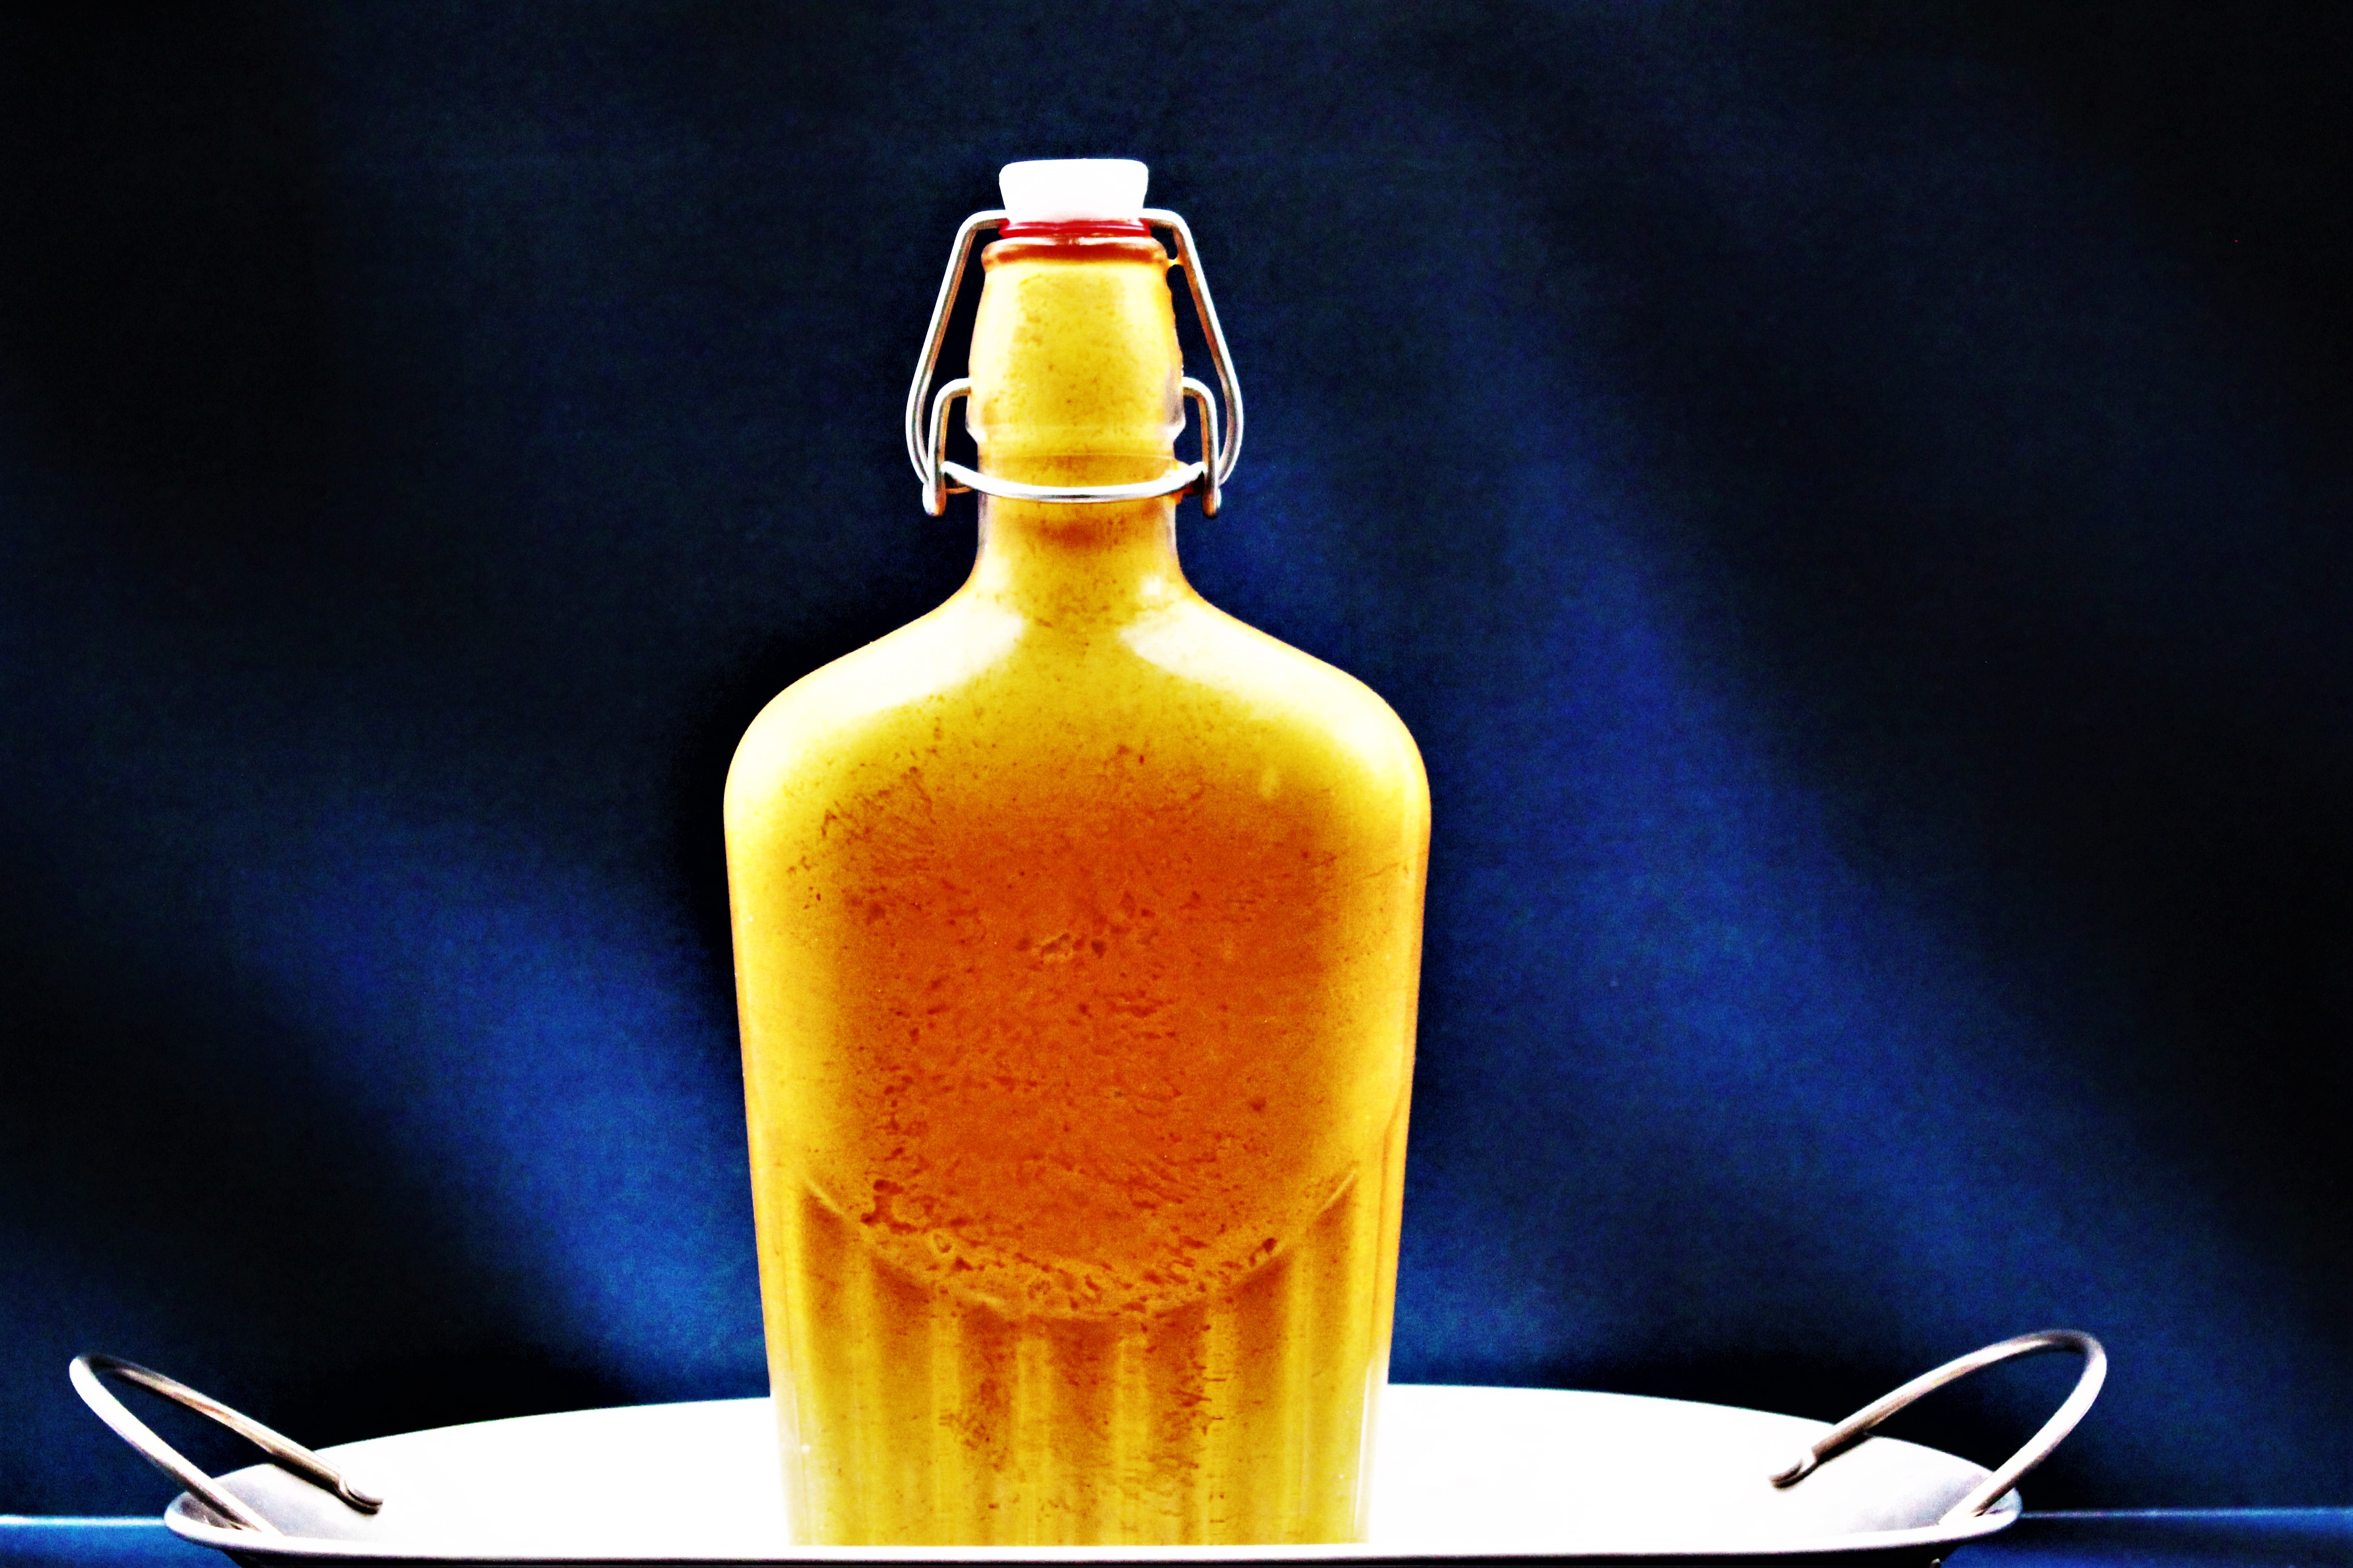
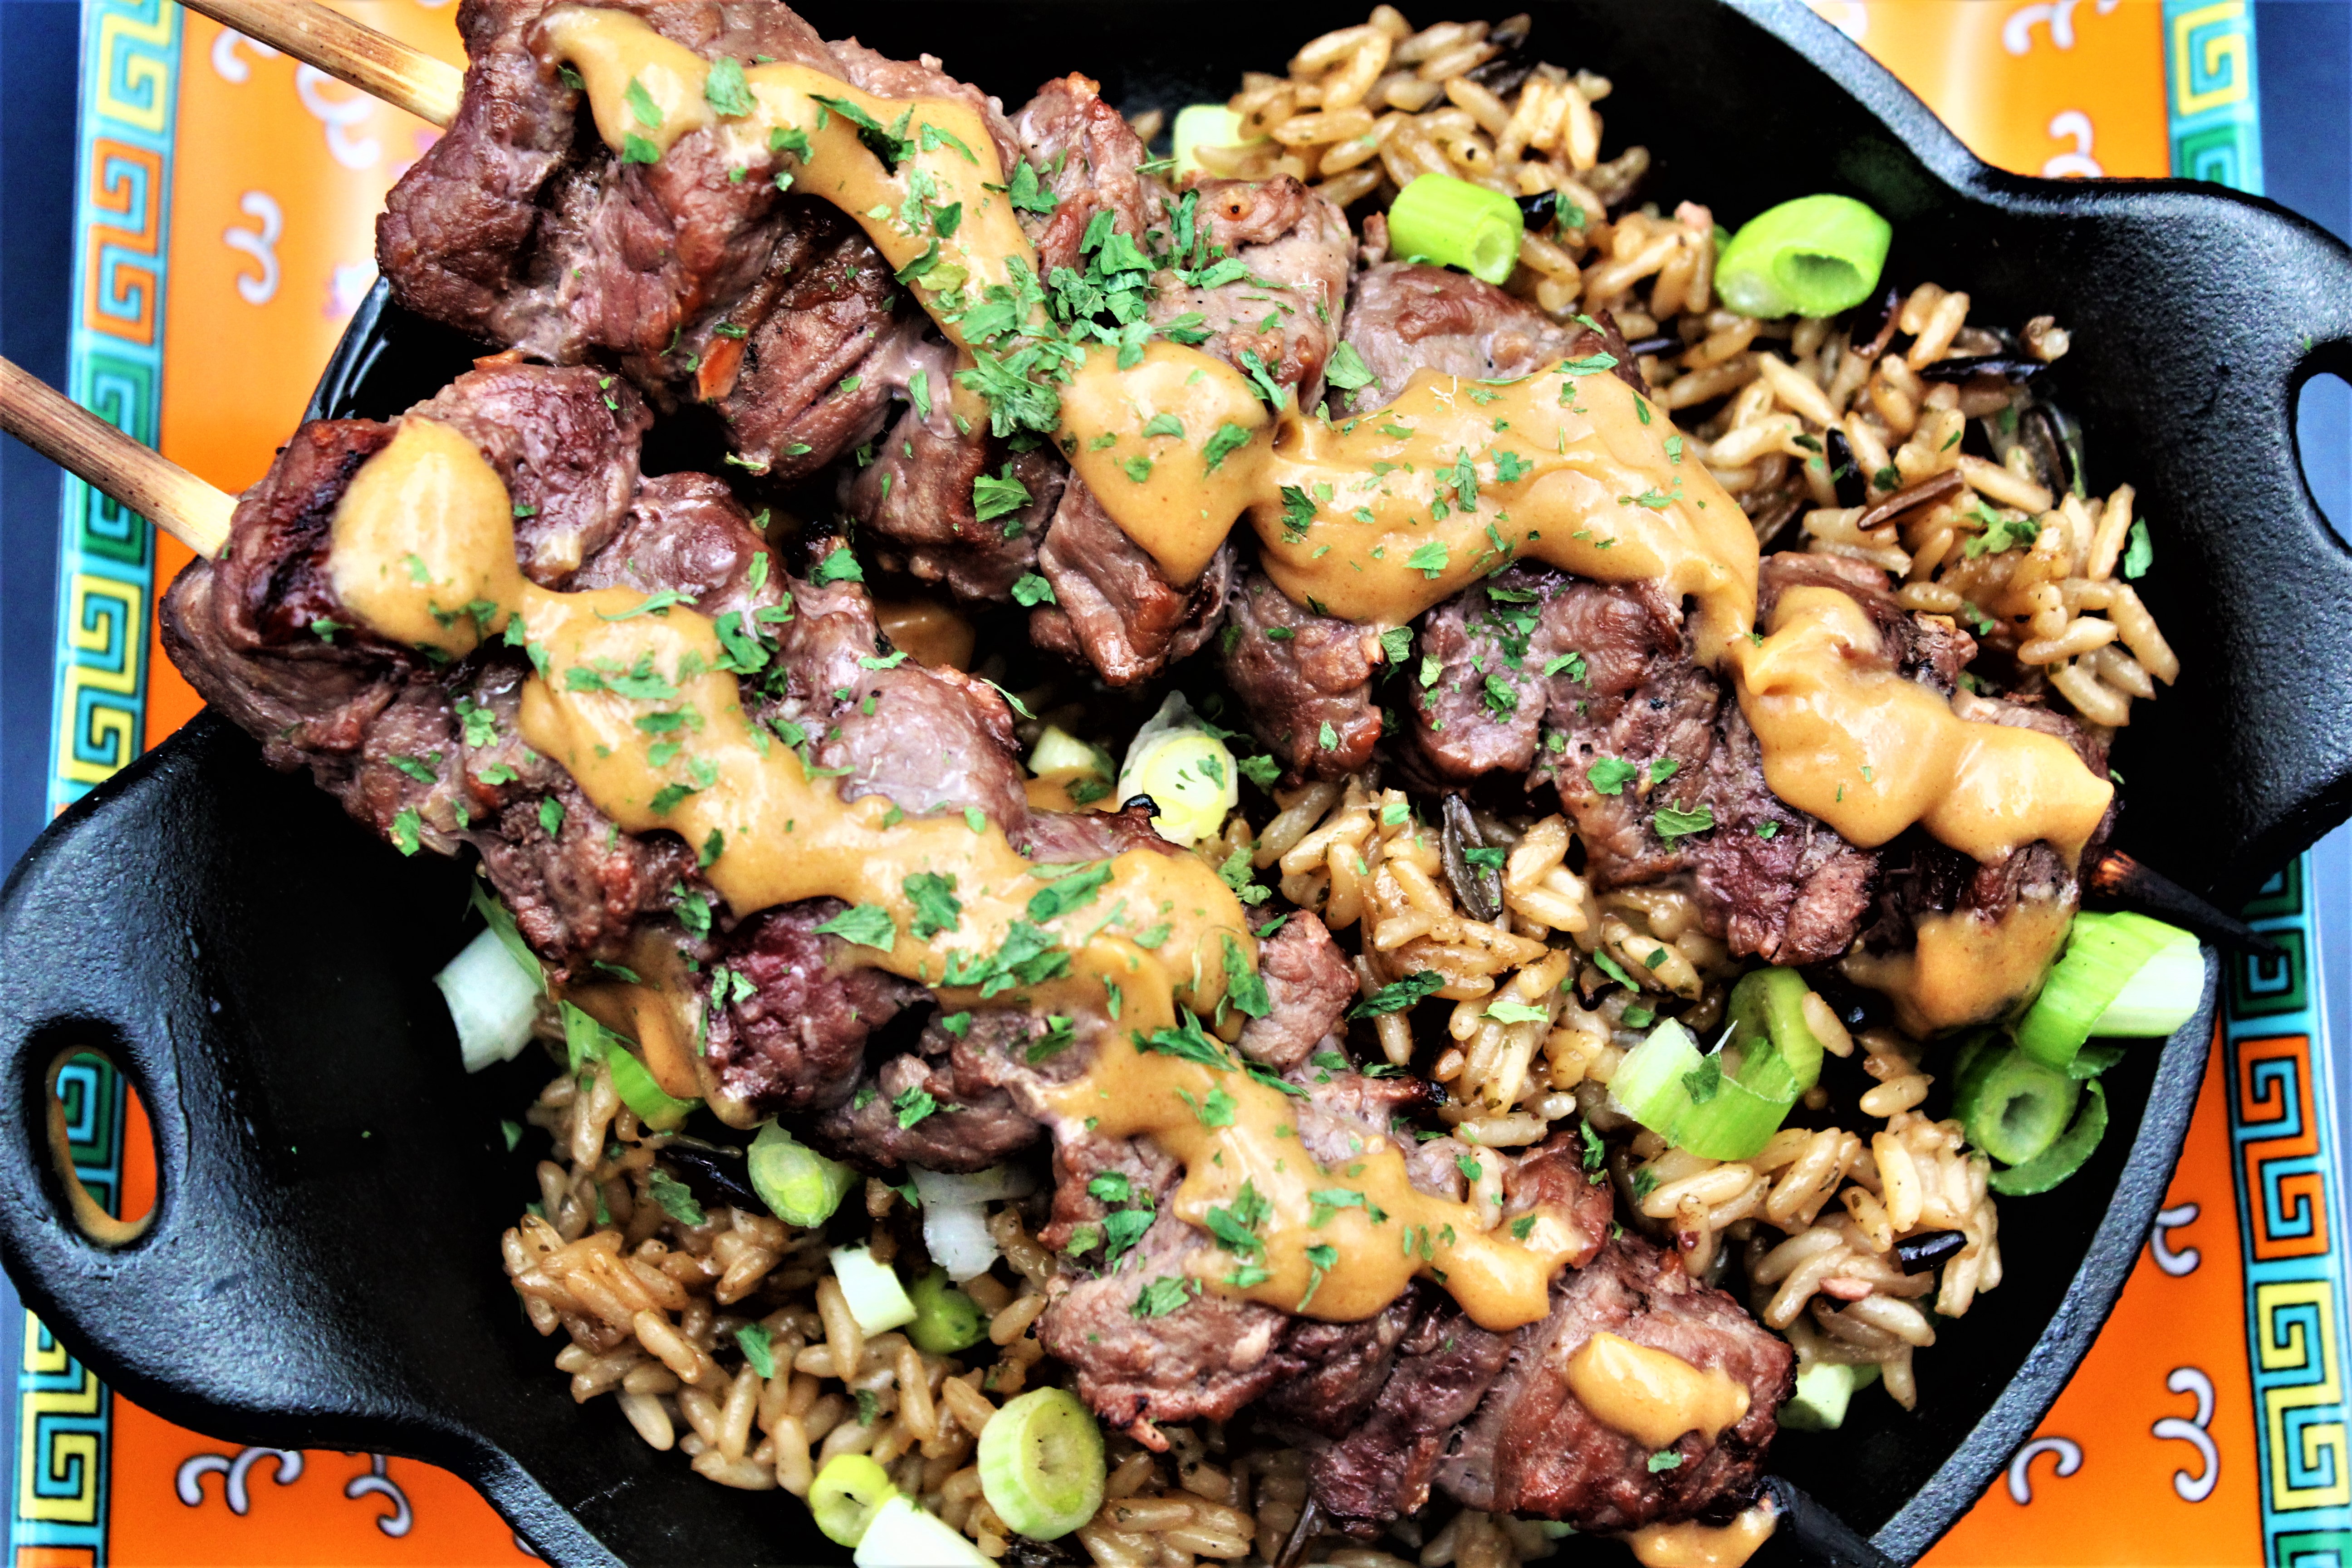
Hands up, friends. Anyone out there as crazy as I am about Thai peanut sauce?
It is one of my favorite dinner secrets to making a fantastic stir fry, a dip for fresh vegetables, chicken satay, or whatever other ideas I can come up with to use this incredible sauce.
I’m excited to say that after many attempts, I have finally found the best and wanted to share it with you!
This peanut sauce is crazy good! So much better than anything I’ve tried from the grocery store. It is creamy and rich, but not overpowering and easy to adapt to whatever flavors you love best. It also just takes a few minutes to make, and it has endless possibilities.
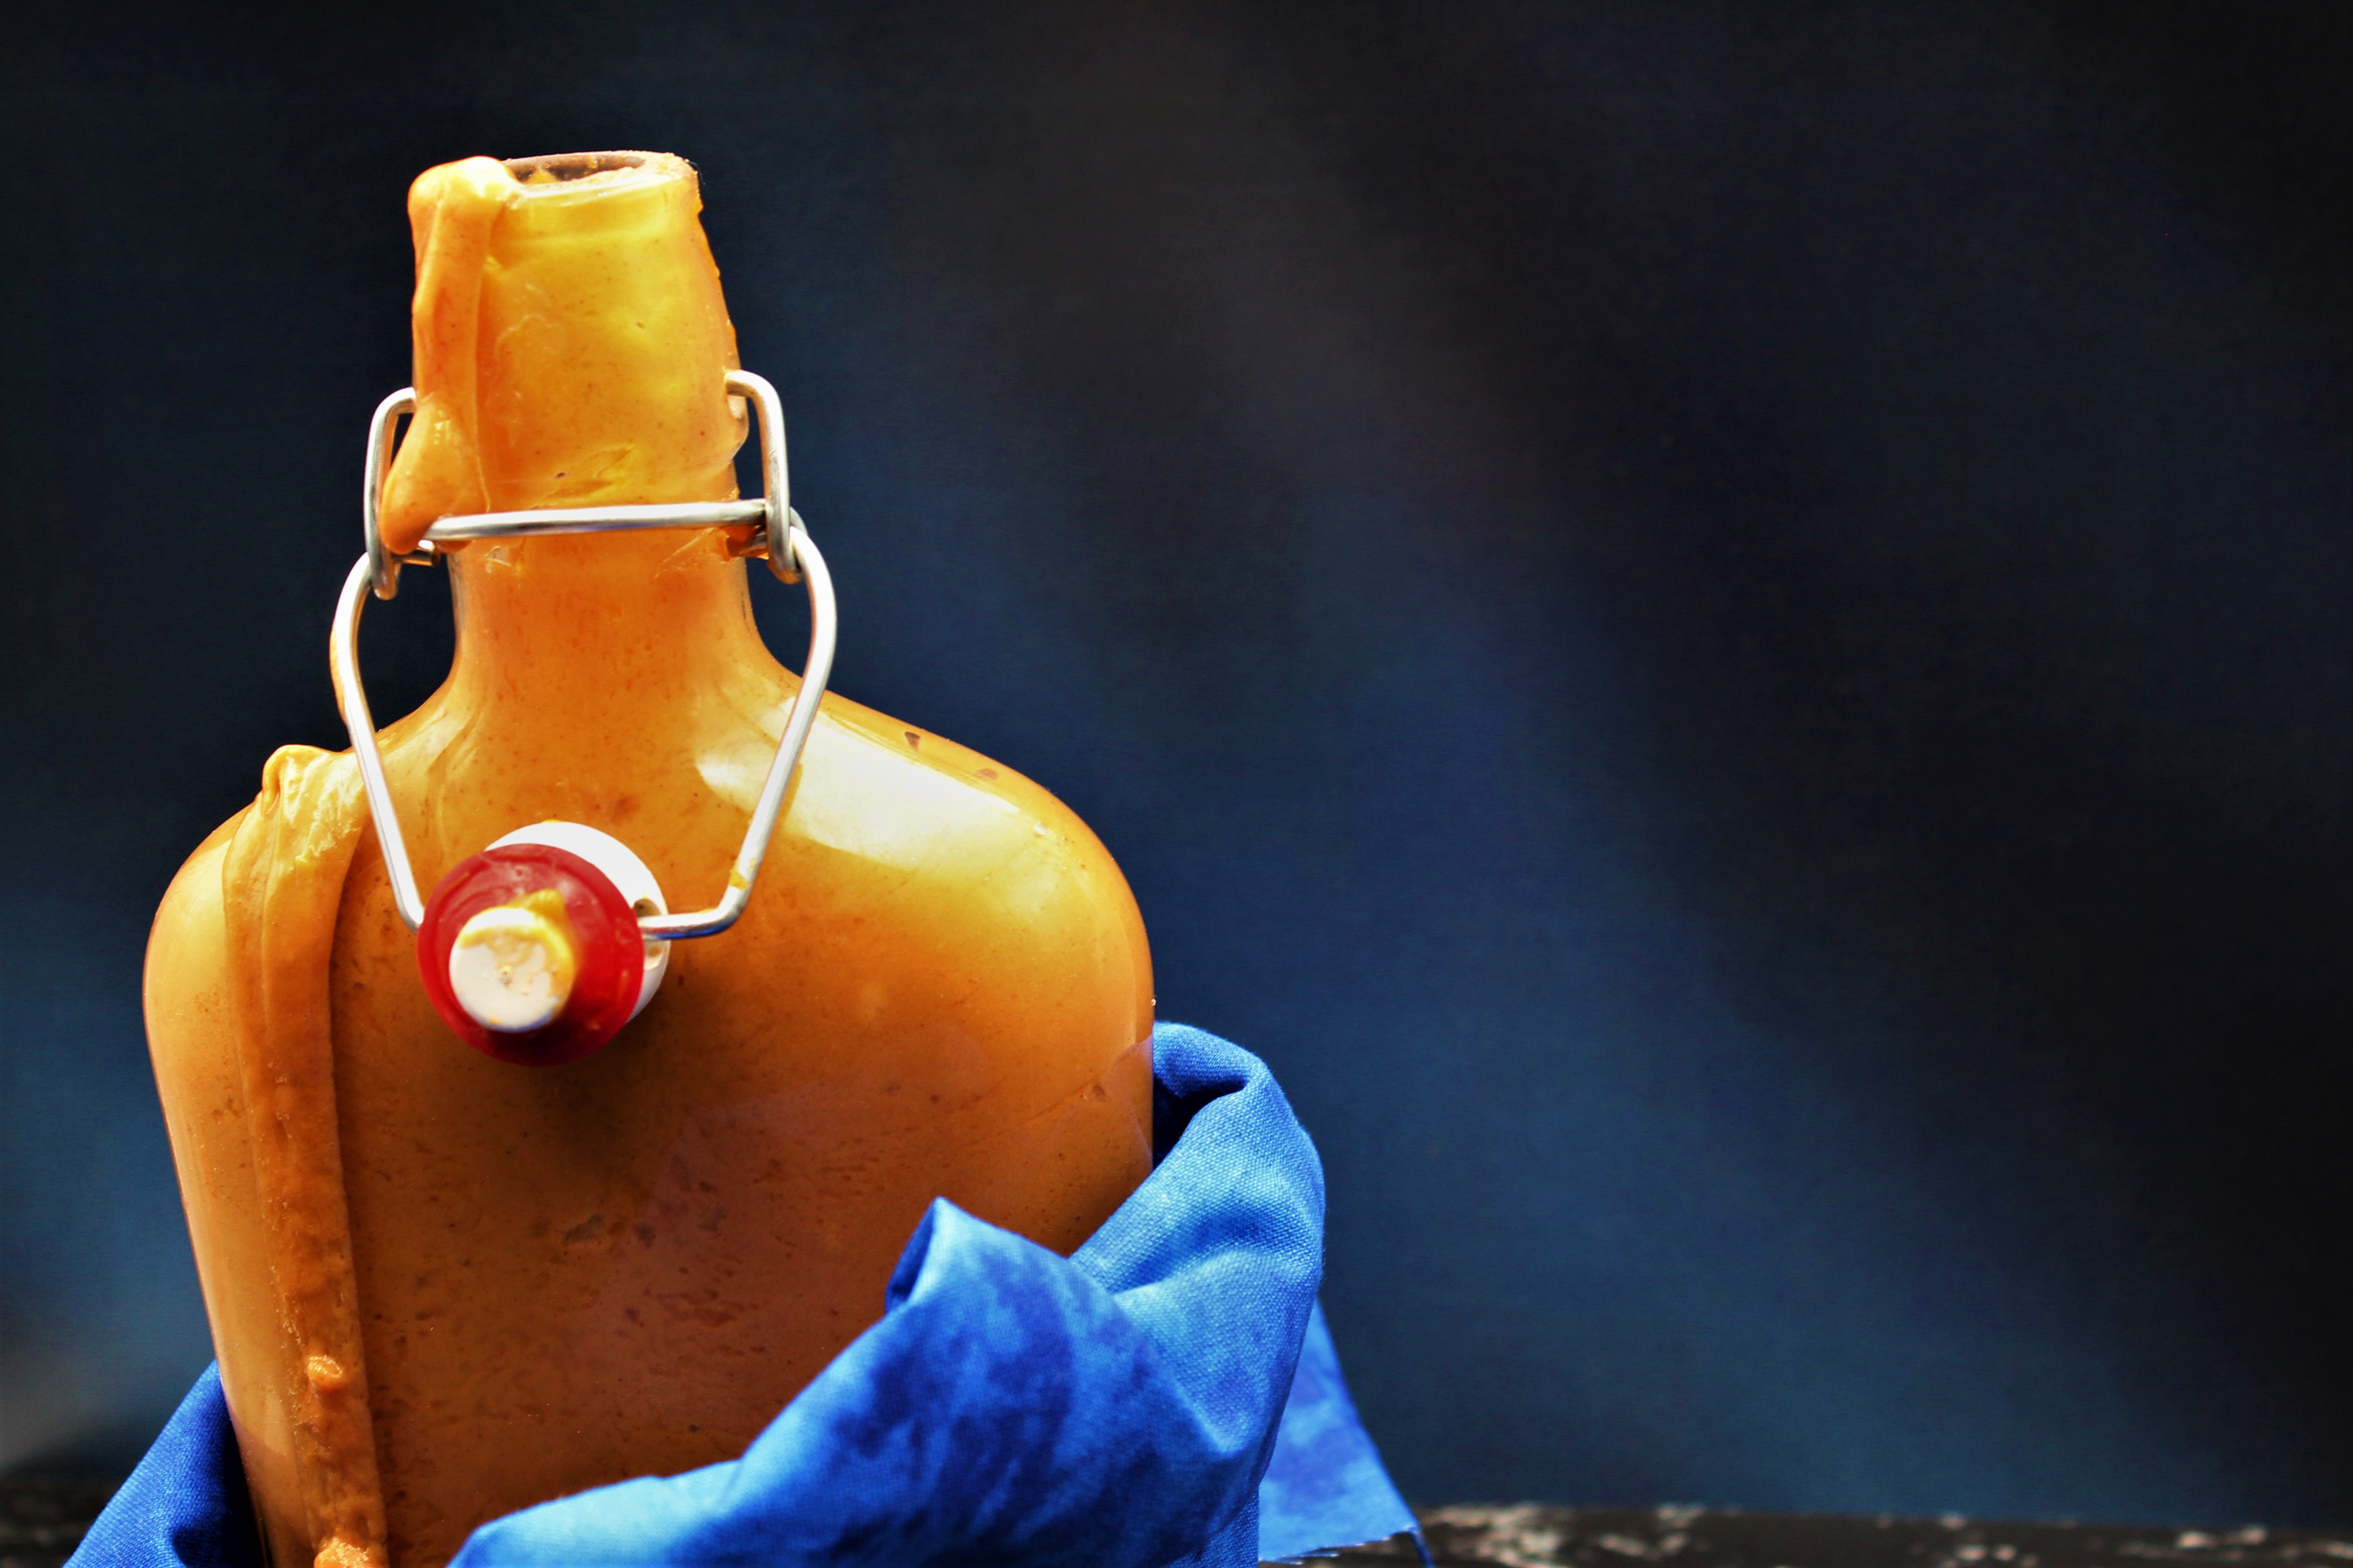

Thai Peanut Sauce is the salty, sweet, creamy answer to all your condiment questions!
Combine all ingredients except water.
Whisk to fully combine
.Add water, 1 tablespoon at a time, until desired consistency is reached. I normally use 2 tablespoons for a sauce and up to four if using it for a dressing.
For farm kids in rural Indiana in the 1970’s, summers were full of adventure and a lot of work on the farm. Don’t get me wrong; we had fun Swimming in nearby creeks, rotten egg fights with my brothers, and the bi-weekly visits from the …
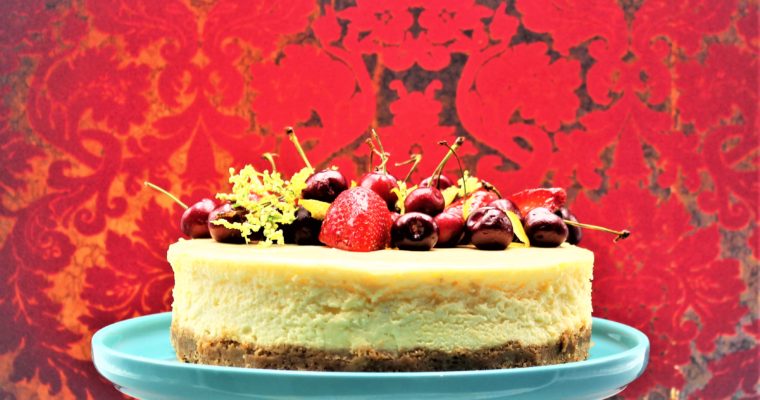
This morning seemed like a perfect day to make a cheesecake. Every day is the ideal day to make a cheesecake. I love every kind I have tried. When we visit NYC, we always stop in at Juniors for a slice.There is something magical about …
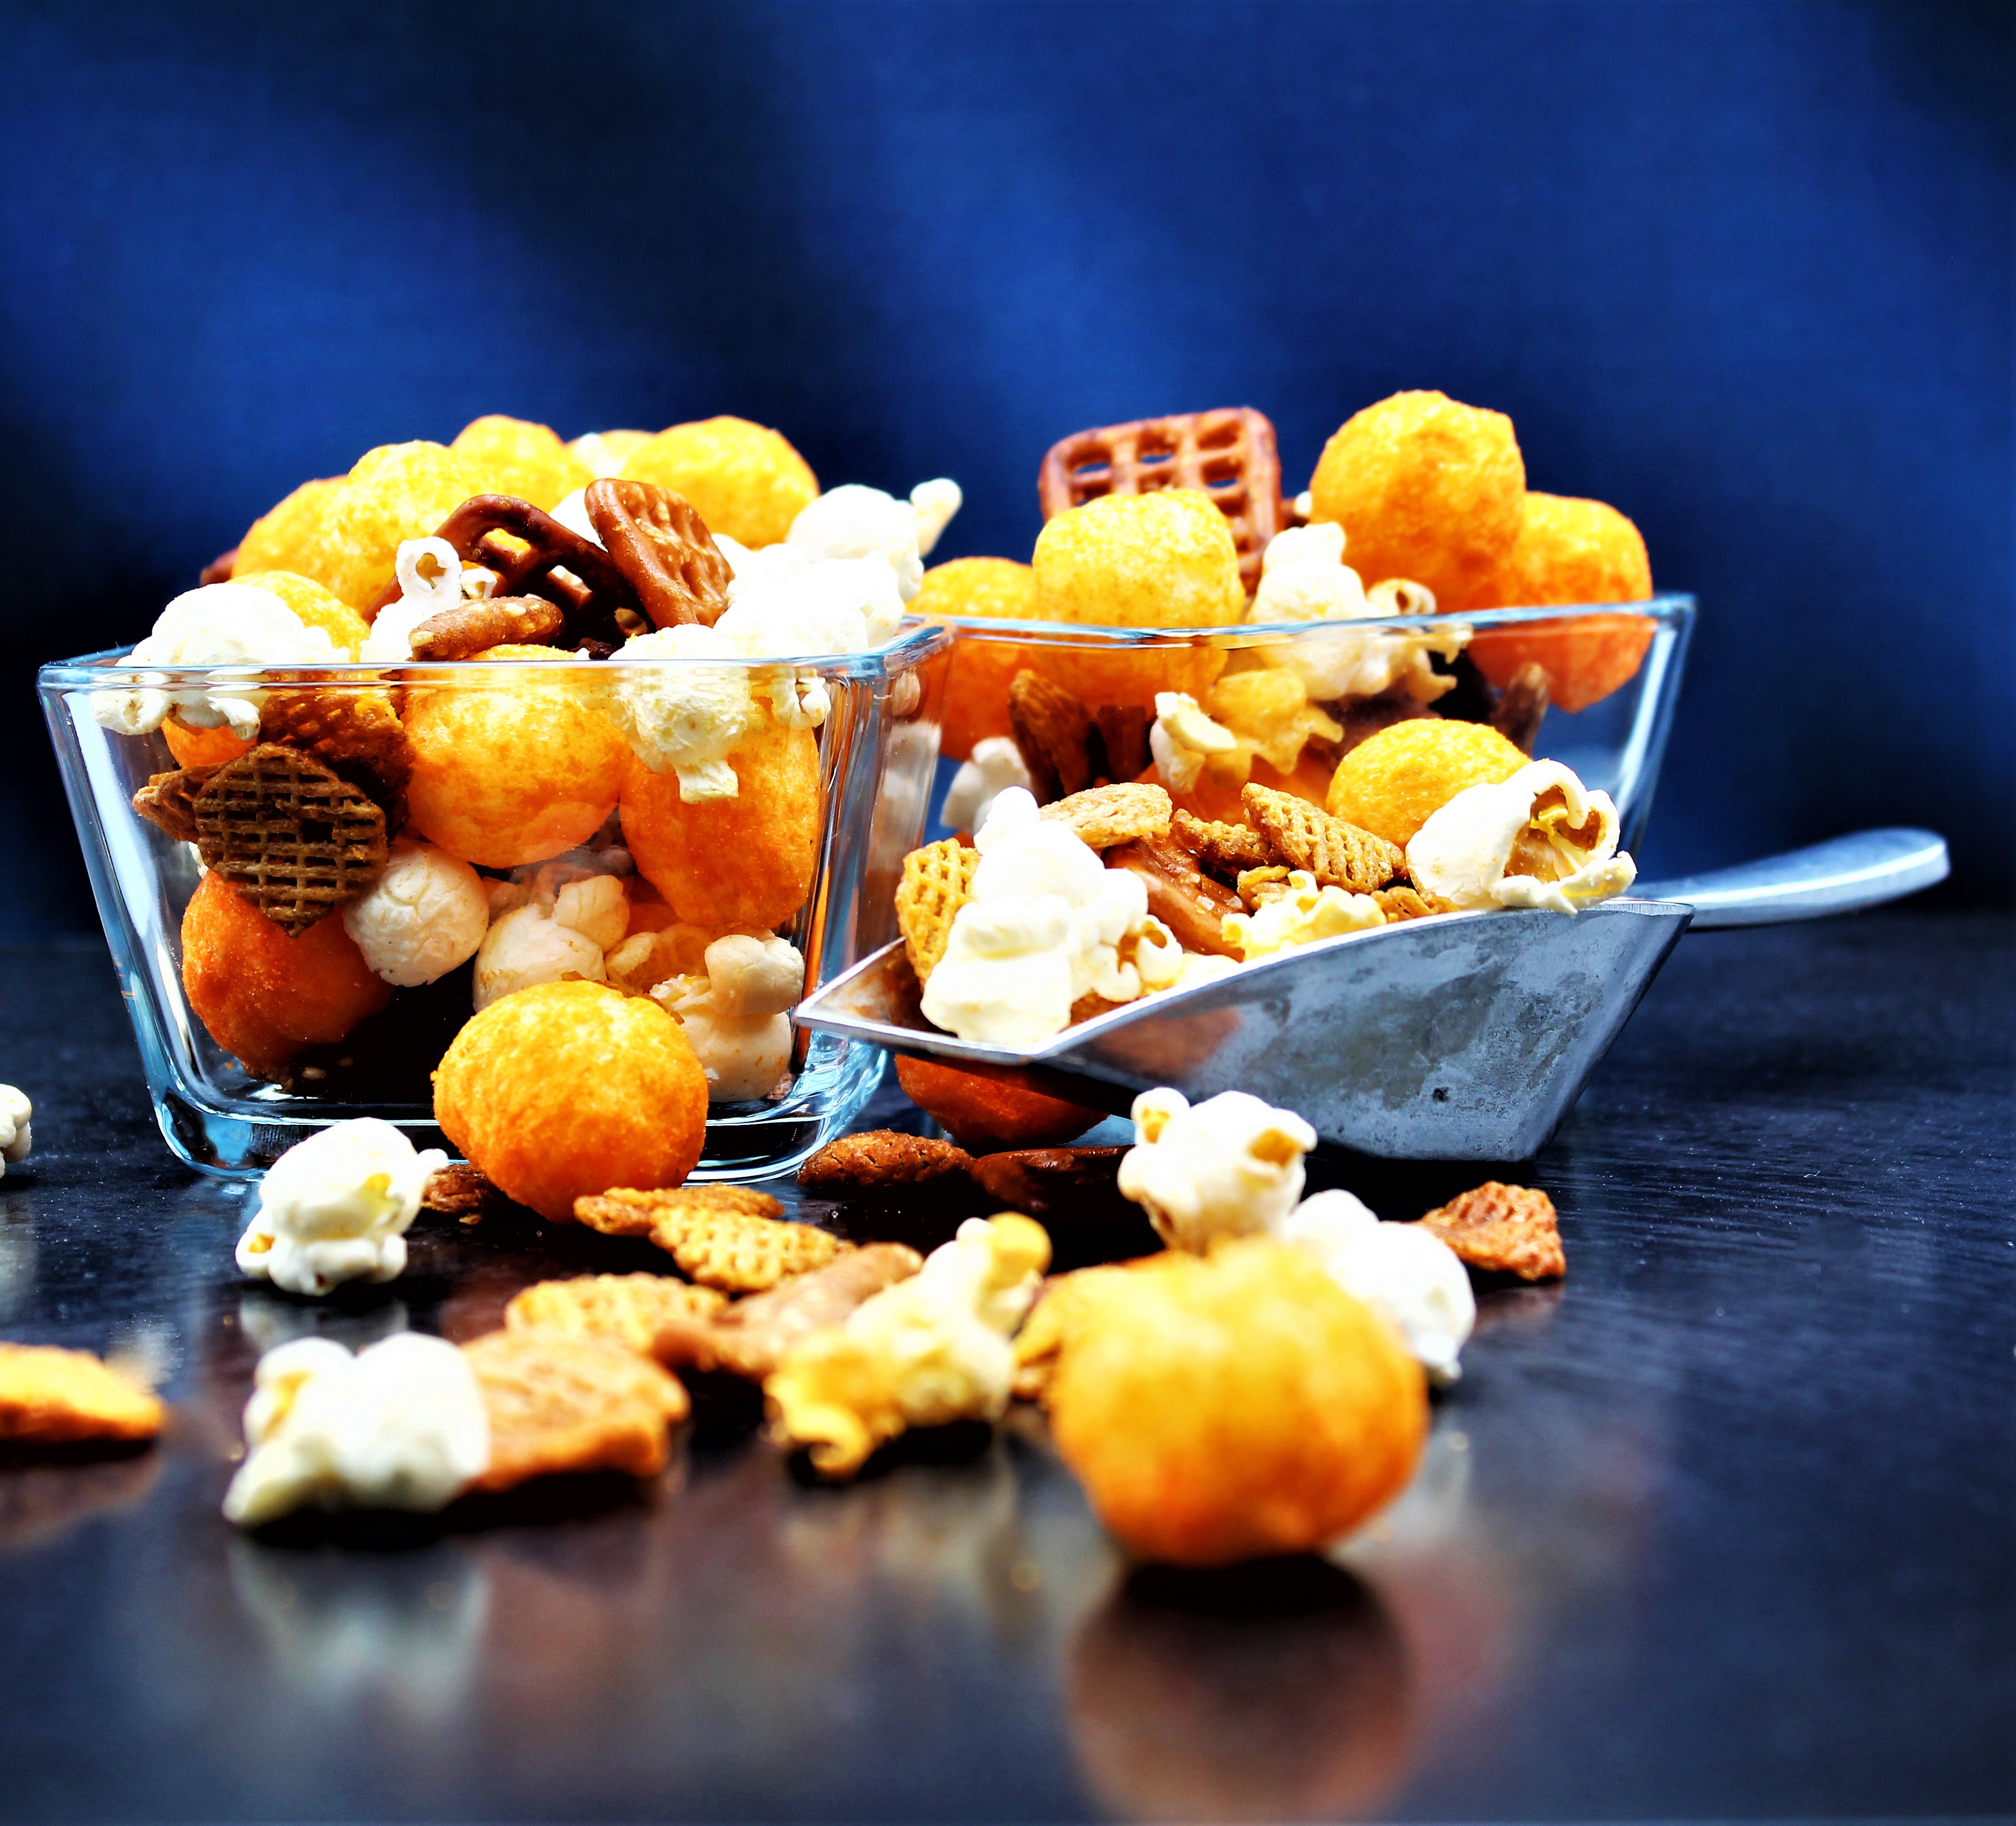
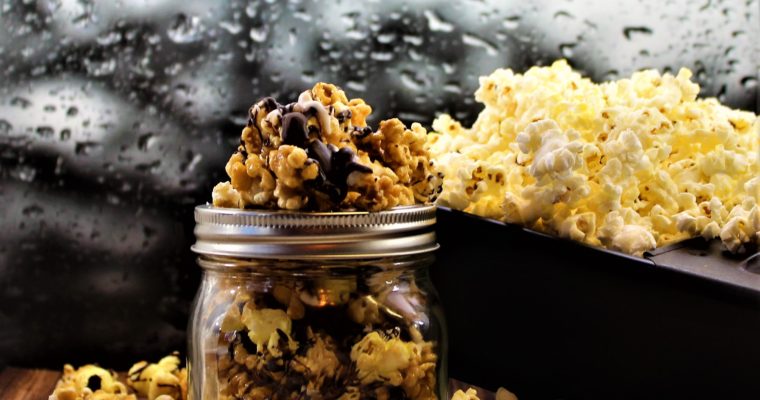
My mom made the traditional Chex Party Mix every year at Christmas time. Of all the dishes she made for the holidays; her party mix was my absolute favorite.
When I was out on my own, I started making it for friends. I changed up the ingredients to make it my own, and to this day, it is still my favorite thing I make.
This party mix is entirely different then what I usually make.
The spices and practically, everything is different.
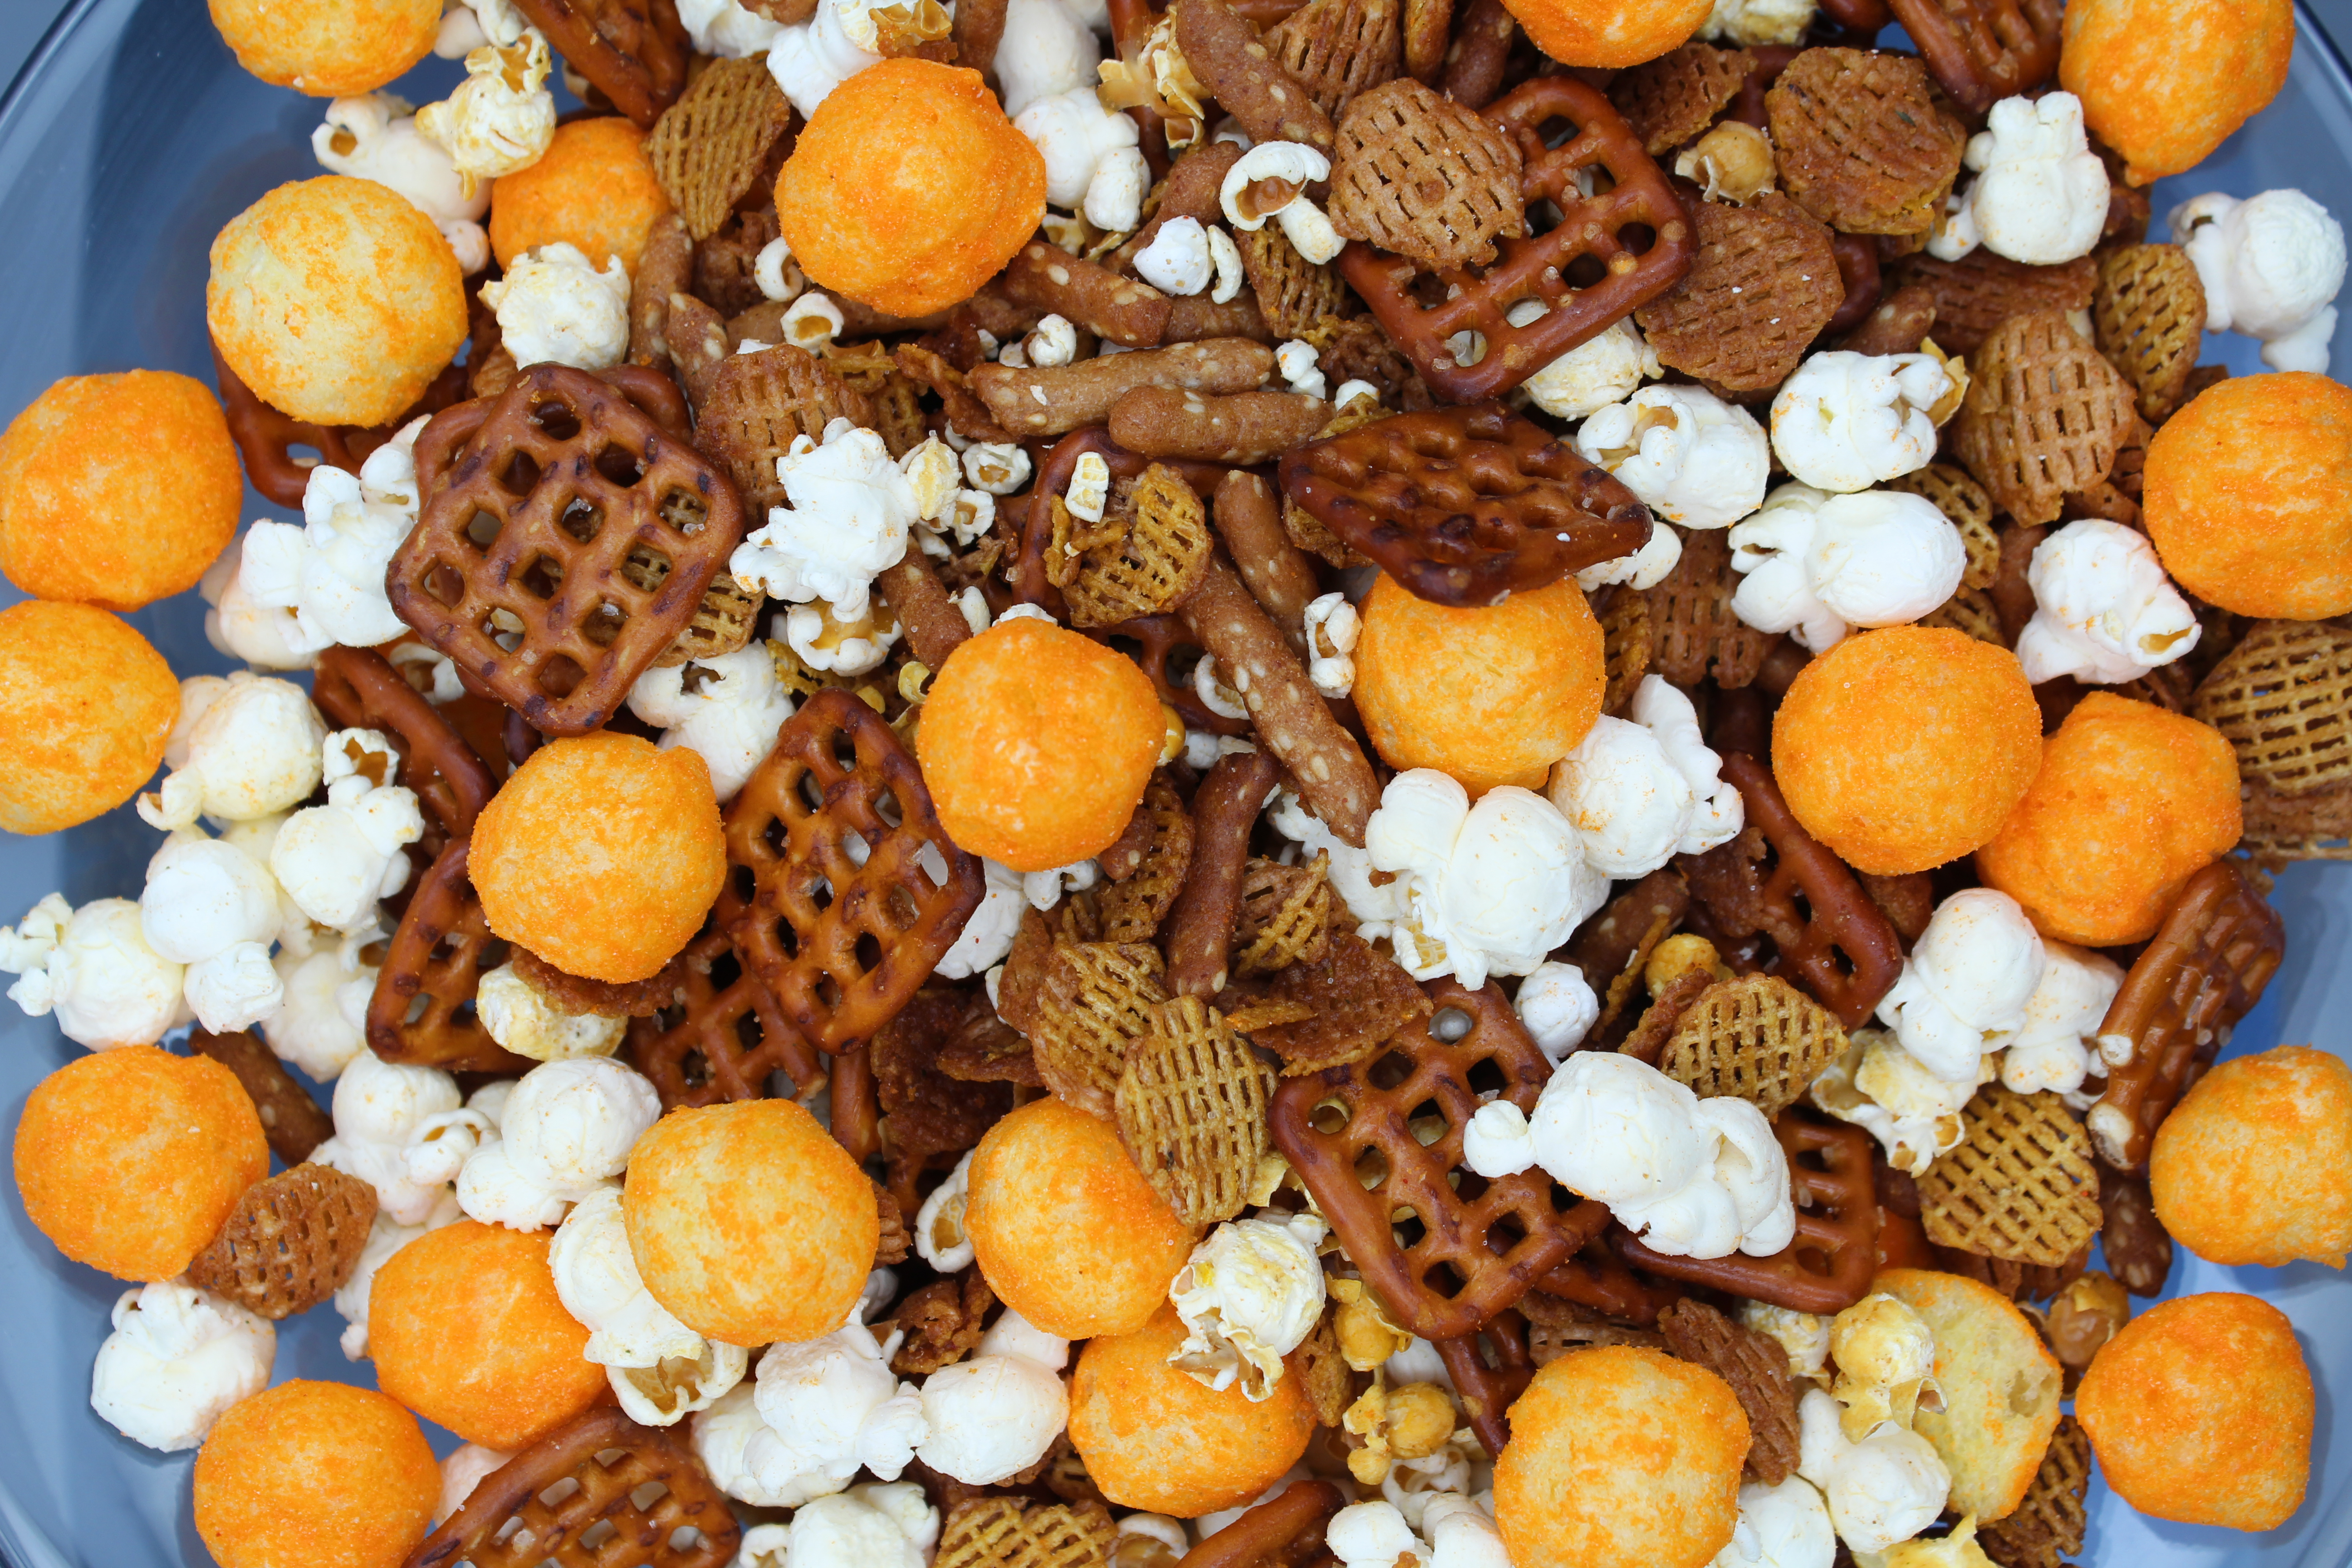

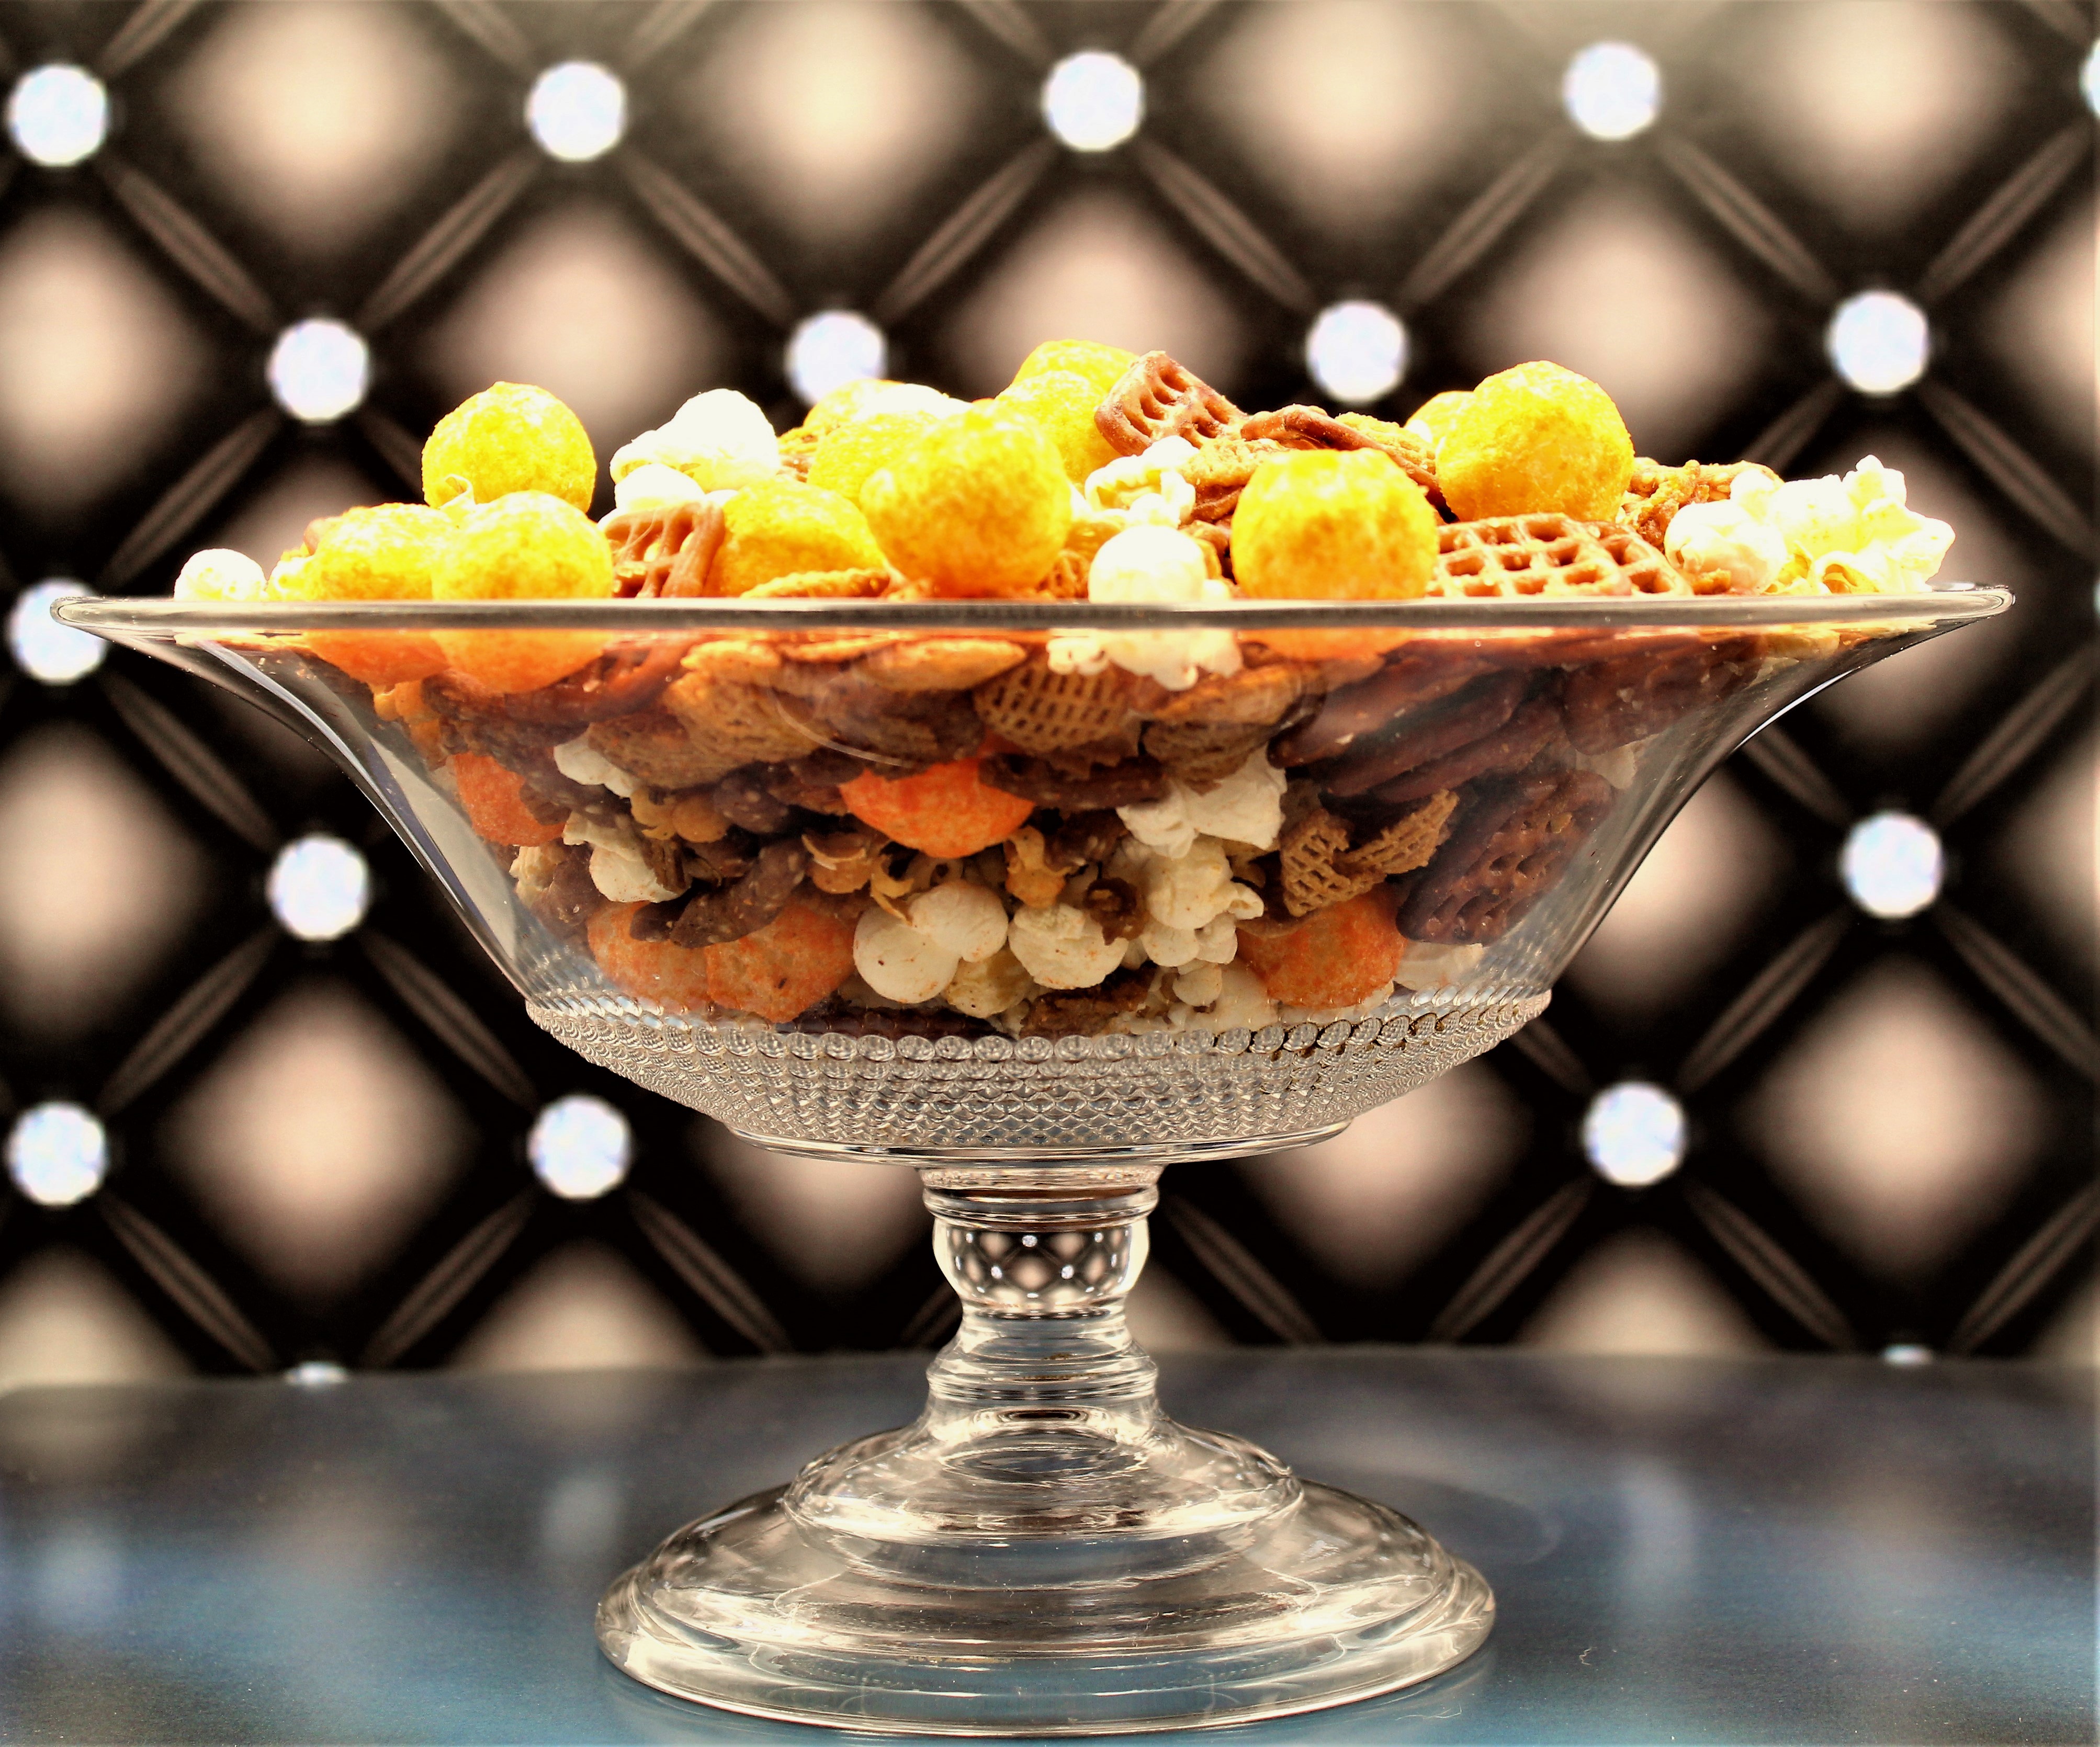
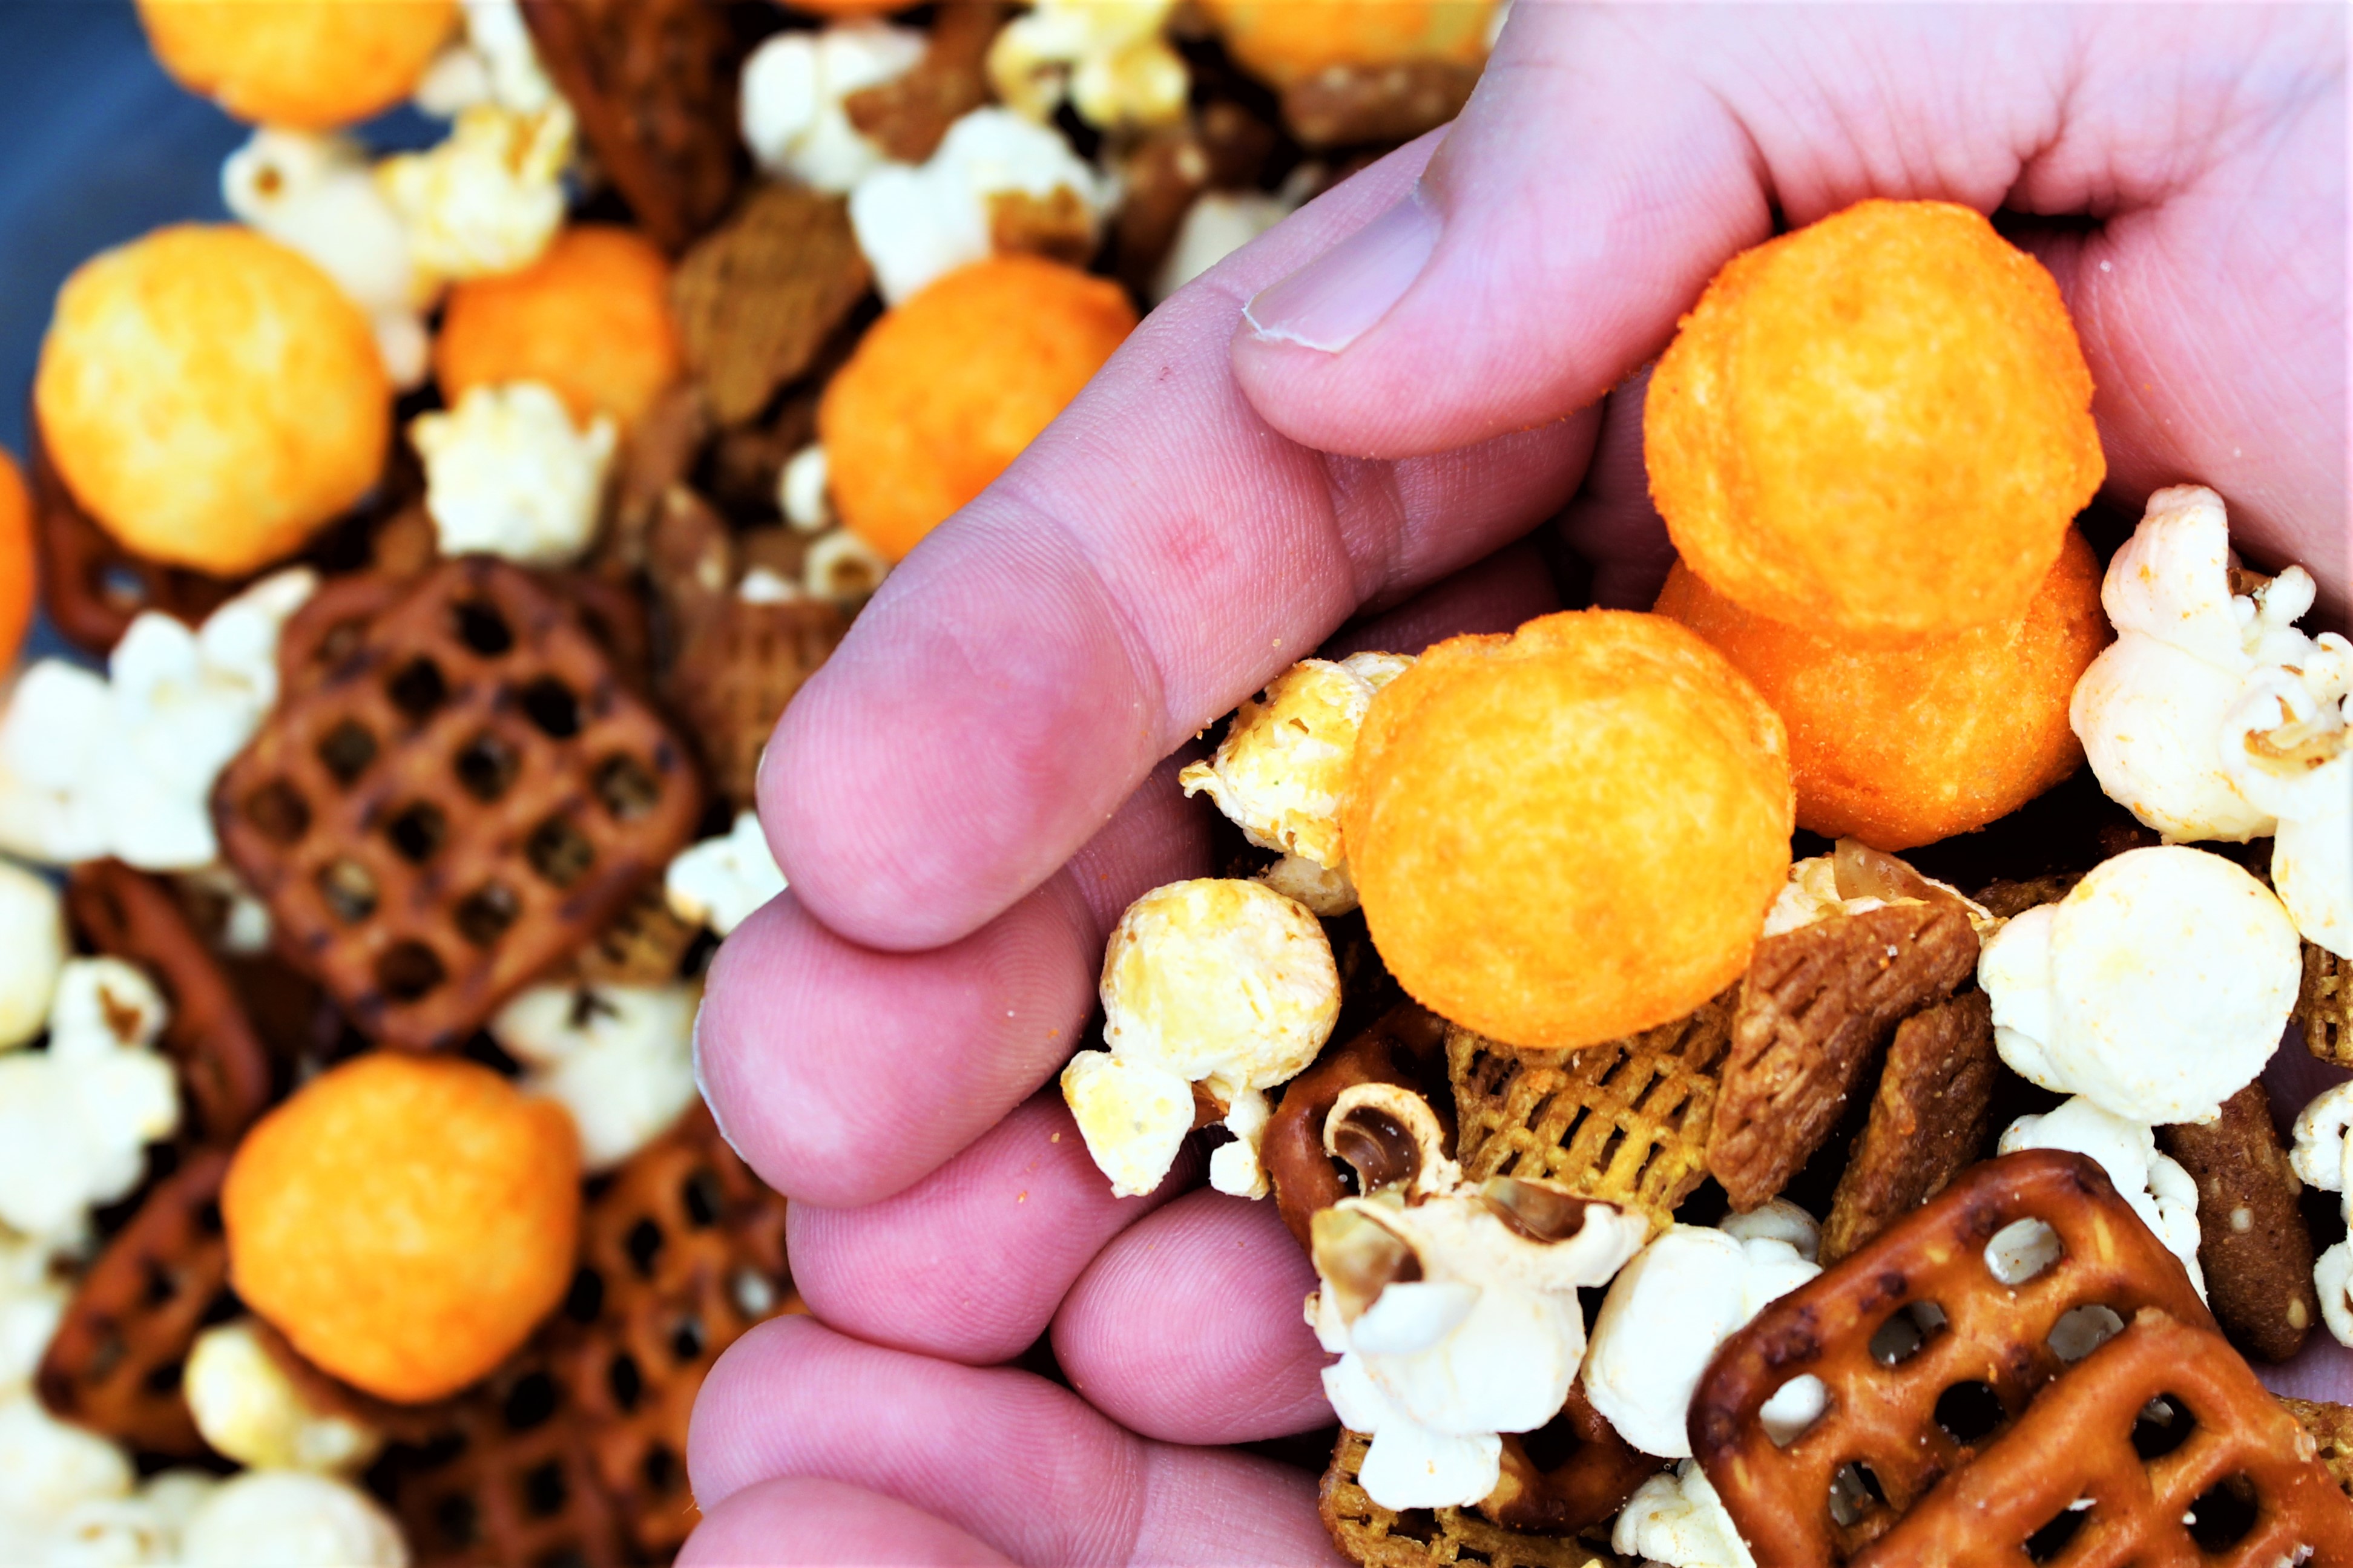
I L.O.V.E. party mix! This is a great one! The popcorn lends a fun crunch to this perfect combination.
Preheat the oven to 325 degrees F. Line a baking sheet with foil and set aside.
In a large bowl add popcorn, cereal, sesame sticks, and pretzels; toss well.
Melt the butter in a small saucepan over medium heat; whisk in the garlic powder, mustard powder, sugar, paprika, 1/2 teaspoon salt and a few grinds of pepper. Pour the butter mixture over the snack mix and toss well to coat.
Spread the snack mix in a single layer on the prepared baking sheet. Bake, gently stirring halfway through, until the popcorn is crisp, 15 to 20 minutes. Let cool. Transfer to a large bowl, add the cheese balls and toss to coat.

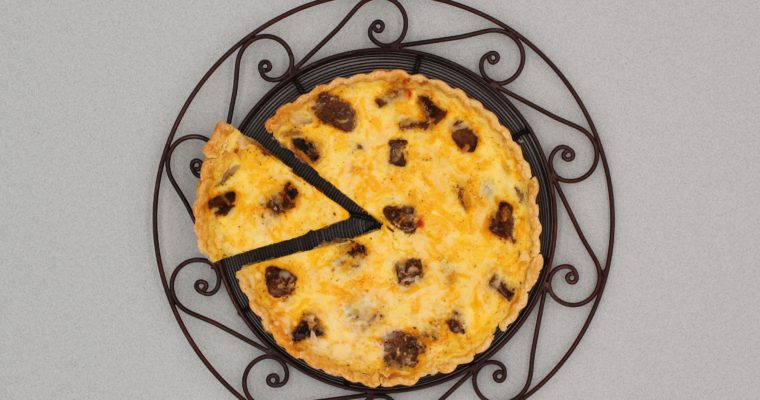
Tomato Pie must be a southern thing. It wasn’t until I read the recipe in Deep Run Roots by Southern Chef, Vivian Howard that I had ever heard of it. The pie consists of roasted and fresh tomatoes. I used several varieties of heirloom tomatoes …
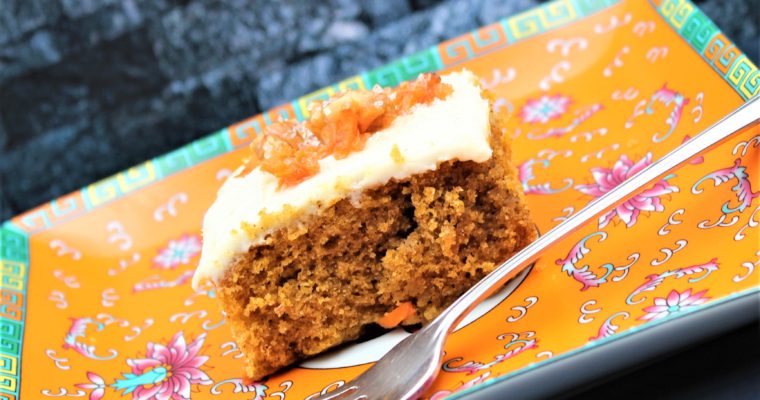
This recipe comes from a vintage cookbook called, The Harmony Community Cookbook. It came out in 1963, and I assume it was part of a fundraising campaign, however, I bought it for a dime at a yard sale. I had never made a carrot …
When you look through my recipes on this site, you will see specific trends. I like pie, cookies, and chocolate and raspberry together.
I changed out the margarine for butter and cut the amount in half.
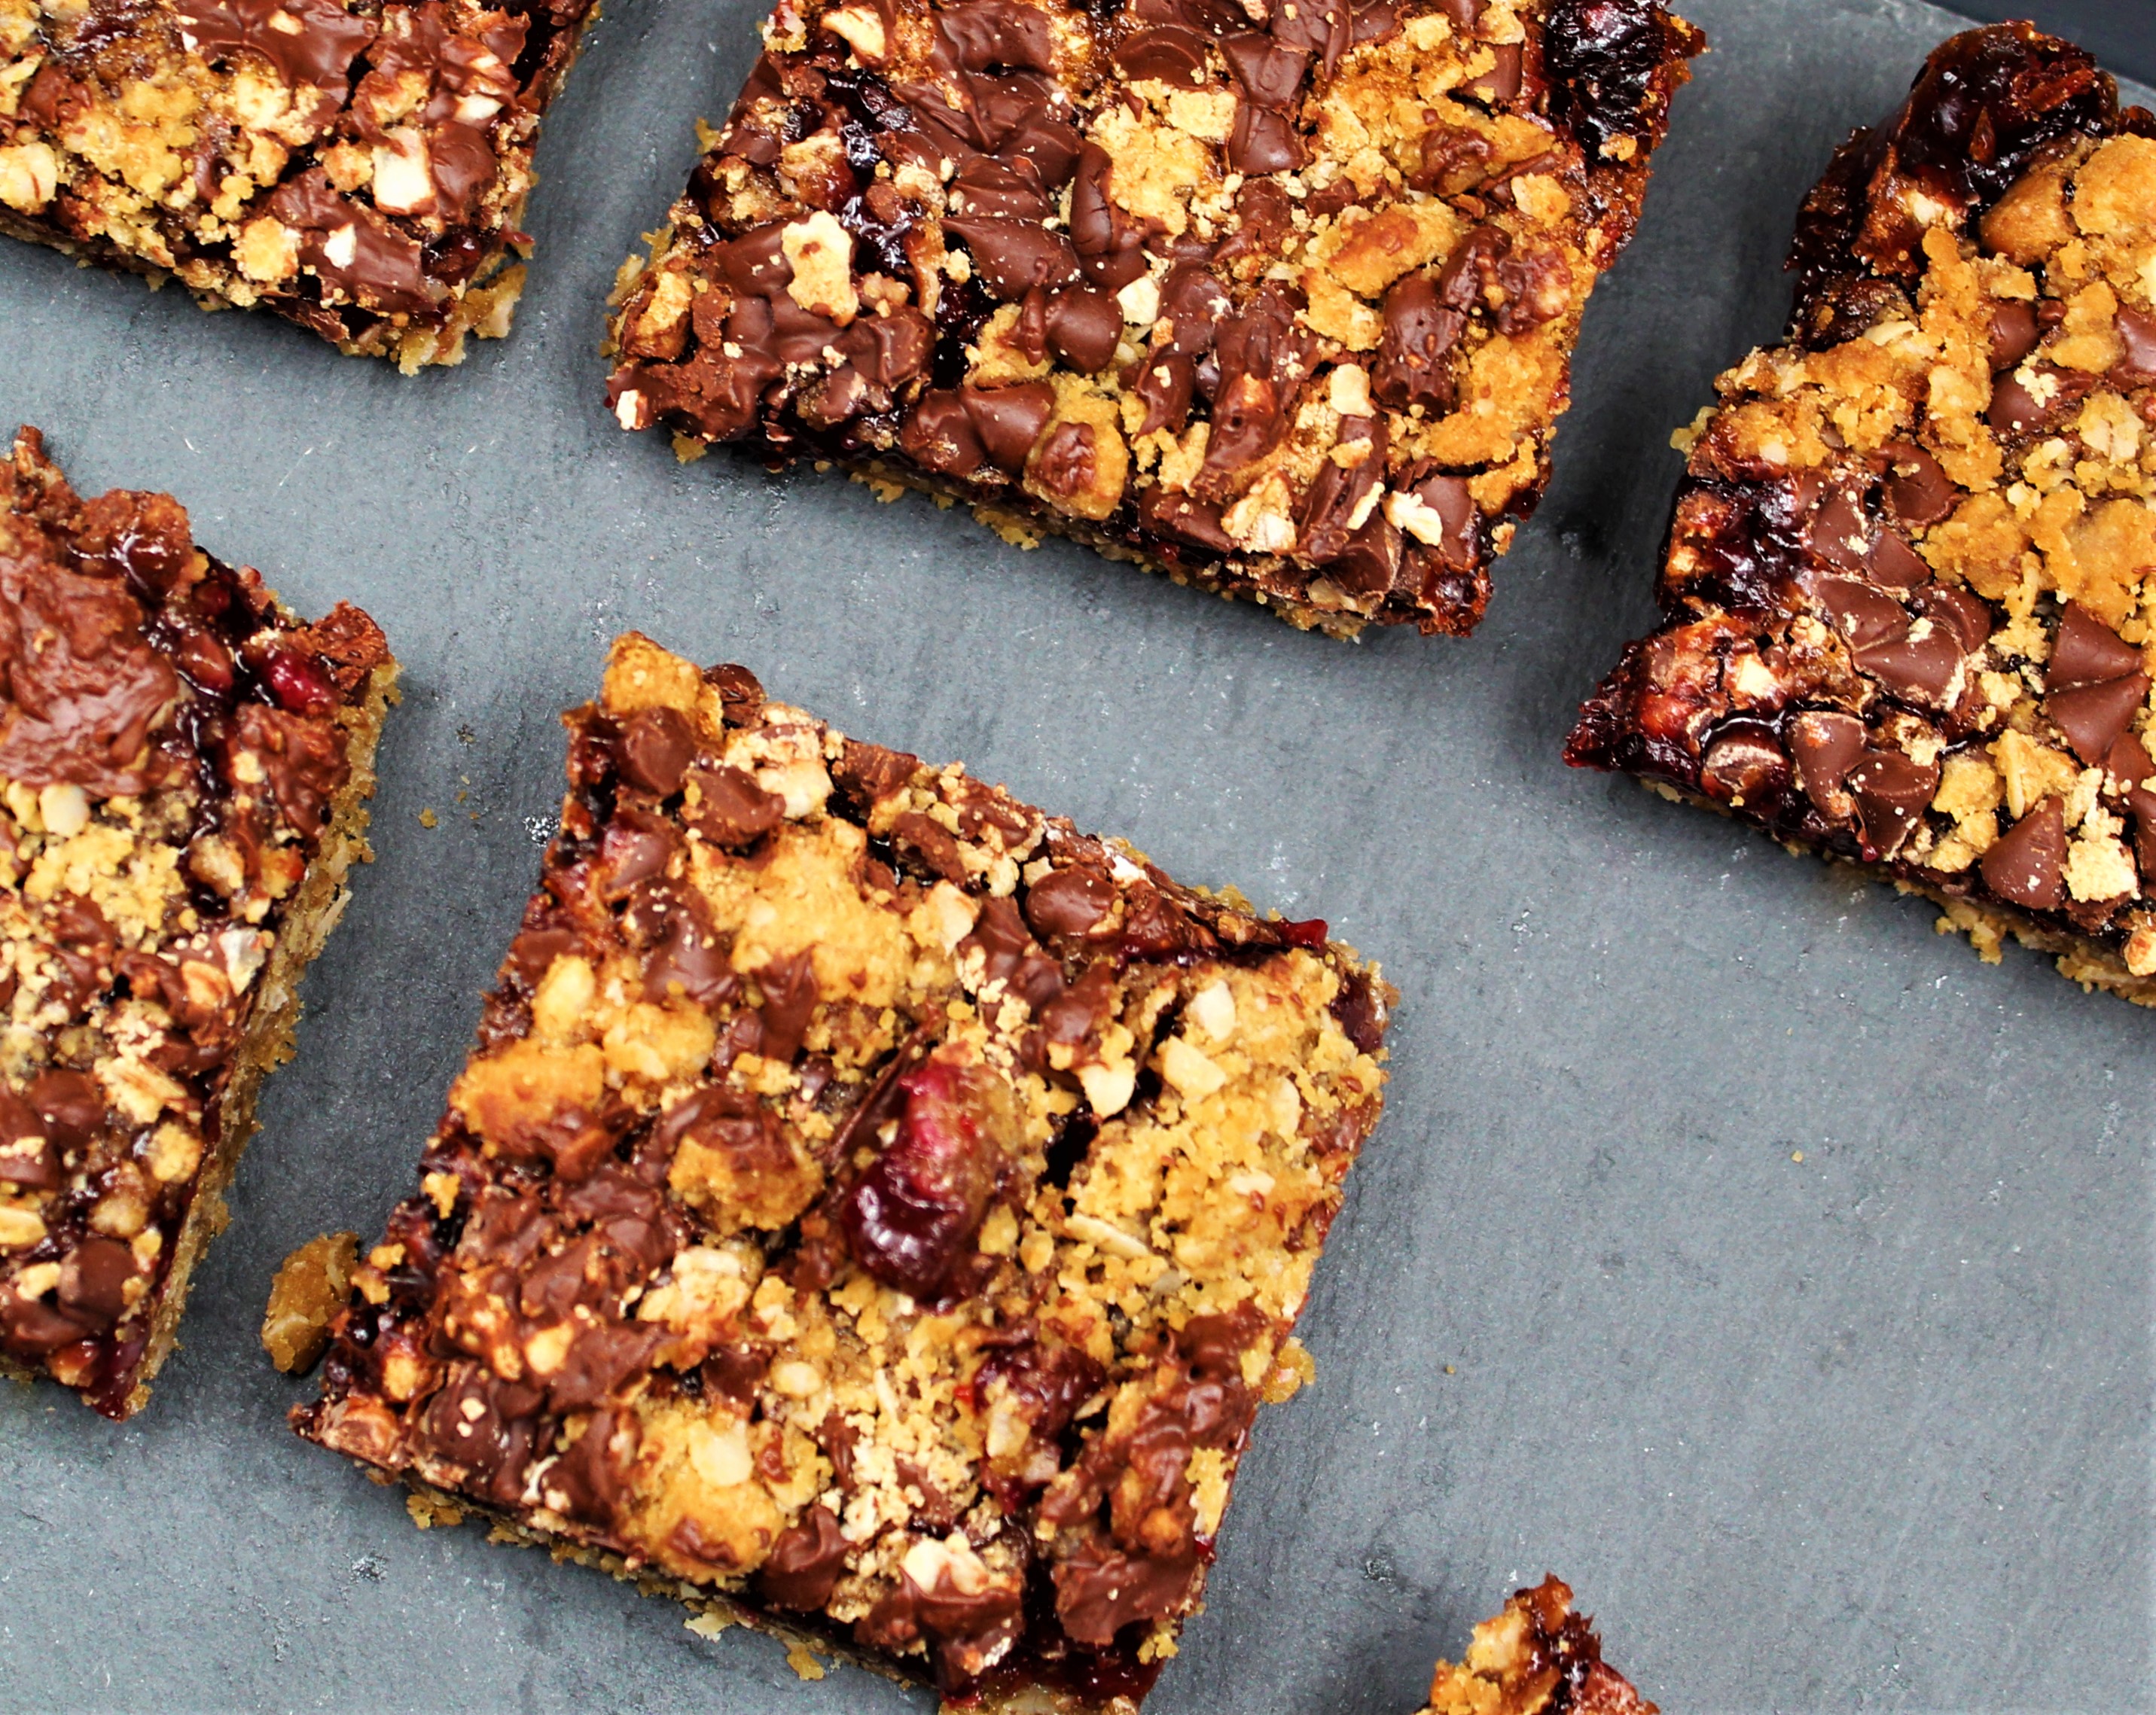
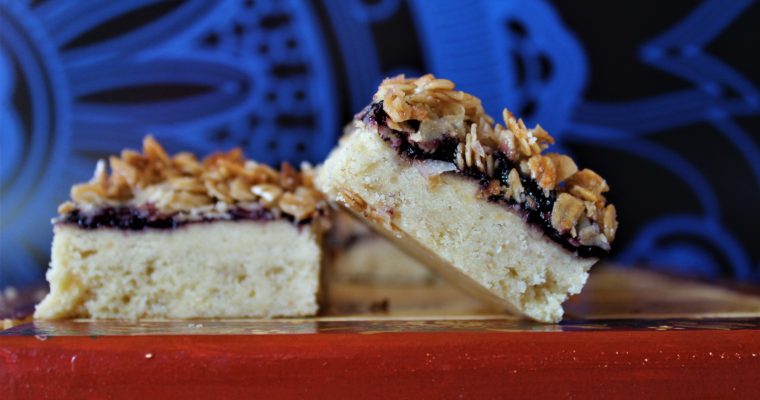
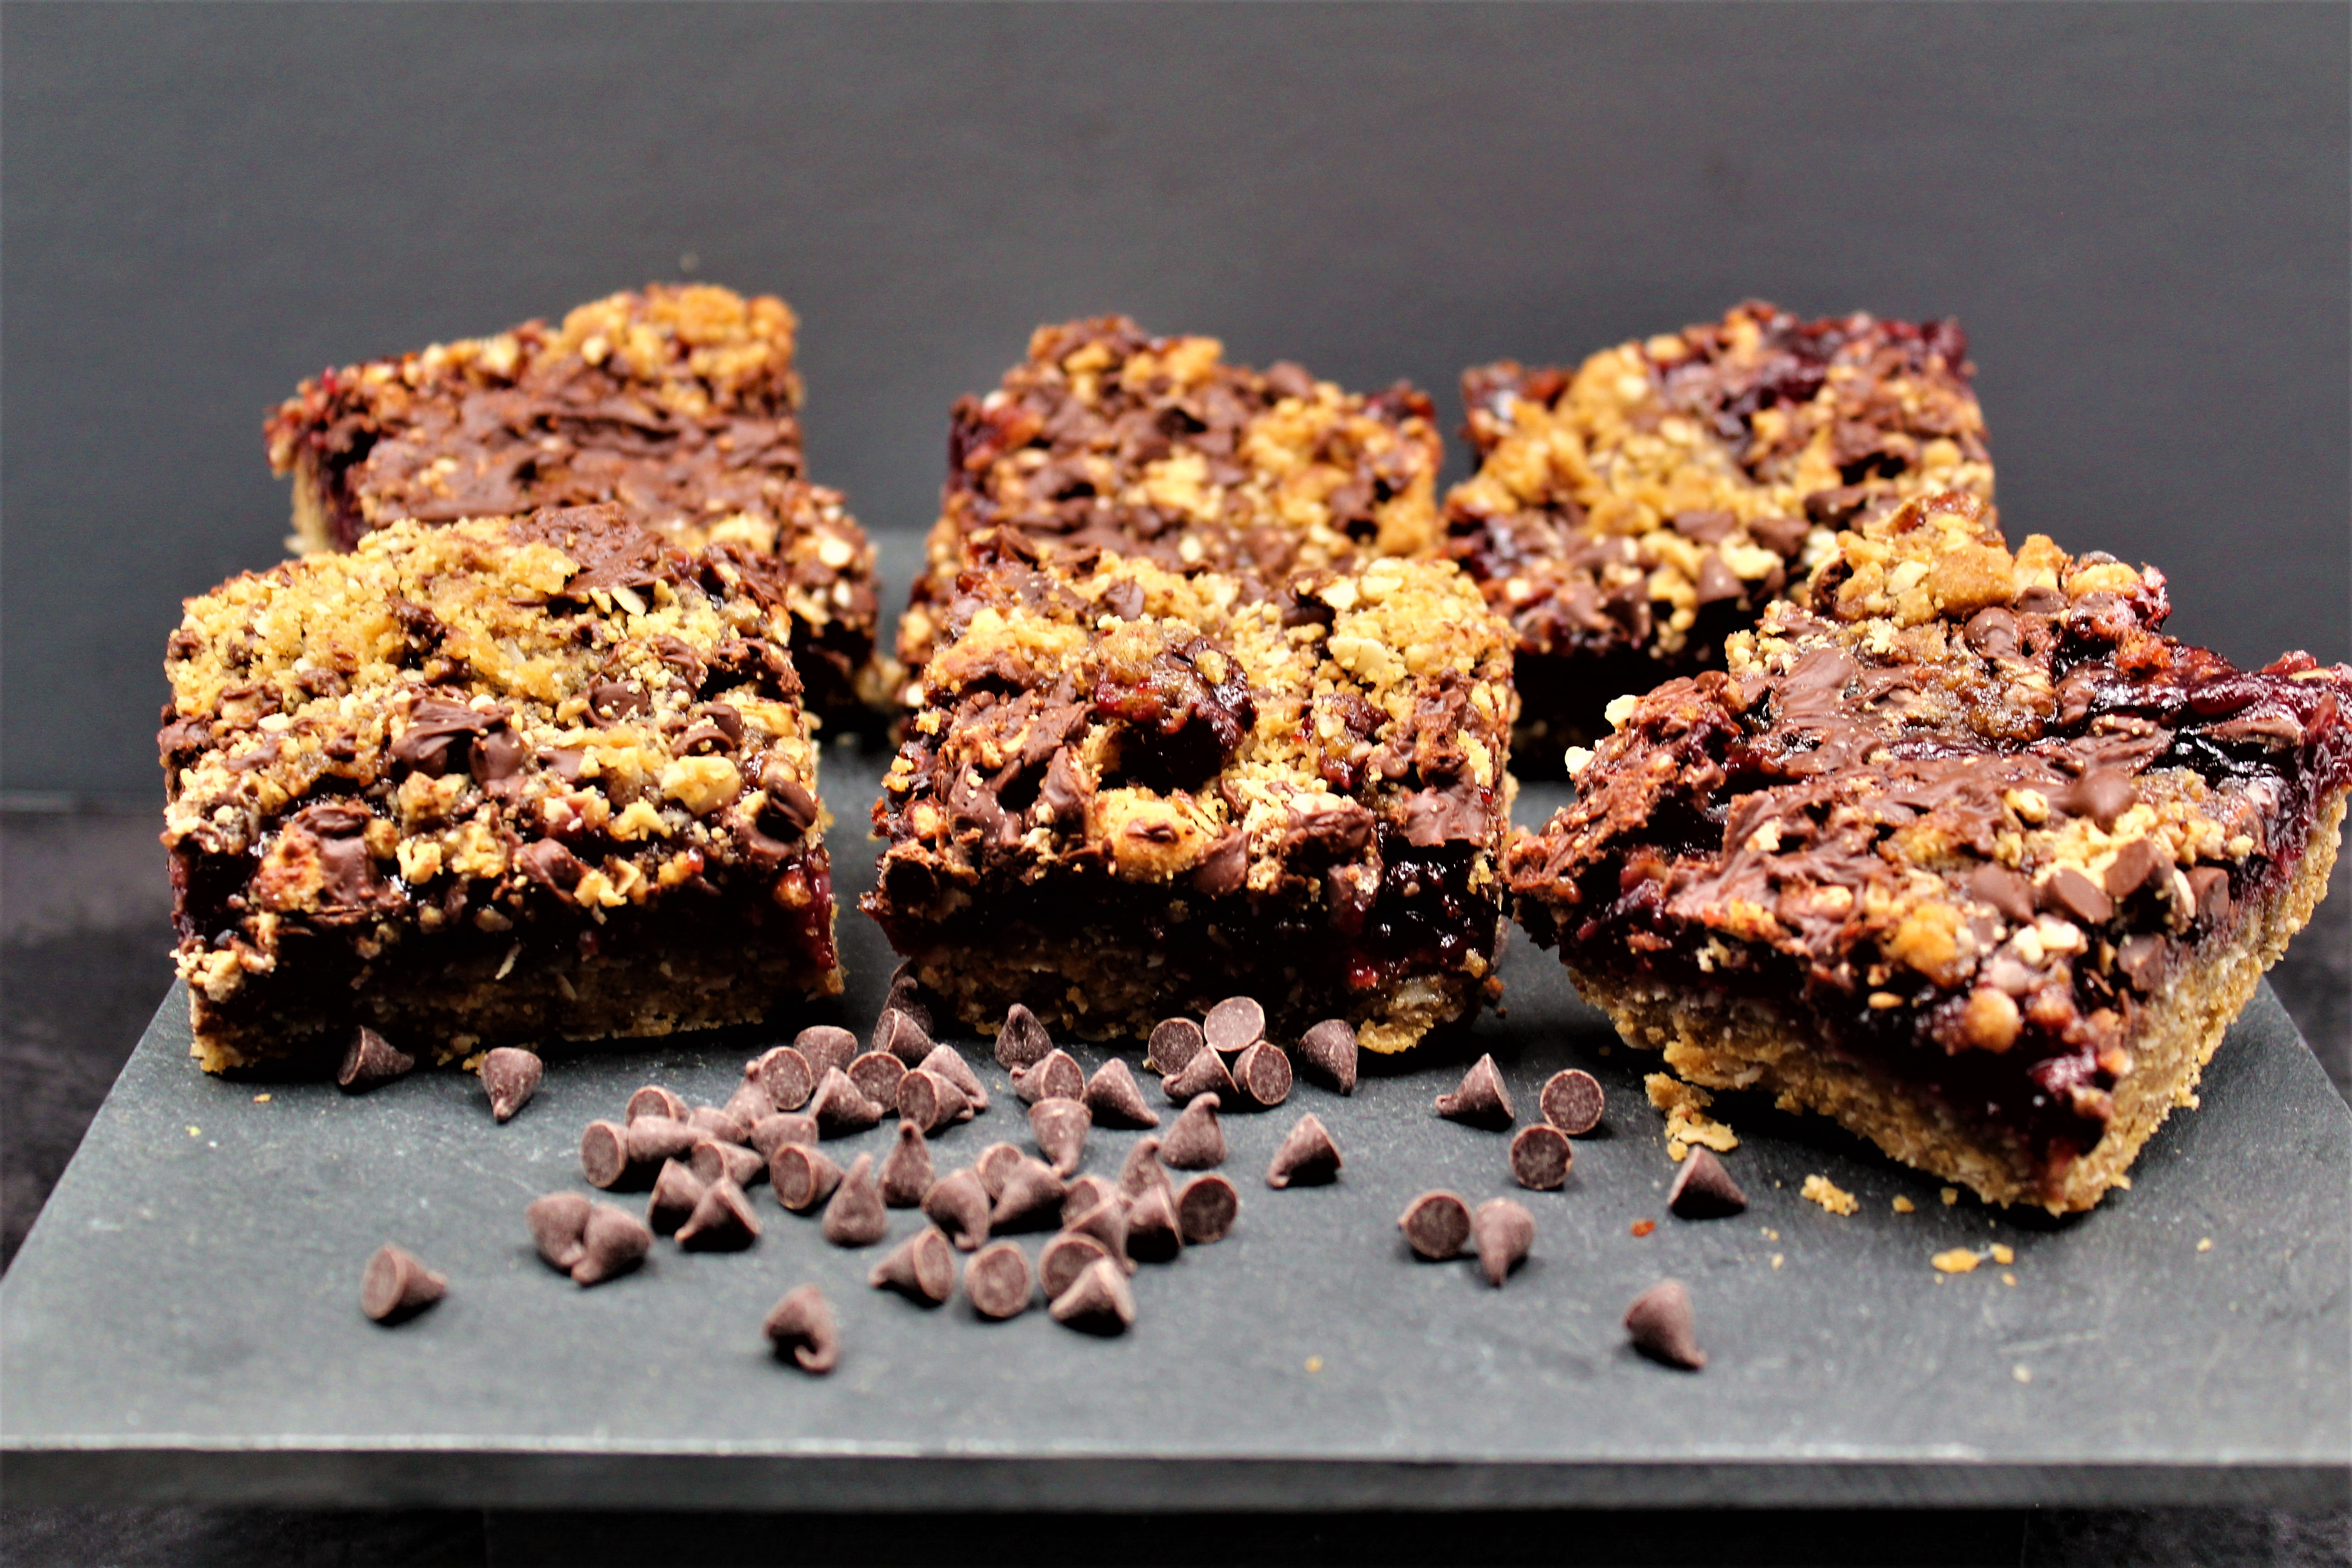 As I just mentioned, this recipe for Raspberry Chocolate Bars I found in a collection of Christmas recipes, but I am not one for putting foods in “holiday boxes” I believe that if a pumpkin pie sounds good to you in March, why wait until Thanksgiving?
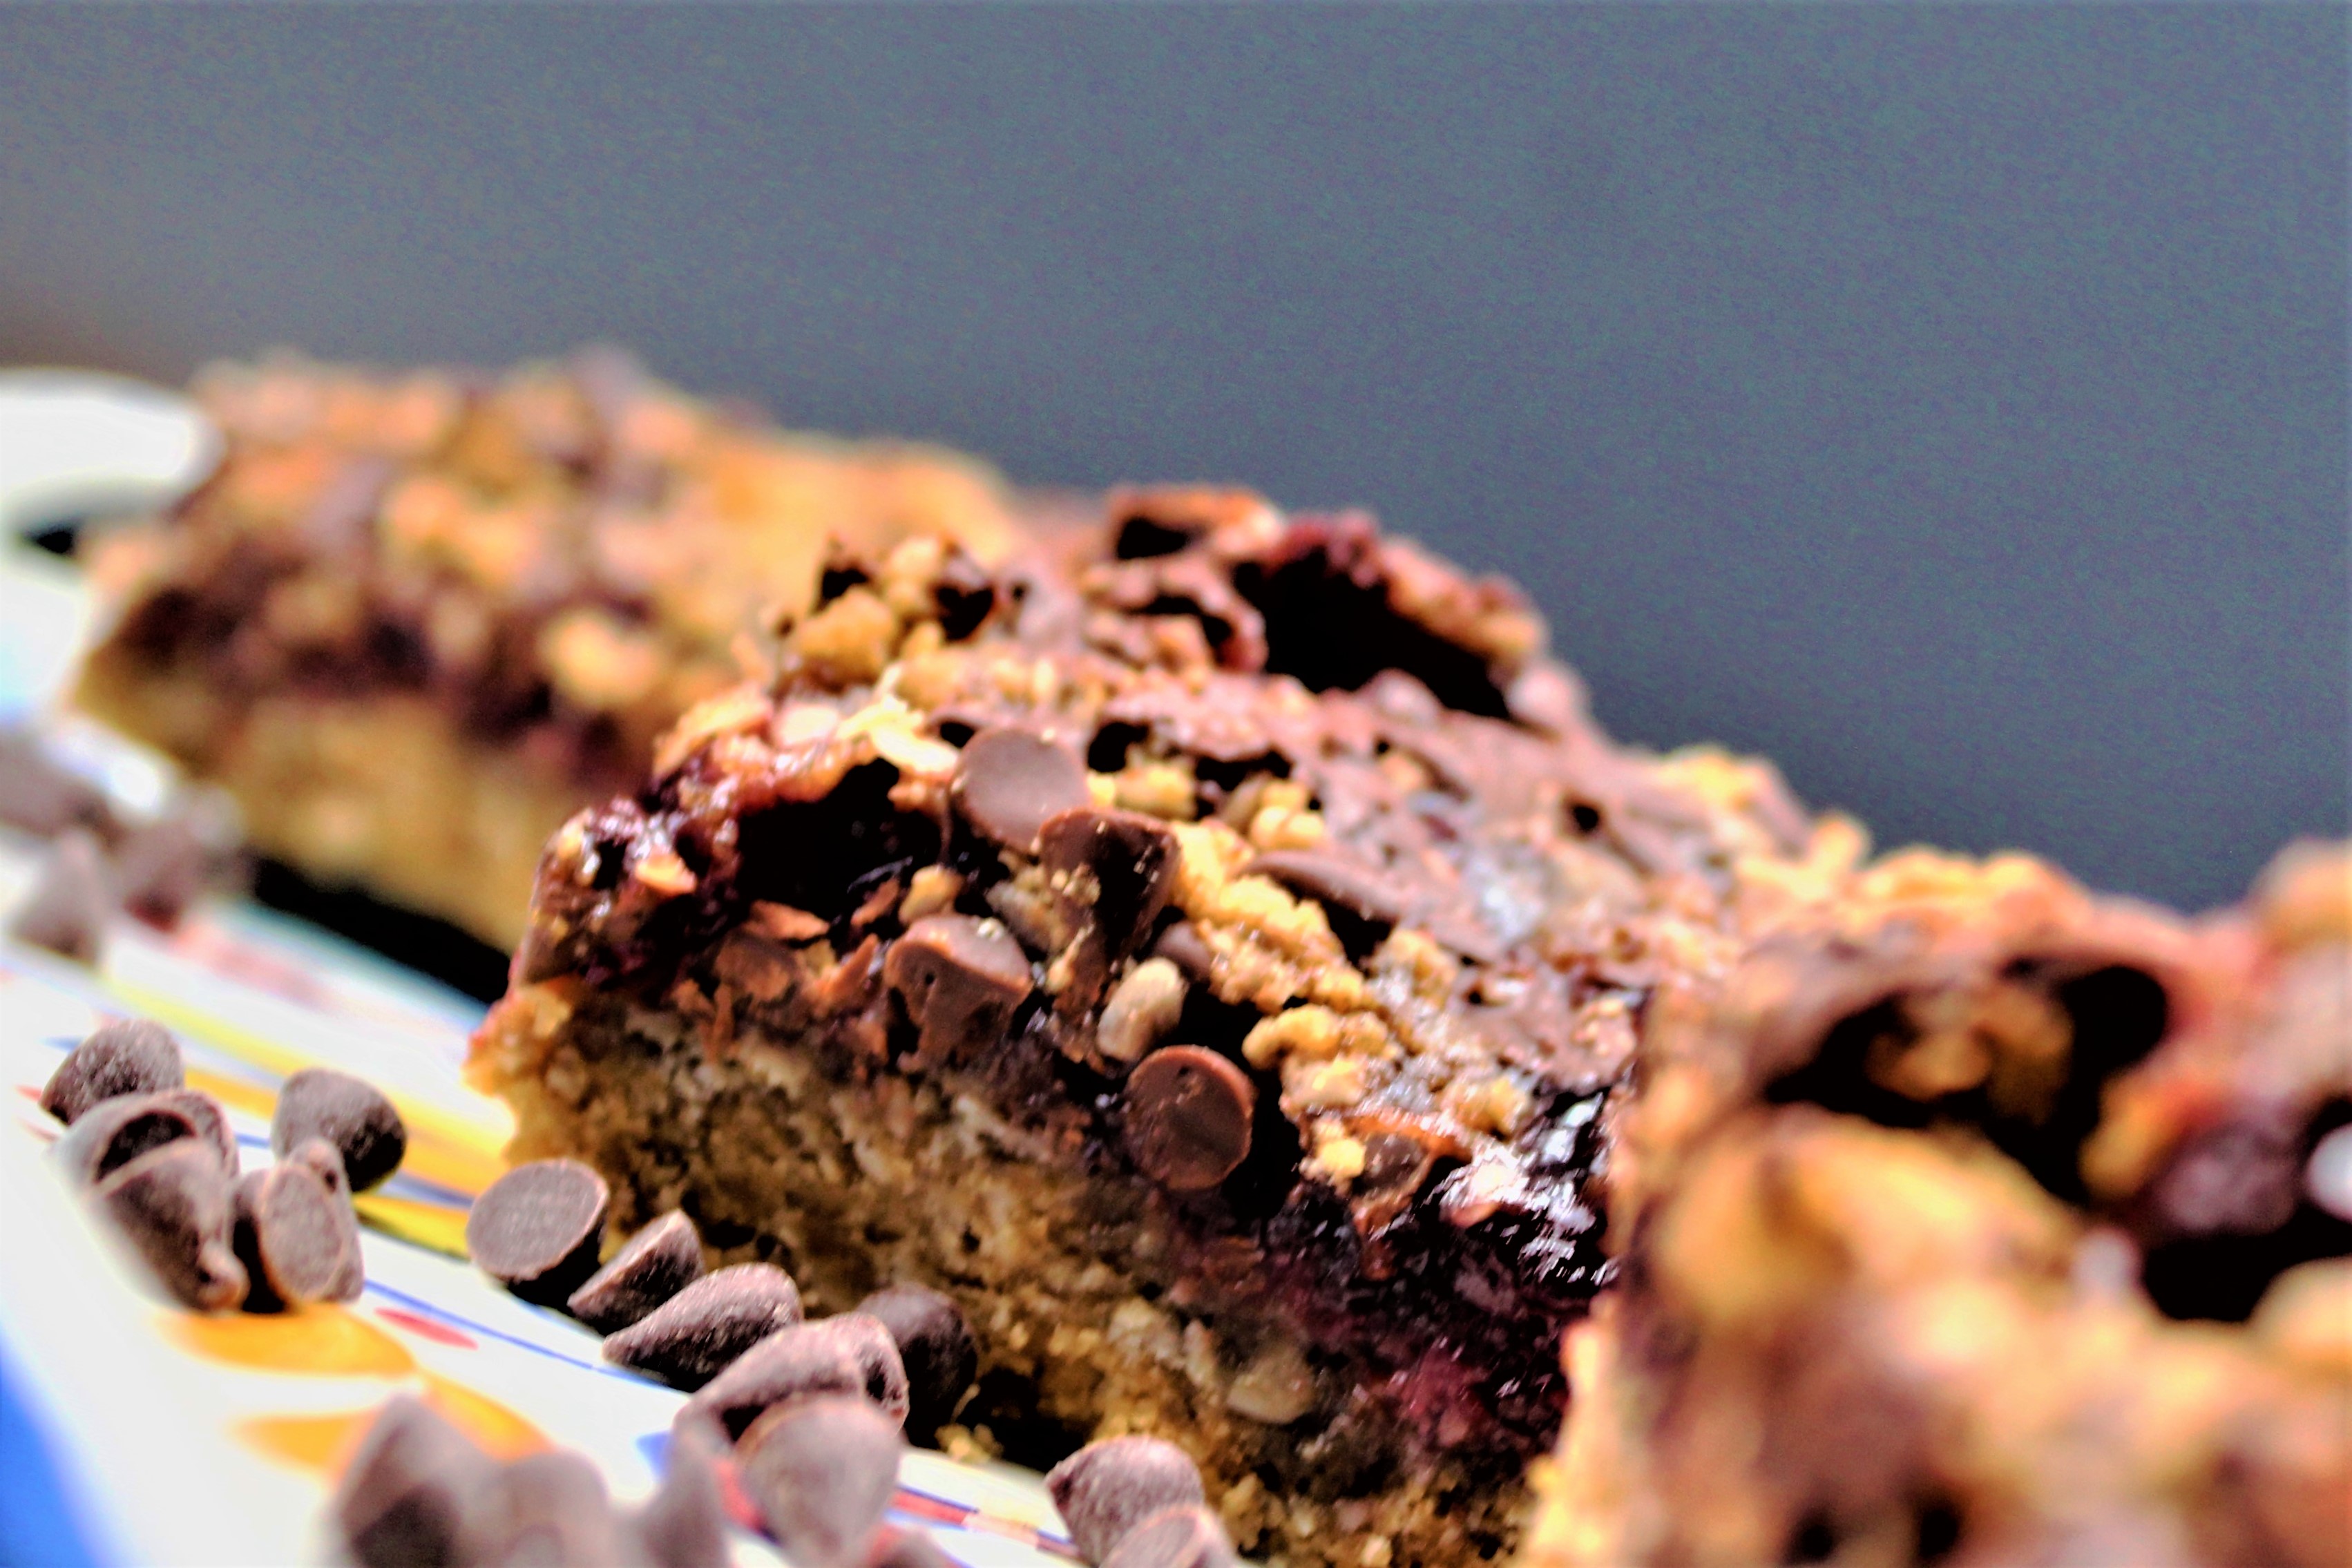
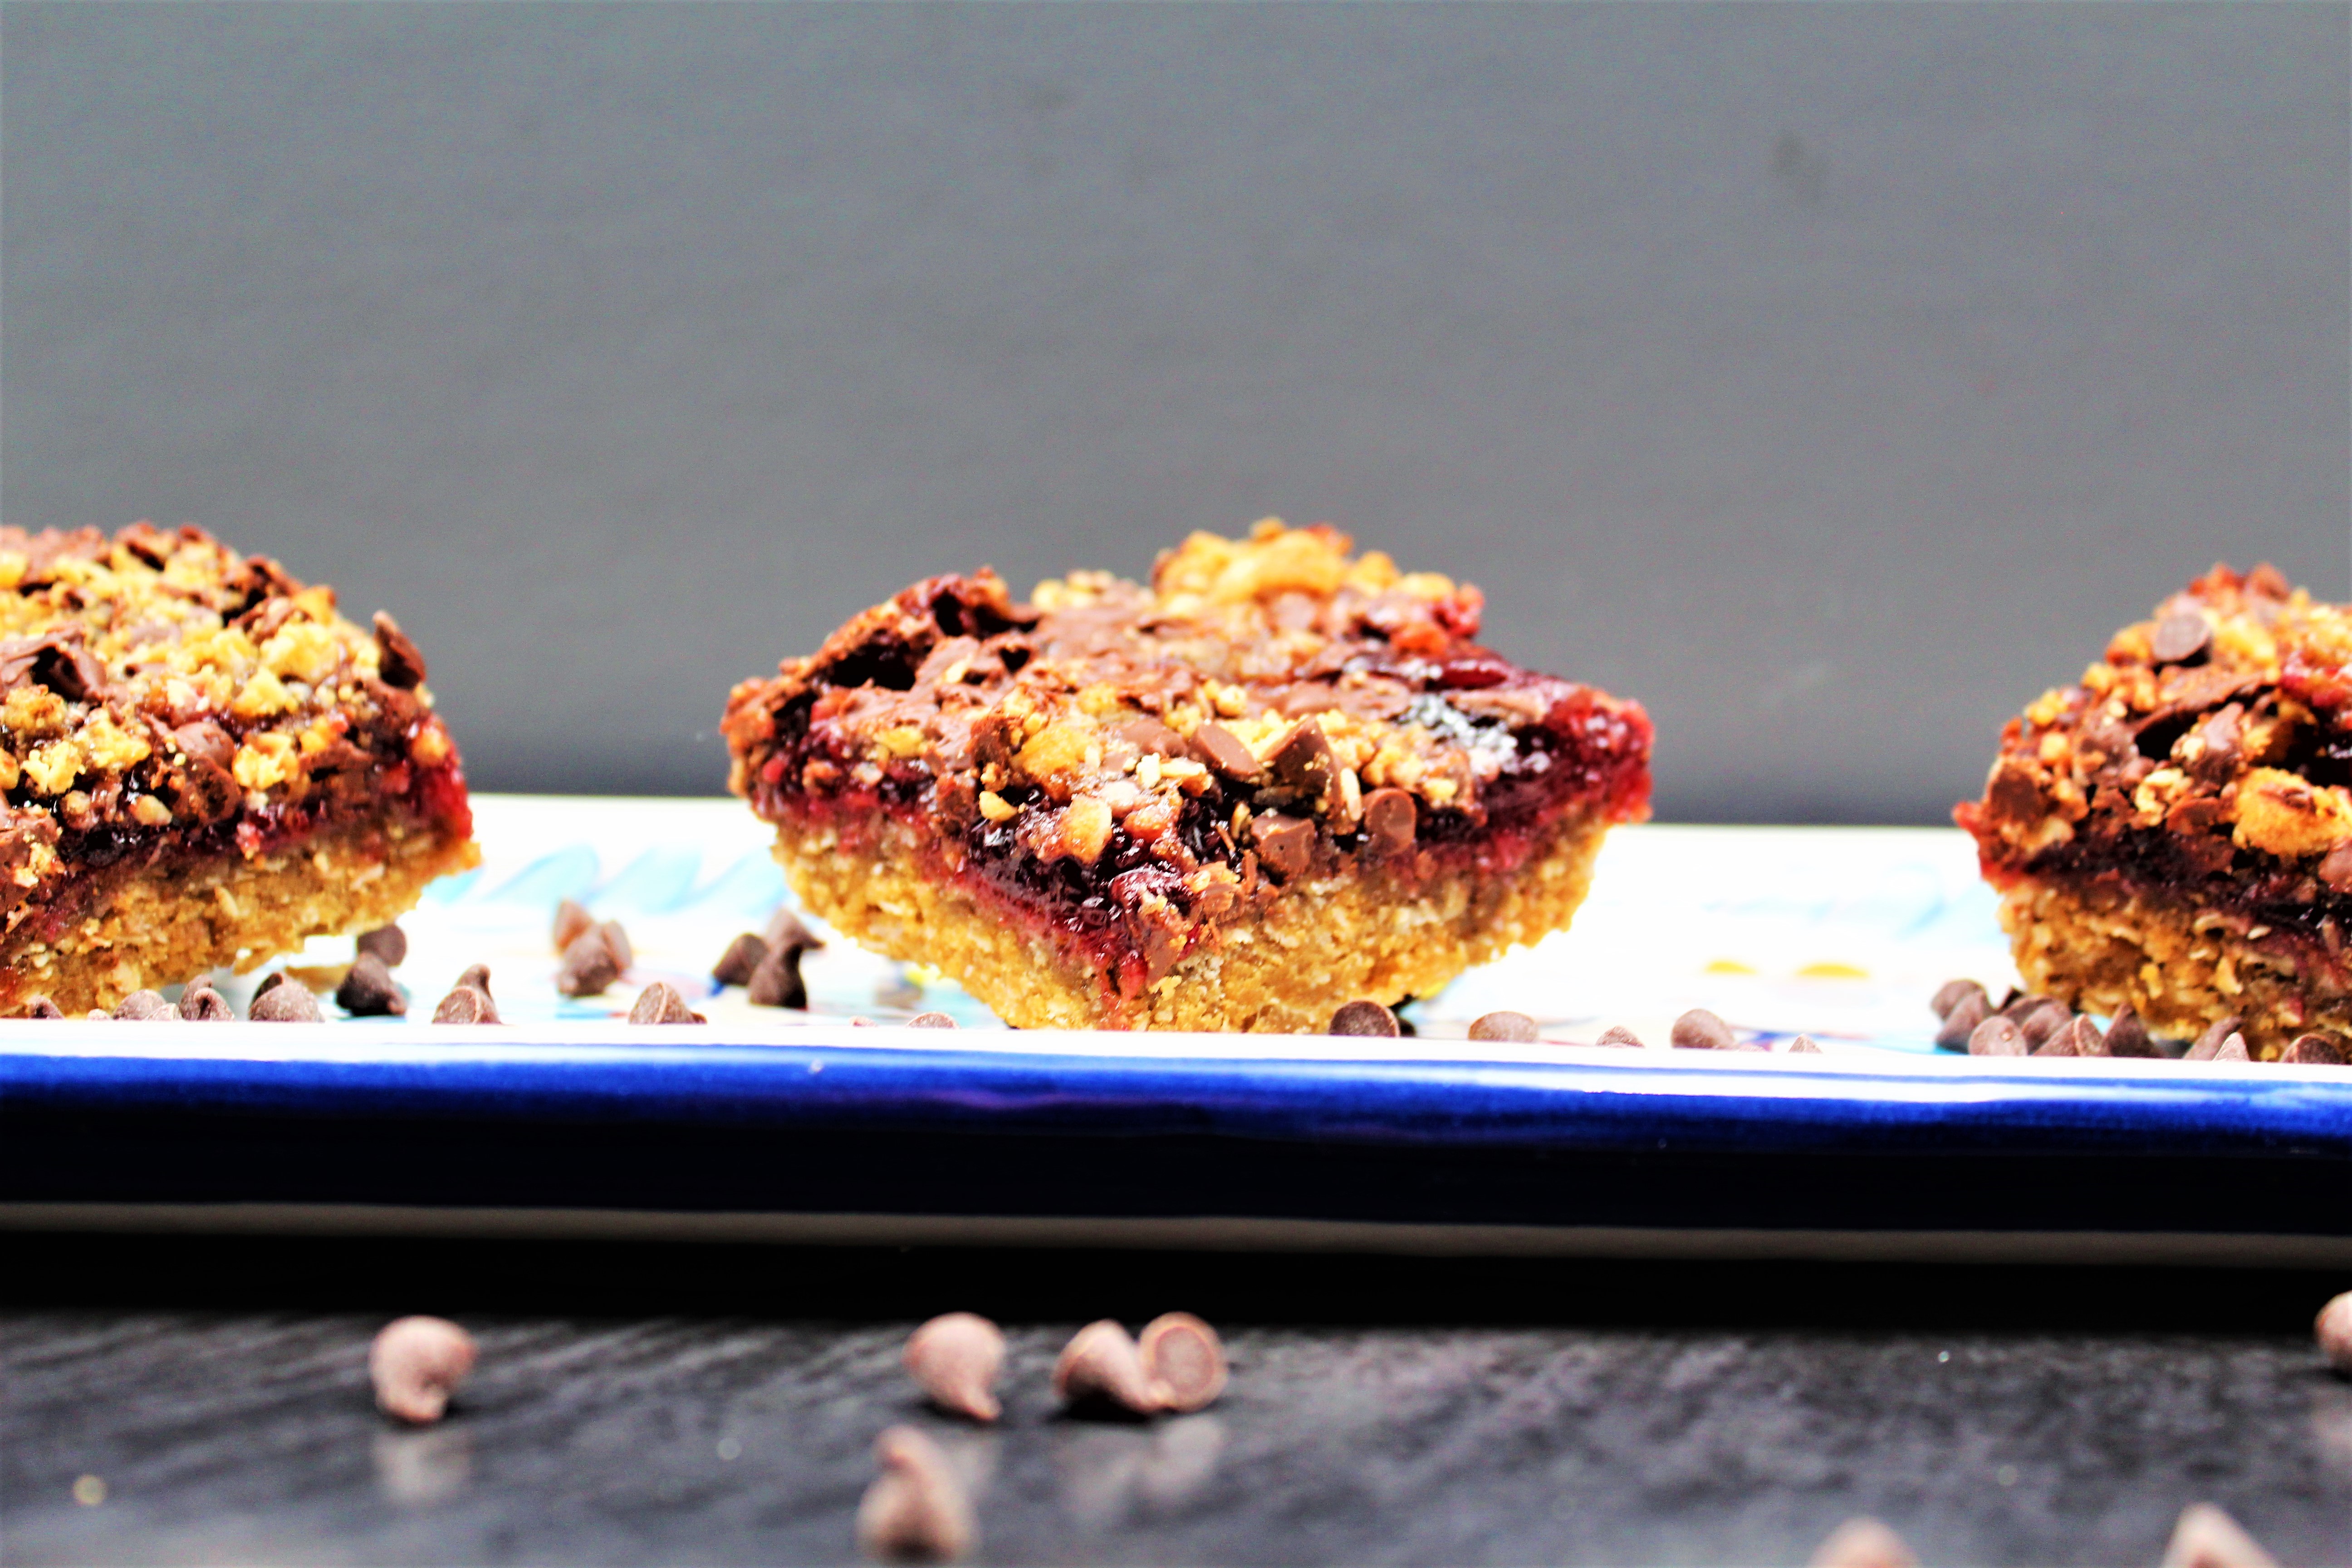 My Raspberry Chocolate bars have been a hit with our guests. The oatmeal crust, rich chocolate, and the sweet, tangy raspberry glaze, need I say more?
The next time you crave a fruit cake in July, don’t wait to make it.
Chocolate and raspberries are a perfect combination. The sweet creamy chocolate and the tart taste of the raspberries set off an explosion in your mouth.
Preheat oven to 375°
Lightly spoon flour into a dry measuring cup; level with a knife. Combine flour, oats, baking soda, and salt in a small bowl, stirring well with a whisk. Set aside.
Combine sugar and butter in a medium bowl, and beat with a mixer at medium speed until smooth. Add the flour mixture to butter mixture, and stir until well blended (batter will be crumbly.) Remove 3/4 cup of dough; toss with chocolate chips. Set aside. Press the remaining dough into an 8-inch square baking pan, and spread evenly with jam. Sprinkle with chocolate chip mixture.
Bake at 375° 30 minutes or until golden brown. Cool completely on a wire rack.
When eating out at restaurants, I’m generally not a dessert guy. I always feel like it’s a luxury that is best skipped. I’m sure that my miserly way started when I was first on my own in the late 1980s. Money was tight back then. …
One of my first jobs, when I moved to Indianapolis, was in food prep at a fine-dining restaurant. I didn’t have experience when I started, but man, did I get an education while I was there. I spent the first few weeks learning my way …
When we make layer cakes, I am amazed by how much cake is removed to get a perfectly level cake. I used to toss the scraps and move on with the task at hand. I later decided to save them and toss them in the freezer.
After we had made a few cakes, we had several gallon size freezer bags full of frozen cake pieces. Now, when I am in the mood to make cake balls, the hard work is already done for me.
Below, I include my recipe for a chocolate sheet cake. I find that if I do not have cake in the freezer, this is the best way to go.

I should start by saying is recipe is messy. To get the cake and frosting combined, you’ll need to get your hands dirty.
The first time I made them I had cake EVERYWHERE, but they were terrific. I like to roll the cake into 2″ balls, but you can make them larger or smaller depending on your taste.
The next time you have too much cake lying around, whip up some frosting and have a ball!

This is a chocolate cake that is intensified by mixing the moist cake and rich icing together and adding a chocolate coating. One word: Delicious!
In a bowl, combine the first four ingredients; set aside.
In a saucepan, bring butter, cocoa, and water to a boil and remove from the heat.
Add to dry ingredients to the butter and cocoa mixture and mix well.
In a small bowl, beat eggs and add buttermilk and vanilla, and mix well and stir into cocoa mixture.
Pour into a greased 15×10-x1-in. baking pan. Bake at 375° for 20-22 minutes or until a toothpick inserted in the center comes out clean.
in a saucepan, bring the butter, cocoa and milk to a boil, stirring continuously.
Remove from the heat; add sugar and vanilla. Mix well.
Pour into a bowl and allow it to cool
Add a cup and a half of the frosting to the cake crumbs and begin to incorporate it into the cake. Warning: this will be messy.
Once mixed well, the mixture should hold it’s shape once put together.
Have you ever been to a restaurant and see an item on the menu and you know for sure that you’ll love, so you order it and after one bite, you realize there must be a better version of it out there somewhere? That is …
As a child, my mother baked a lot of pies. I don’t think I can pick a favorite, I loved them all. It was rare that she would deviate from her tried and true recipes. You know what I’m talking about, old recipe cards stained …
As far as this blog is concerned, 2019 has started very slowly. I have only posted one blog so far this year. I guess I have good reasons that, my mom passed away just after Christmas, and I started a new job as well. Also, there were the holidays mixed in for good measure.
It’s been a stressful couple of months. Thank goodness for my husband, Dale. He is my rock, and he has kept me moving forward.
I don’t know what I’d done without him.
Although I haven’t blogged in a while, I have been baking. I have learned that when I’m stressed, depressed, tired, or just overwhelmed, baking brings me peace.
I like to bake in the early morning. There is a calm to the air that allows me to create things that I wouldn’t otherwise be able to make. All the noise of the day with phones ringing, dogs barking, and all the other distracting stuff in my life, early mornings is “Doug Time.”
I am now back to blogging, which also gives me peace. I am not a great writer, photographer, or even a great baker, but I enjoy all three of these hobbies. Does anyone read my blogs? Who knows, but at the end of the day, I feel better when I have posted something new.
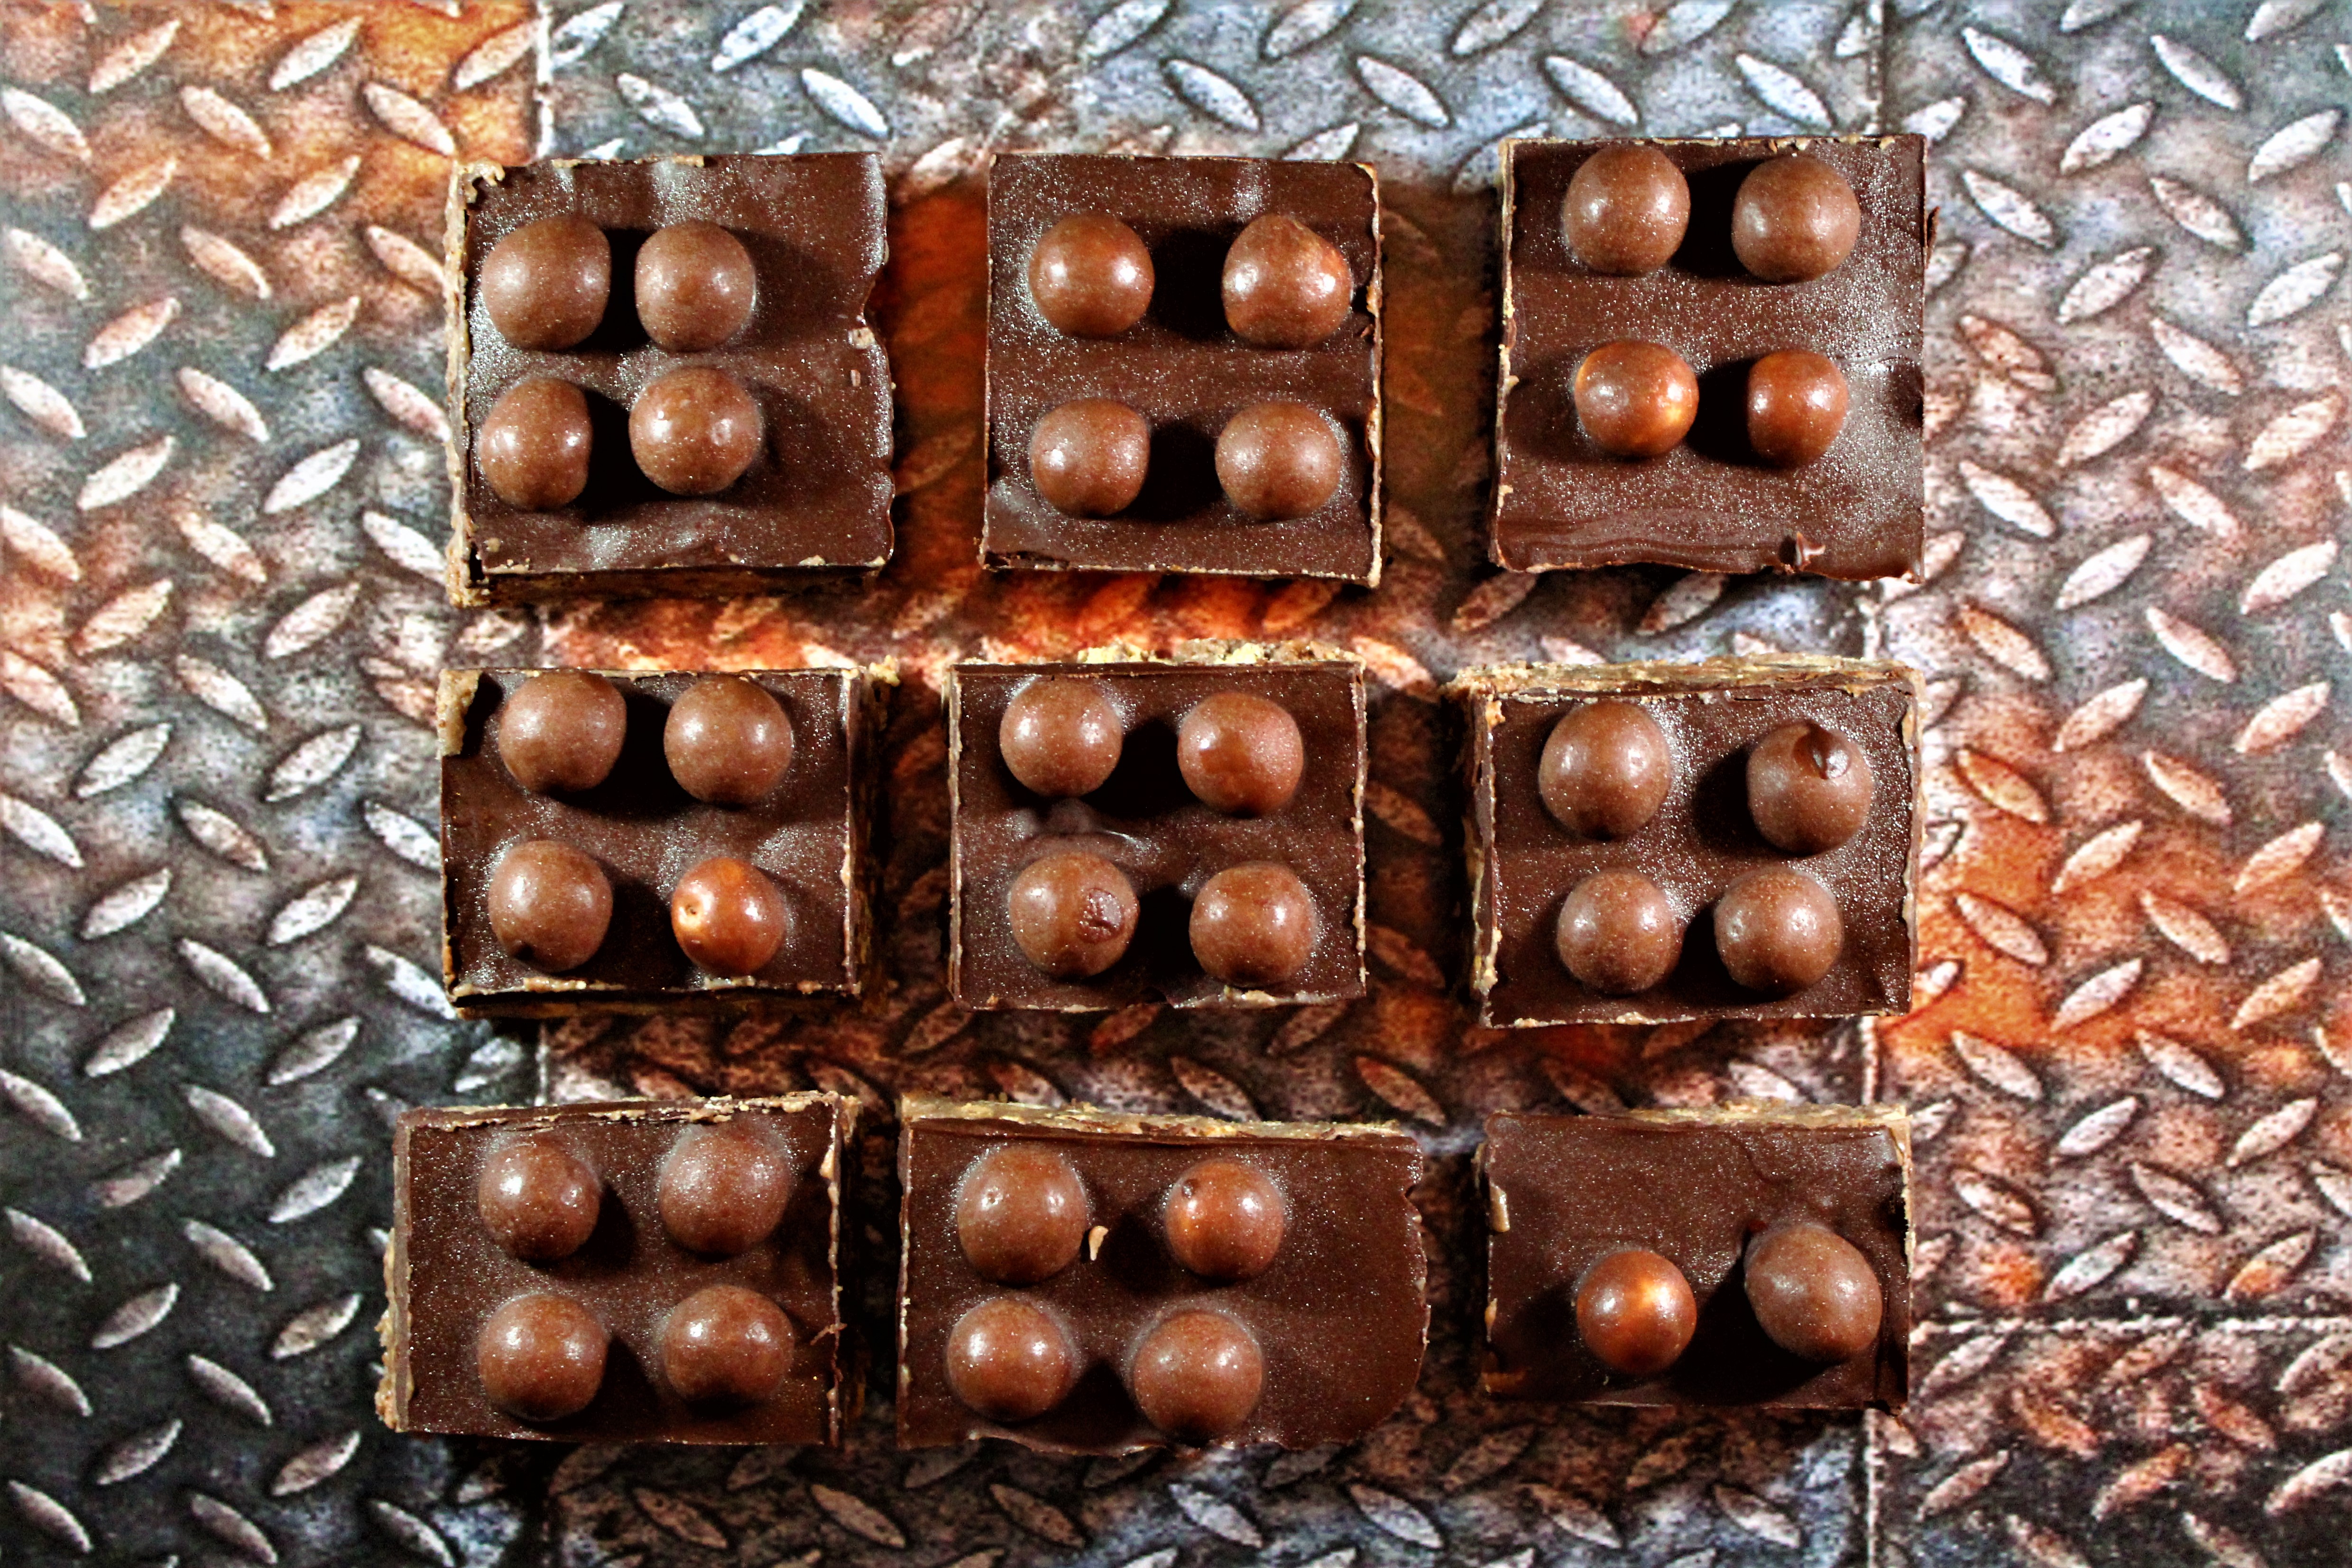
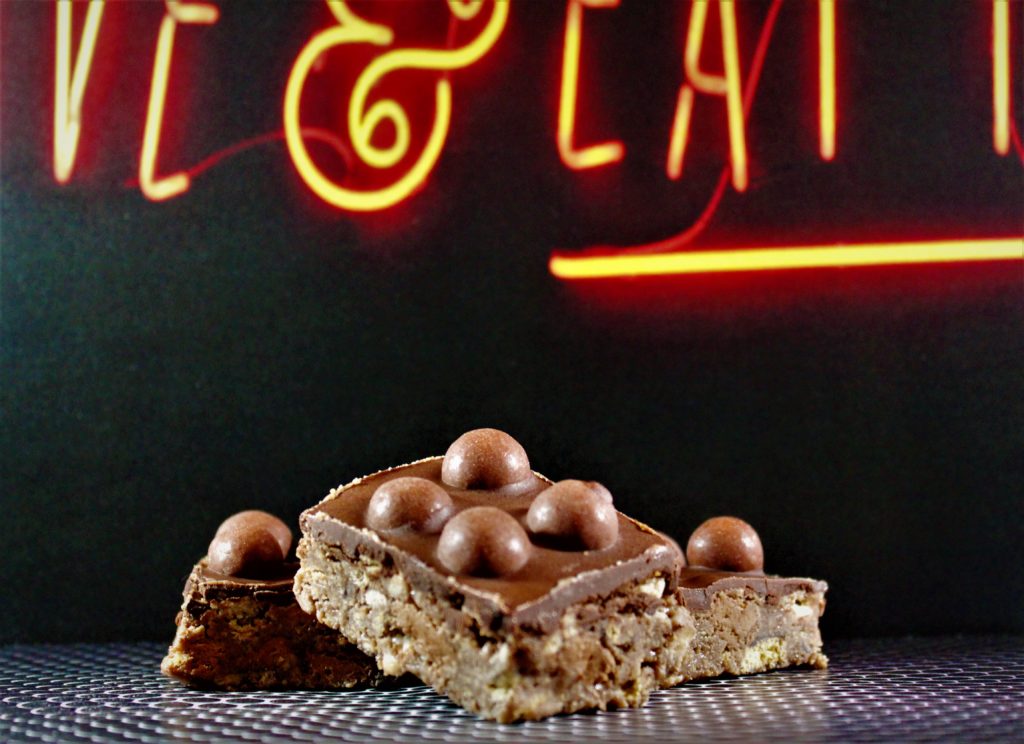
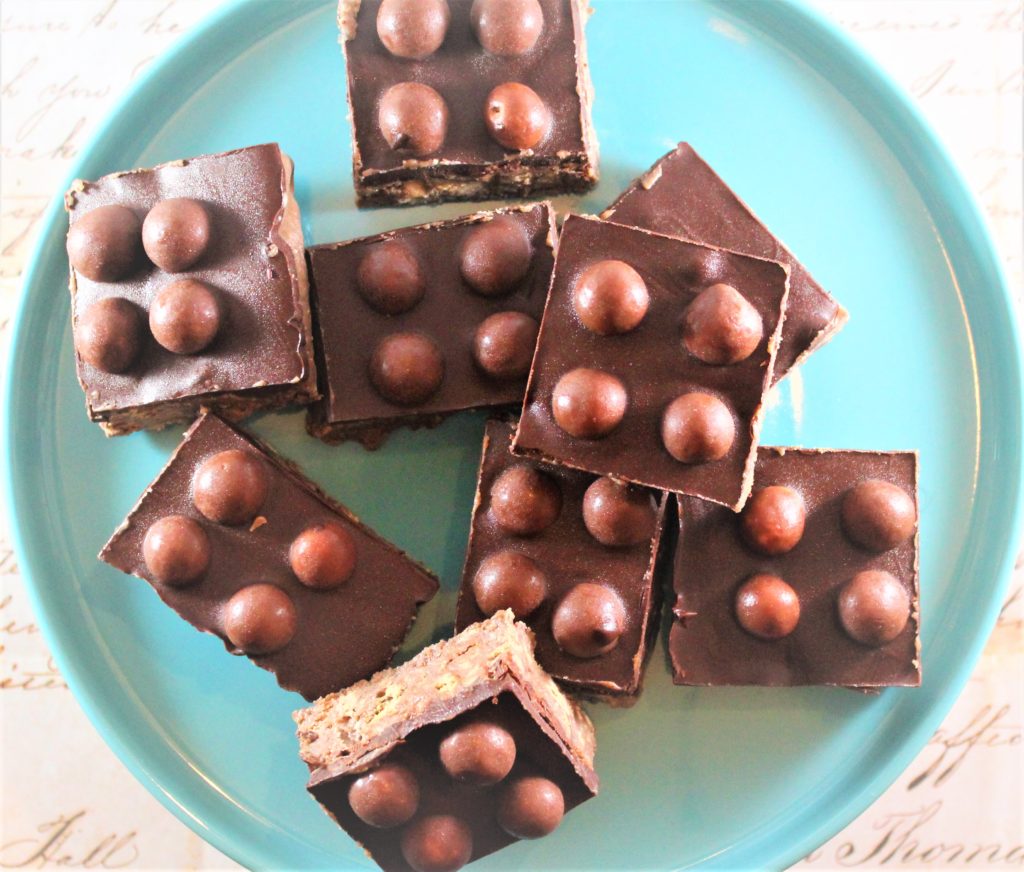
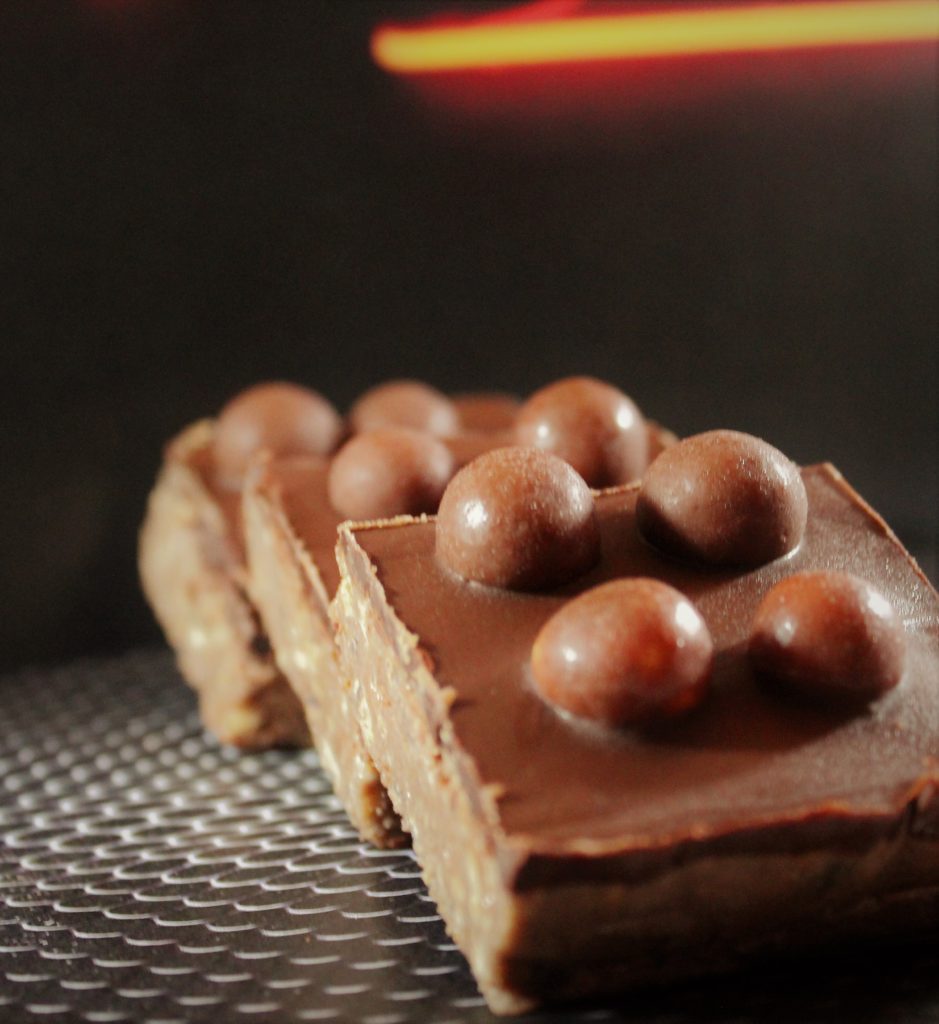
Try these Malt Ball Bars; they are exceptional. They look impressive and are very easy to make.
The next time all of life’s stressful moments hit you all at once, close your eyes, take a deep breathe and bake. Enjoy!
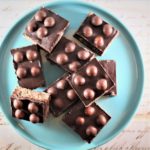
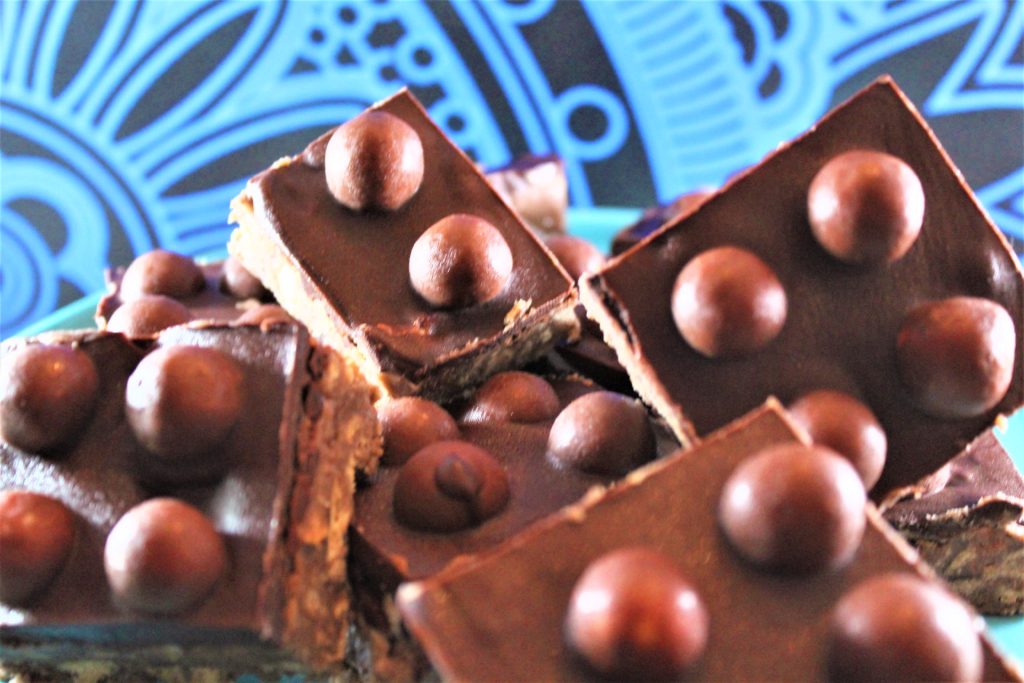
These bars should be illegal. They contain two different candies, cookies, and flooded in chocolate. I am certain that my Malt Ball Bars will become a mainstay in your recipe collection. Enjoy!
Roughly crush 1 cup of Malt Balls.
Add the melted butter and condensed milk to the cookie/candy bar mixture and stir until combined – it will be sticky.
Melt the chocolate chips and add 1 teaspoon of vegetable oil and sir in well.
Pour the melted chocolate over the cooled cookie base and then decorate with remaining Malt Balls.
Put the pan back into the fridge to set.
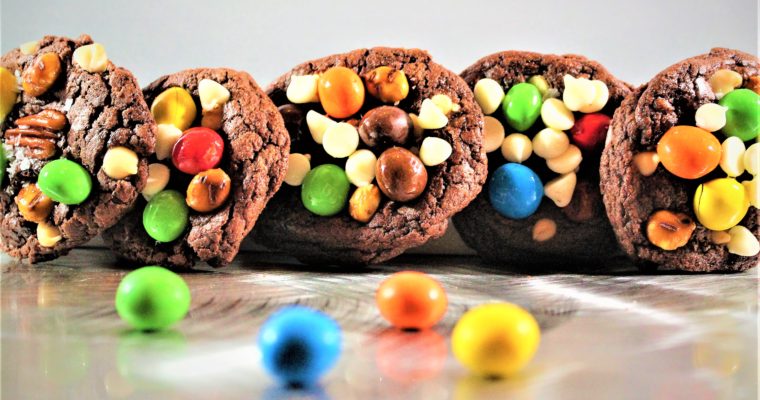
I love cookies with lots of different textures and flavors. Our Kitchen Sink cookies, which incidentally have everything in them but the kitchen sink, are amazing. We took them to a holiday party a couple of weeks ago and a guy I never met before …
Fourteen years ago Dale and I bought our home. We both wanted to live in a friendly suburban community. So, we grabbed a real estate agent, and off we went in search of the perfect house in the ideal neighborhood. I fell in love with …
Every year I tell myself that I will give baked goods as gifts to friends. As the holidays approach, I start finding reasons to not follow-thru.
My excuses range from “I don’t have the time” to “I’m not a very good baker, who would want my stuff.”

I’m not.
When I bake for the blog, I try not to eat more than a small bite of what I make. Everything in moderation, you know. After taking photos, I pack everything up and send it to work with my husband. He puts it on a table outside his office for his co-workers.
The comments are always nice, but I still think I could have made it better. I guess we are all like that. It’s hard putting yourself out there when you worry about rejection.
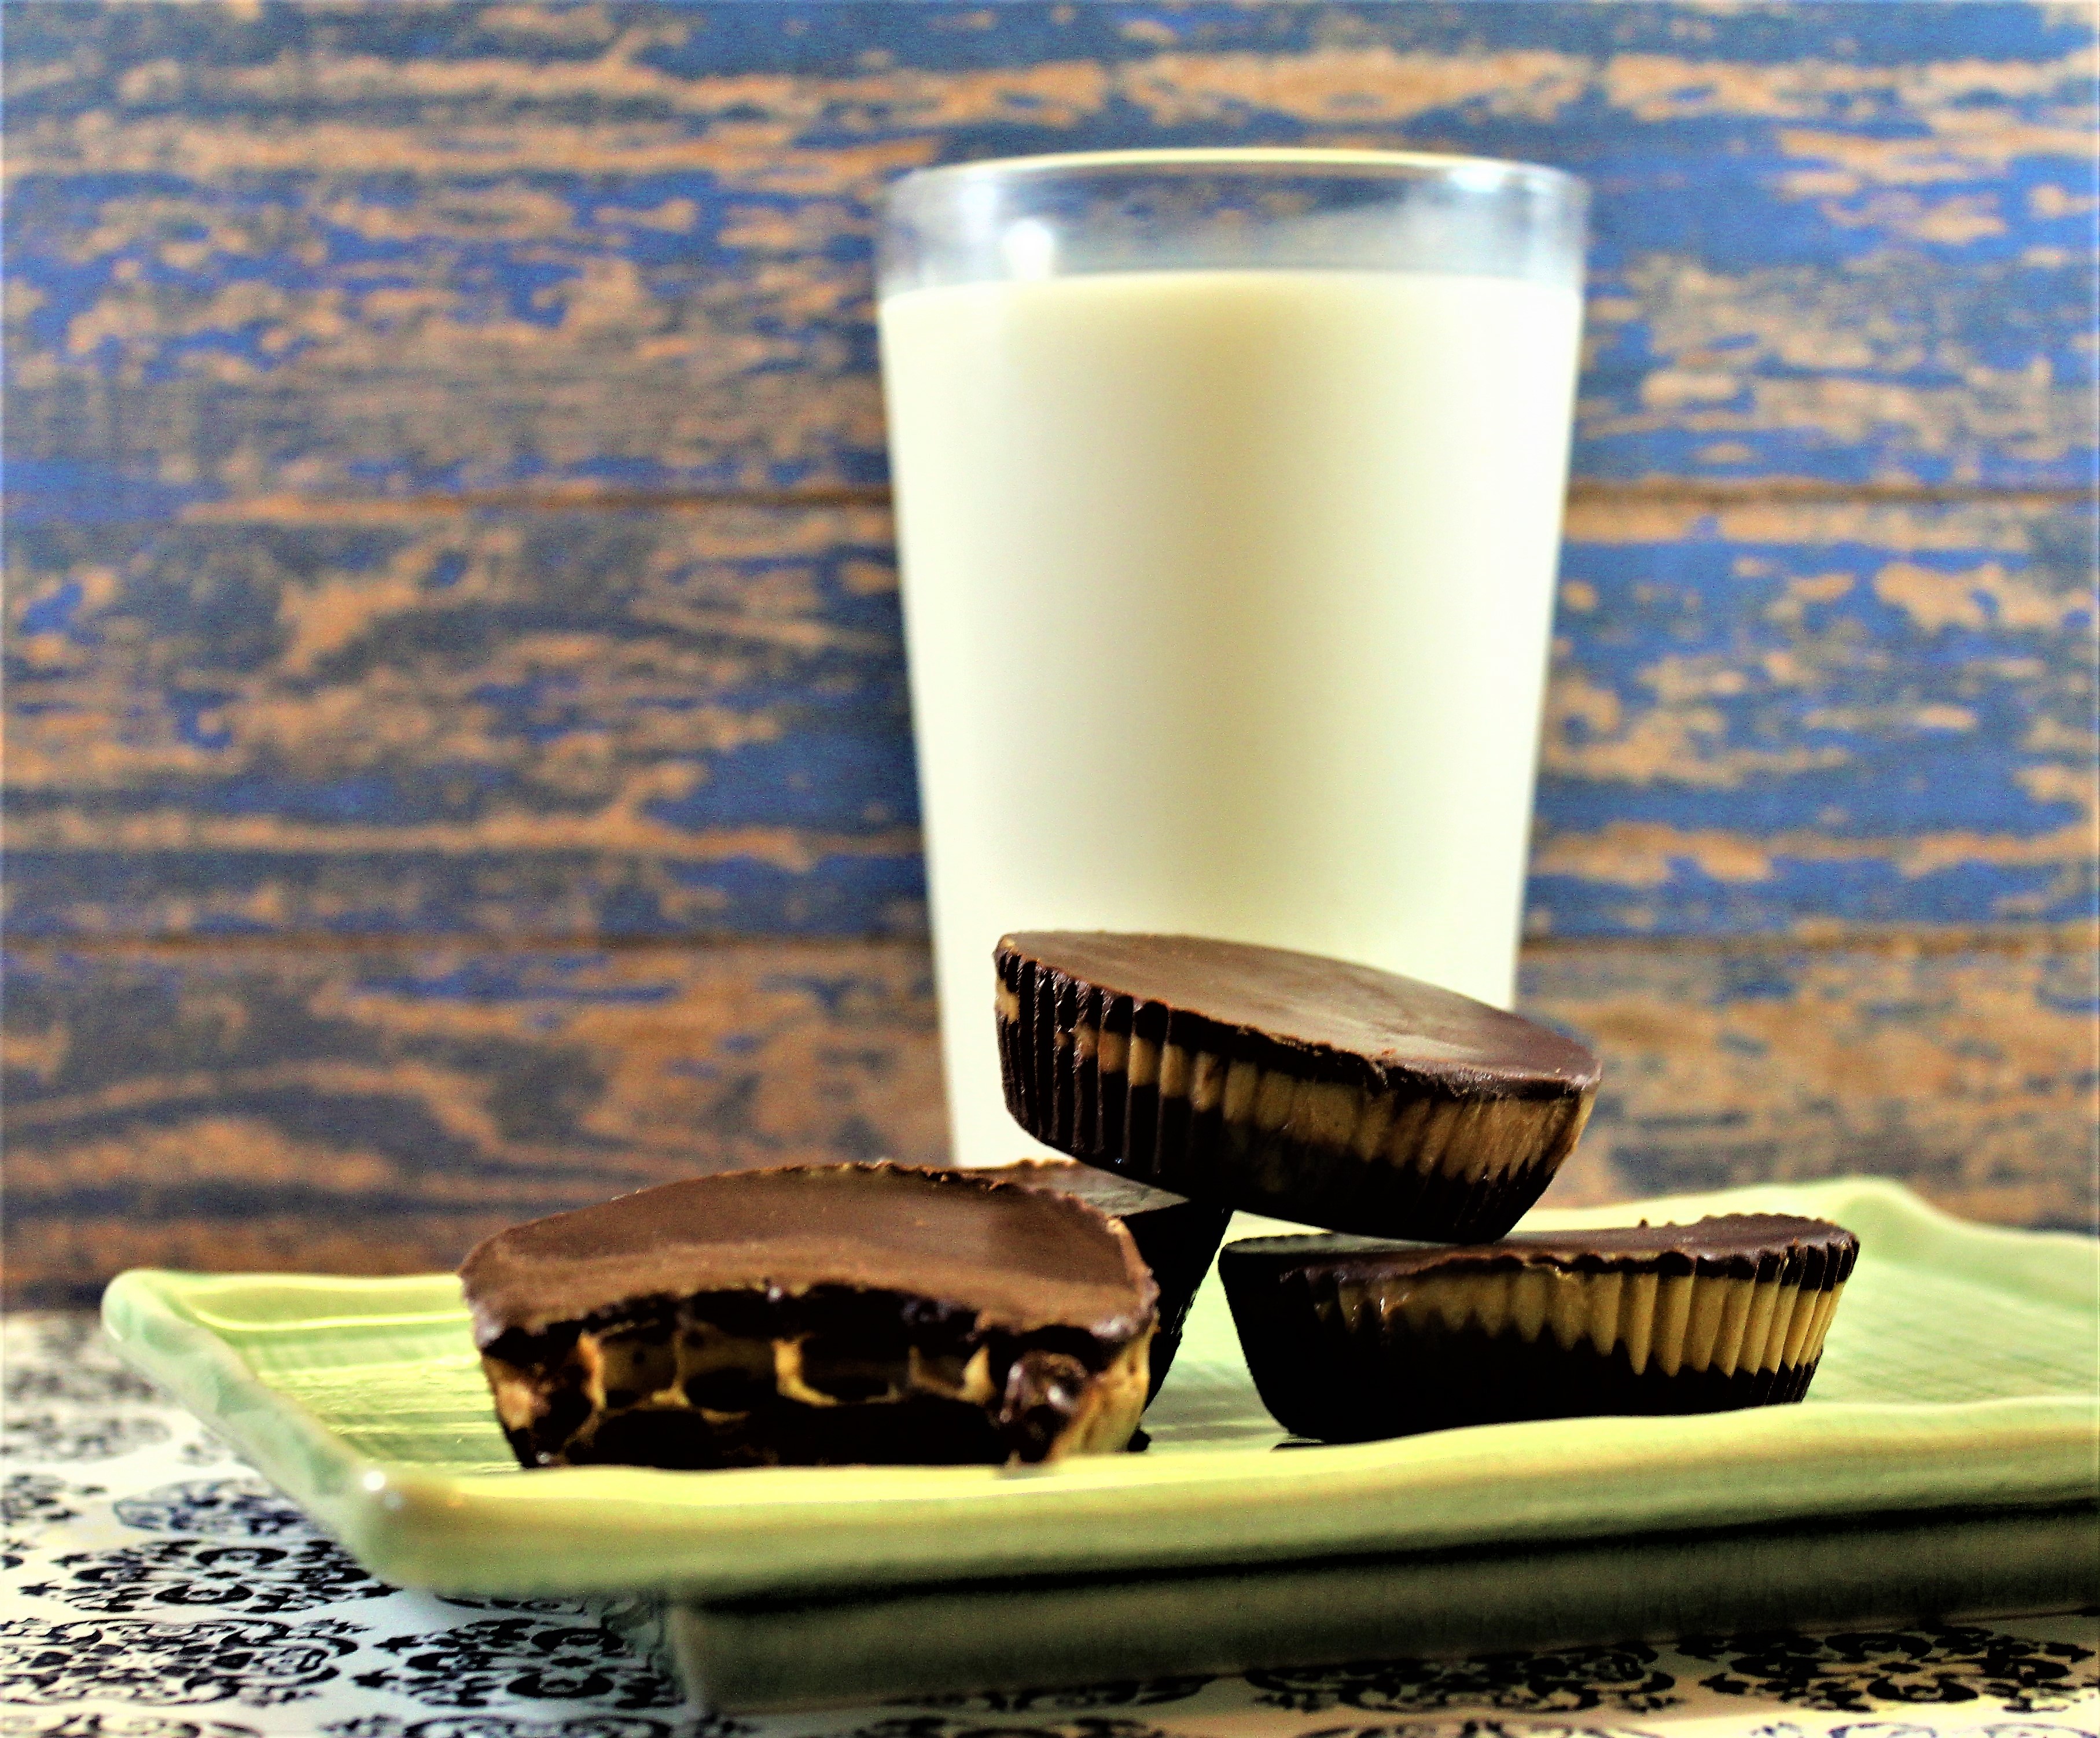
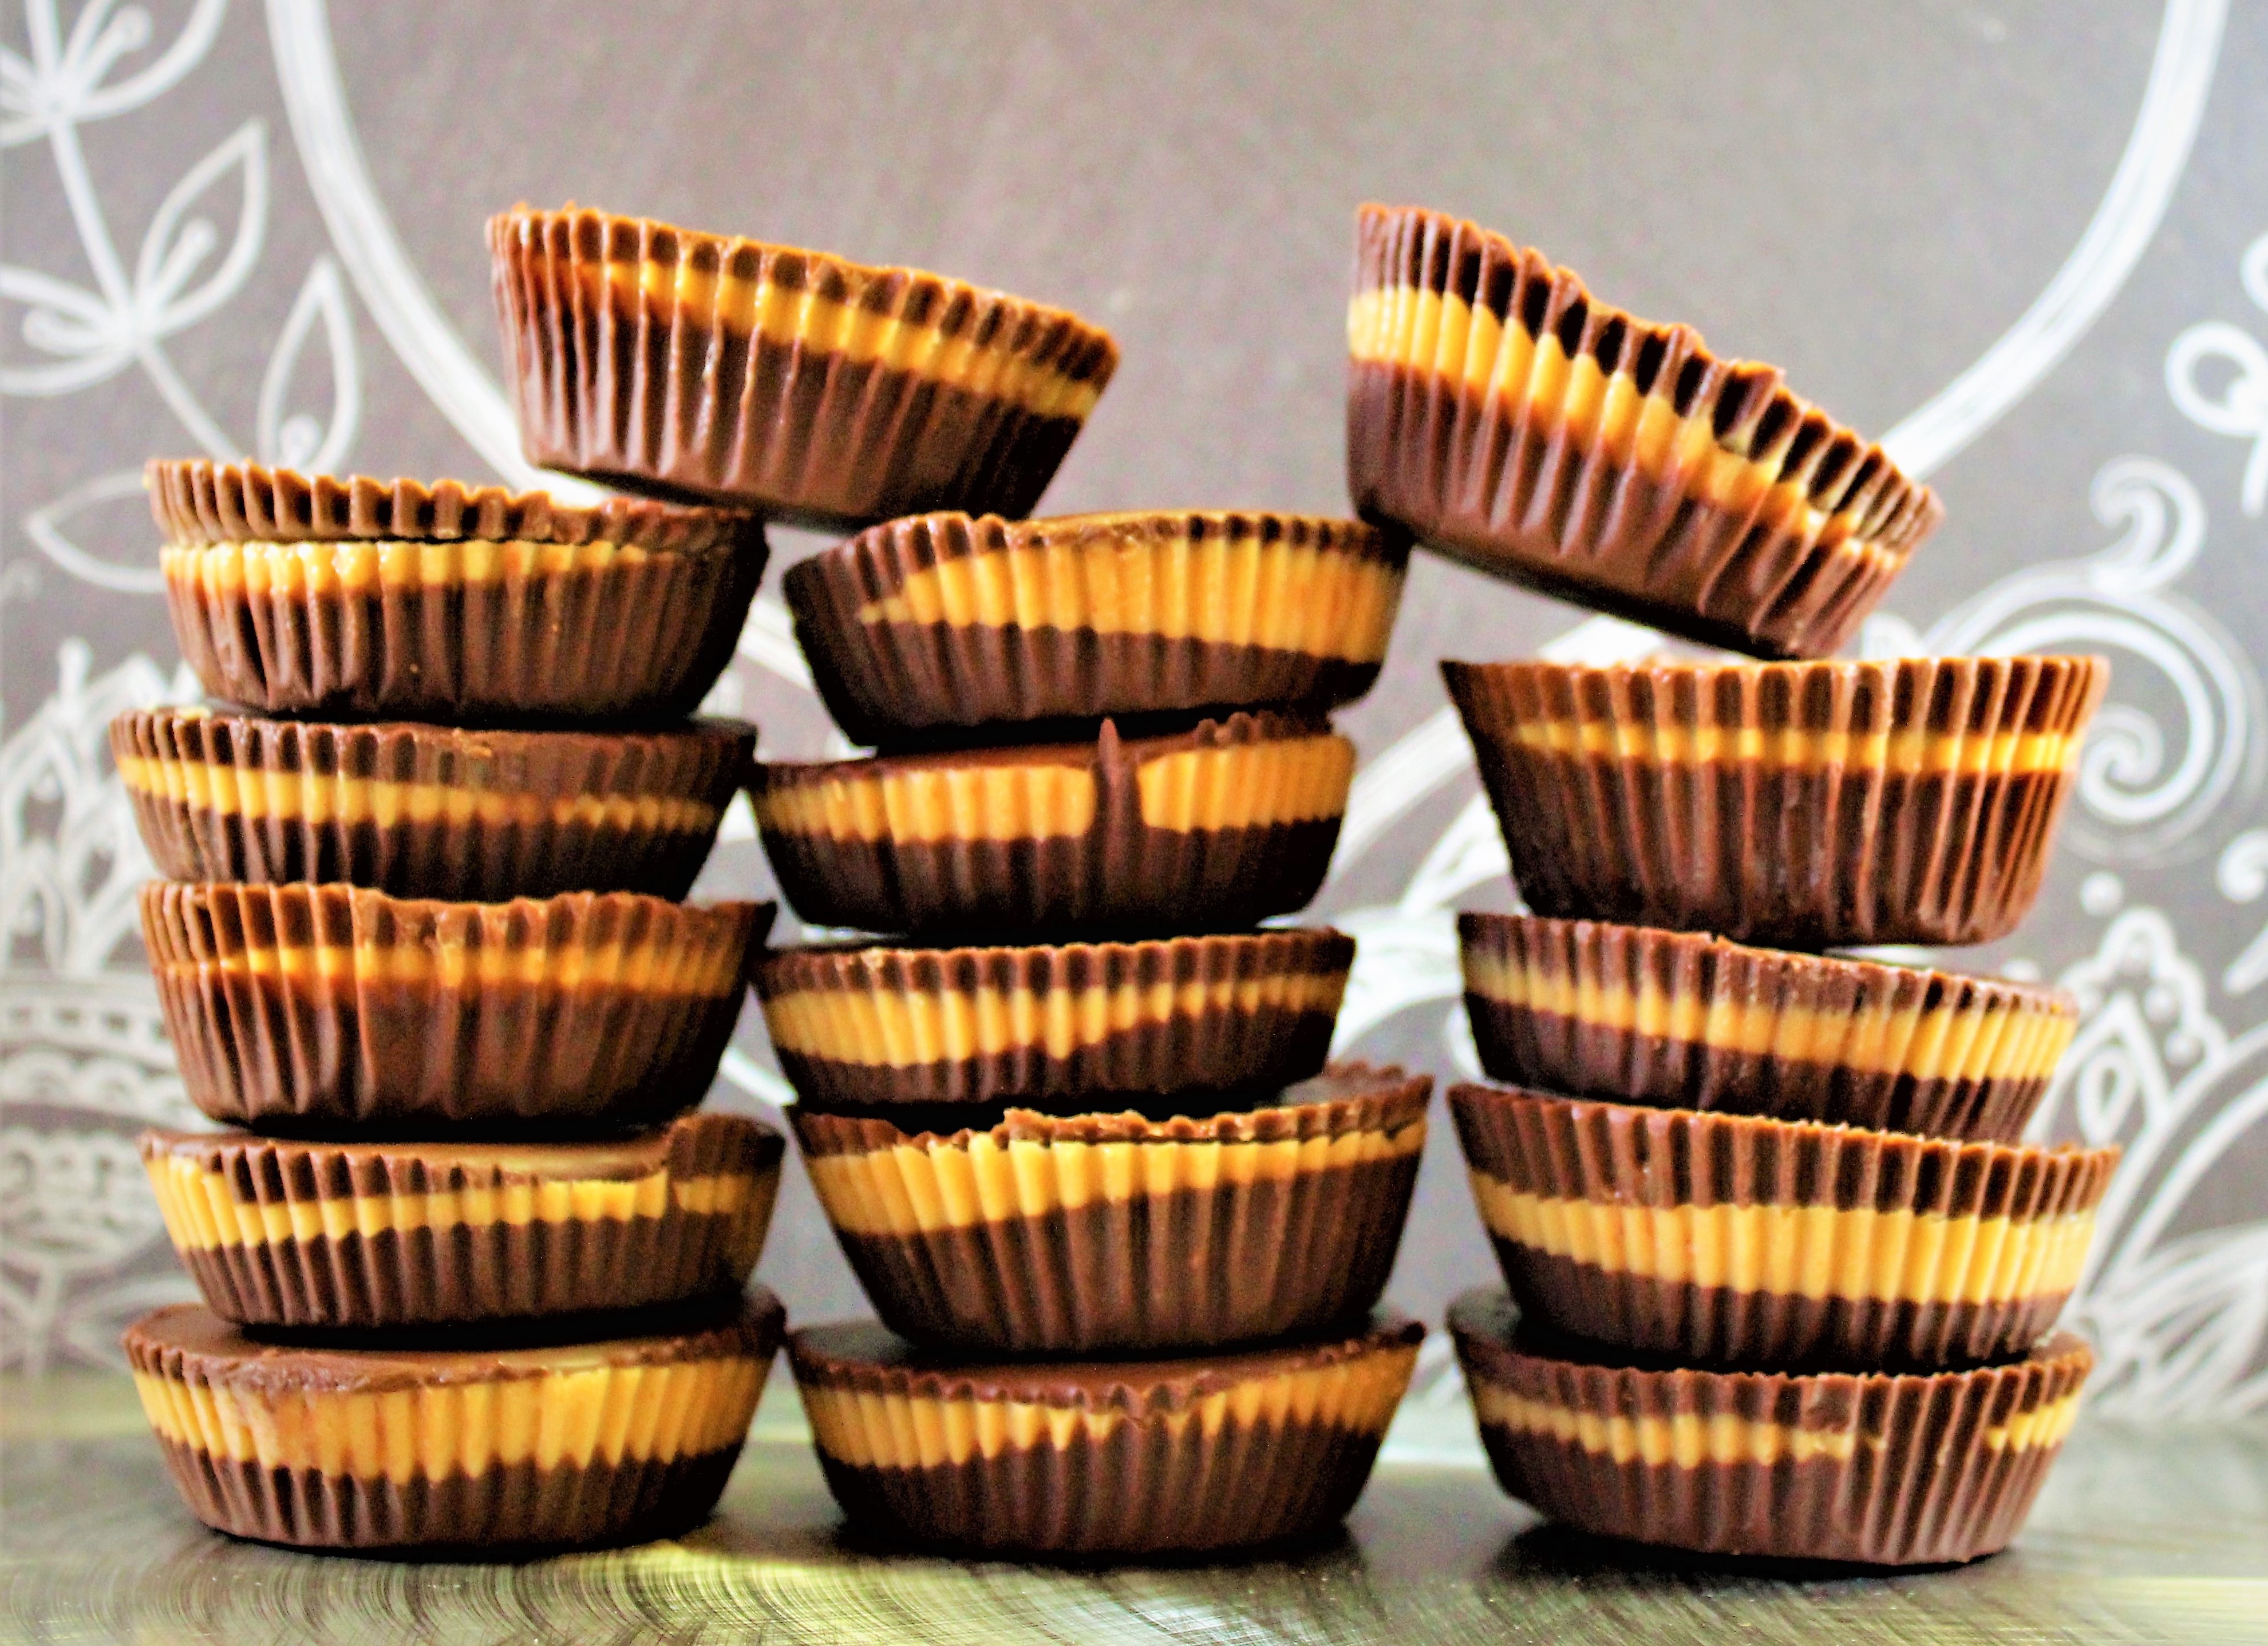
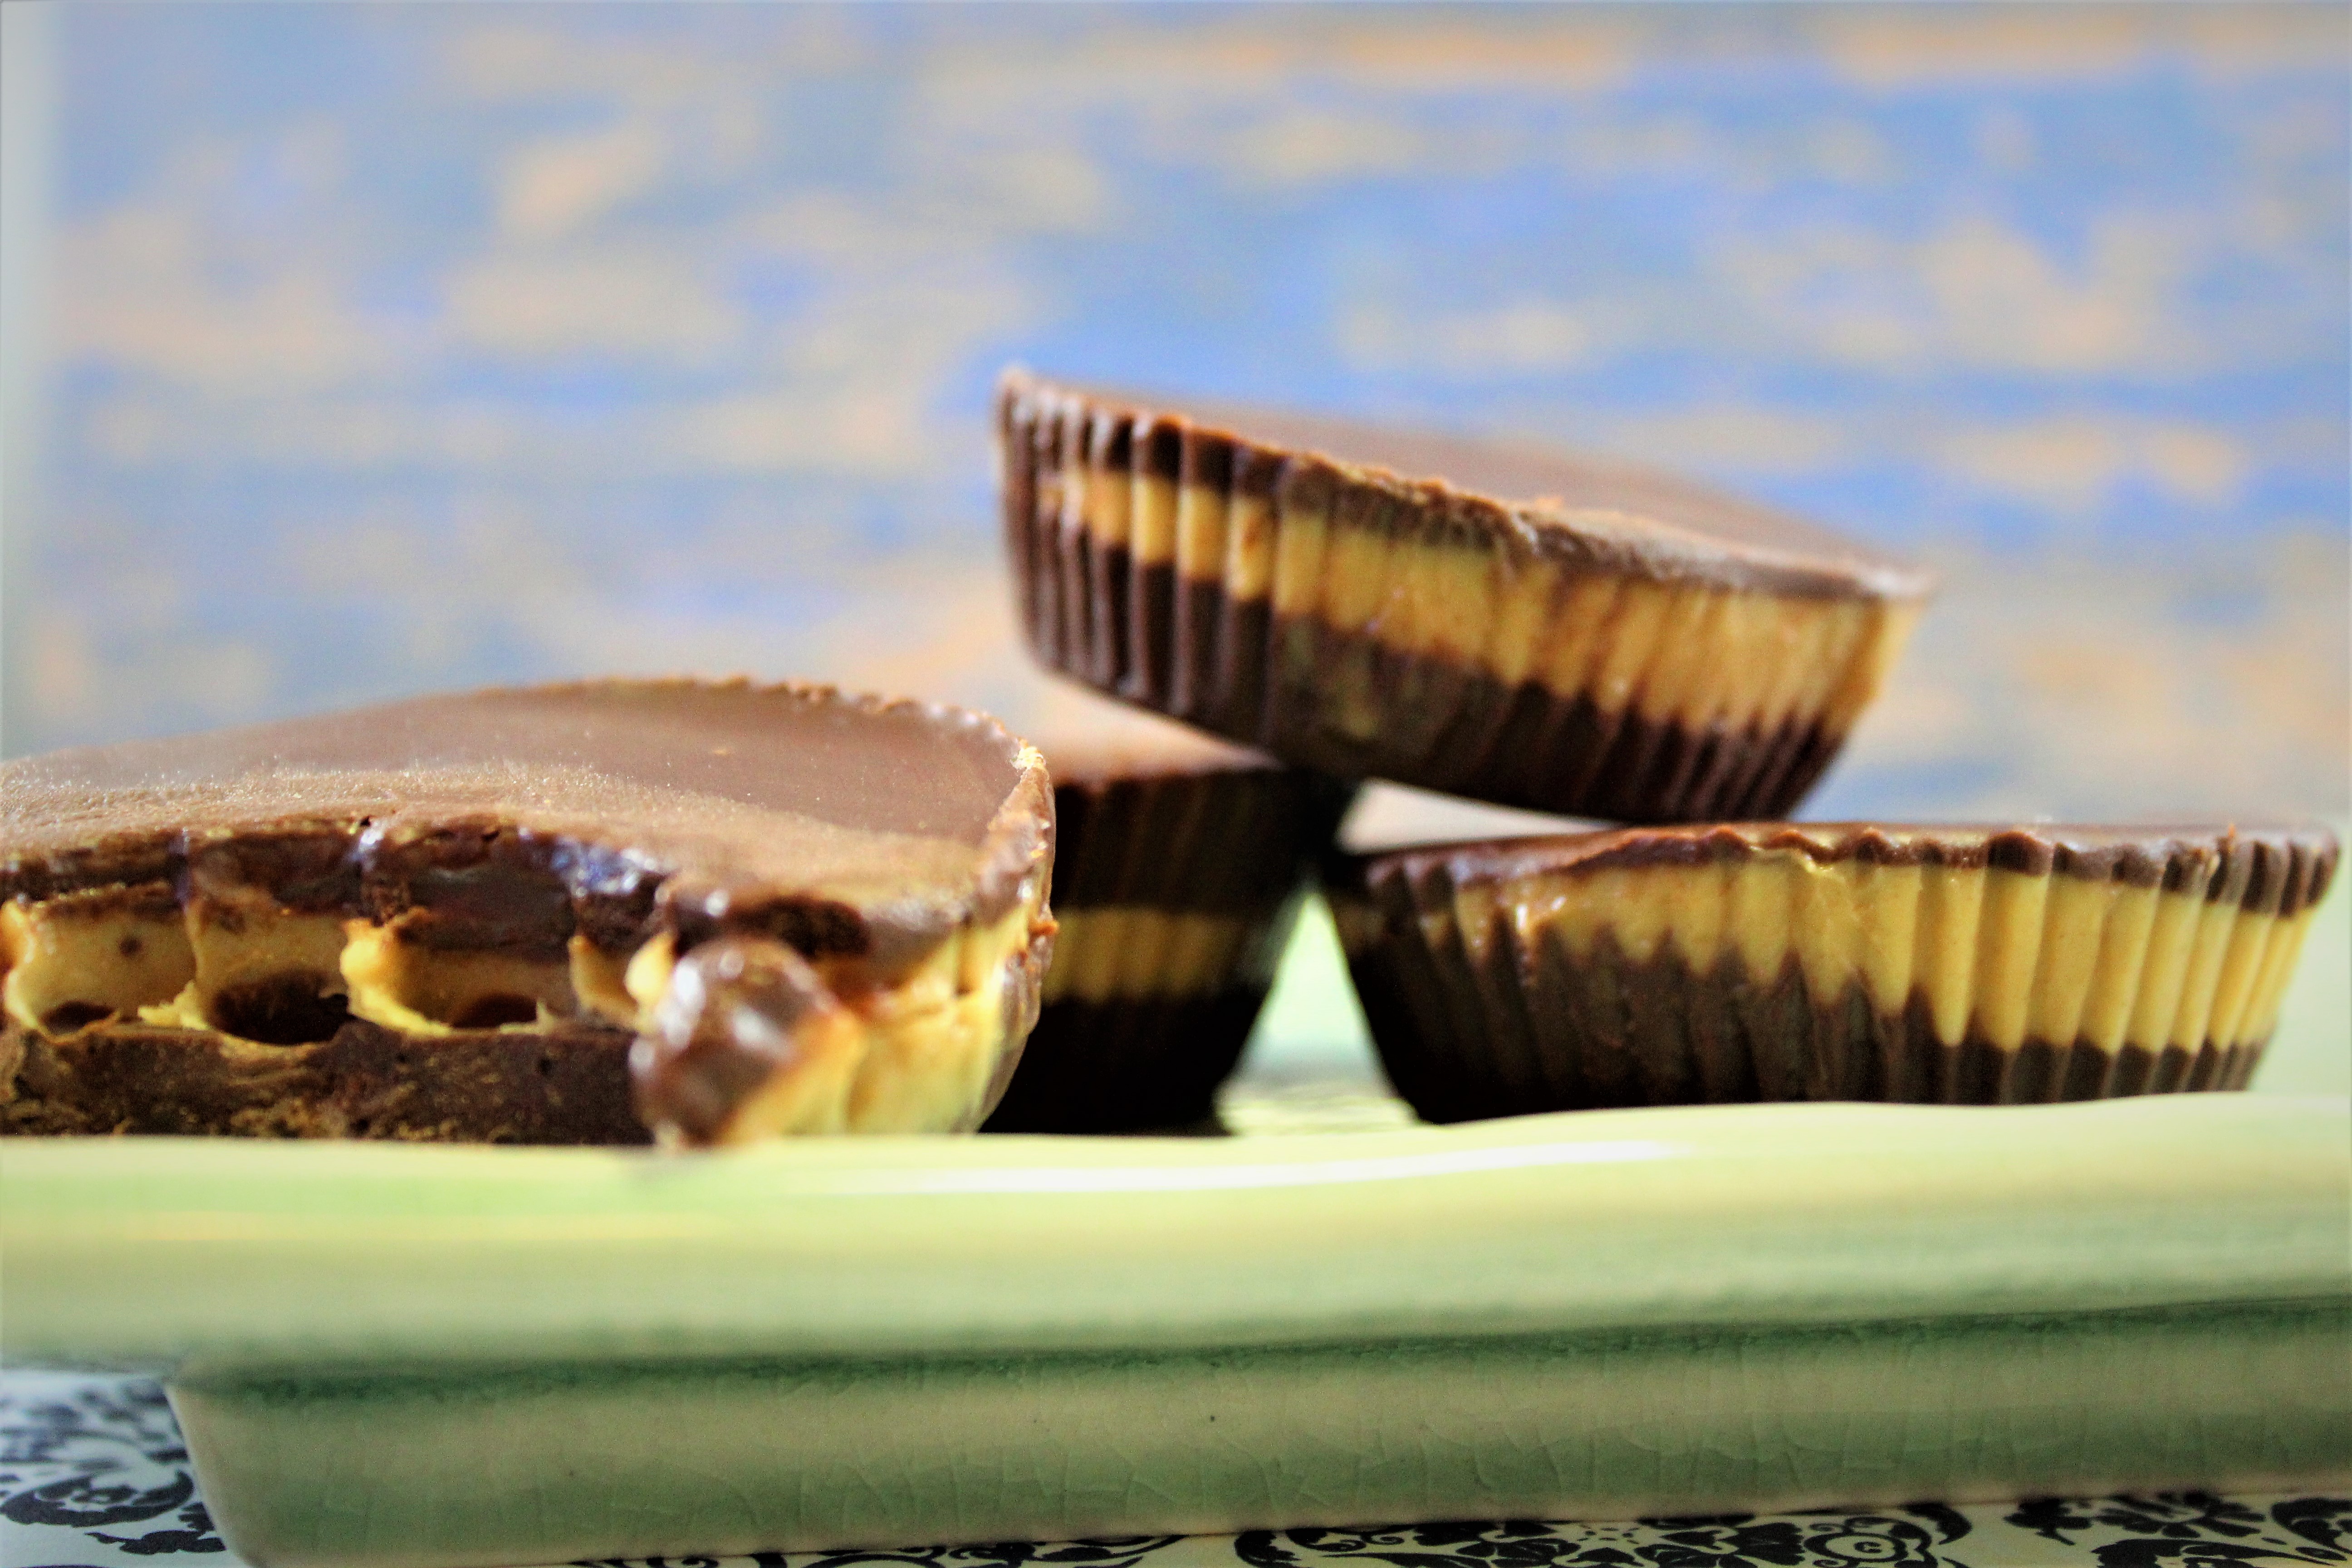
They are creamy and sweet, the perfect comfort food. I hope you try my recipe and feel comfortable giving these peanut butter cups away.
I am making them today to give to friends….tis the season.

Everyone has a memory of Peanut Butter Cups from their childhood. My Peanut Butter cups will take you back to those memories. Smooth chocolate and creamy peanut butter are always a great combination. You will love this recipe,
Line a muffin tin with muffin liners.
In a bowl, add the dark chocolate and ¼ cup coconut oil. Stir in vanilla
Microwave for 30-second intervals until melted, stirring after each.
Pour half of the chocolate mixture into the liners (enough to cover the bottom). Save the remaining for the top layer.
Freeze for 15 minutes.
In a bowl, add the peanut butter, honey, and 2 tablespoons coconut oil.
Microwave 15 seconds or until just melted and pourable.
Pour mixture evenly over chocolate layer into the muffin tins.
Freeze for 5 minutes.
Pour remaining chocolate mixture on top of the peanut butter layer.
Freeze until firm about 1 hour.
Remove from the liners
Store in the refrigerator
Enjoy!
I love this recipe! It dates back to the 1970s. I updated it, but the original recipe was stolen from my mom’s recipe box. This recipe uses a microwave oven to cook the caramel. This is such an easy recipe your friends and family will …
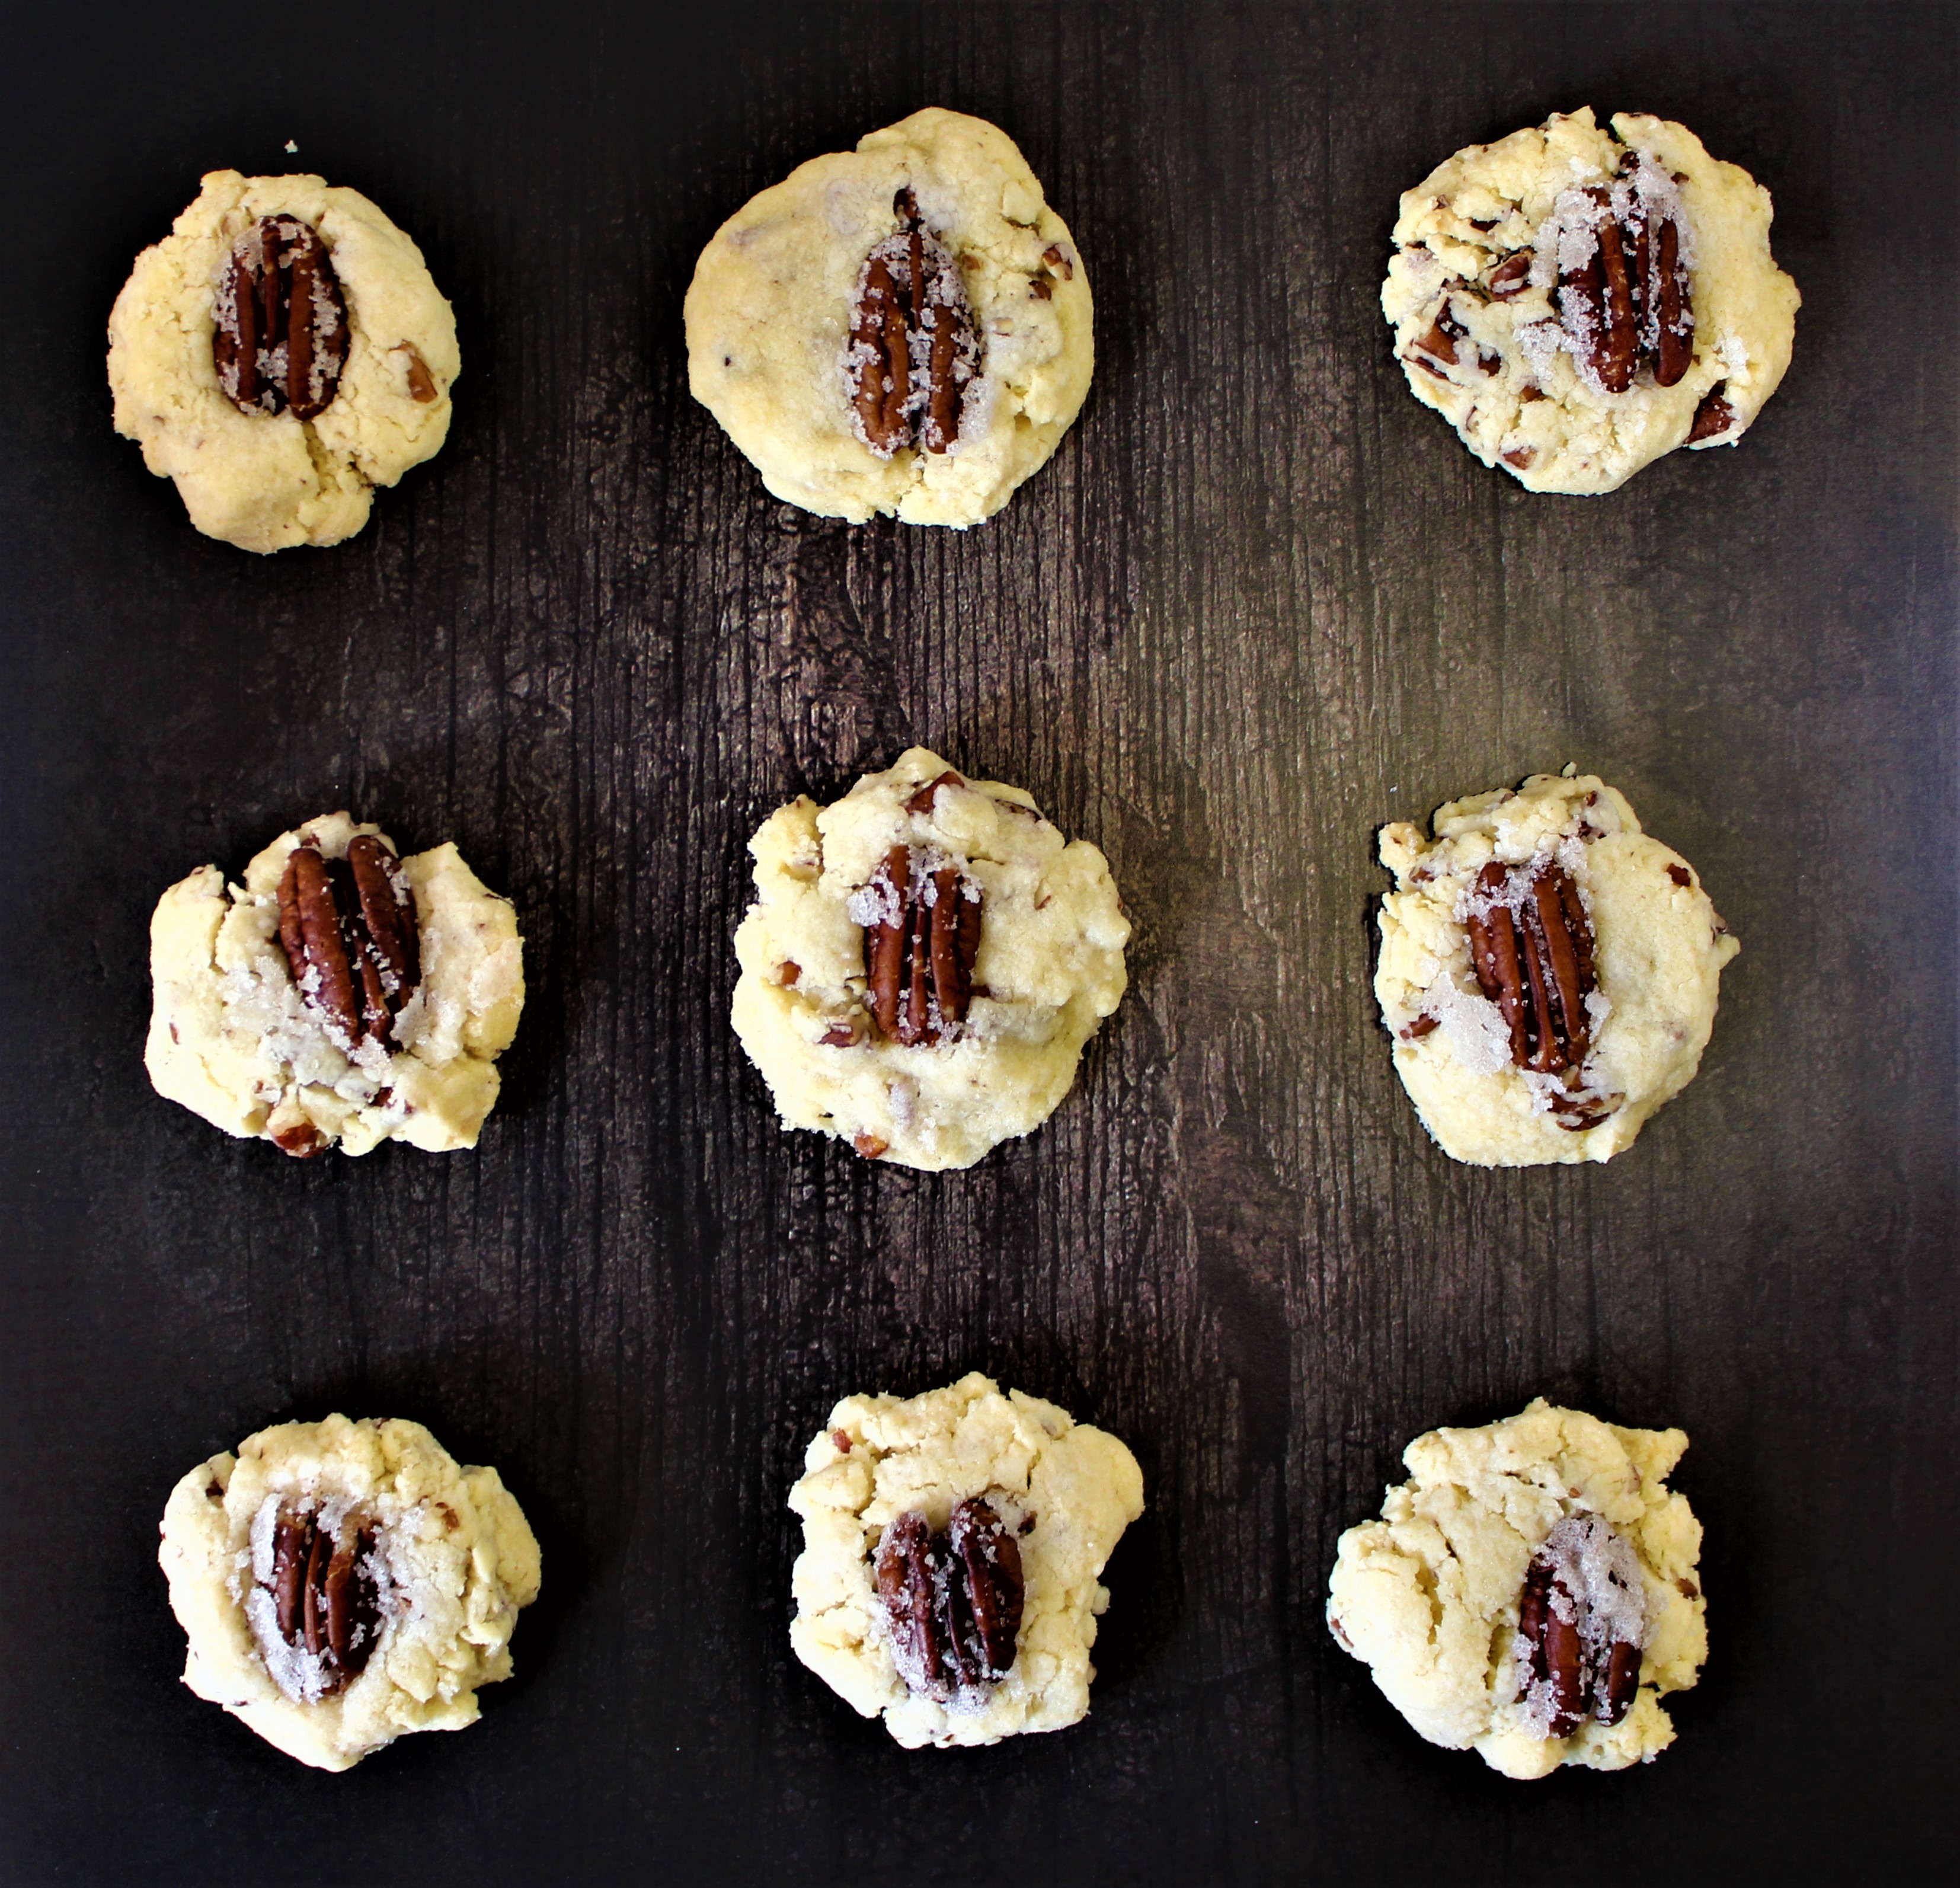
My Pecan Sandies are a combination of flaky shortbread and toasted pecans. Before starting this recipe, I had never had a homemade pecan sandie. I like the “cookie isle sandies,” but felt that I could do better.
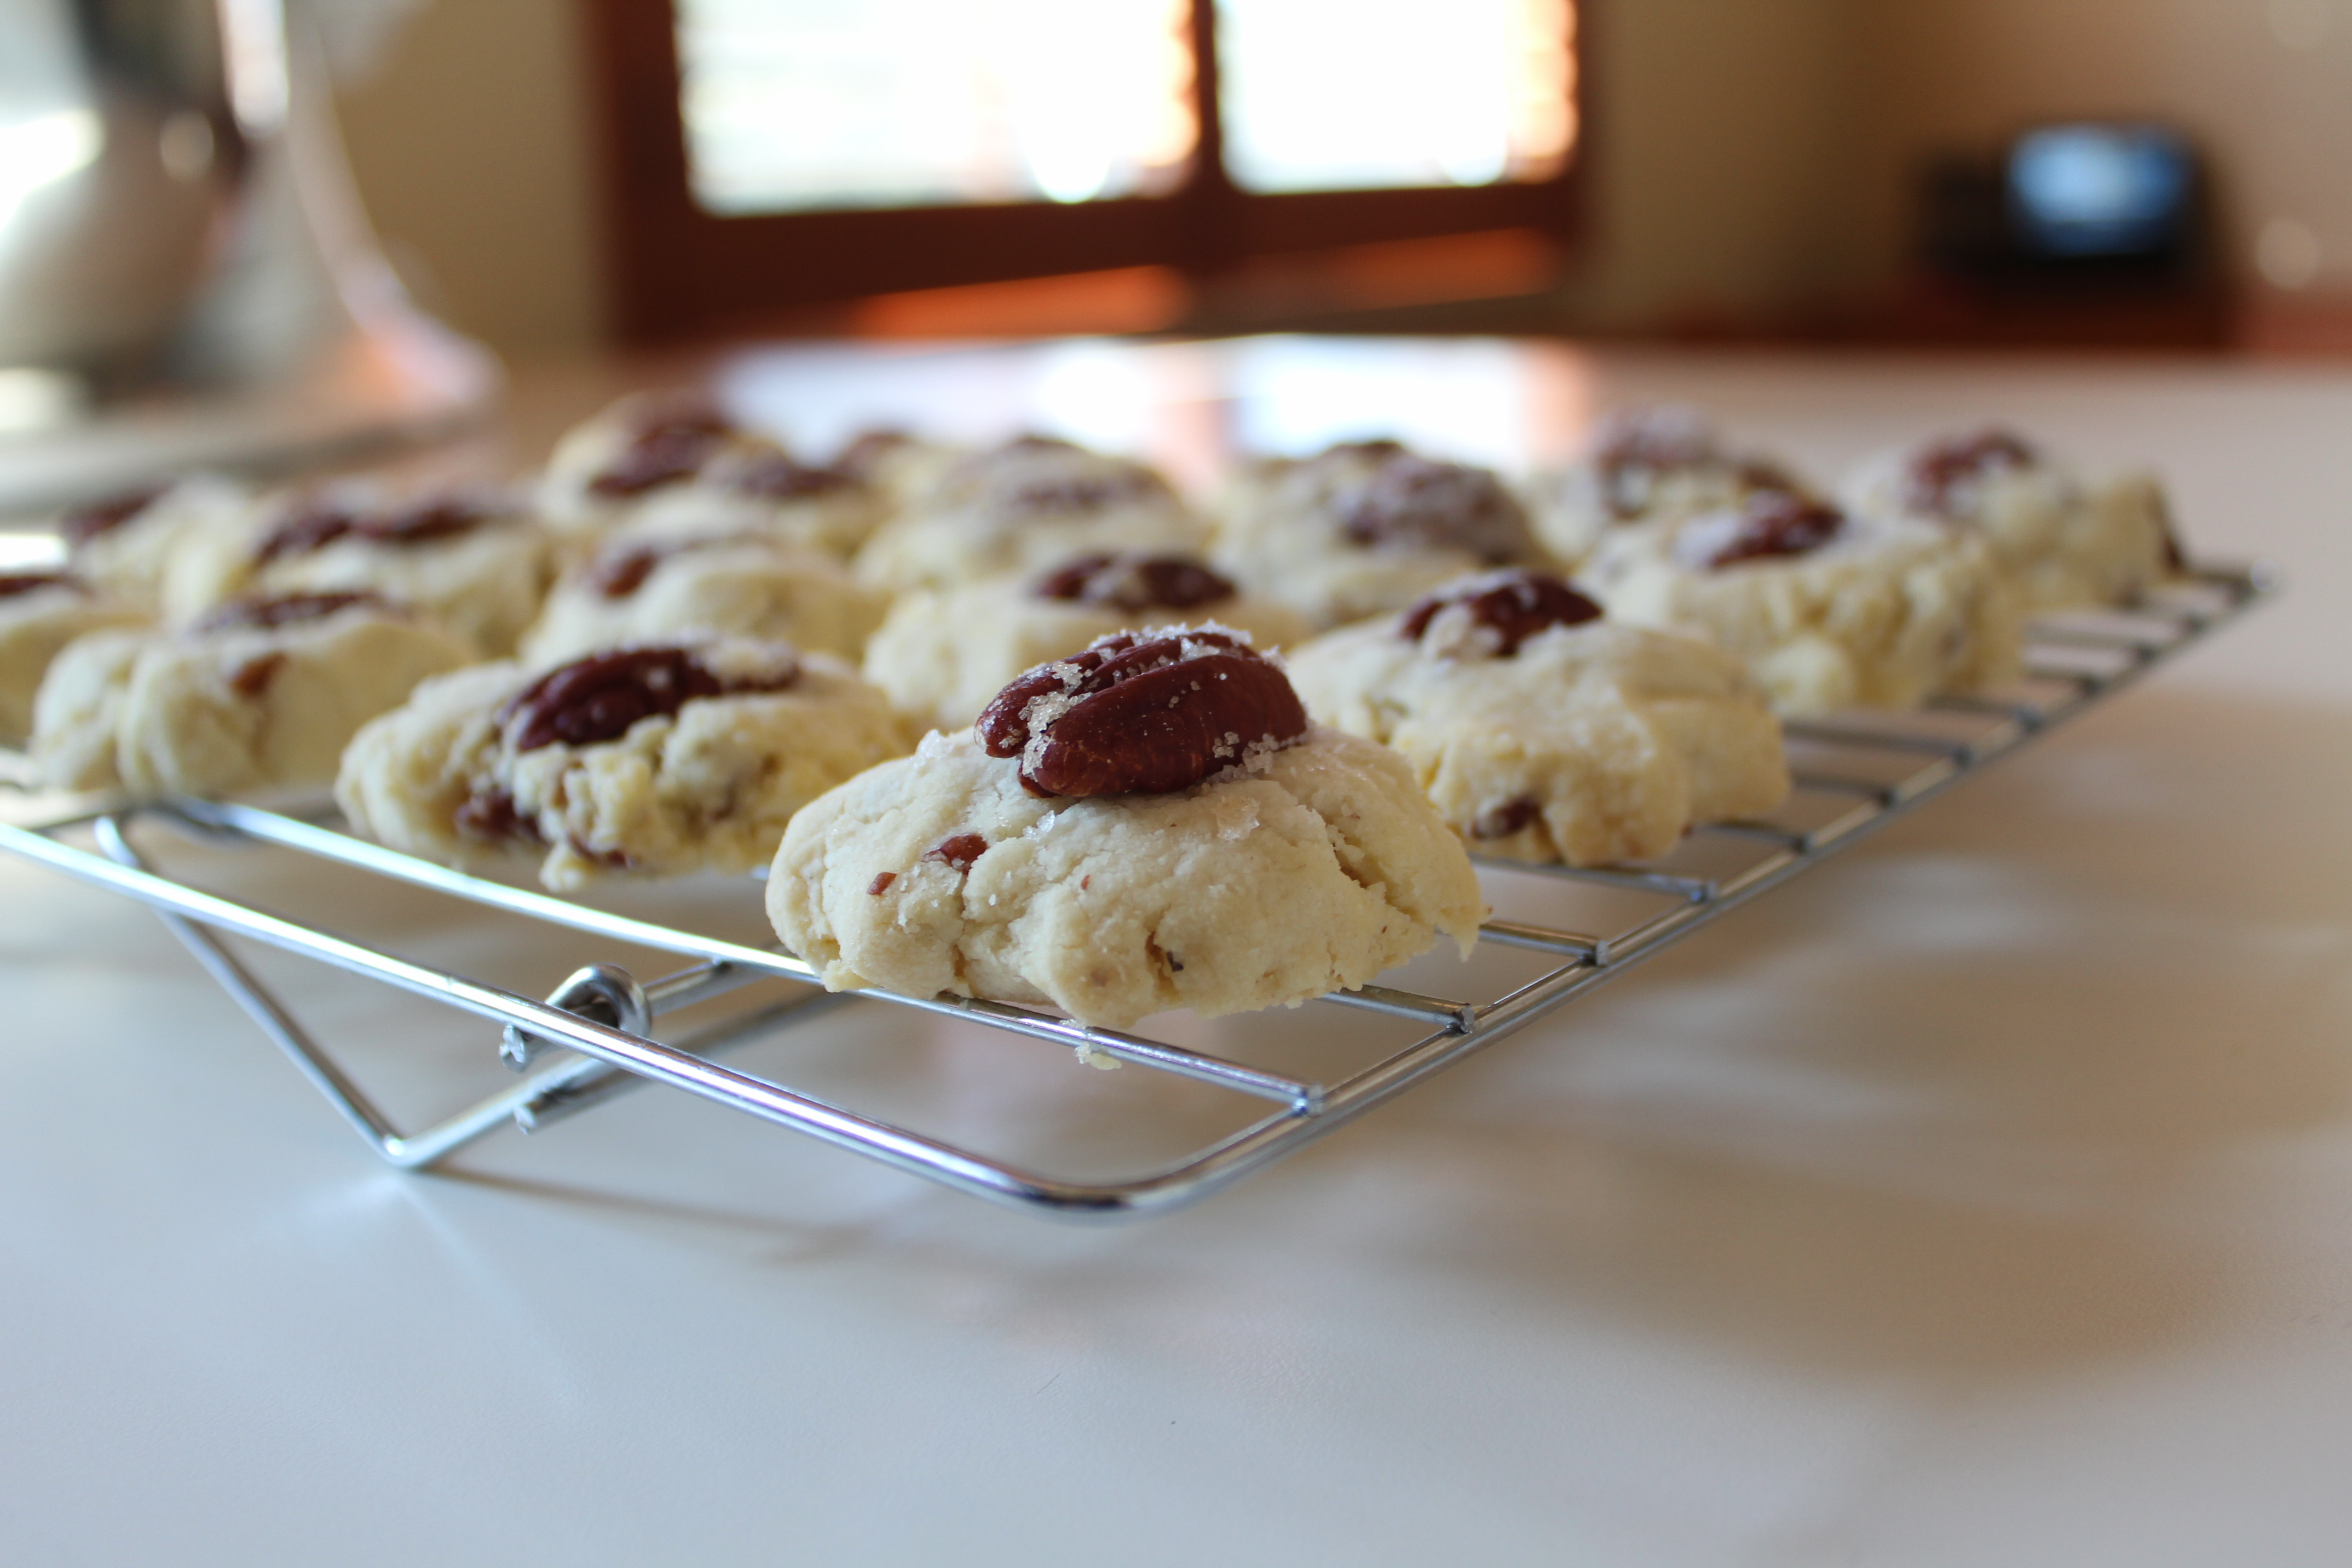
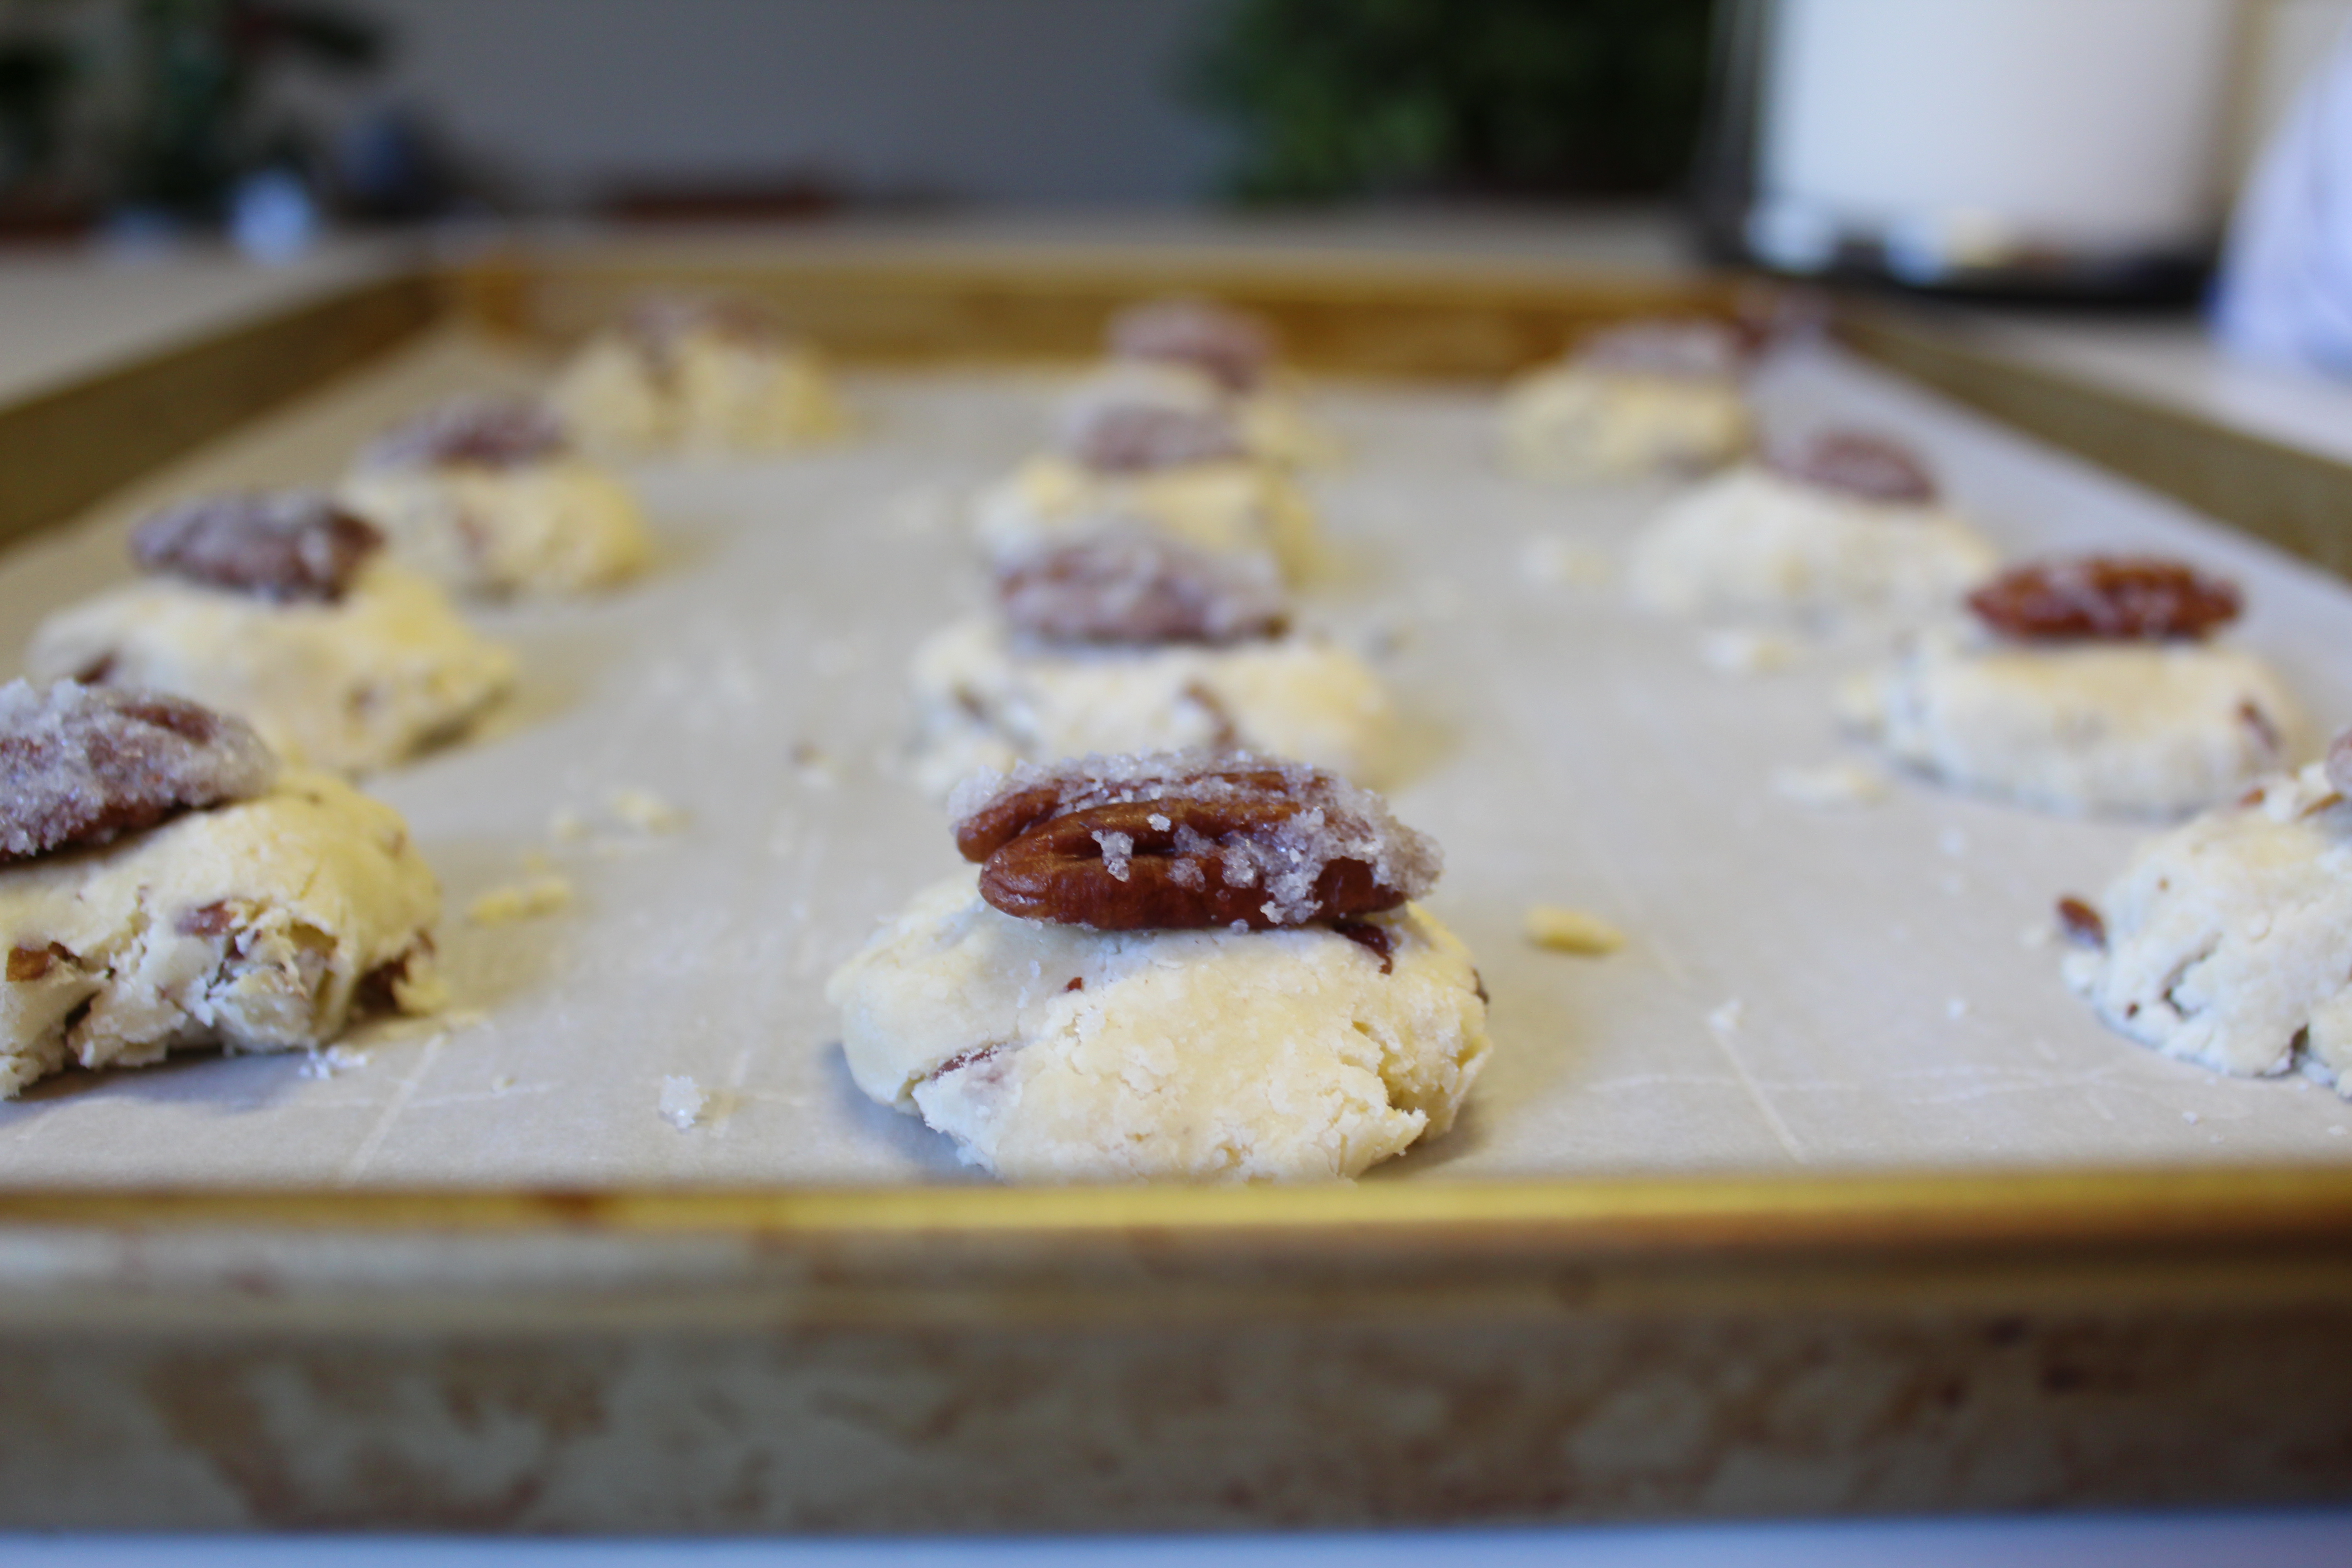
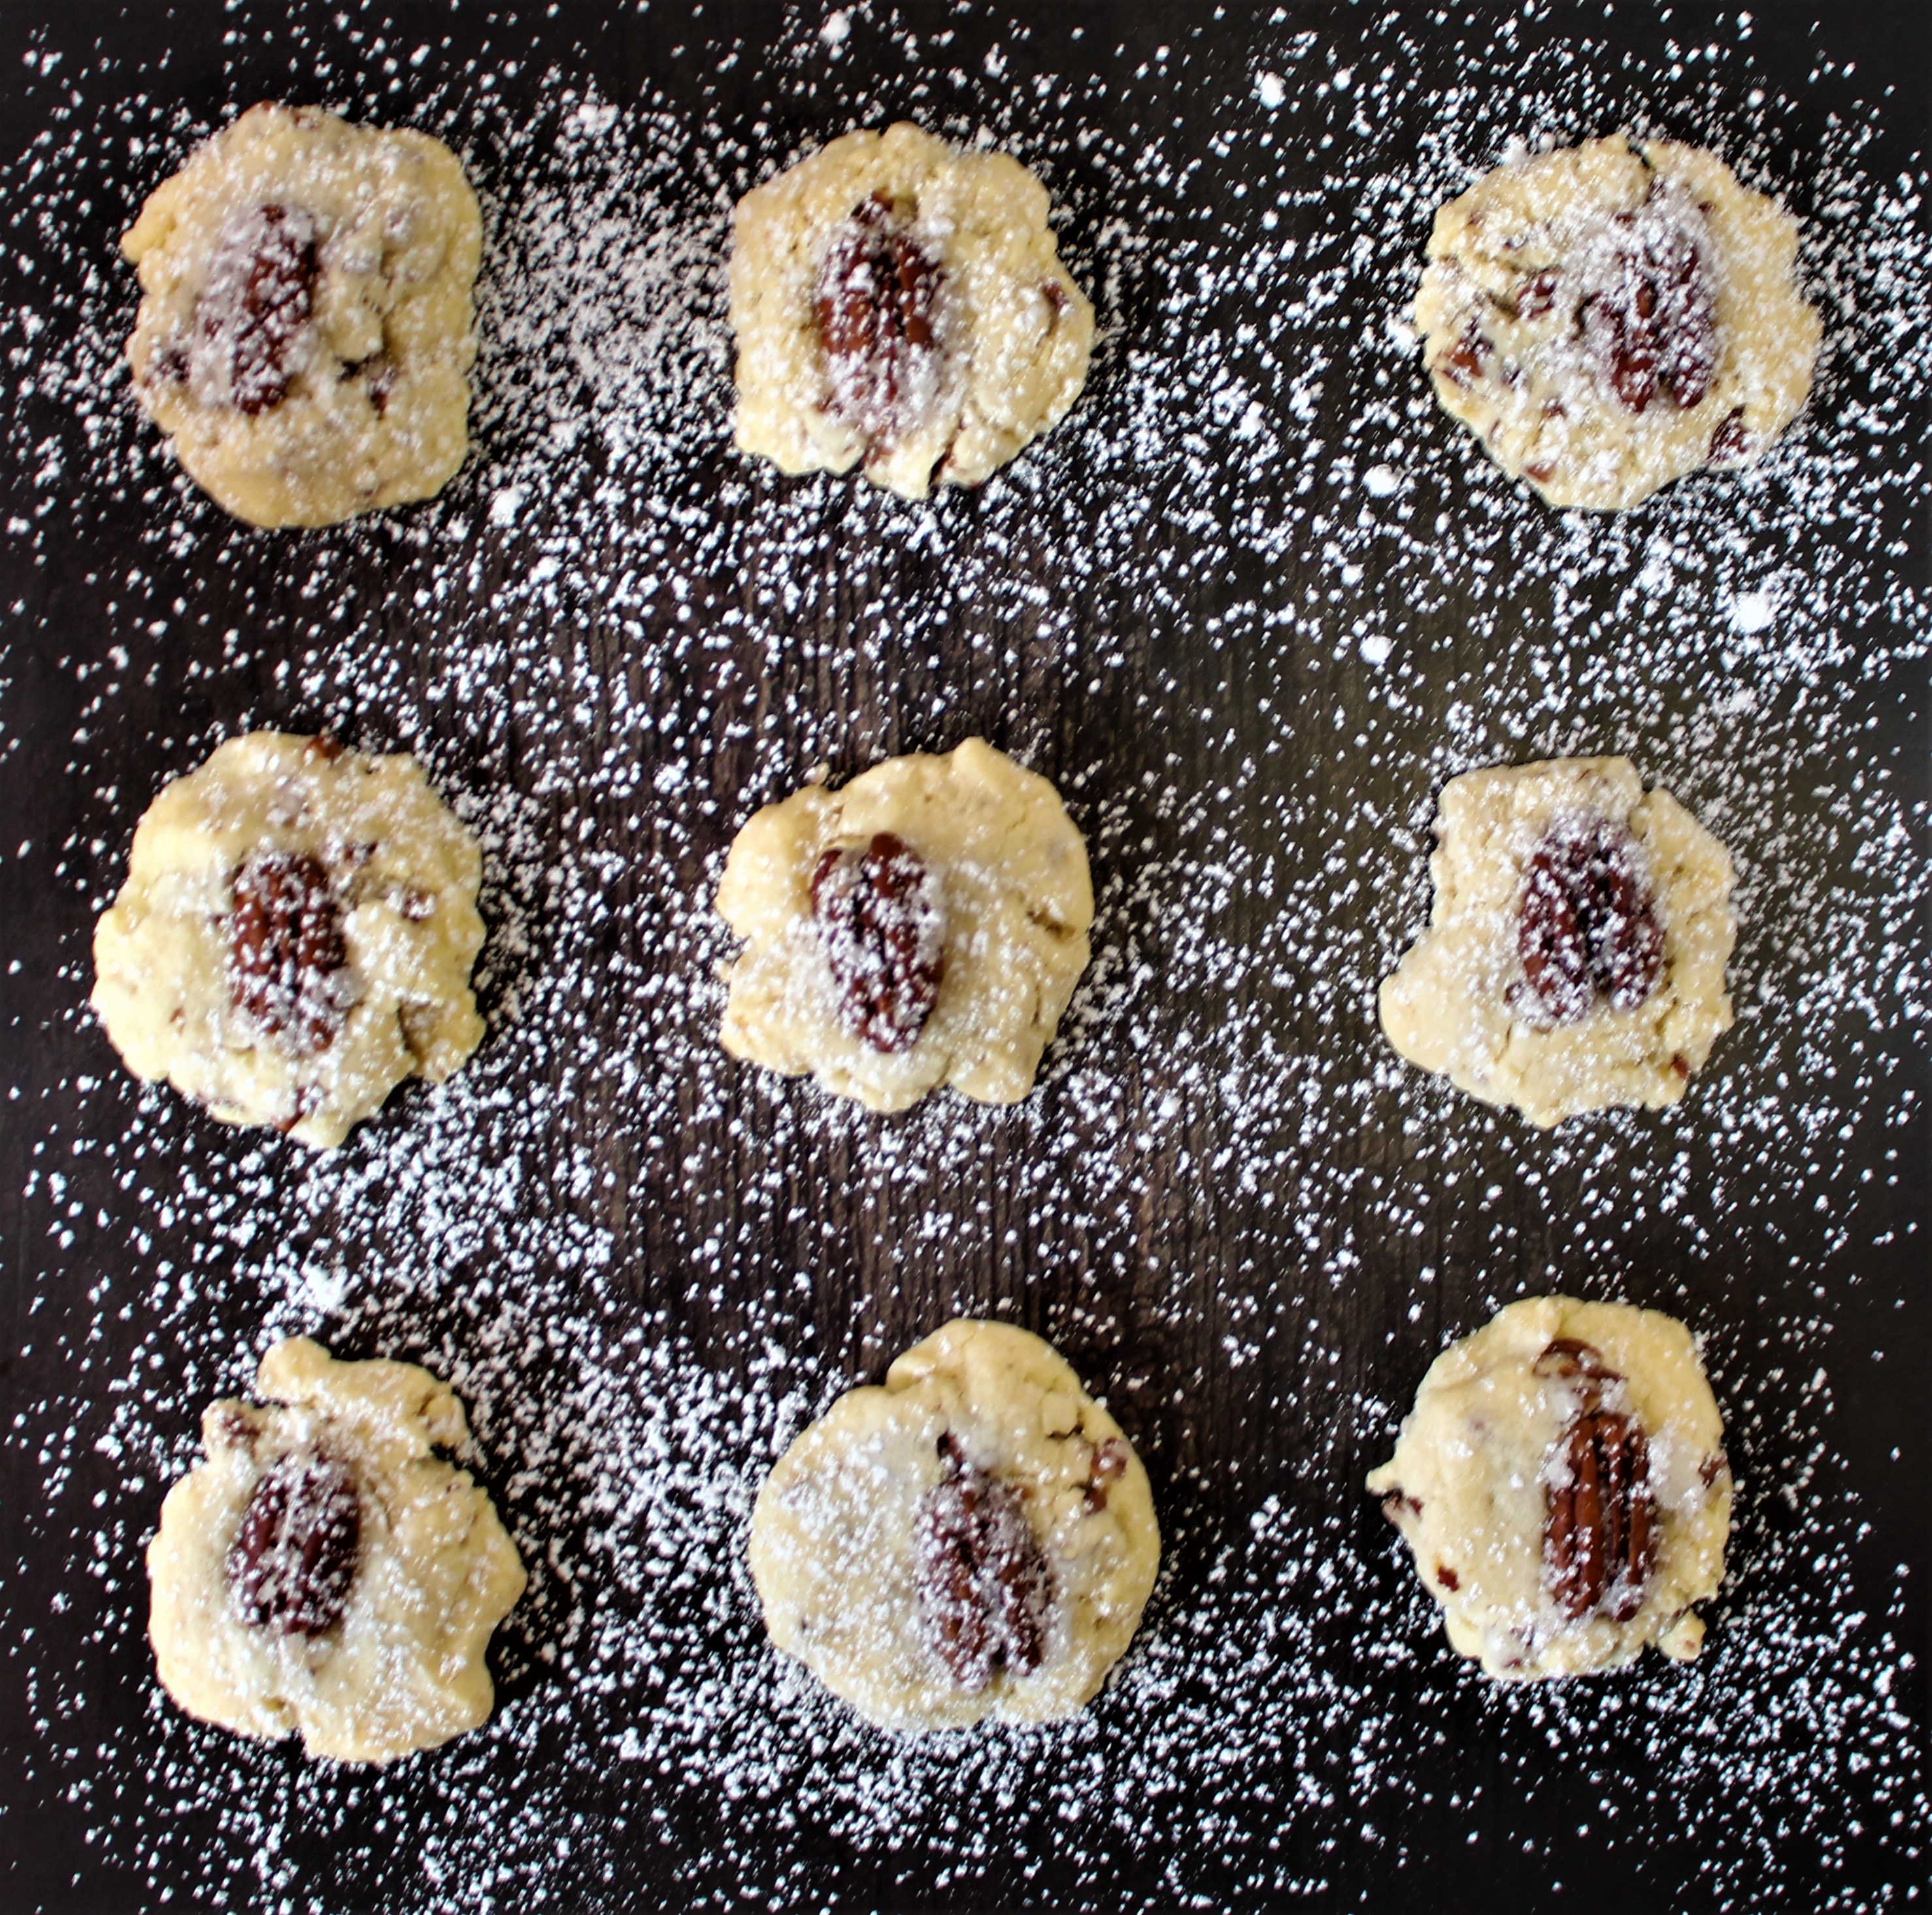
Our Pecan Sandie recipe is an updated version of the classic cookie. The toasted pecans add a smoky taste that you will love.
Preheat the oven to 325°
Line two sheet pans with parchment paper.
Coat pecans and flour together in a medium bowl.
Using a stand mixer fitted with the paddle, mix butter on medium-low speed until smooth.
Add the 3/4 cup and 1 3/4 teaspoons powdered sugar to the butter and mix for 2 minutes, the mixture will be fluffy. Scrape the sides and bottom of the bowl as needed.
Add the flour/pecan mixture and mix on low for 30 seconds. Scrape the bowl to make sure all dry ingredients are incorporated.
Divide the dough into one 1/2-tablespoon portion, roll into balls, and arrange on the lined pans, with 1 1/2 inches between them.
Press balls with your hand into 2-inch disks.
Bake 15 to 18 minutes until slightly brown.
Allow cooling in the pans for 5 to 10 minutes. Arrange the cookies on a rack to cool completely.
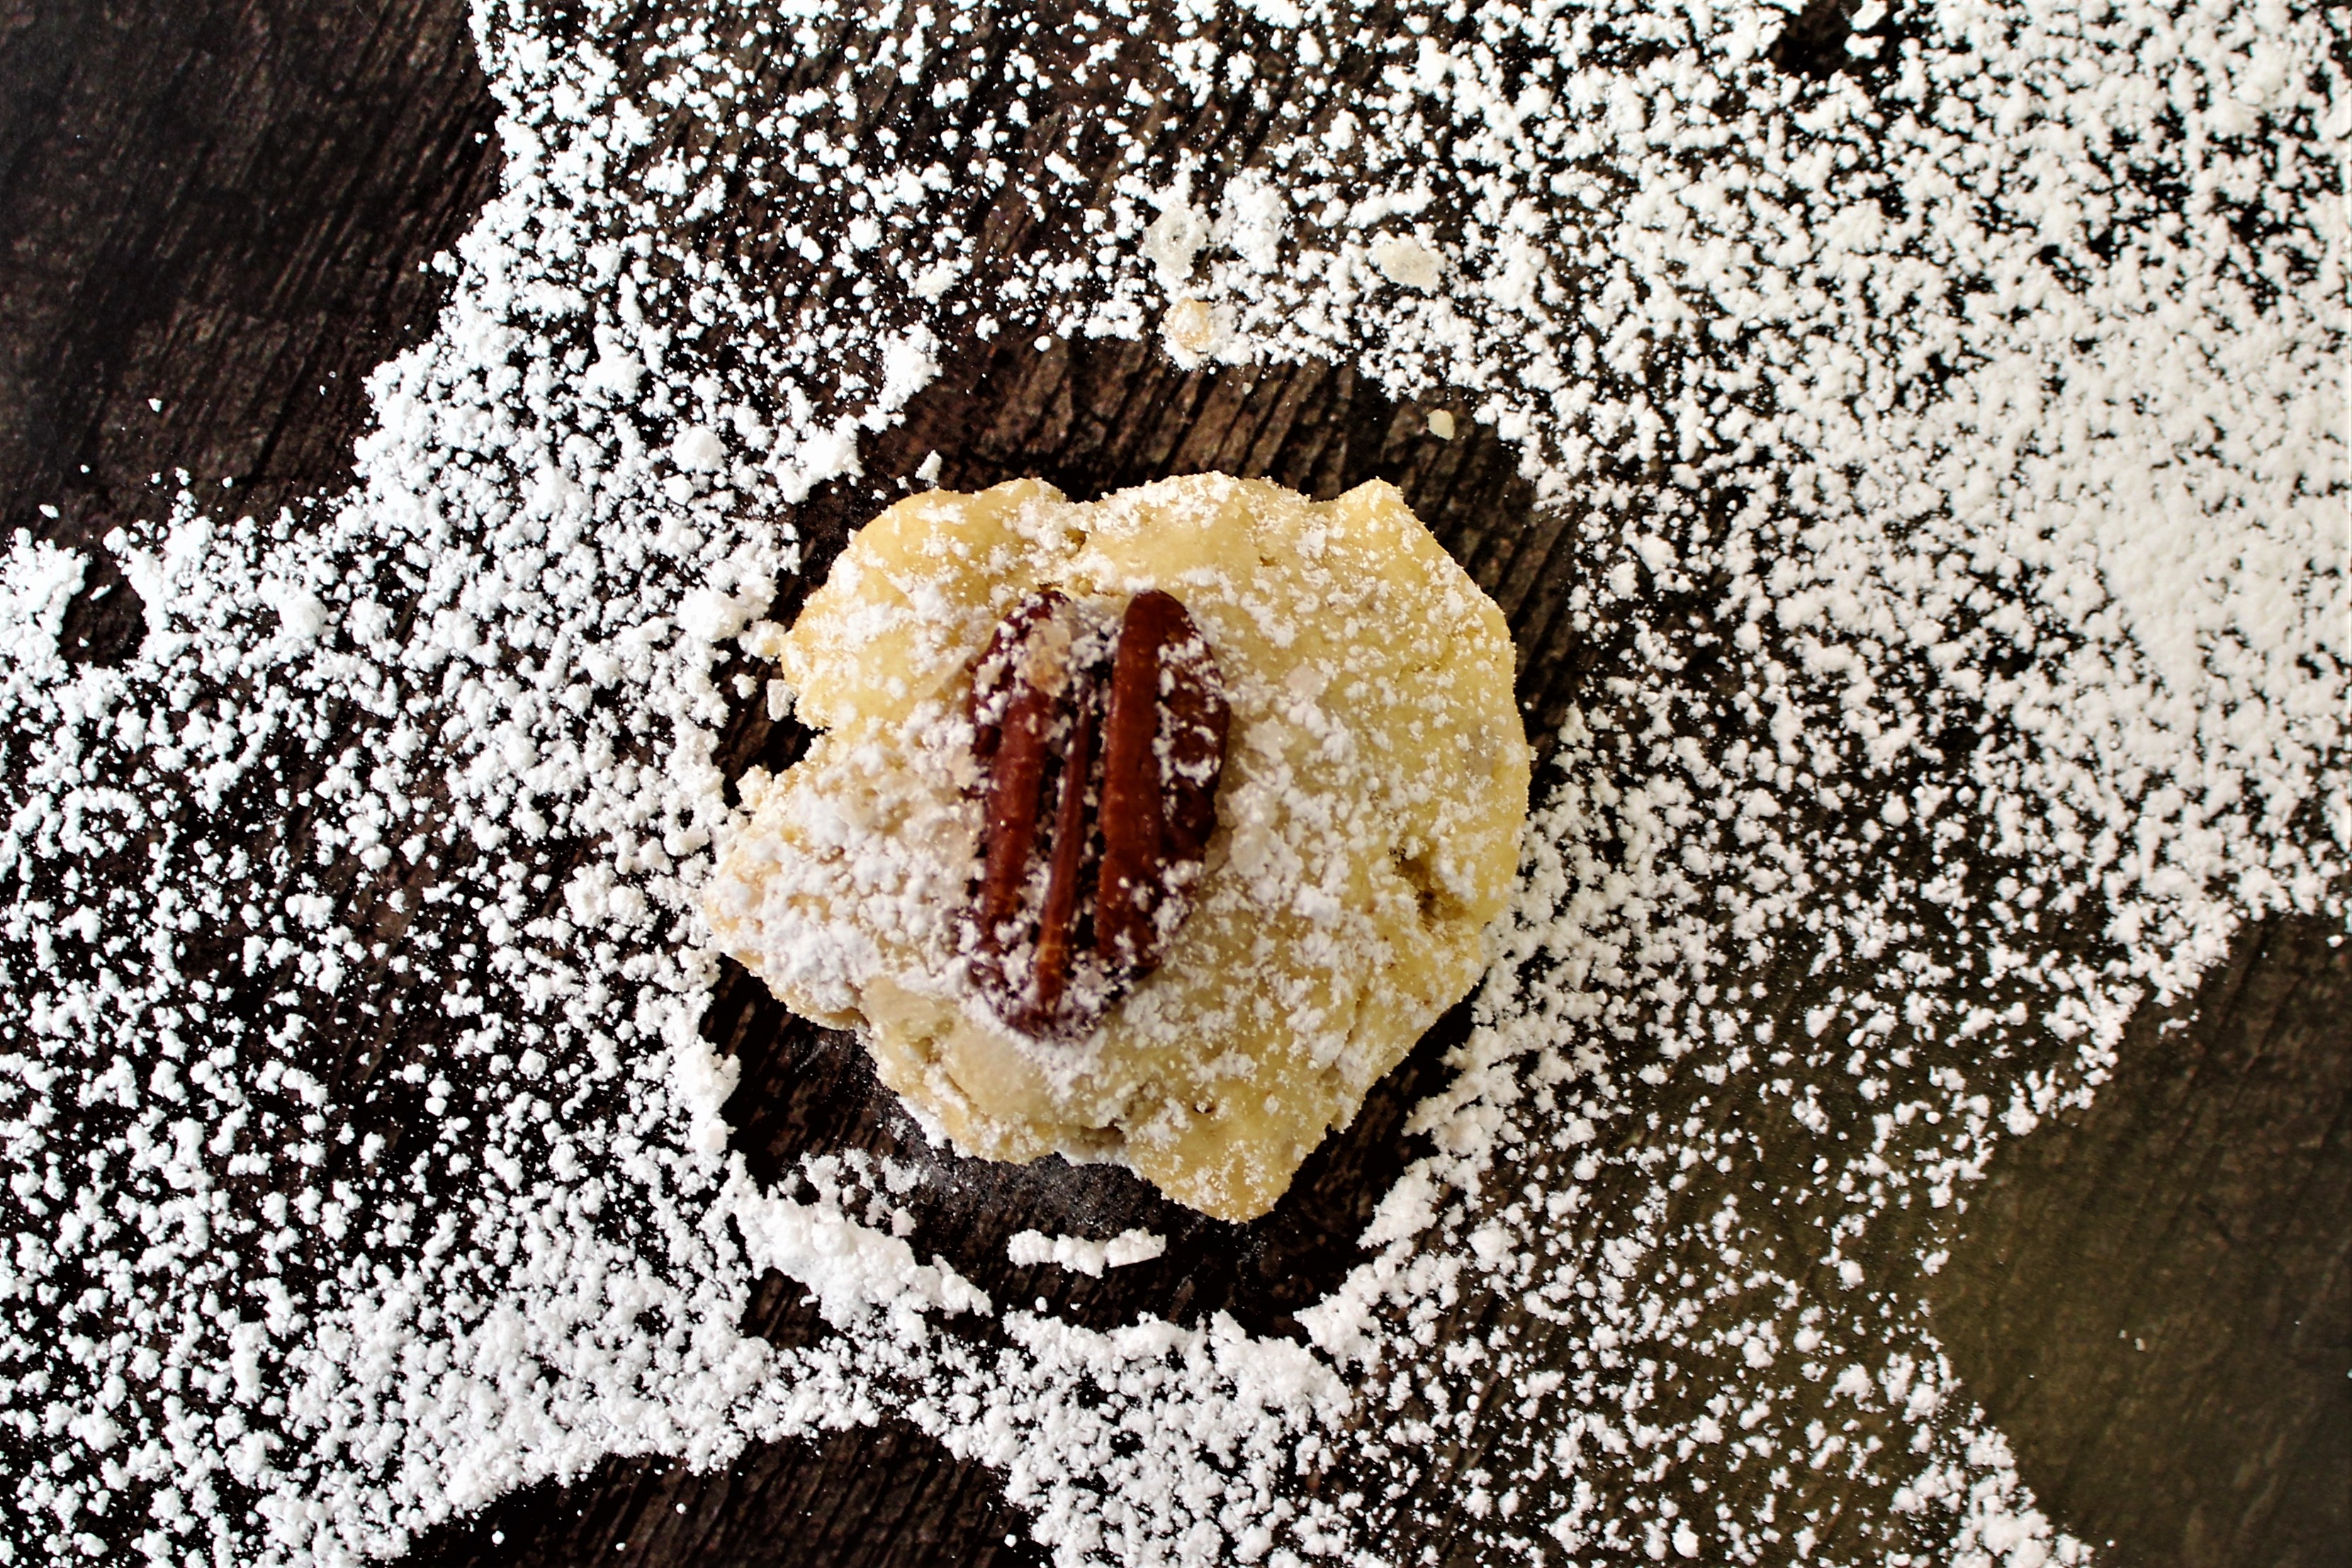
Dust with powdered sugar.
Store in a covered container for up to 3 days.
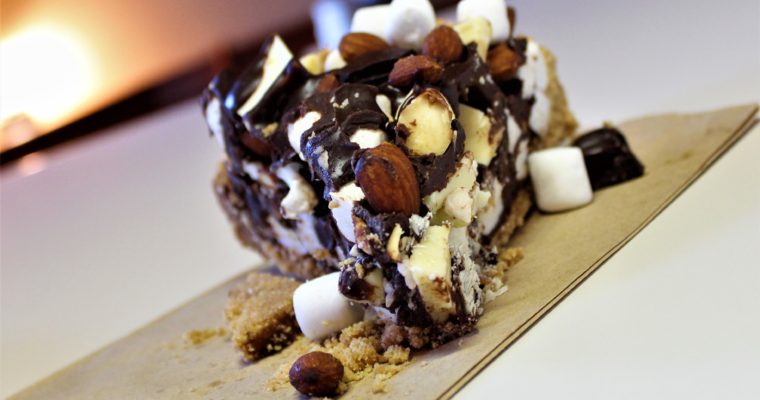
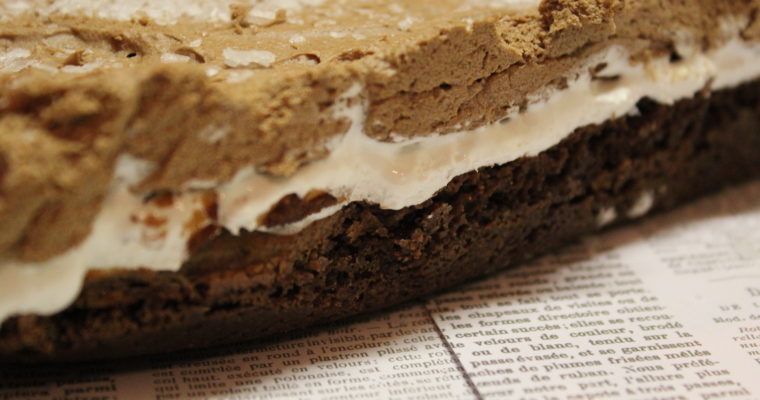
My Rocky Road Tart is a tribute to the ice cream of the same name. I’ve never met anyone that didn’t love all those flavors that work together to make that sinful ice cream. I have always been a fan of the rocky road flavors. …
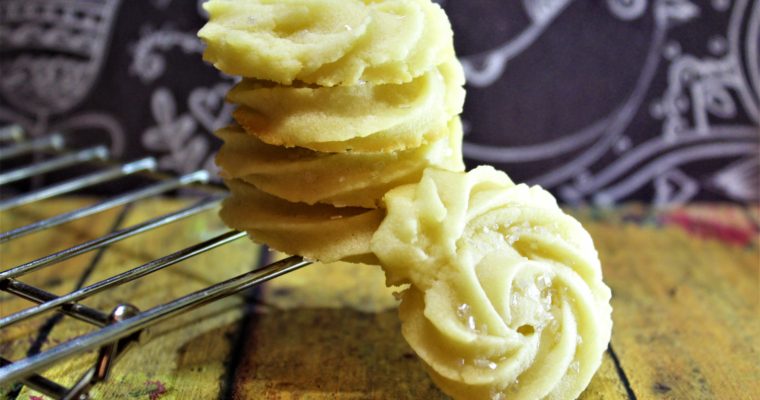
Who doesn’t love Danish Butter Cookies? The name says it all, “butter”. Several years ago Dale and I bought a cookie press. It changed our world. We made butter cookies by the hundreds. Every cookie was the same and came out perfectly. Perfectly, that is, …
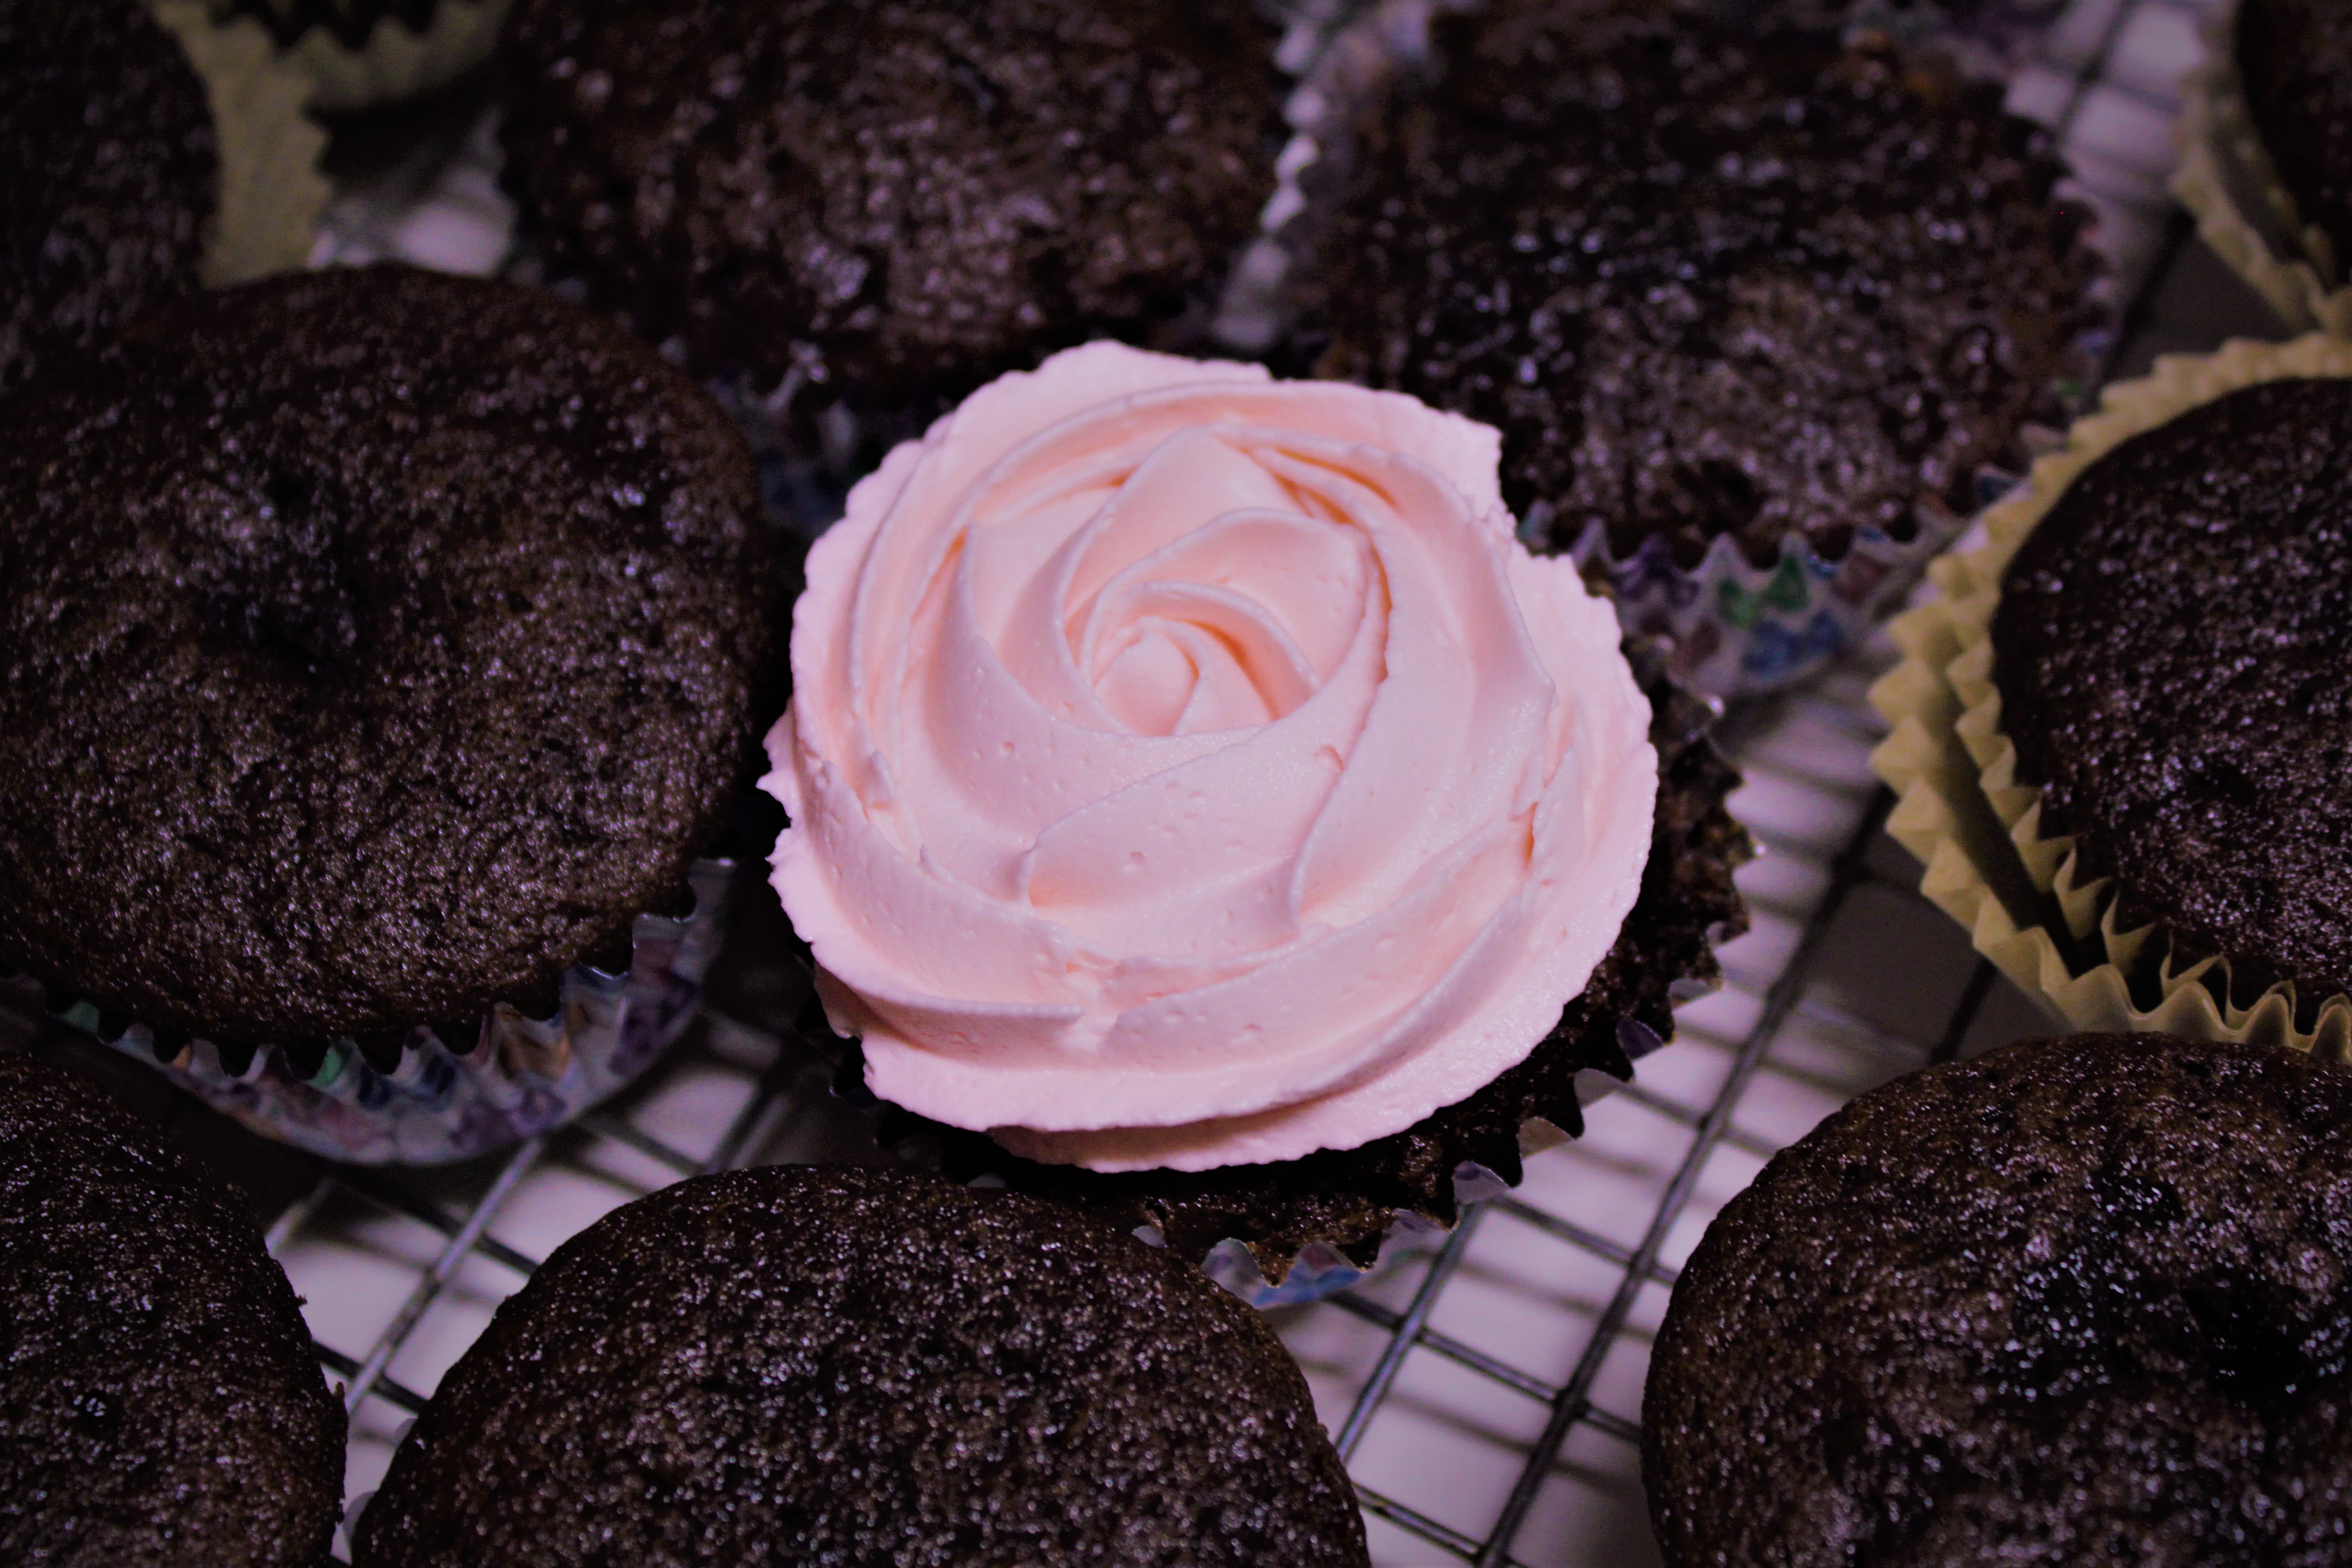
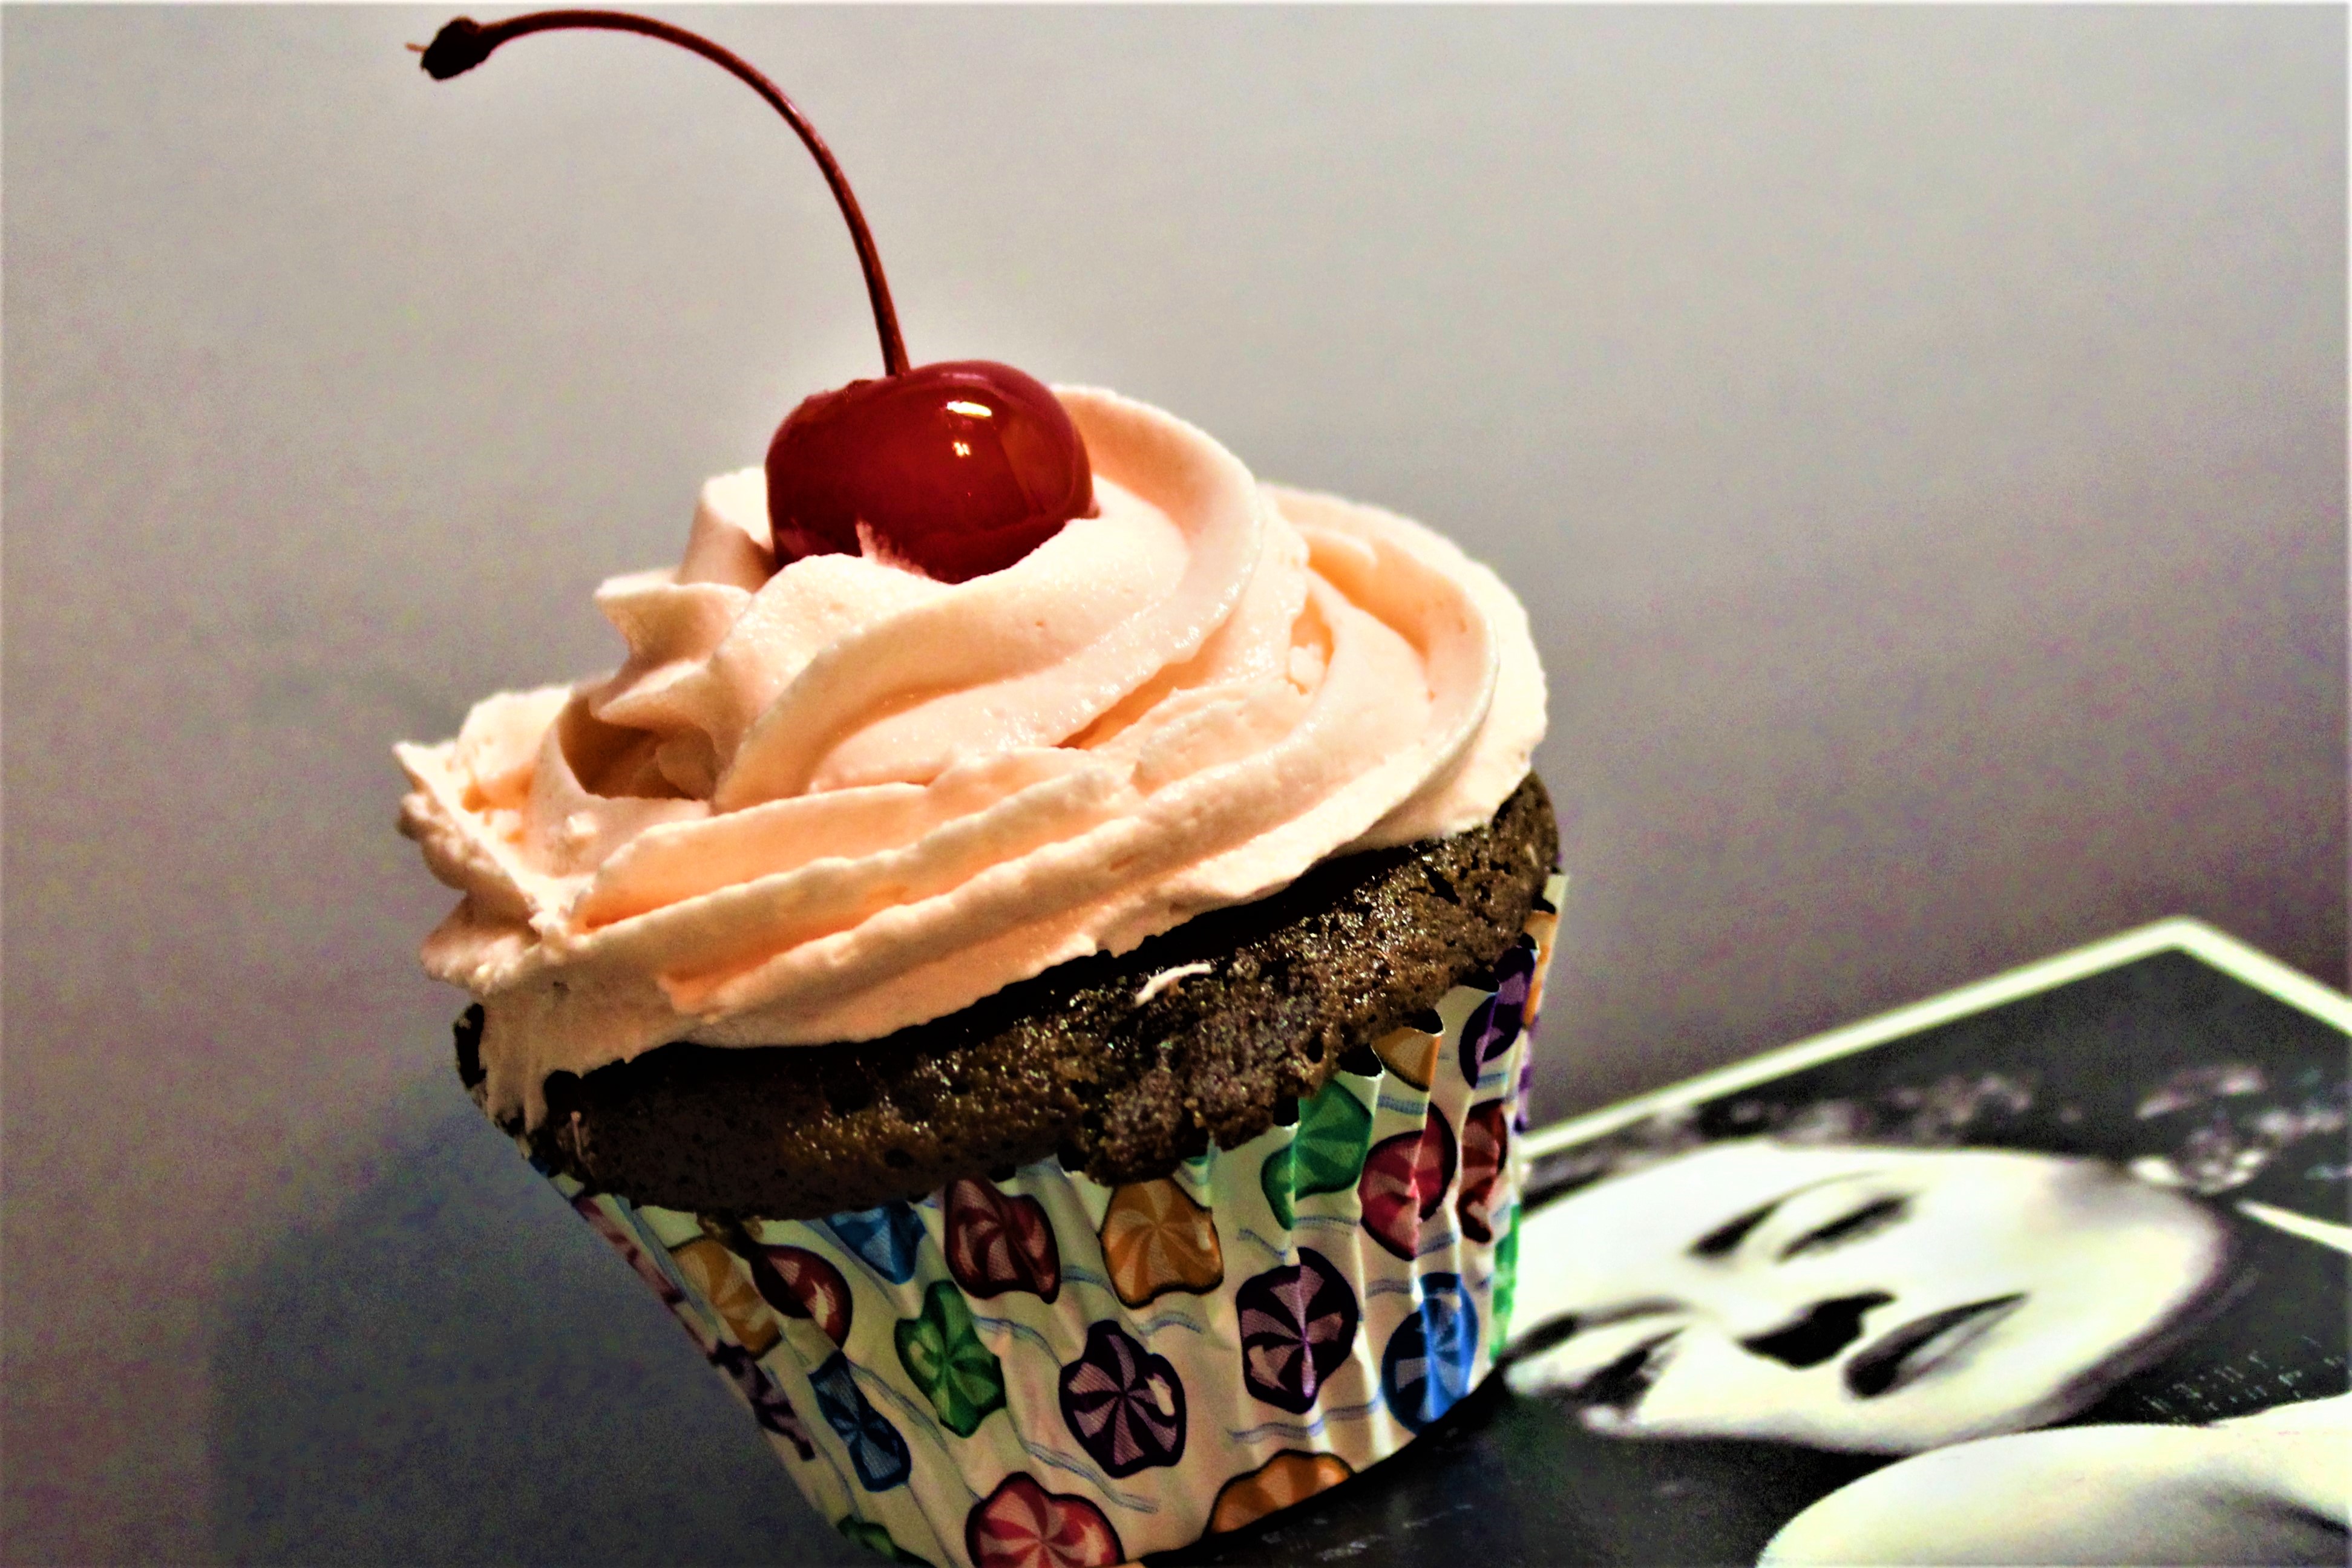
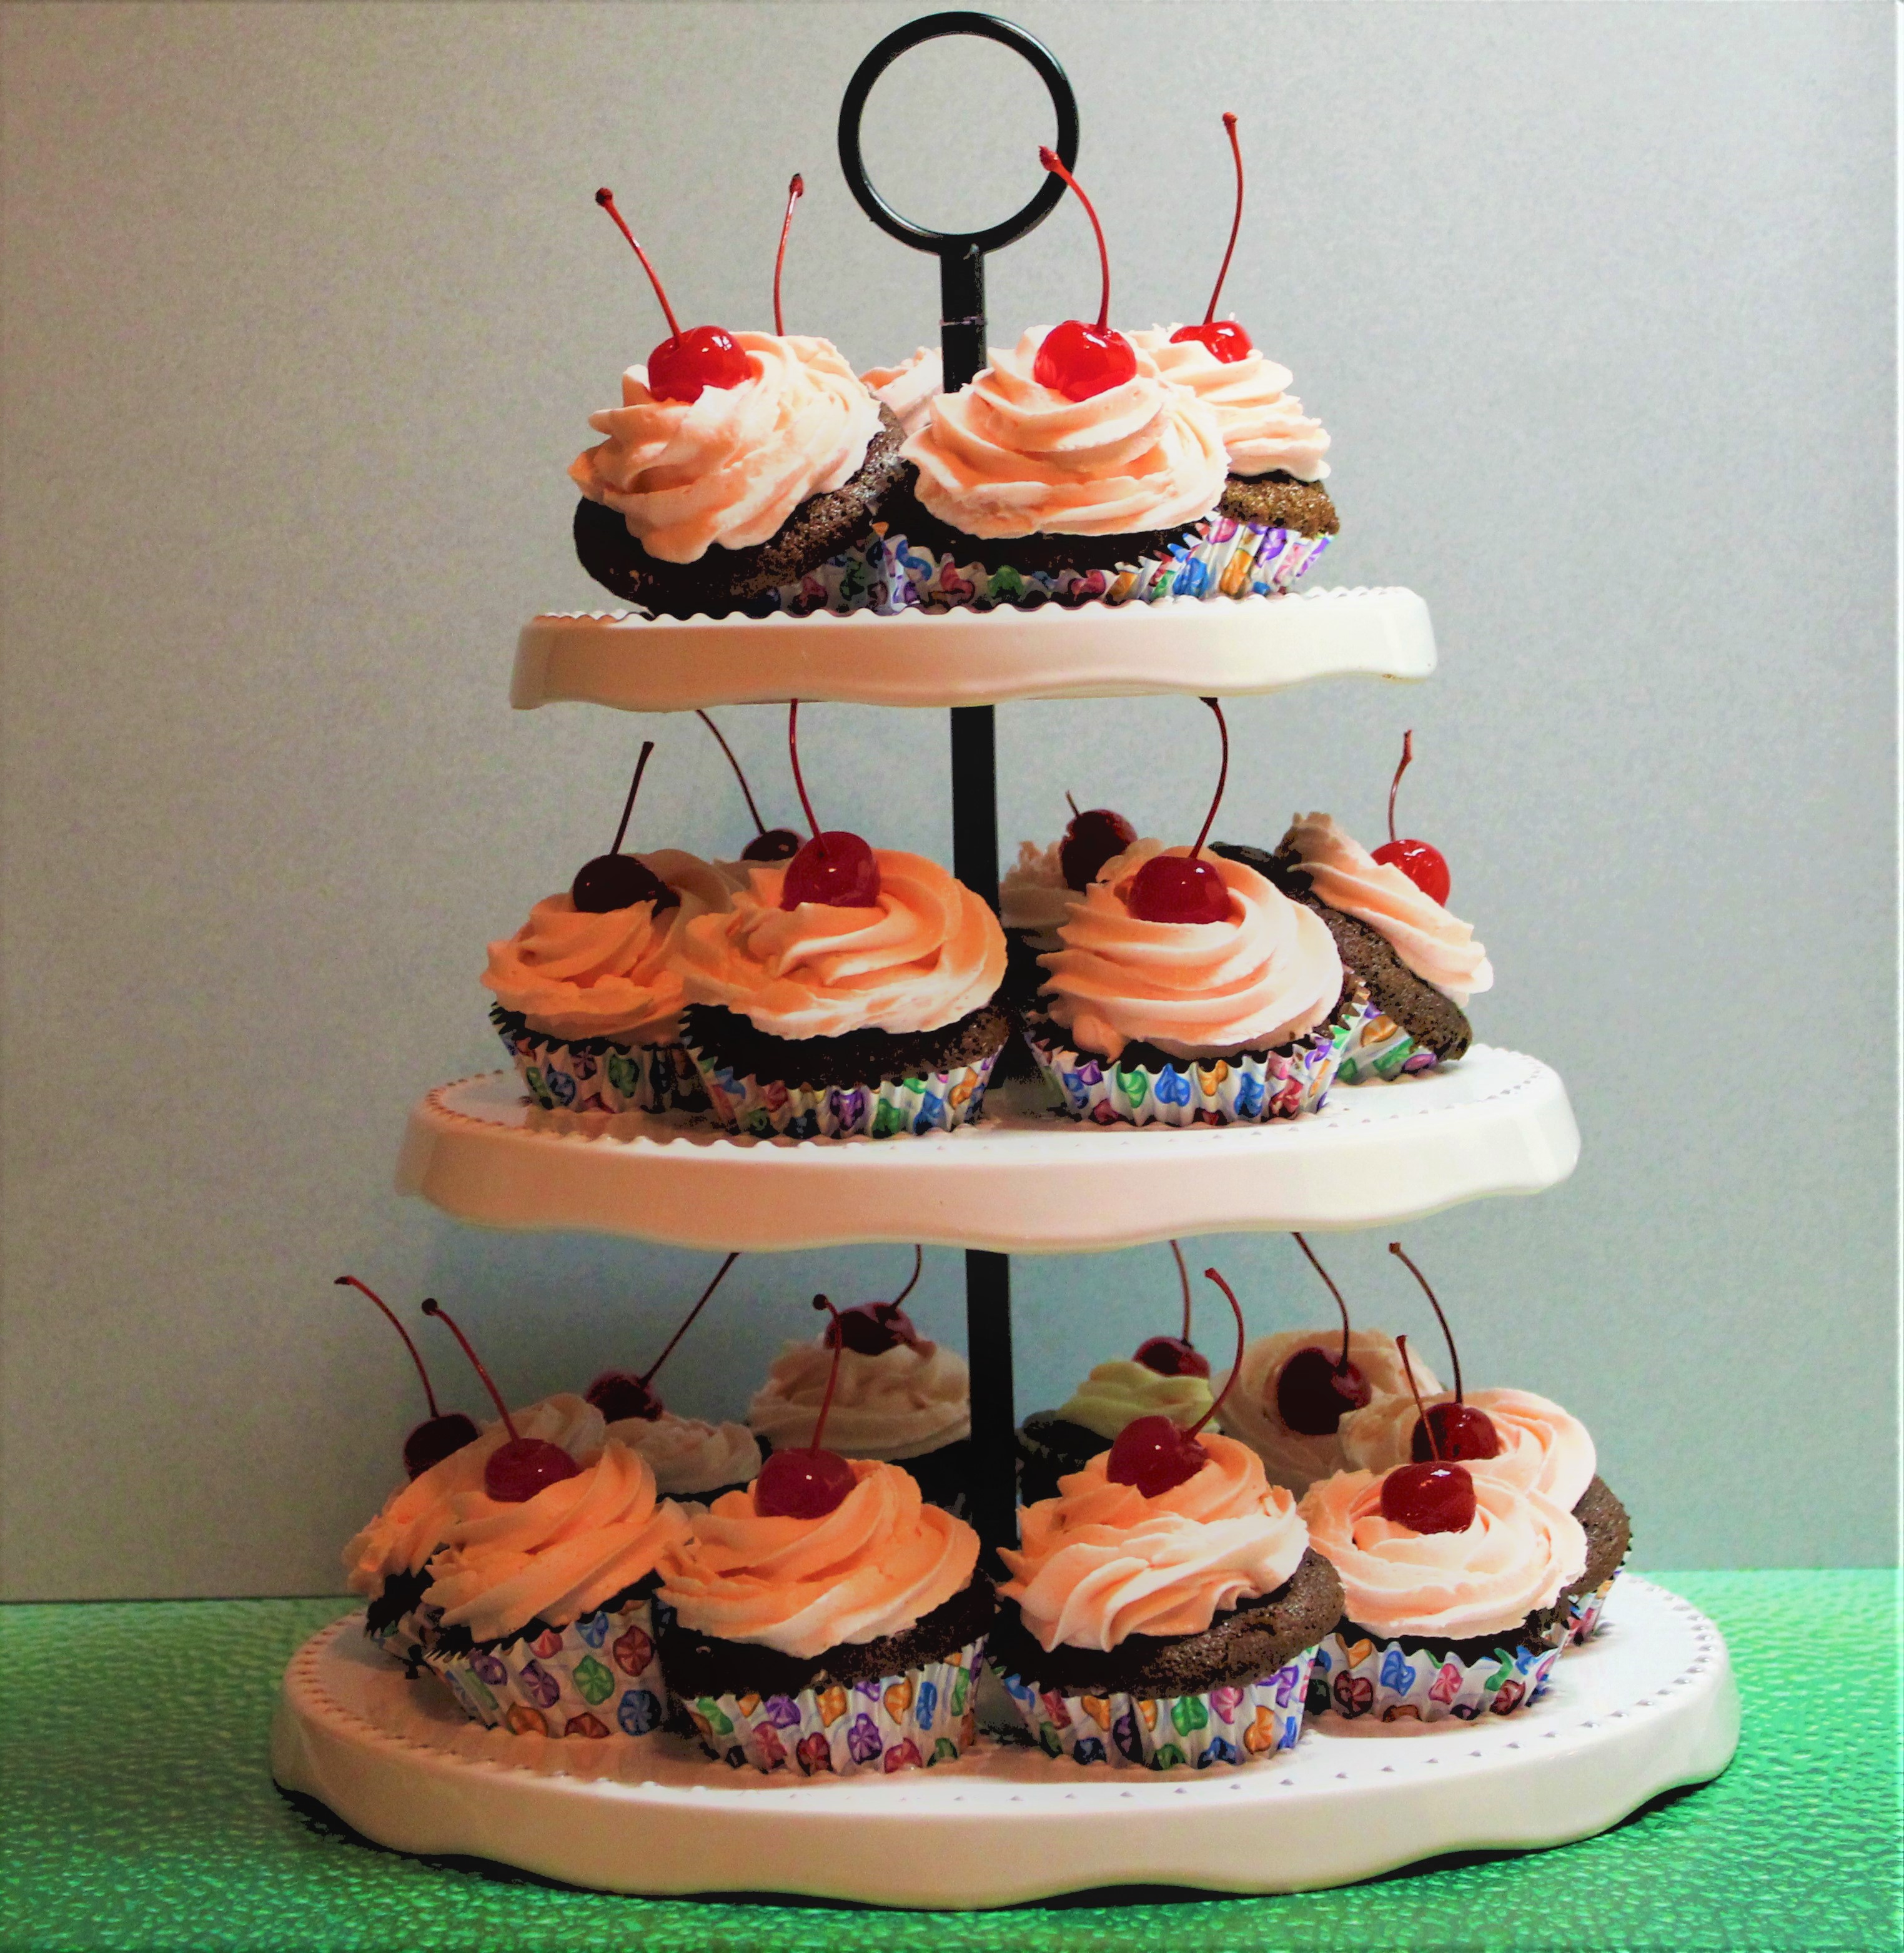
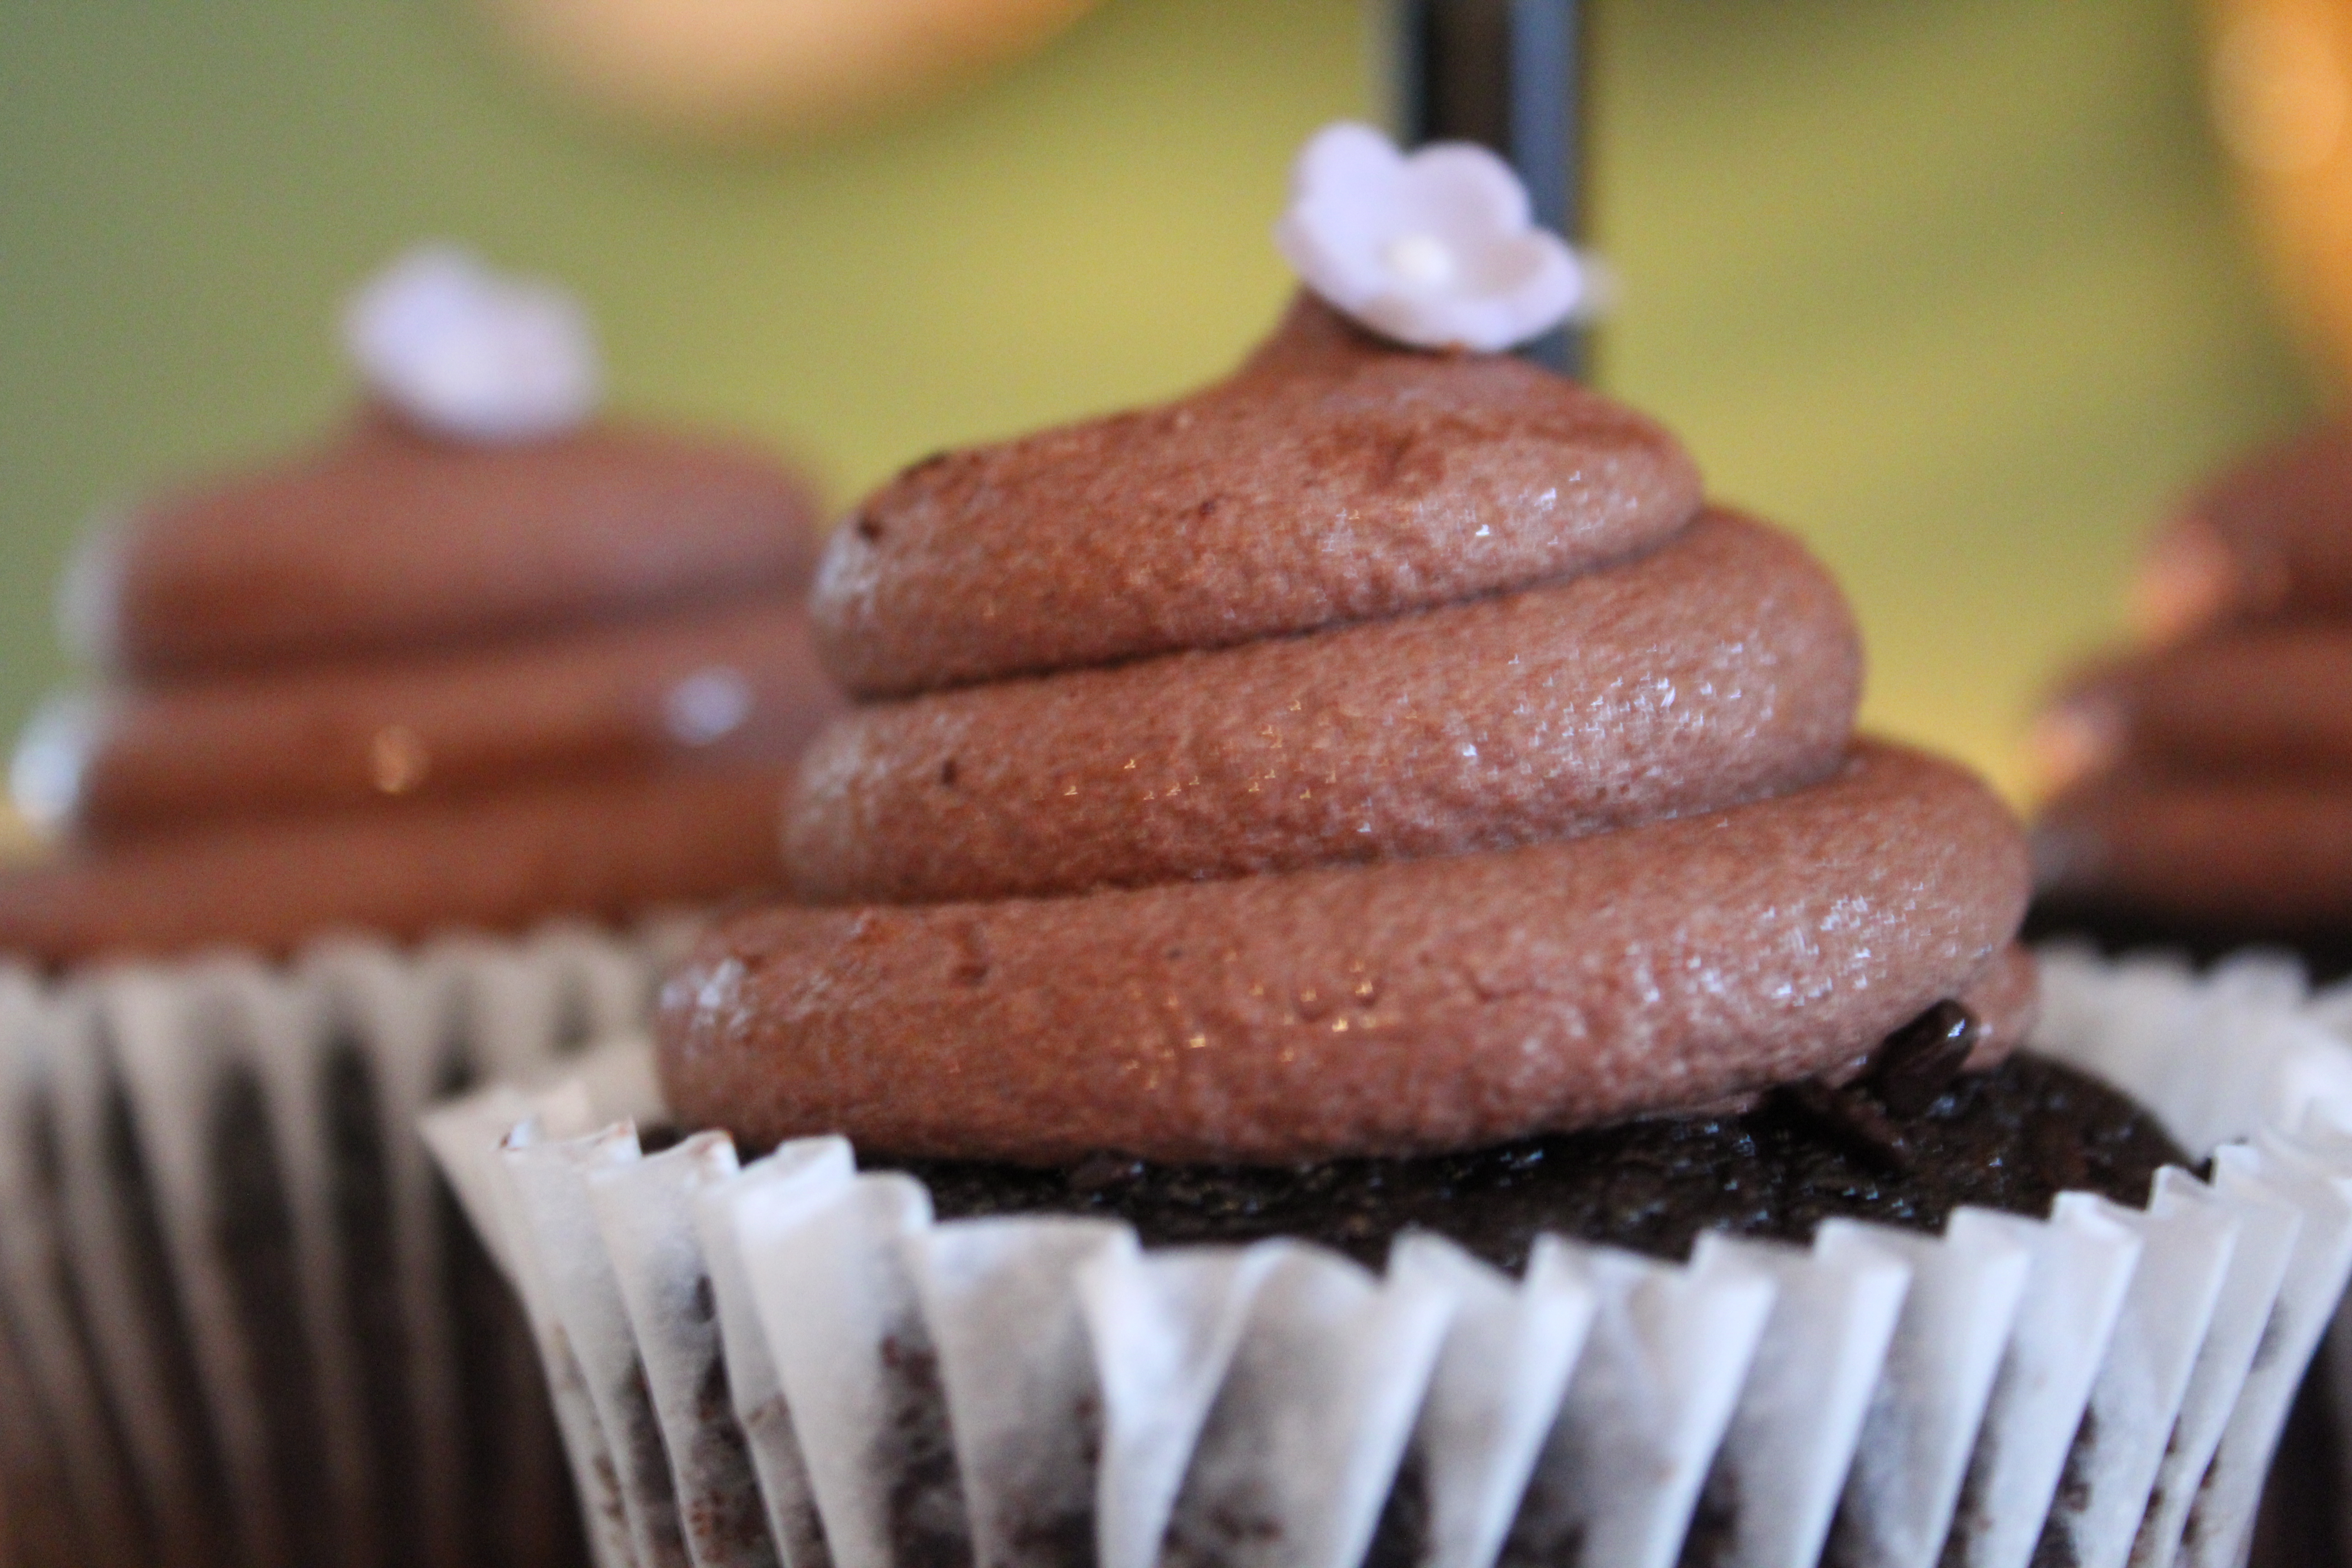
My Cherry Chocolate Cupcakes fit perfectly with the trend of portable desserts. Last month we attended a wedding that tossed out the idea of the traditional wedding cake for 200 wedding-worthy cupcakes.
From my seat at the reception, I could see the cupcake table perfectly. Having time to look at it, I noticed the intricate detail of each of cupcake. There were different flavors and frosting styles that came together to create a stunning display.

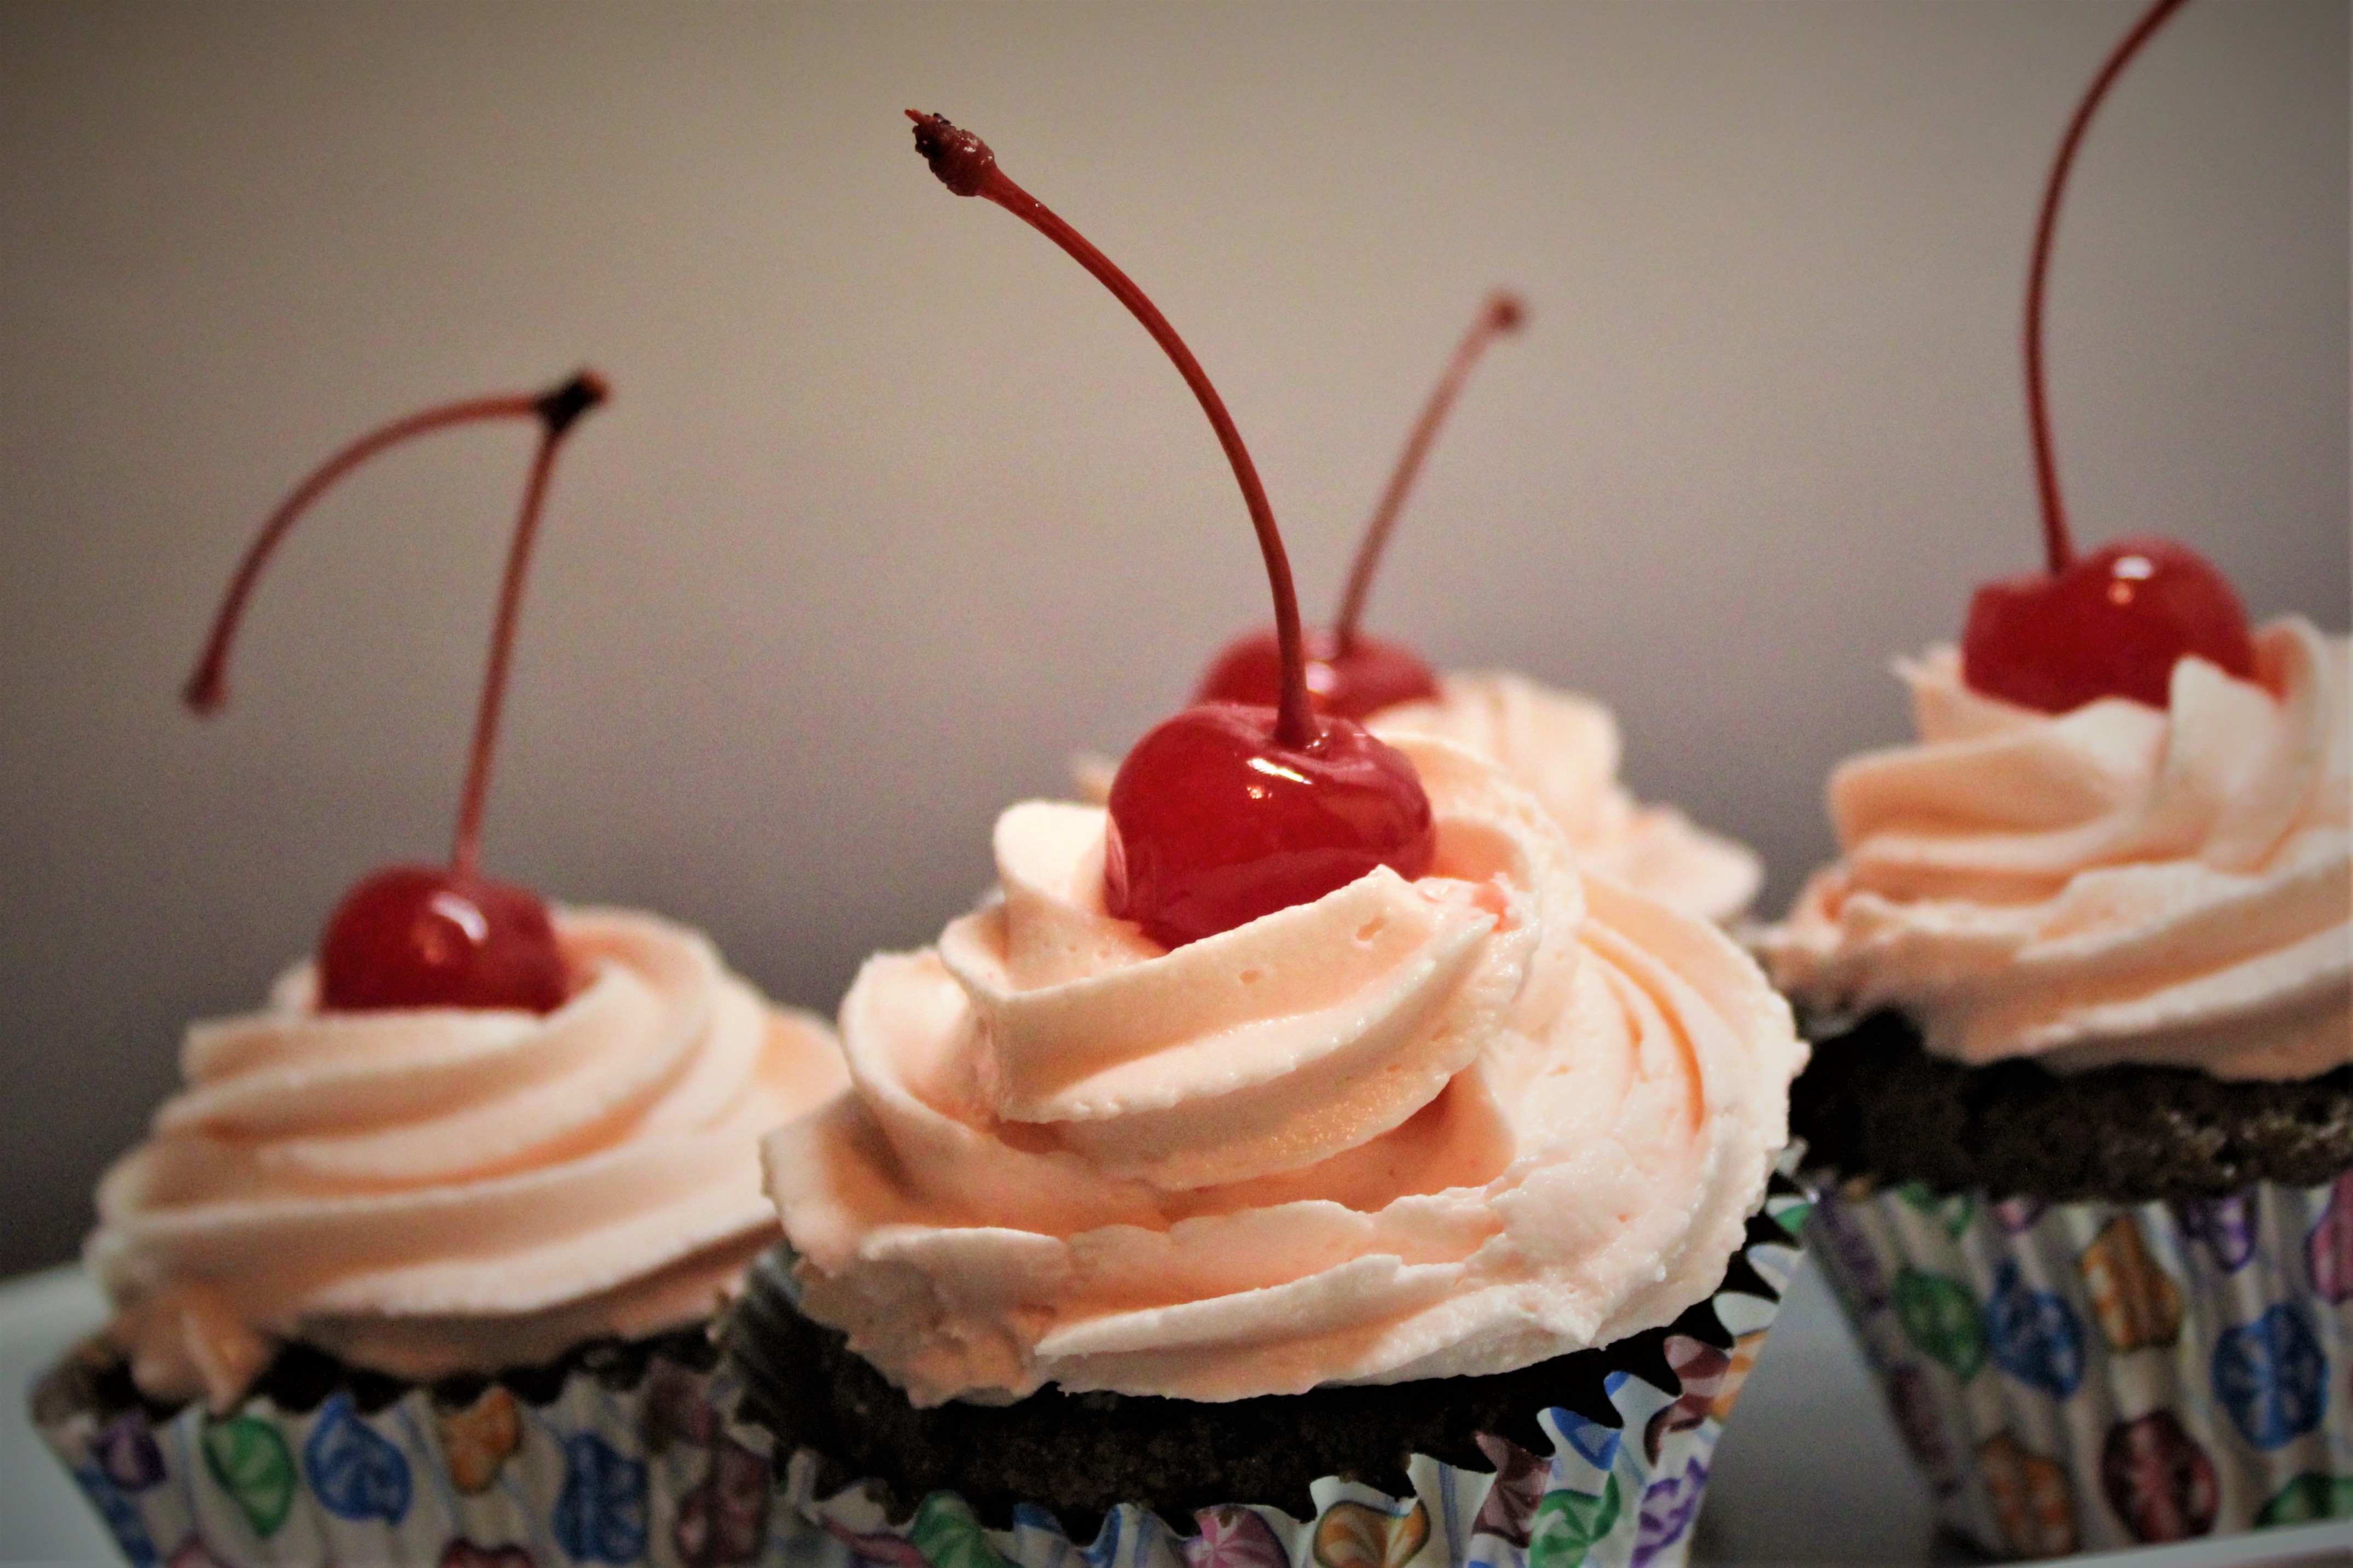
Please enjoy my Cherry Chocolate Cupcake recipe, and if you make it, please snap a photo and post to Instagram with #dougbakes.com.

Intense chocolate and sweet cherry come together in this flavor infused recipe. Make these guys and sit back and marvel at your work!
Preheat oven to 350°F. Line muffin tins with cupcake liners.
In a bowl, combine flour, baking soda and salt.
In large microwavable bowl, melt chocolate and butter for 2 minutes or until butter is melted. Stir until smooth. Transfer to large bowl; add sugar and beat with electric mixer until well blended.
Add eggs, one at a time, and then vanilla and mix well. Add Grenadine.
Add flour mixture alternately with milk; beat until well blended and smooth. Pour into prepared pans.
Bake 16-18 minutes or until toothpick inserted in center comes out clean. Cool in pan 15 minutes. Remove cupcakes from tins and cool on a wire rack.
Frost cupcakes with the cherry frosting using any method you wish. Garnish with Marciano cherries.
n the bowl of an electric mixer, cream shortening, and butter. Add vanilla.
Gradually add sugar, one cup at a time, beating well on medium speed.
Add grenadine and mix until combined.
Scrape sides and bottom of bowl often.
When all sugar has been mixed in, icing will appear dry. Add milk and beat at medium speed.
I like baking when the weather is cool. My Blueberry Billionaire bars are perfect for chilly days. It’s early fall here in Indiana and I couldn’t be happier. I have never enjoyed the summer weather. I hate being hot. If I could get away with …
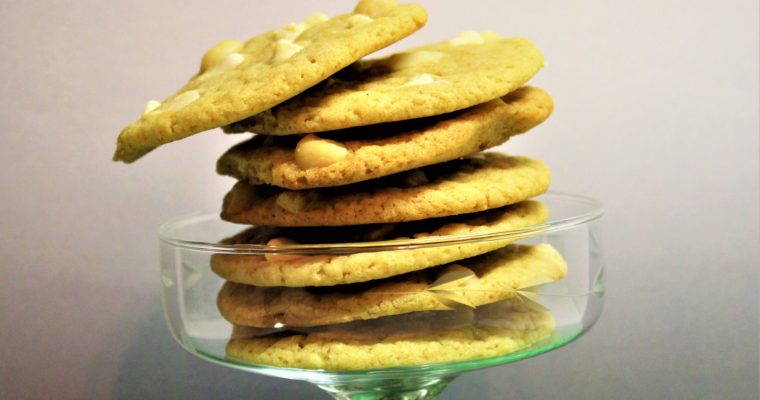
I have been working on this recipe for White Chocolate Macadamia Cookies a while now. It was a tricky recipe to get right. I knew what I wanted the result to be, but the cookies came out very flat or hard and chewy. I have …
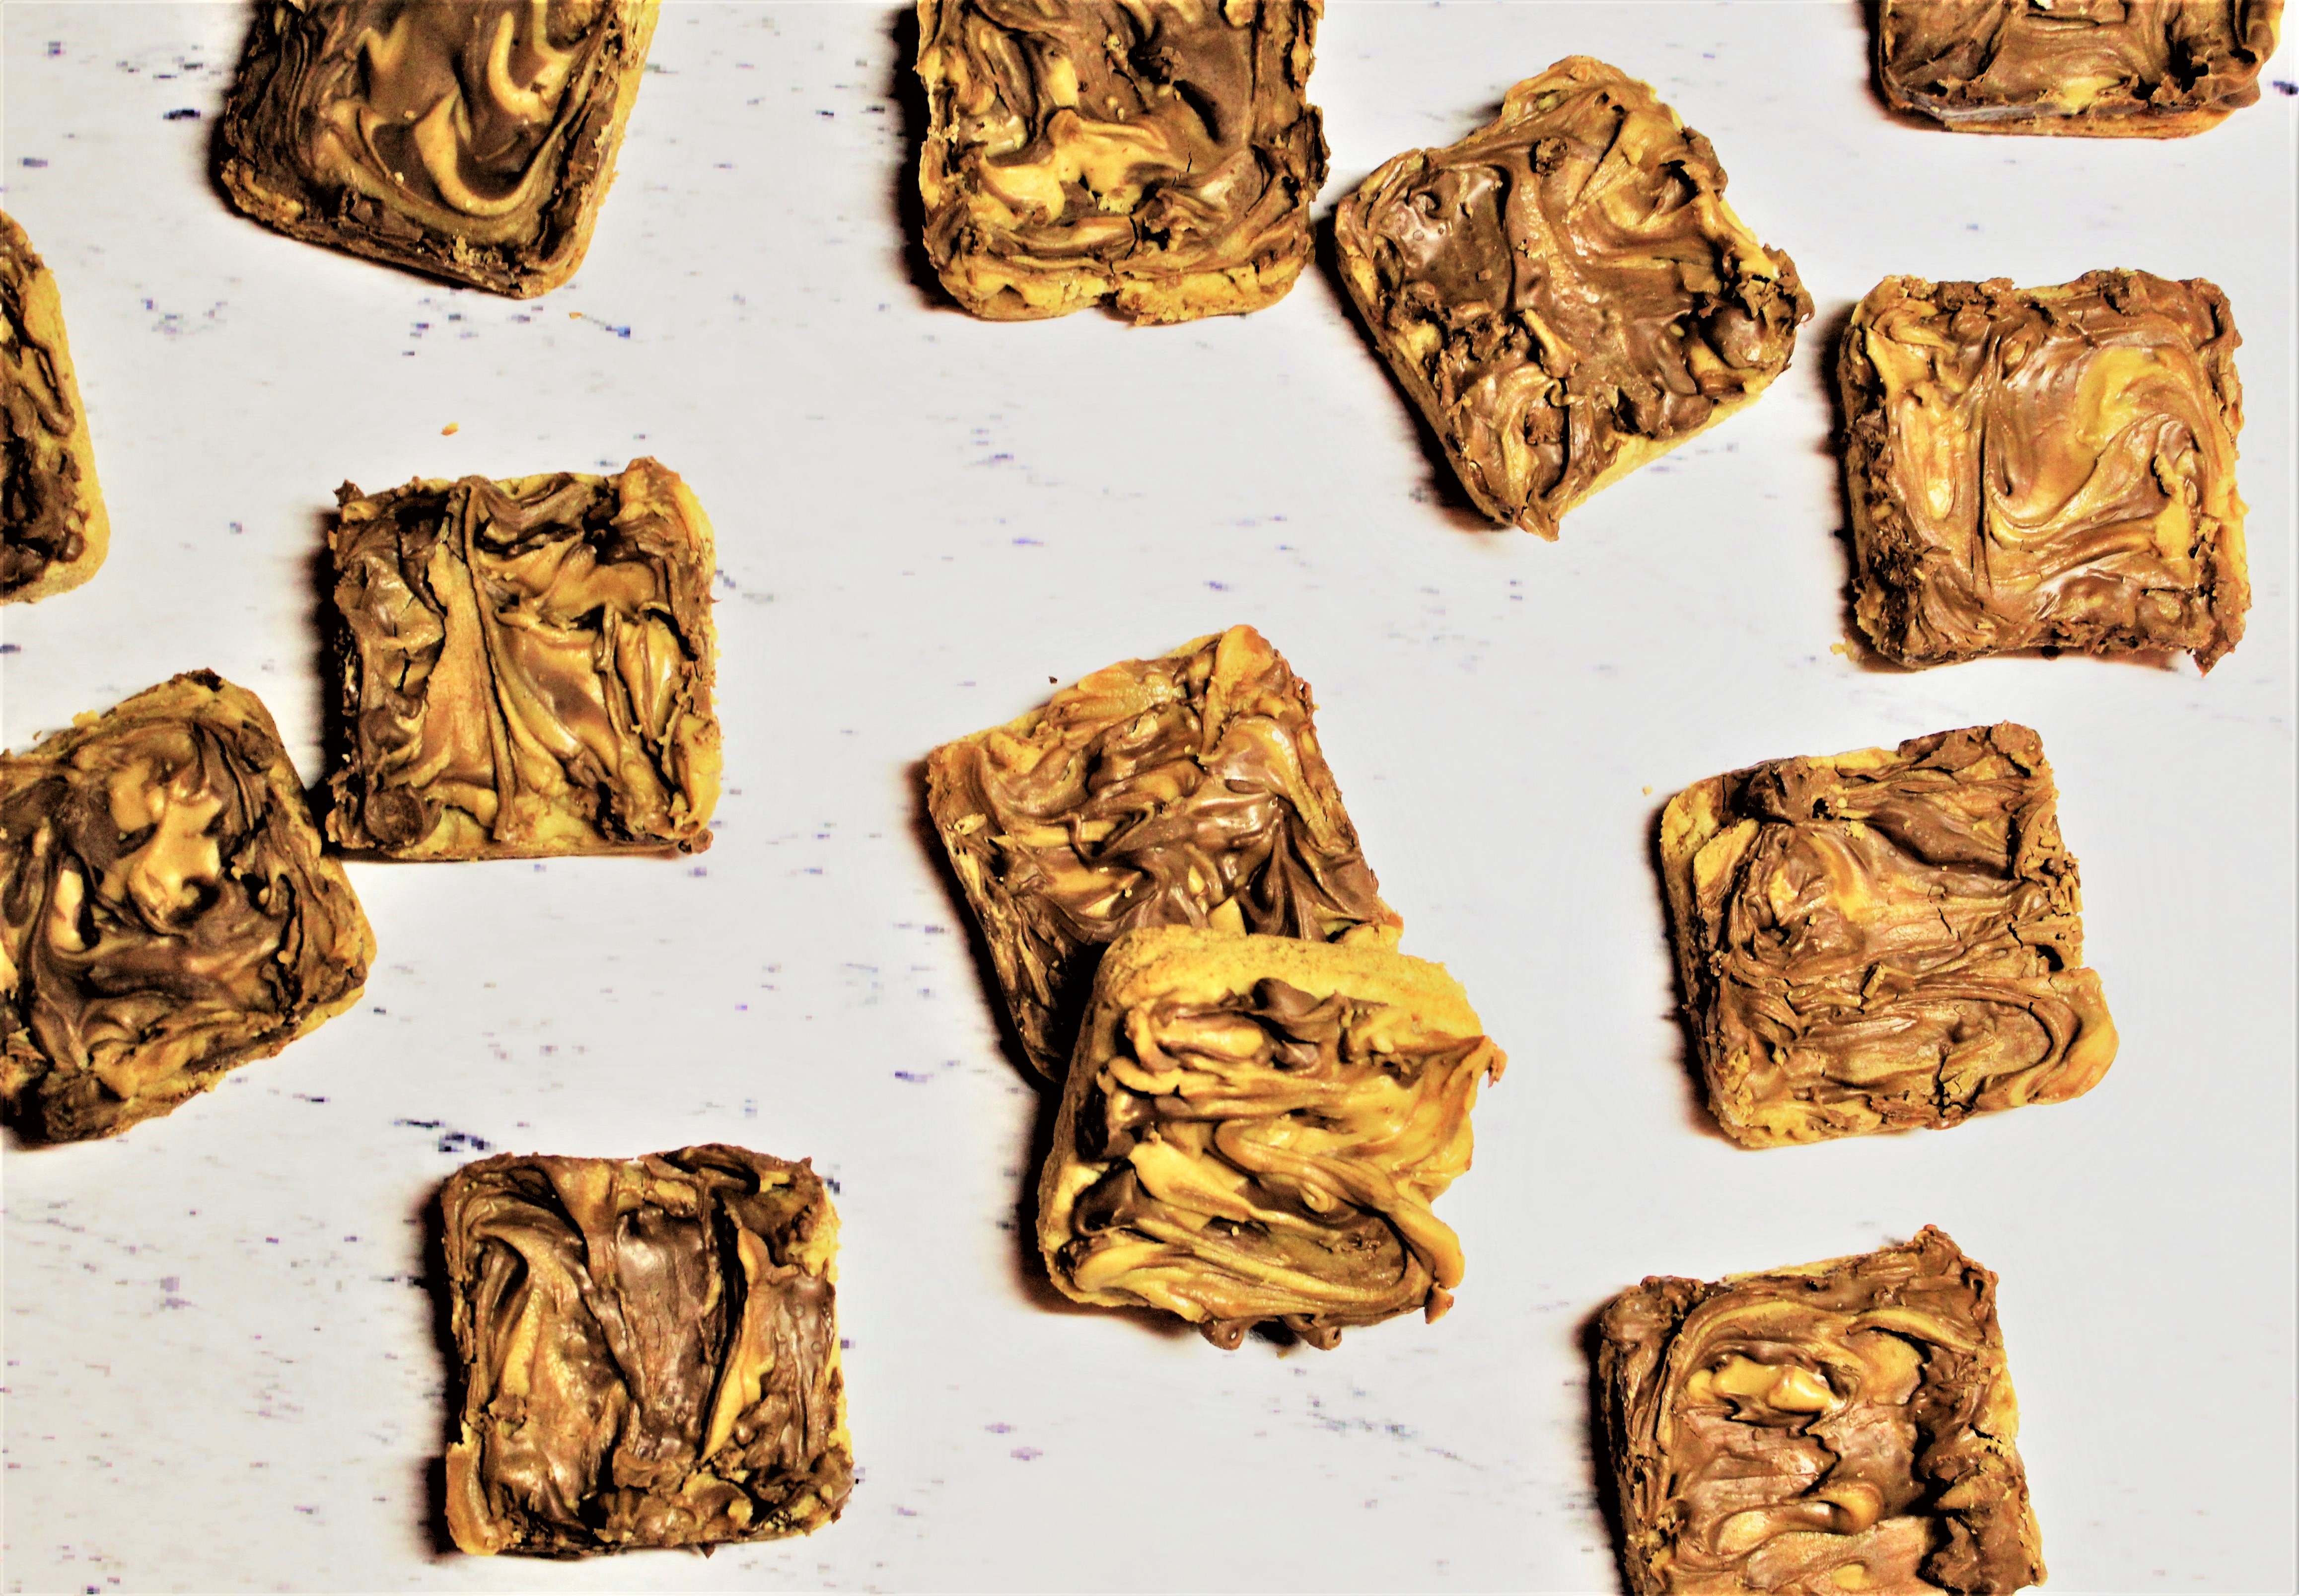
Our Peanut butter Chocolate Swirl Bars are crave worthy. About six month ago Dale and I went low carb. Under ANY circumstances, a diet of any kind is not pleasant. It is especially hard for those of us who publish a baking blog.
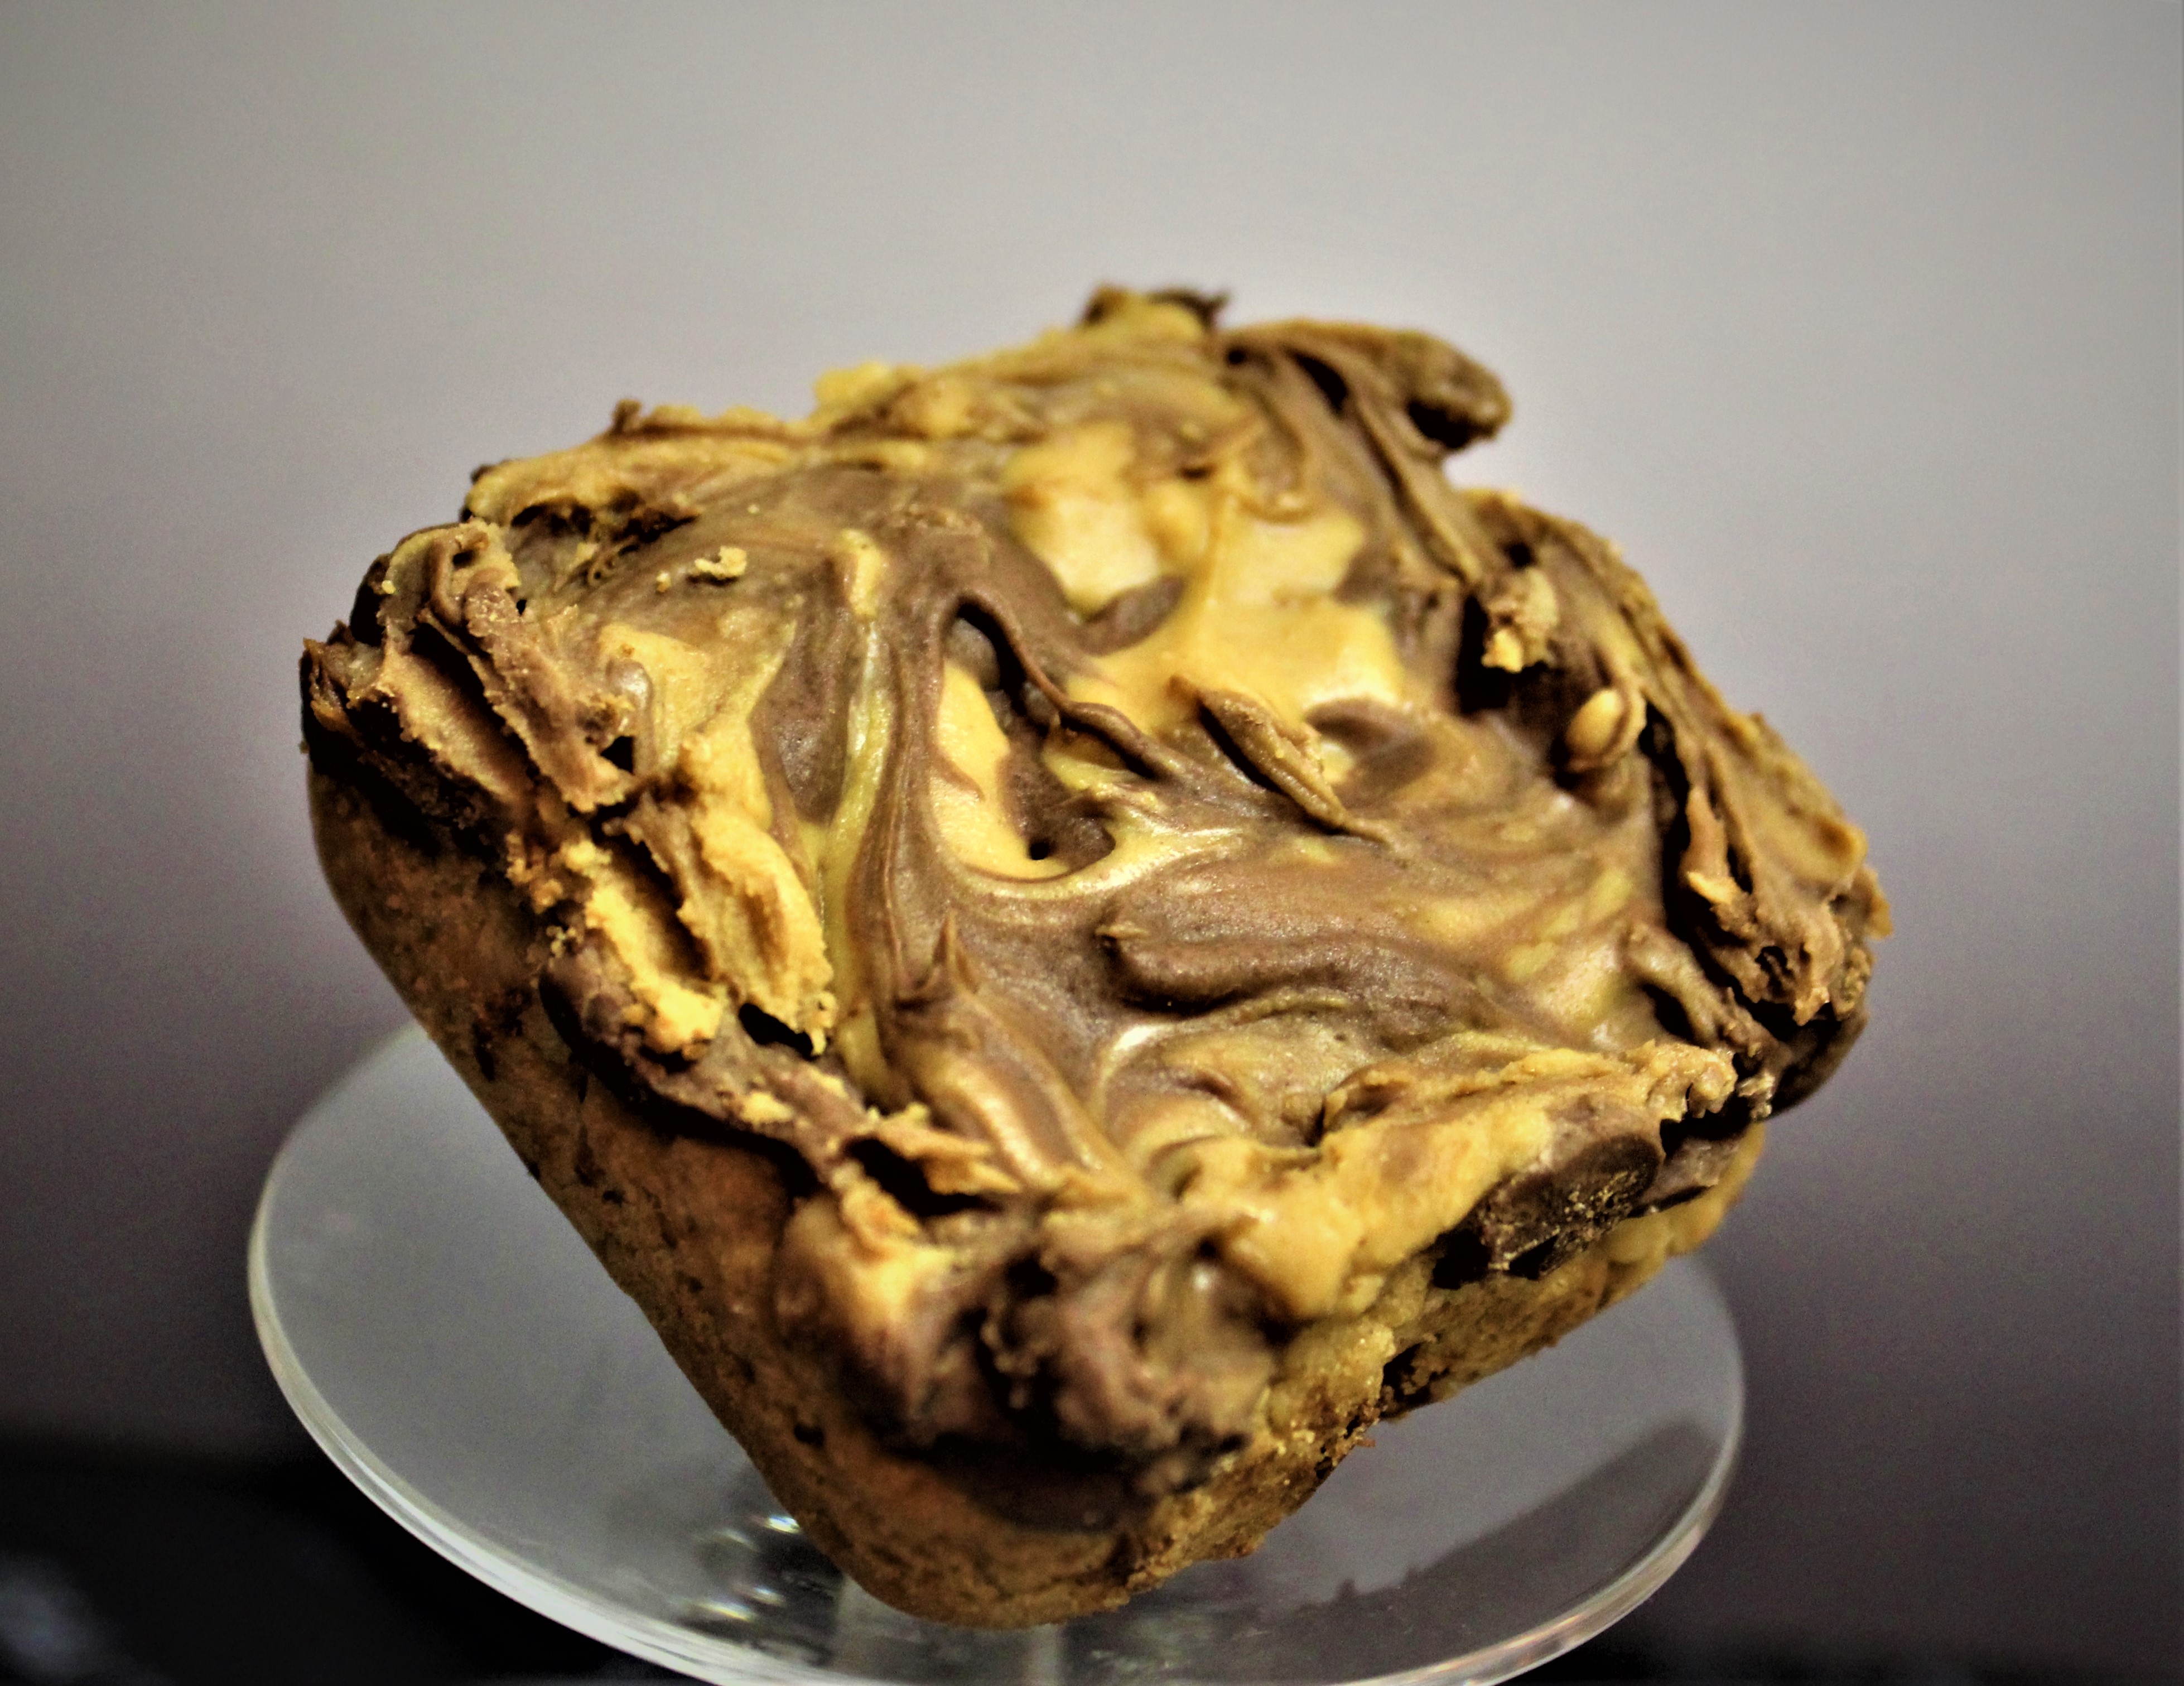
Our Peanut Butter – Chocolate Squares have always been my favorite cookie. I love the oatmeal base and the richness of the peanut butter and chocolate make them irresistible. I remember a similar version of them from my childhood and I loved them right from the start.
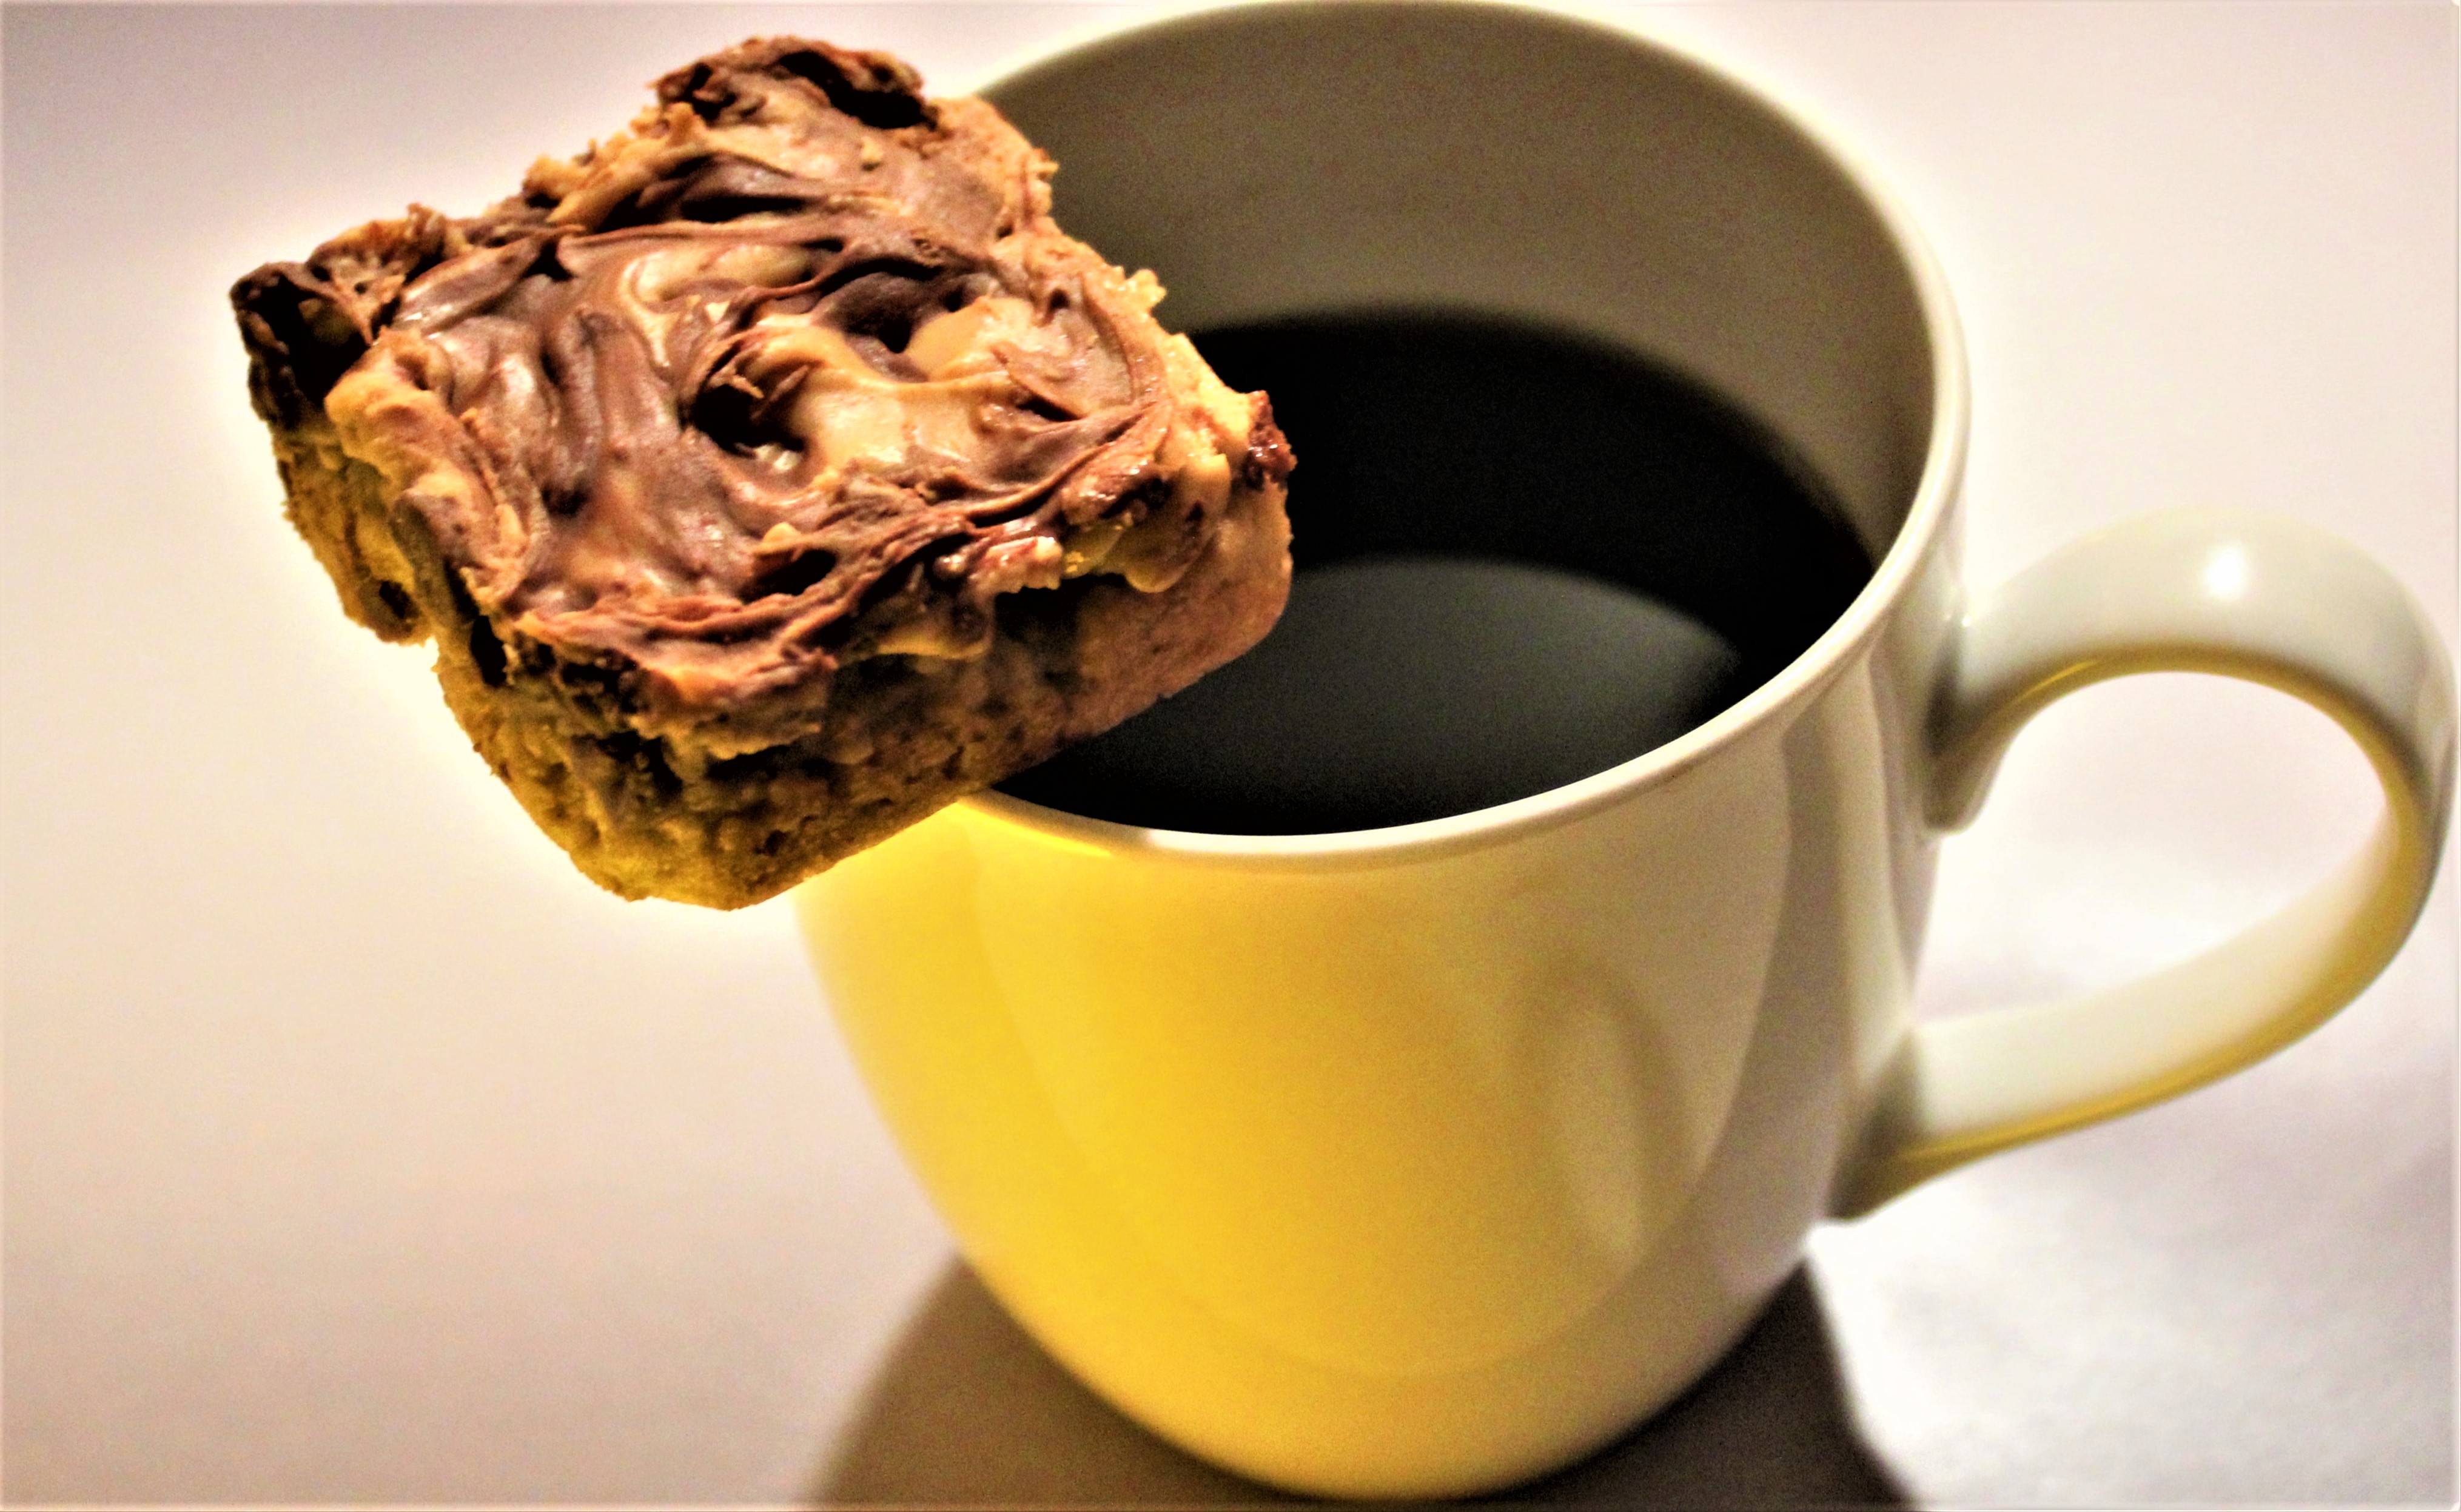
Today, as I was measuring out the ingredients, I started thinking about having just one cookie. You know the tricks we play in our heads when we are on a diet? Well, I had all the voices working overtime trying to tempt me into eating the cookies. I never wavered, I held tight to my goals and I’m happy to say that all of the cookies arrived safely to our co-workers.
During the day I had people coming to me after eating a cookie and would tell me how great it was. I smiled and thanked them. Although I really wanted a Peanut butter Chocolate Swirl Bars, I am glad now that I remained low-carb. Life can be hard out here for a blogger.
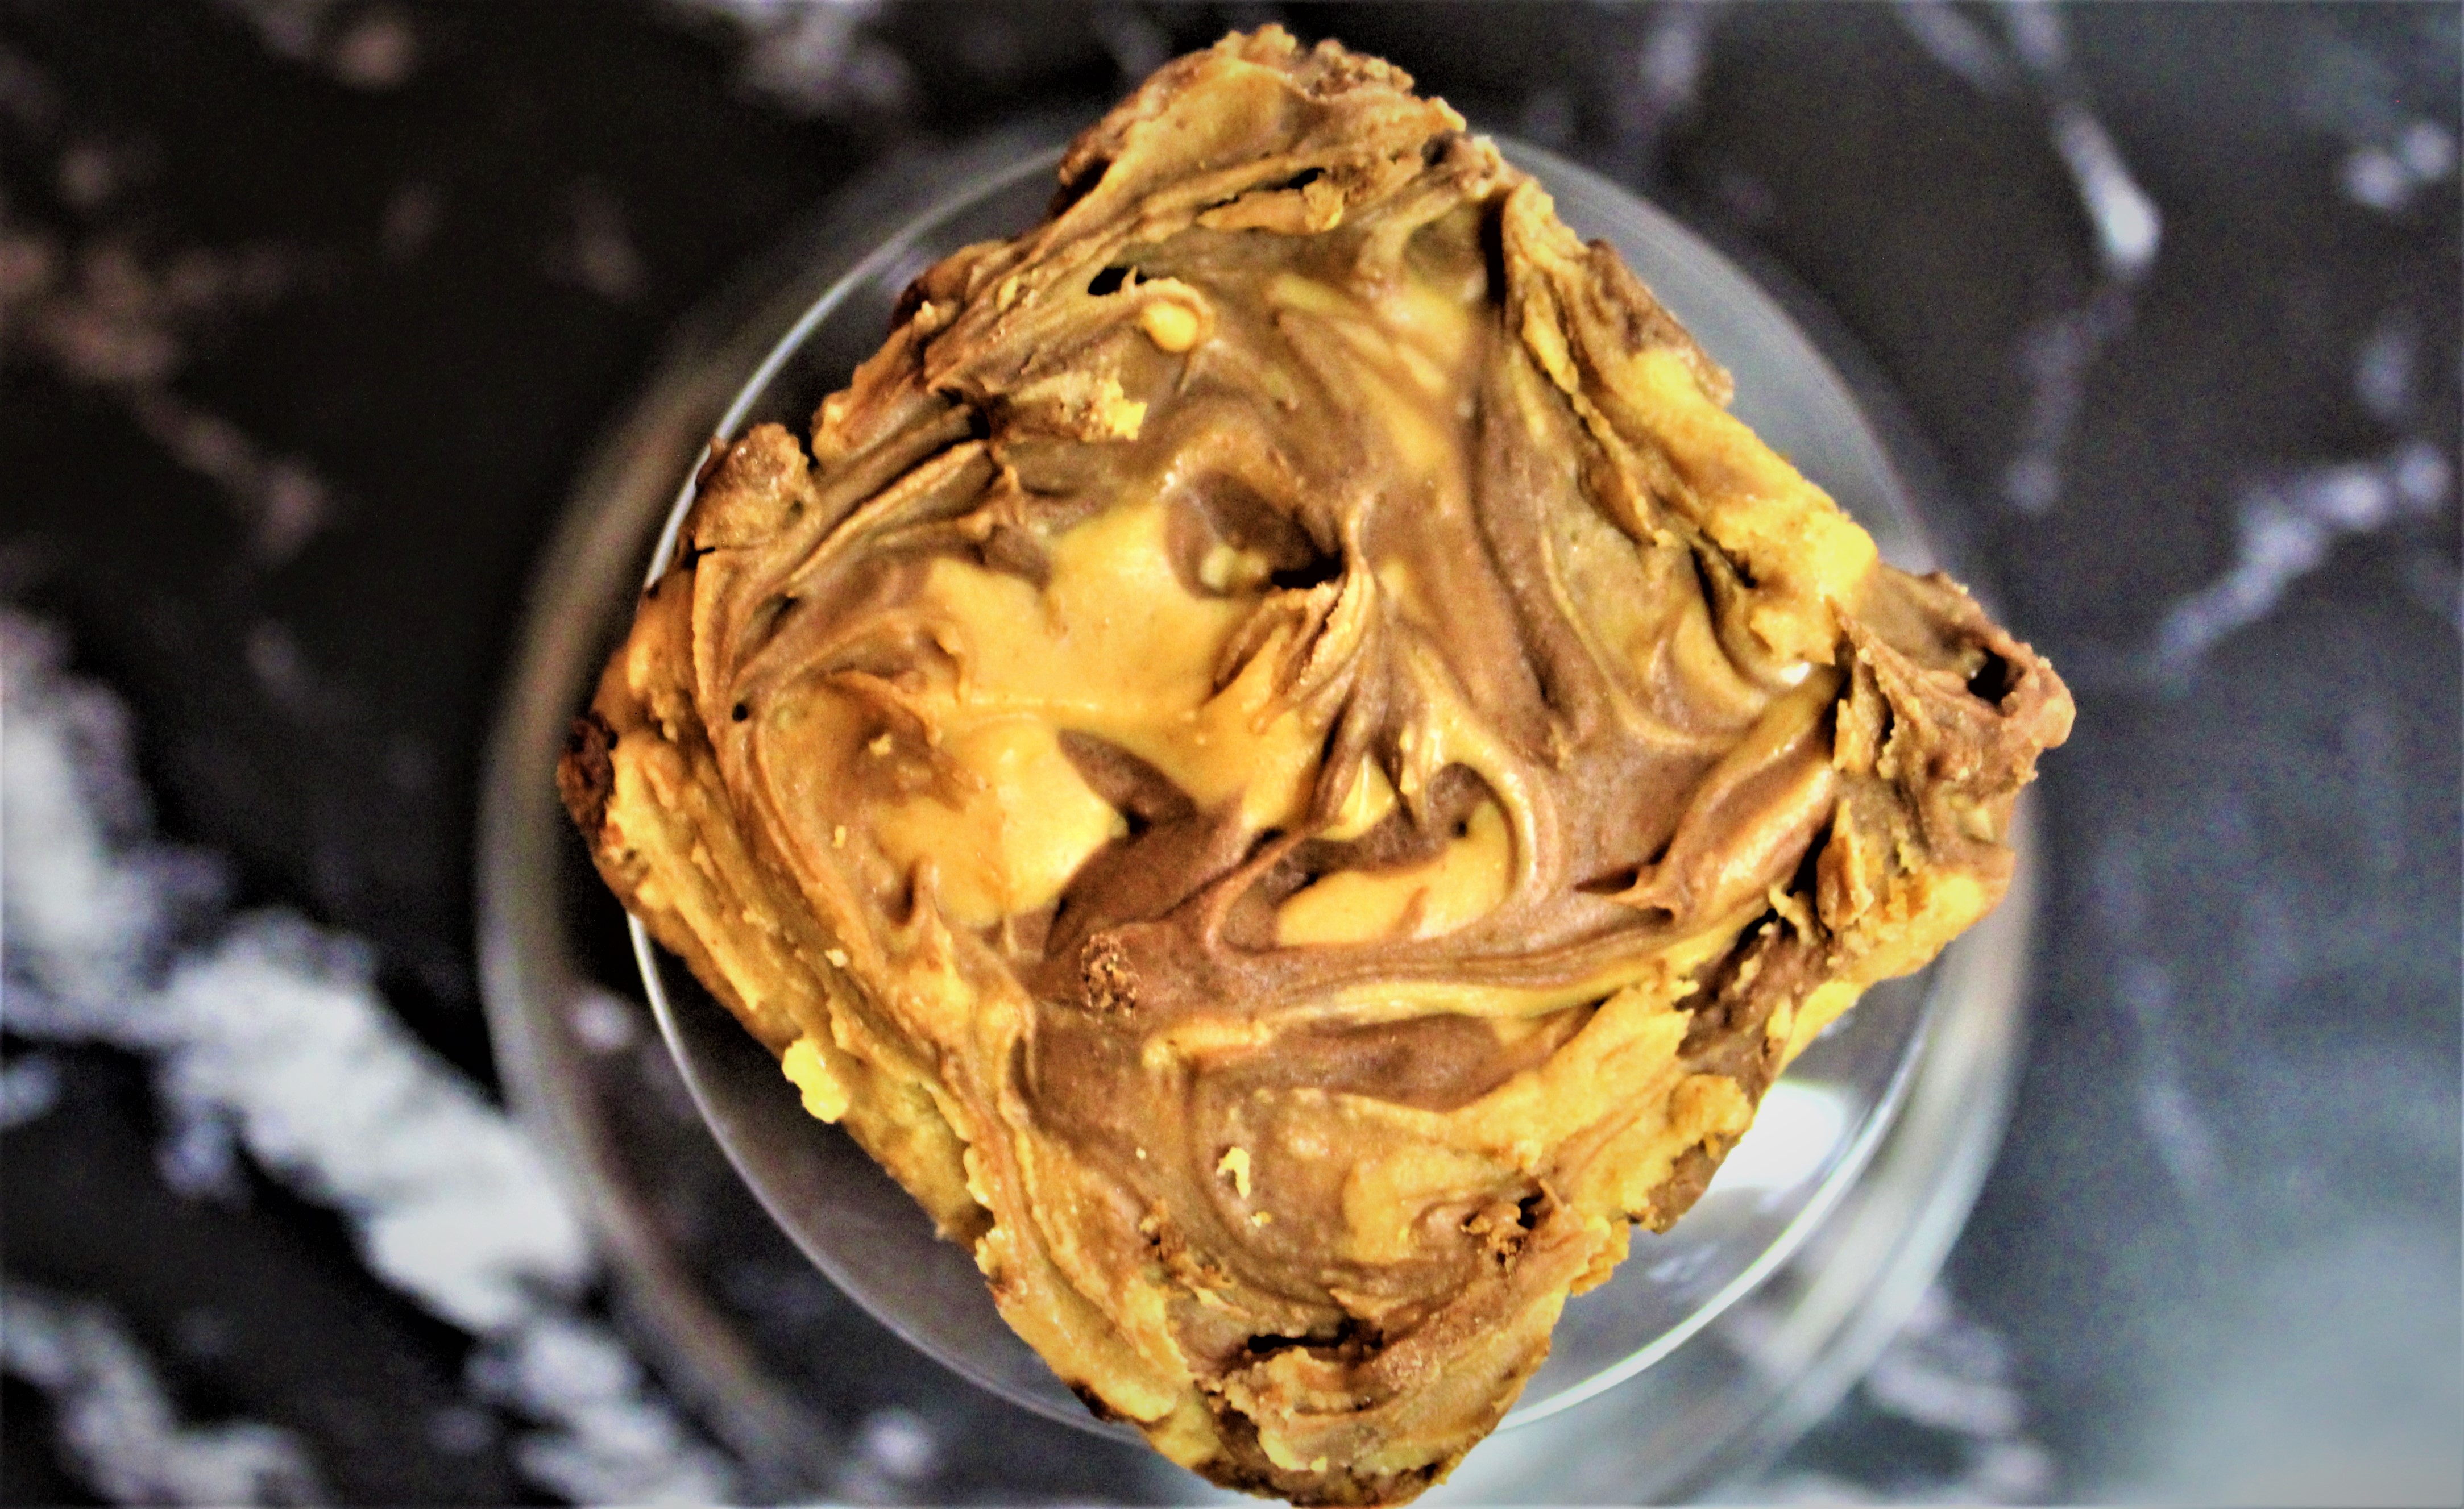
This bar cookie is considered a classic. It has an oatmeal base with a layer of peanut butter and chocolate swirled together. Weather you are in high school now or, like me and several years on the other side, you cant go wrong with this cookie.
Preheat oven to 350 degrees
In a large bowl, cream butter, sugar and brown sugar.
Add vanilla, eggs, and 1 cup peanut butter; combine.
Add oats, flour, baking soda, and salt and combine.
Spray a baking sheet with cooking spray and spread out dough evenly.
Bake for 15 minutes and remove from oven.
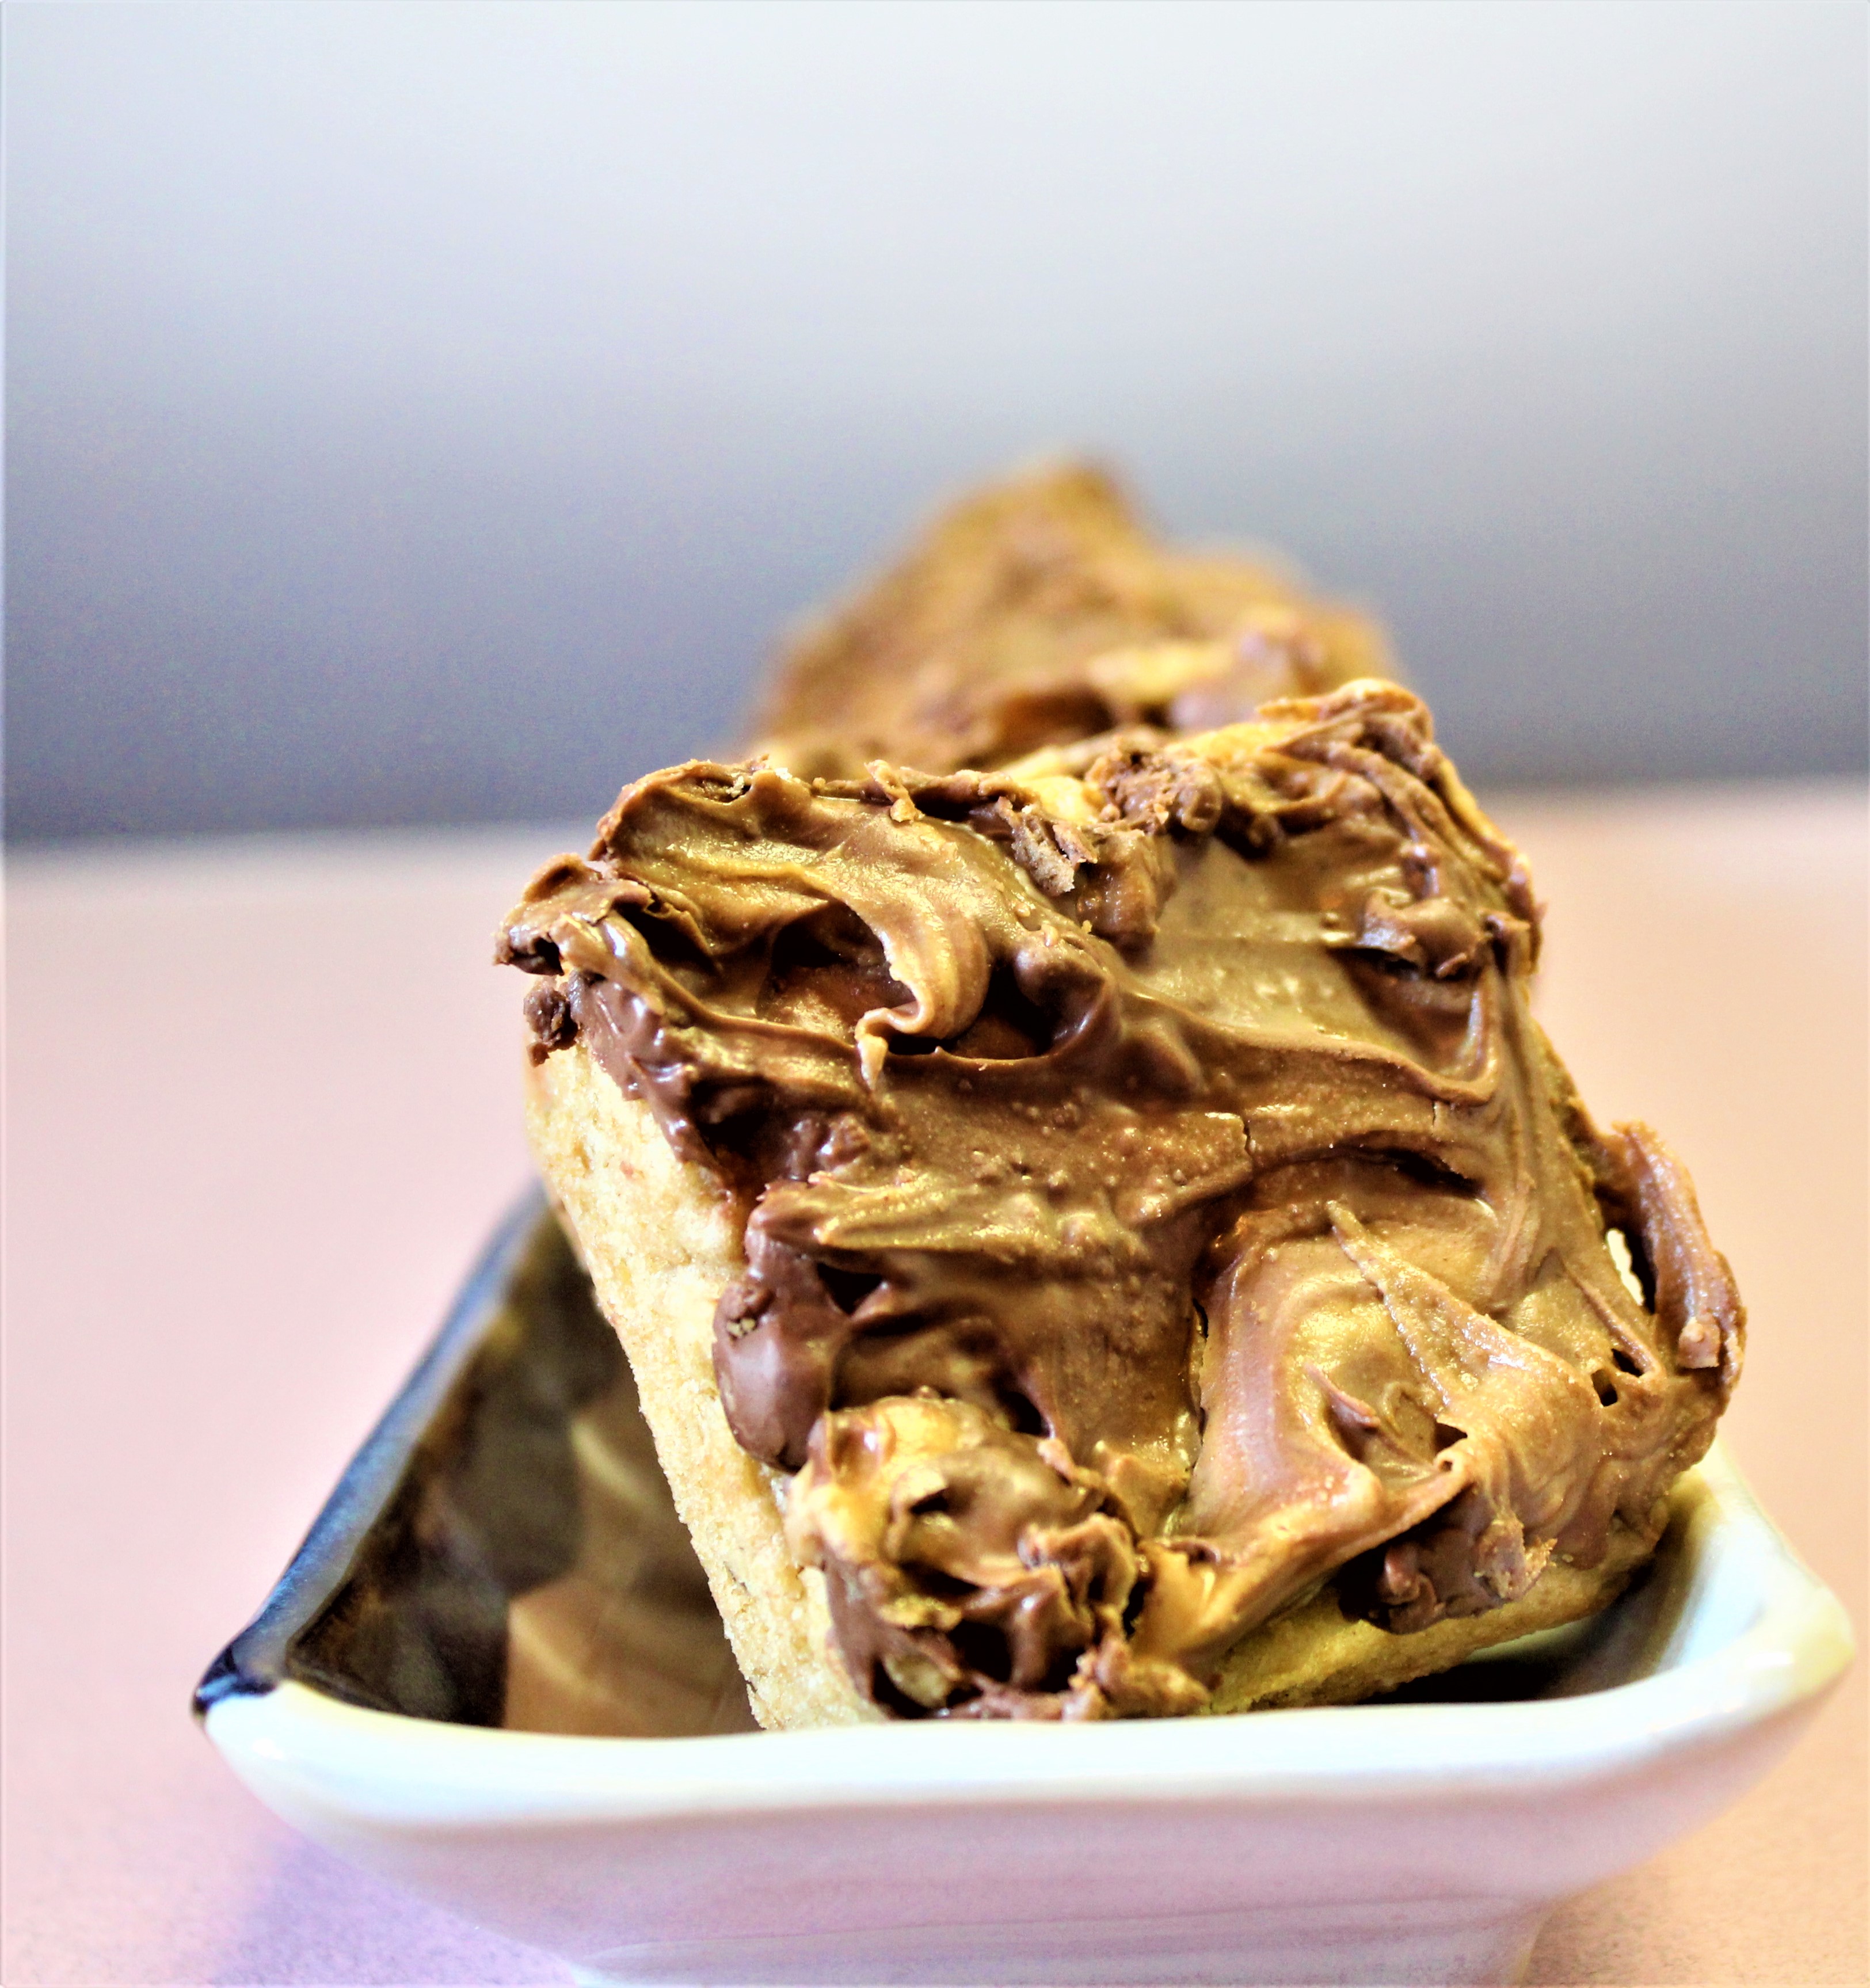
Drop remaining peanut butter by spoonfuls on top of warm bars and sprinkle with the chocolate chips.
Once peanut butter and the chips have begun to melt, spread and swirl the peanut butter and chocolate chips
cool until peanut butter and chocolate have set. Enjoy
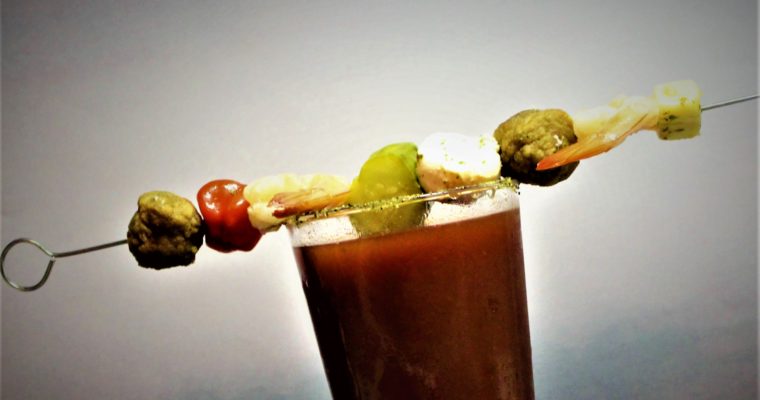
The Bloody Mary has been pigeonholed as a staple in the recent and ever building fad known as brunch. Don’t get me wrong. I like the idea of brunch, but in the past few years I’ve noticed every restaurant chain out there offers a brunch …
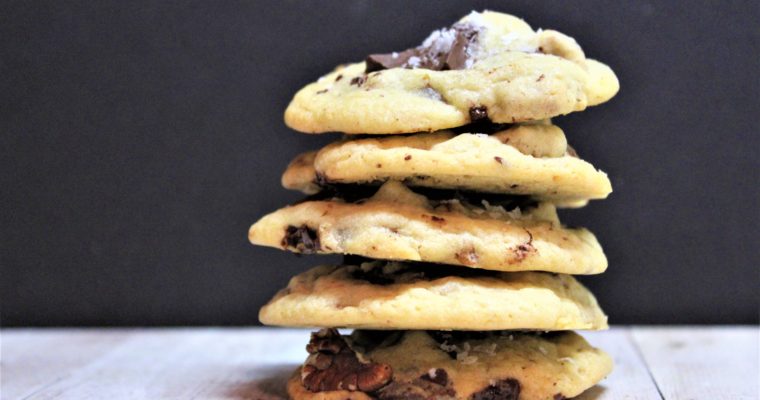
Our Brown Butter Chocolate Chunk Cookies with Sea Salt recipe is more complex and a far cry from the first cookies I made when I was a teenager. I was in the seventh grade, it was the first year that our school required the boys to …
Today’s Guest Blogger, My Husband and LaDonna’s son, Dale Reynolds.
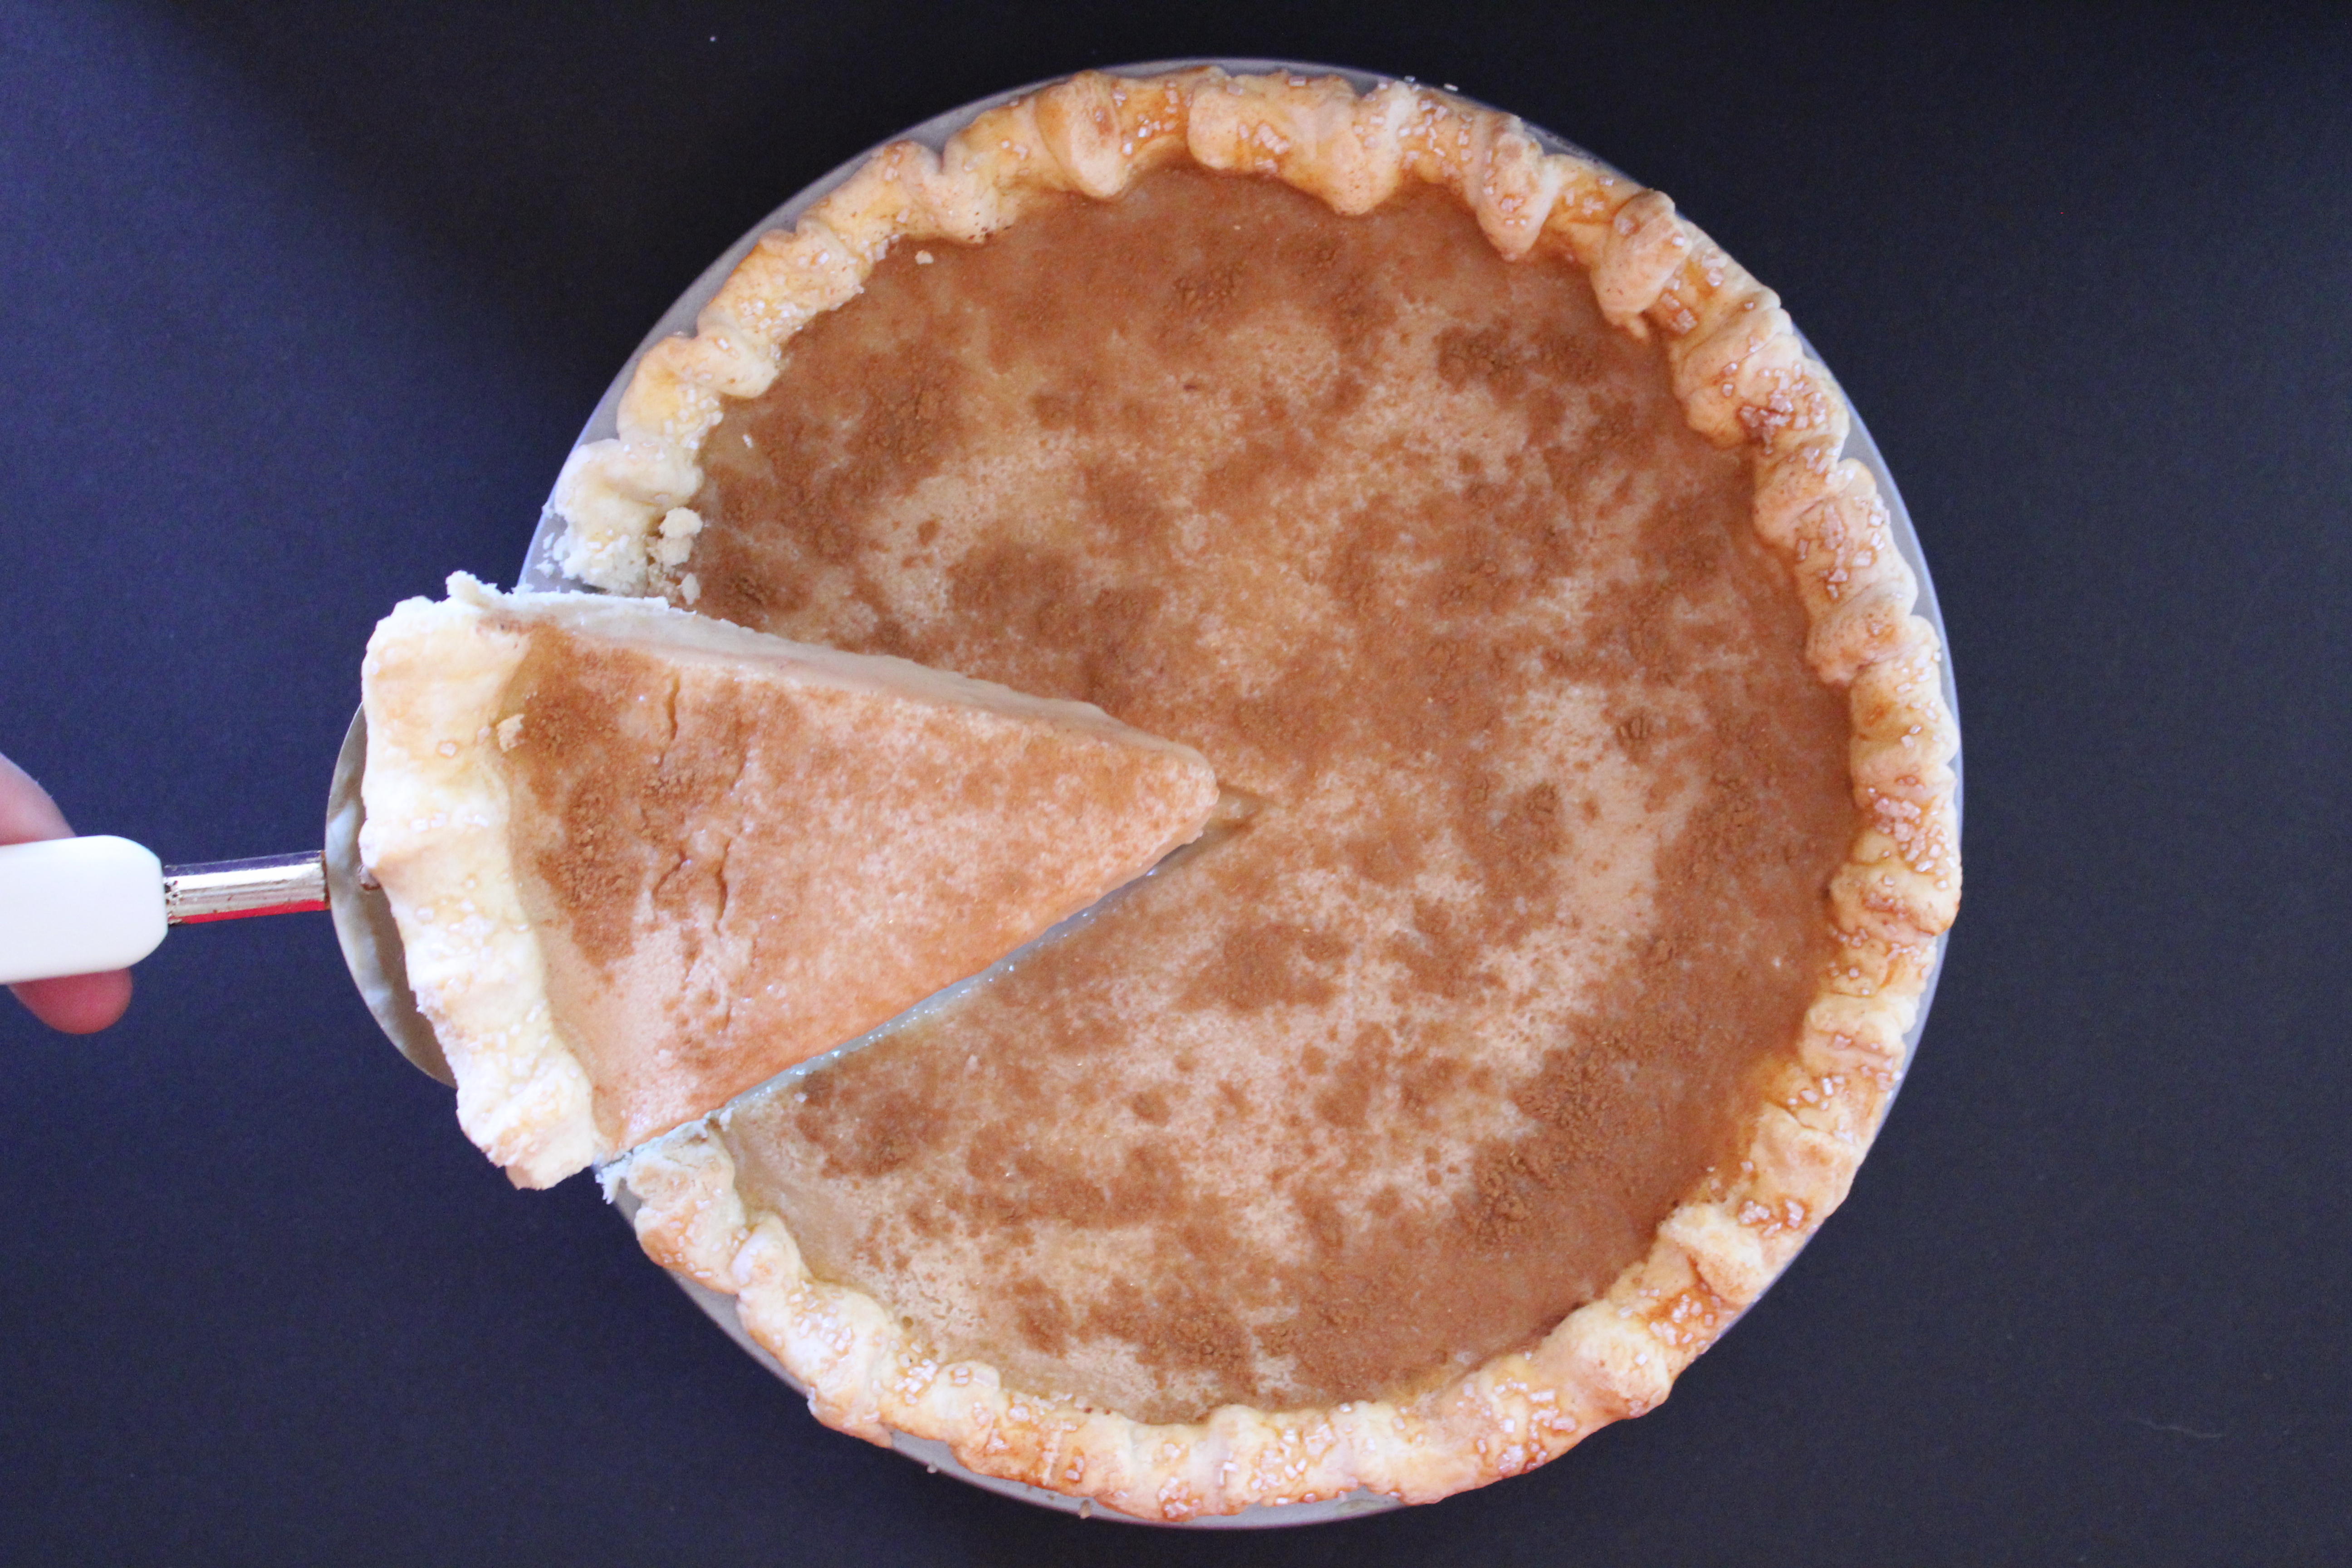
Sugar Cream Pie is the official state pie of Indiana! Did you know that? I didn’t, but the one thing I know for sure is that this pie has always been my favorite, and I’m not just talking about pie, I’m talking about everything. This pie would be my last meal.
Growing up the youngest in a house of six children had its challenges. I never got to ride in the front seat of the car, I couldn’t watch what I wanted on TV, and my clothes were hand-me-downs at least twice over.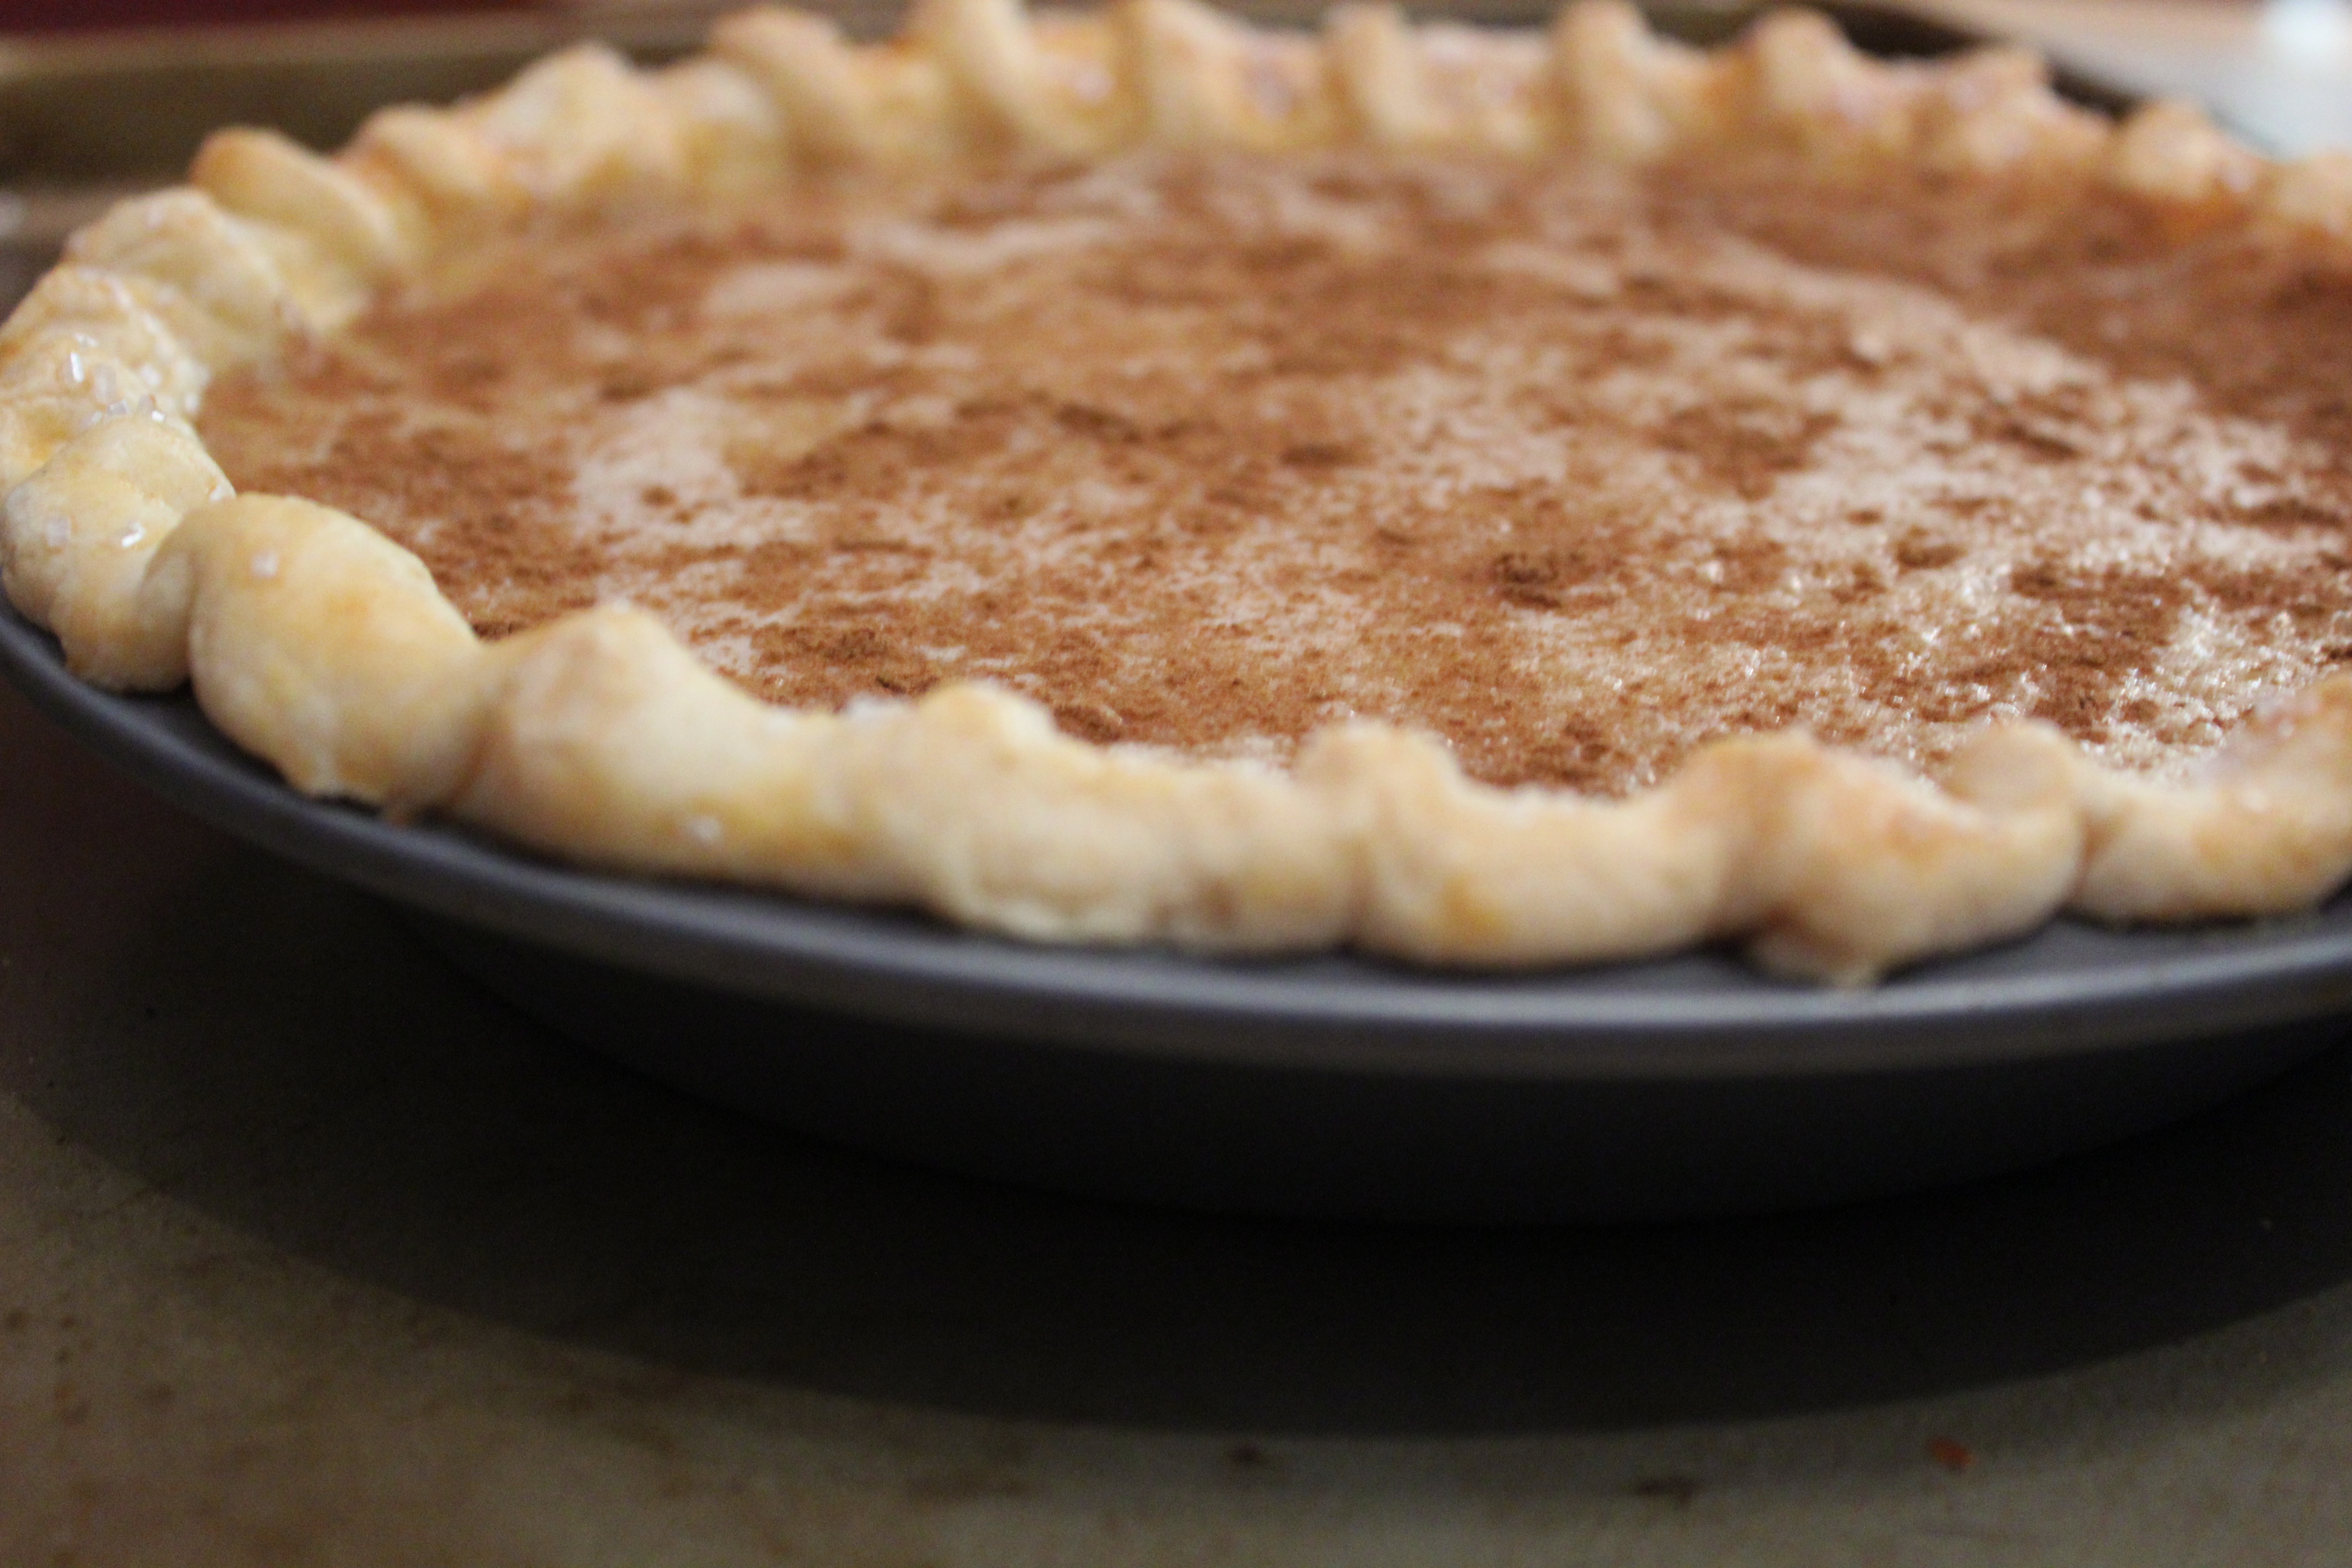 My family lived in a large older home on a side street in Fort Wayne, Indiana. I was lucky to grow up in the 1980’s.
We didn’t have cable TV or computers to keep us occupied. We didn’t even have air conditioning. We spent our time playing in the neighborhood and using our imagination. My parents didn’t fear any of the things that parents worry about today. As long as I made it home in time for dinner, all was good.
It was a different time for sure. Families had dinner together and talked about their day. My mom knew how to stretch a dollar when it came to feeding such a large group, but we never knew it. She is a great cook, and some of my favorite foods came from her kitchen.
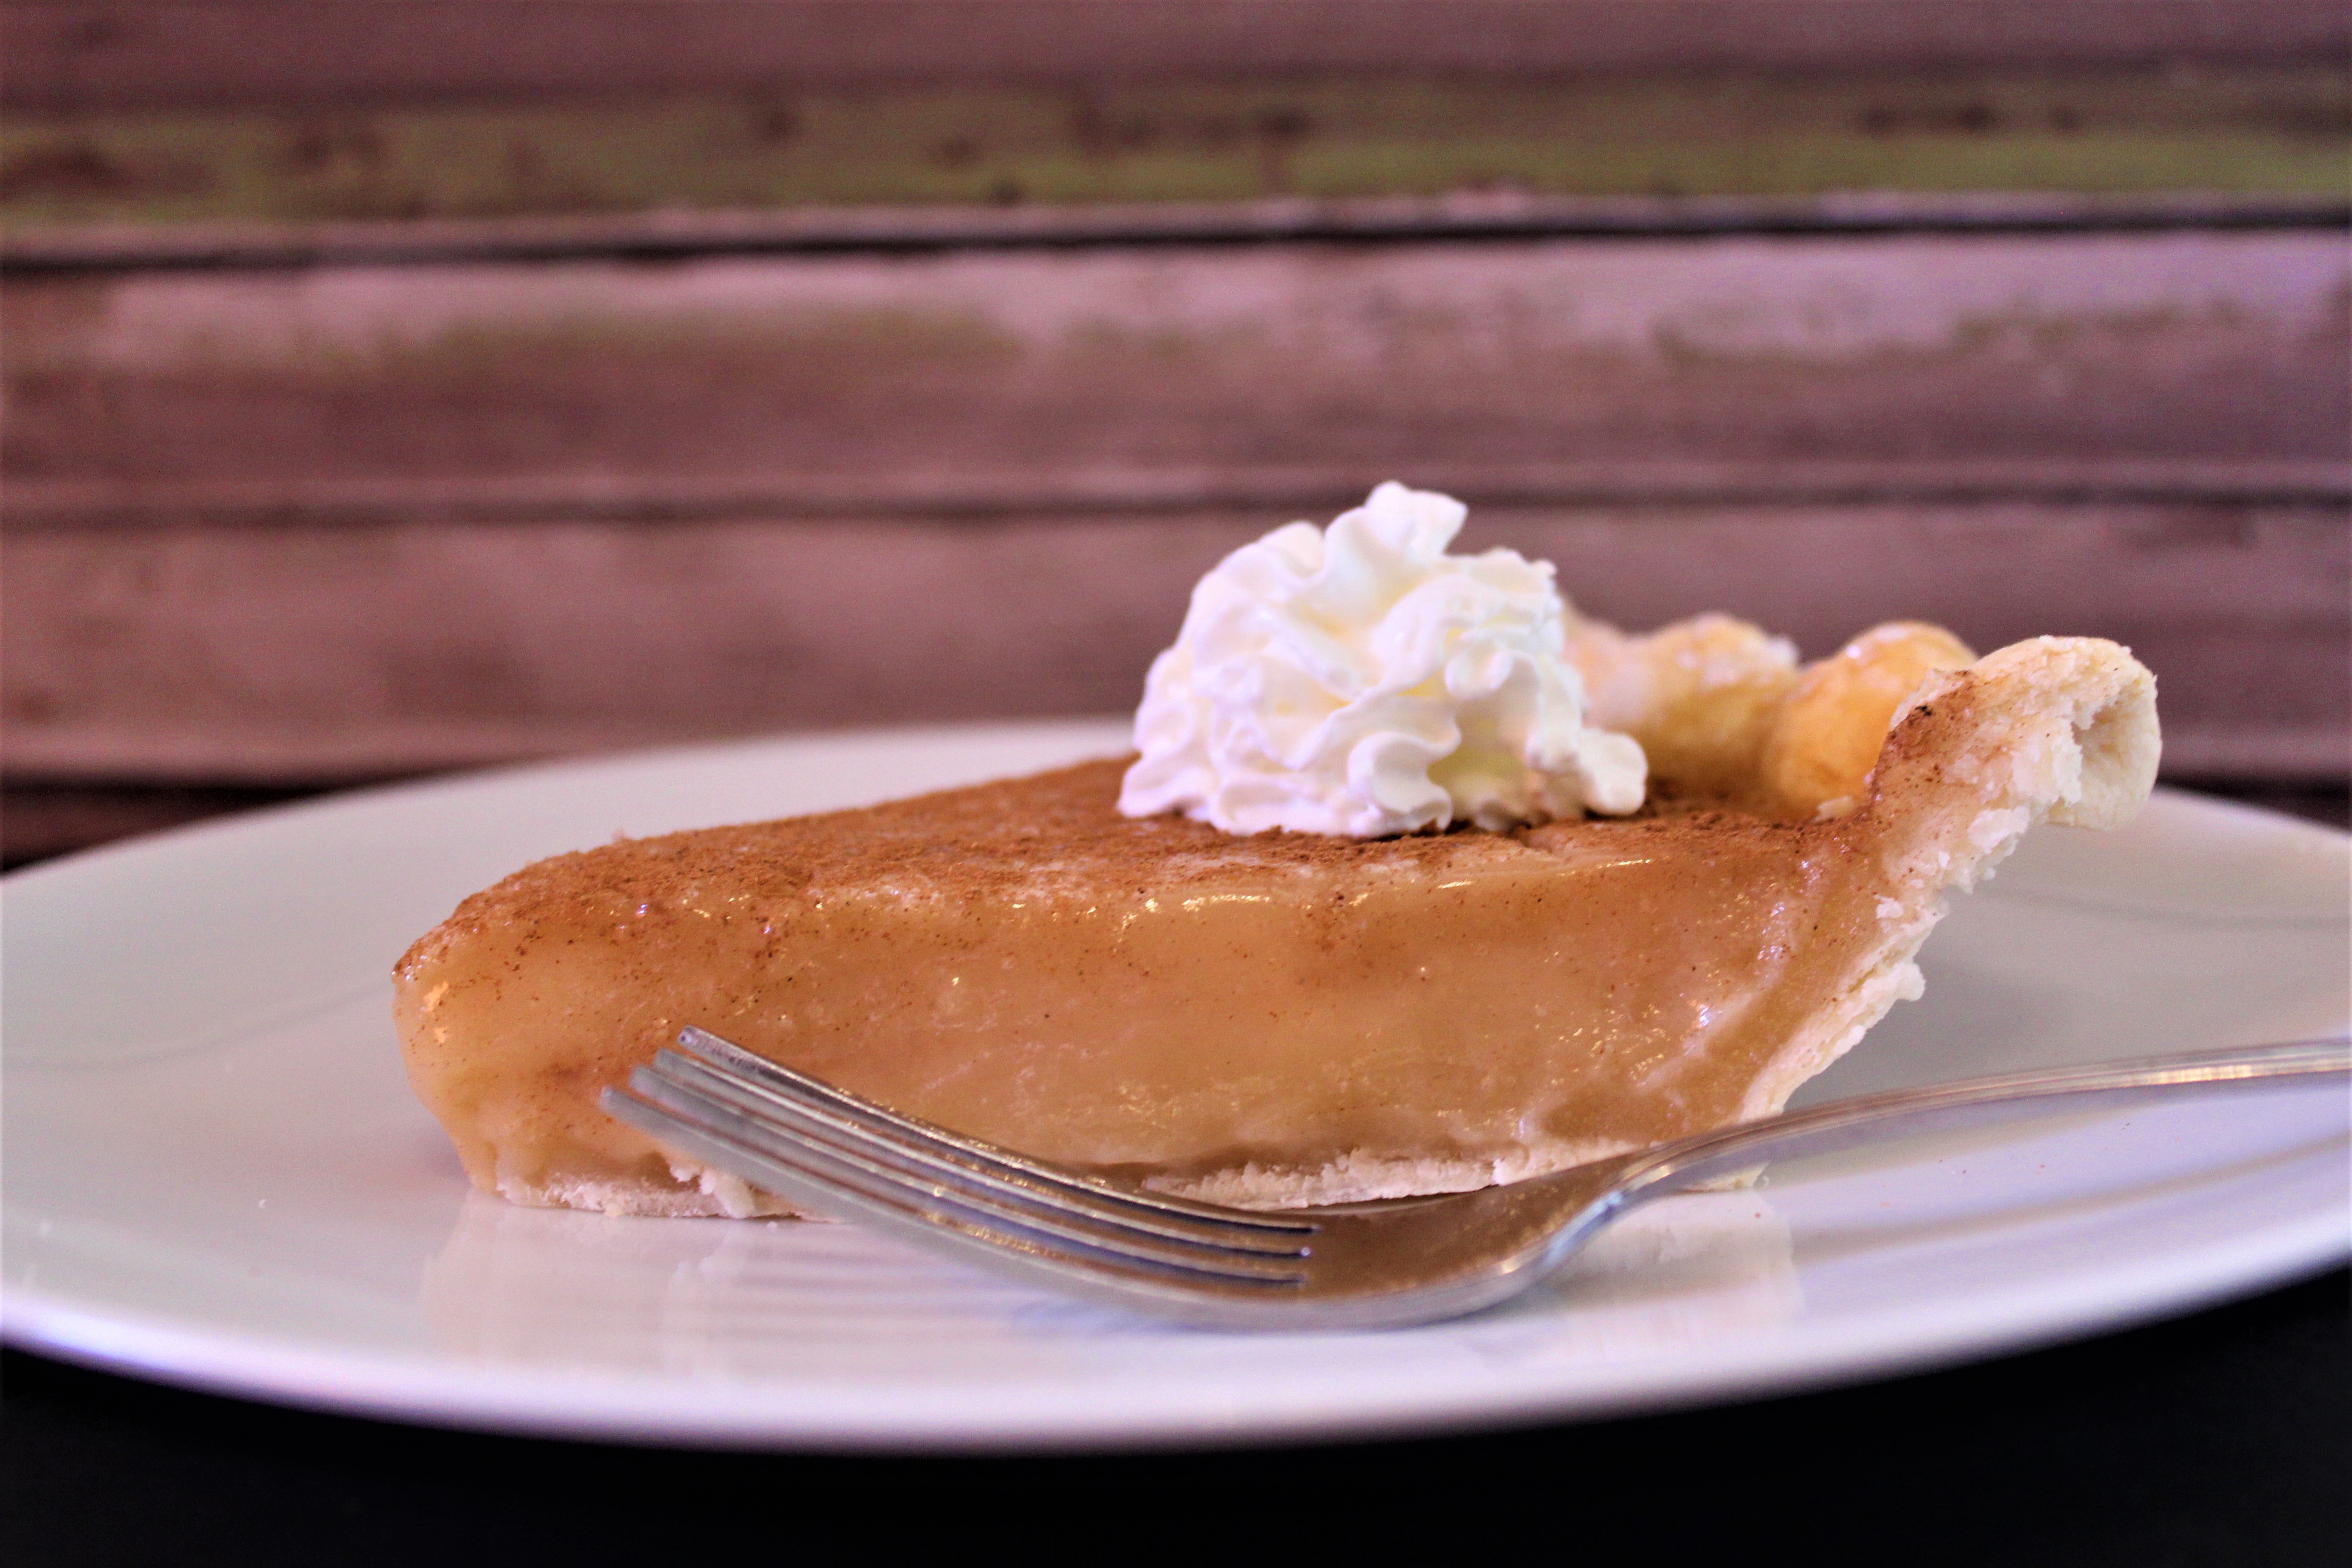
Her sugar cream pie stands out to me as my favorite. I know there are many varieties out there and we Hoosiers take our sugar cream pie seriously. My mom’s pie is creamy with just the right amount of warm spices. It is my childhood on a plate.
One taste of her pie and I am back to that old house on the side street. I can hear my mom yelling for us to wash our hands from a day of adventures as she put the final dish on the table.
All of us kids have grown up, and have our own families. We visit mom and dad as much as we can. The old house belongs to other people now, and my hope is they have dinner together and a slice of pie. I hope its a sugar cream pie, they’re Hoosiers too after all.

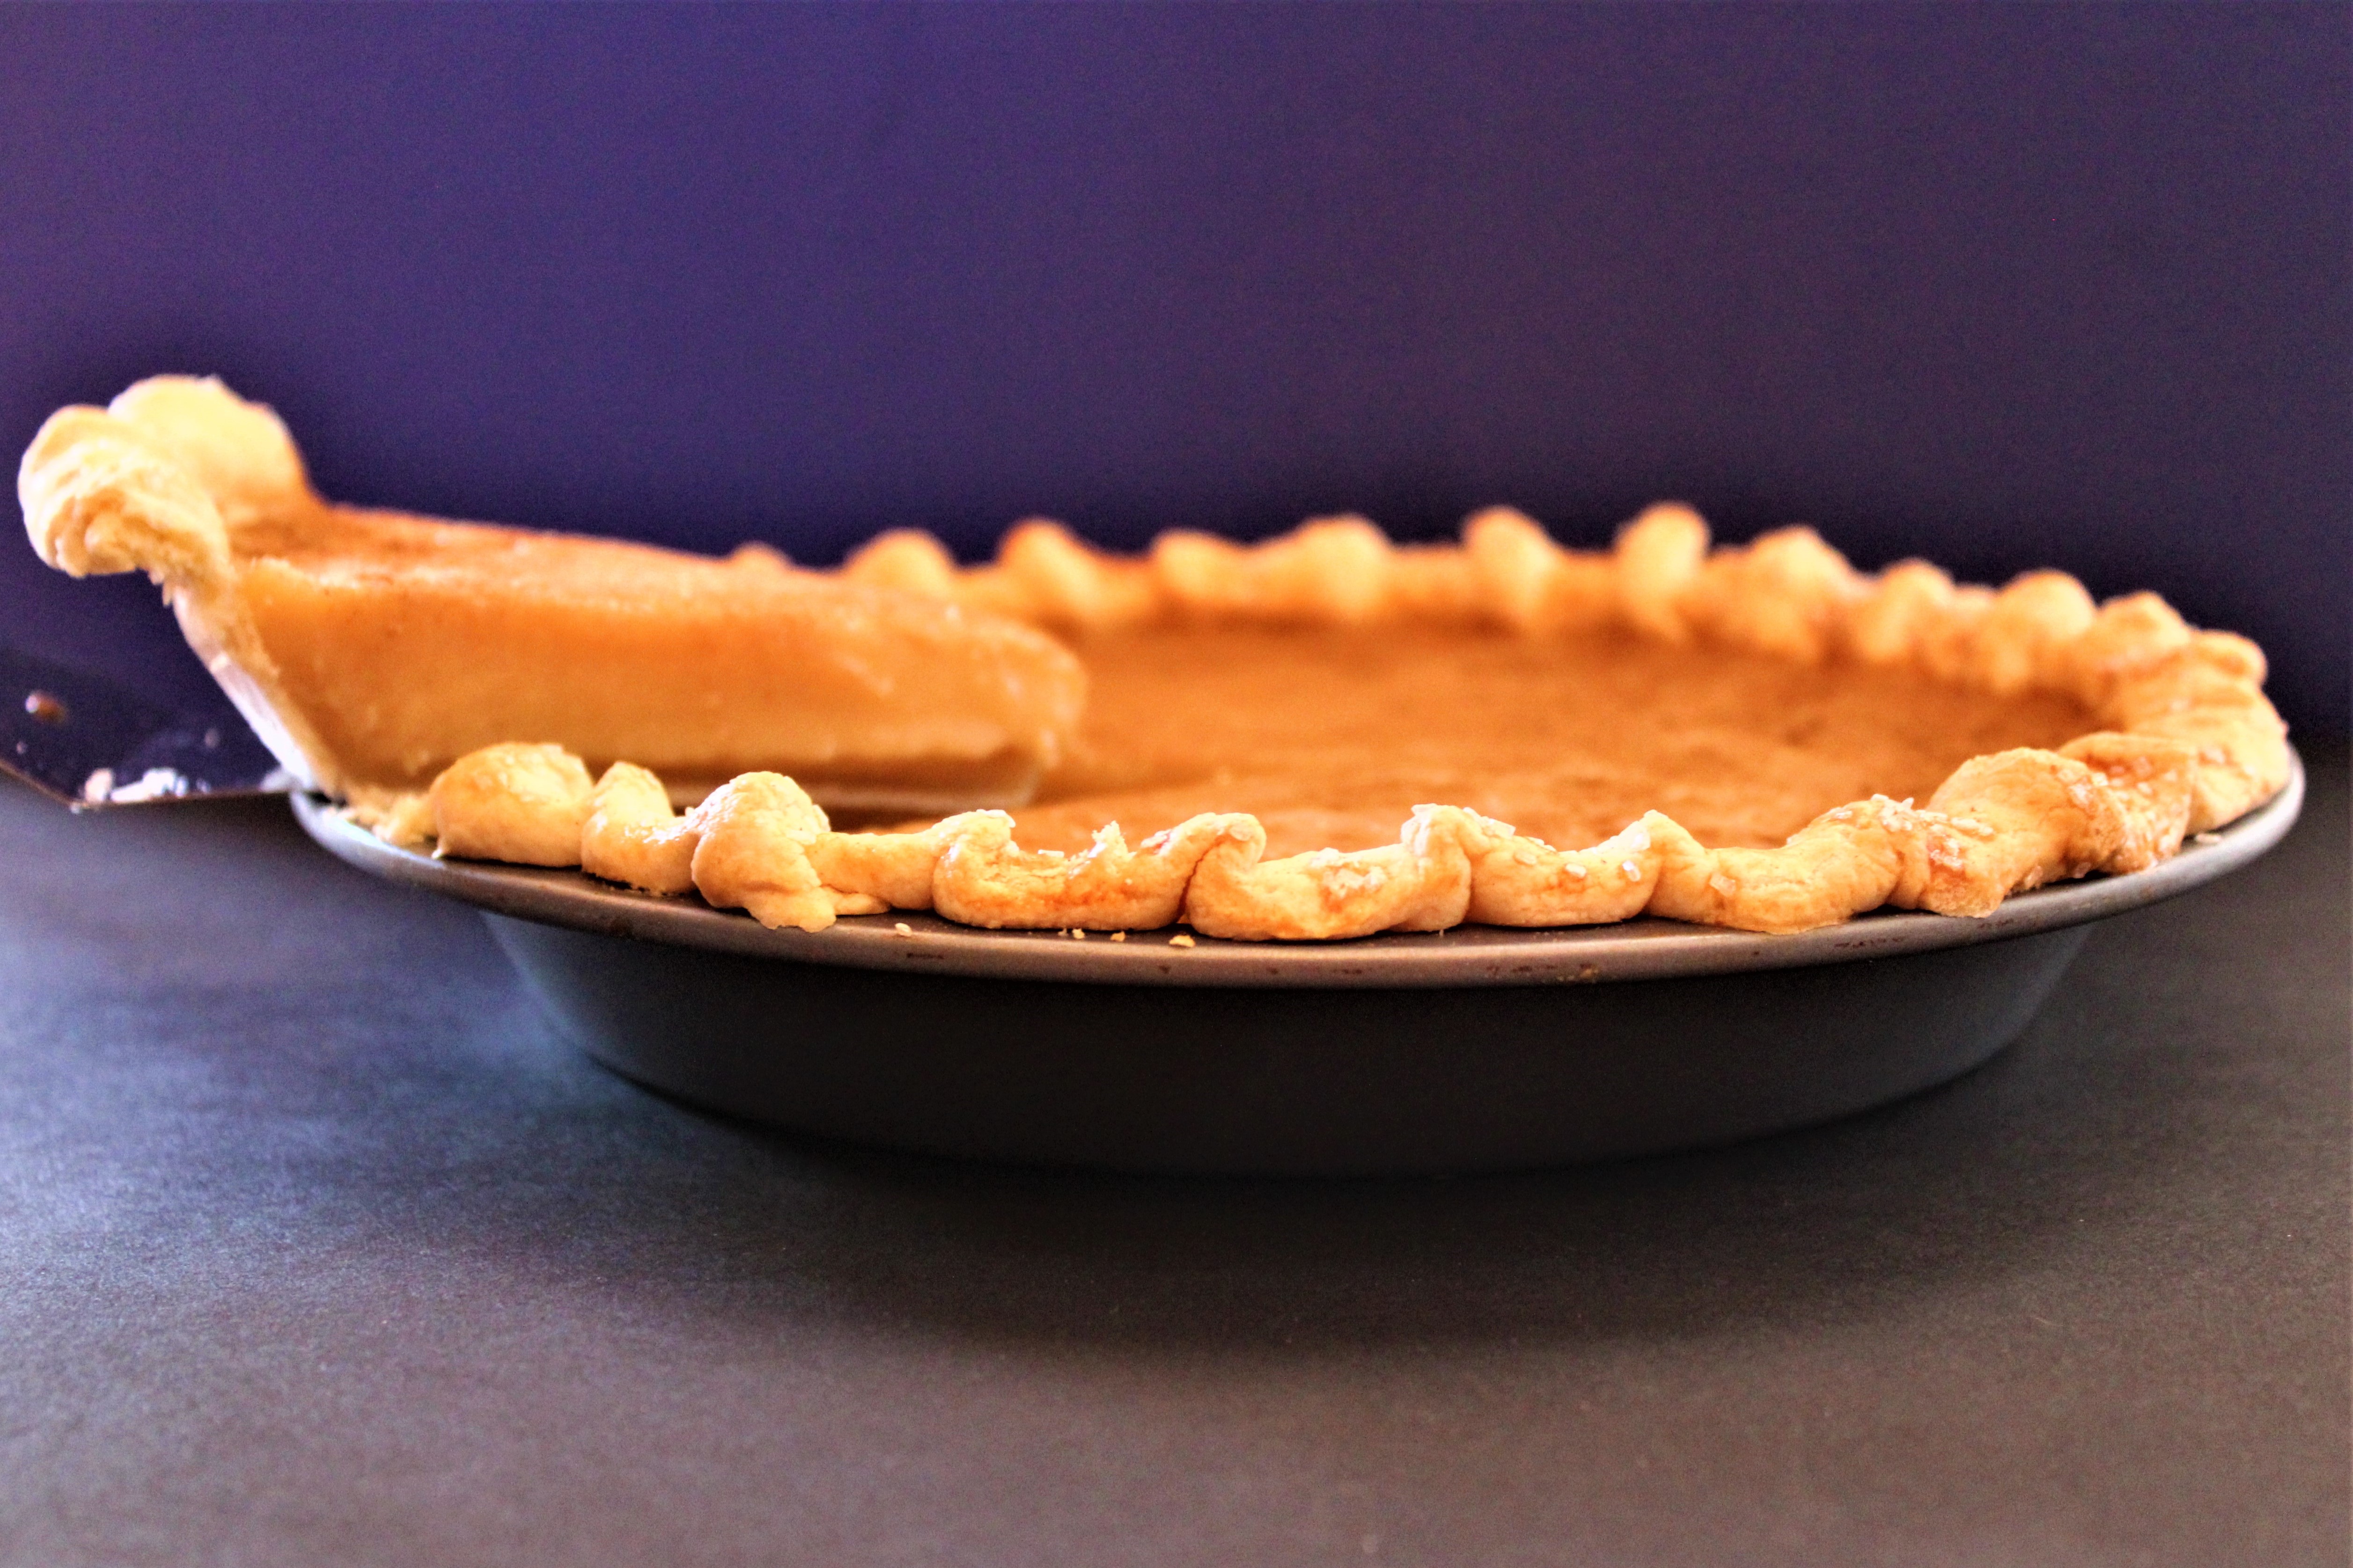
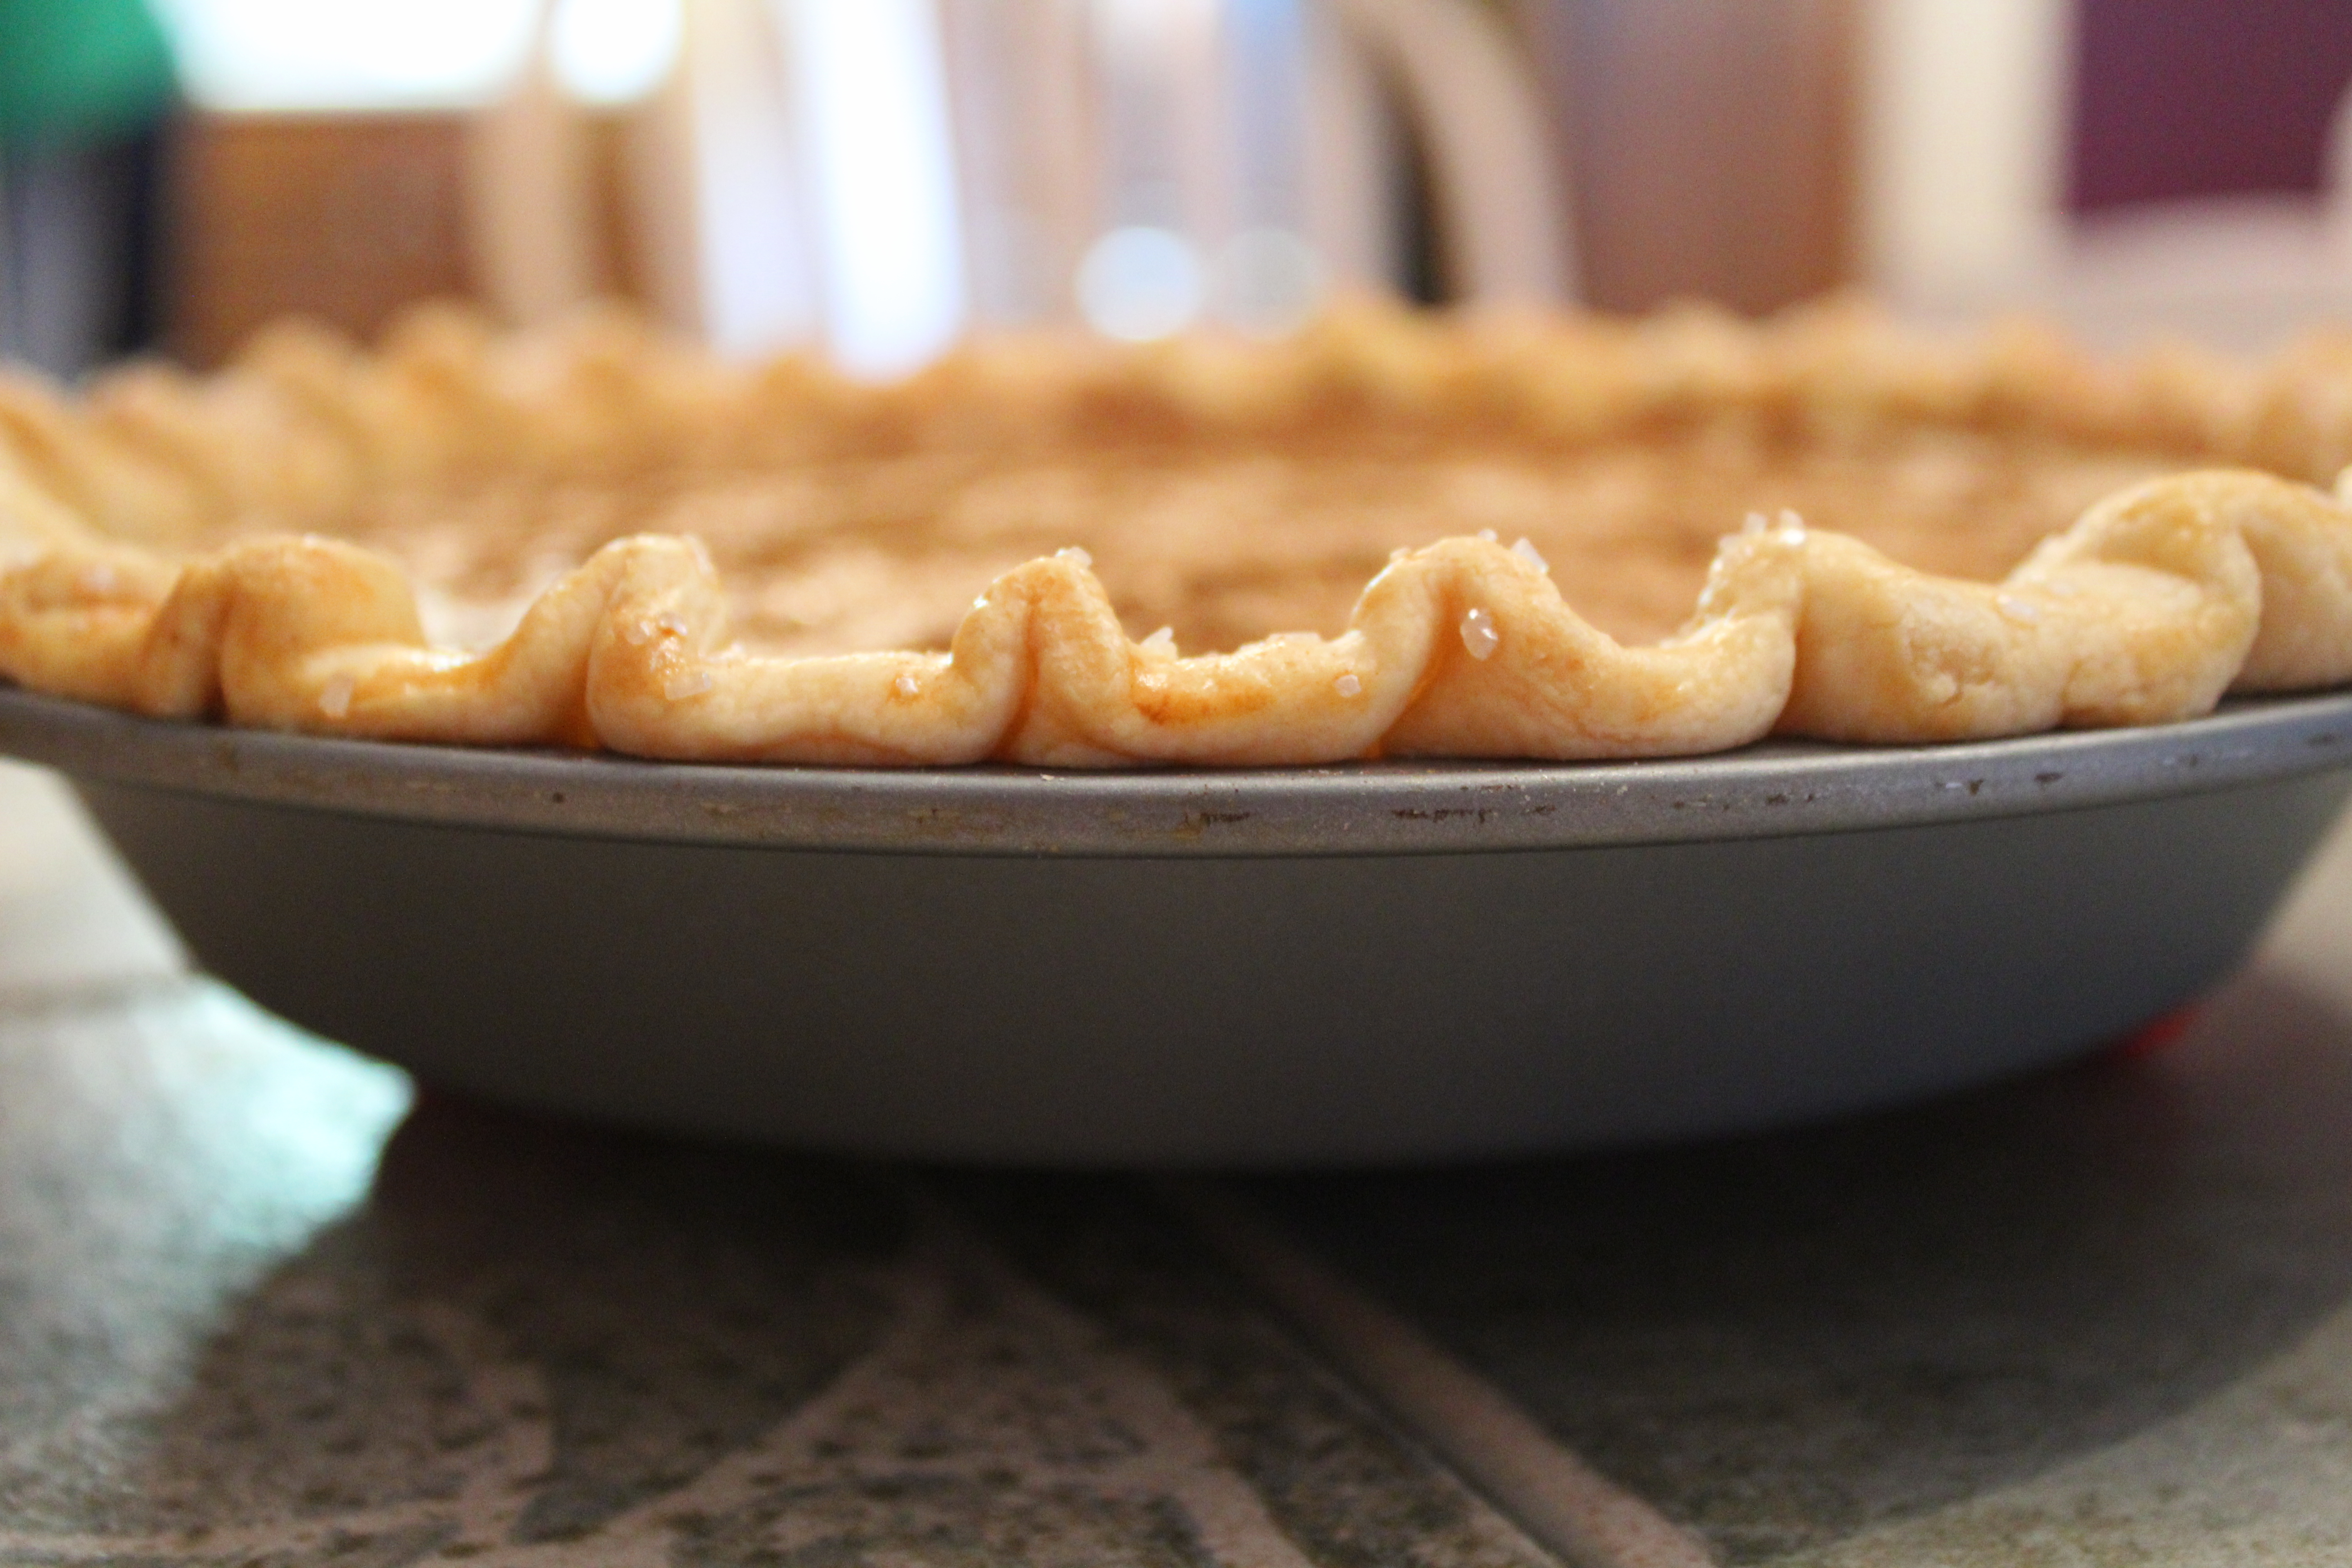
LaDonna's Sugar Cream Pie is velvety smooth with a touch of cinnamon. This is the Sugar Cream Pie in which all Sugar Cream Pie's are measured against.
Preheat oven to 350 degrees
Mix sugar, brown sugar, flour, and salt in a mixing bowl.
add the rest of the ingredients and mix until combined.
Pour into unbaked pie crust. Sprinkle with cinnamon.
Bake 45 mins until golden brown. Let cool on a wire rack.
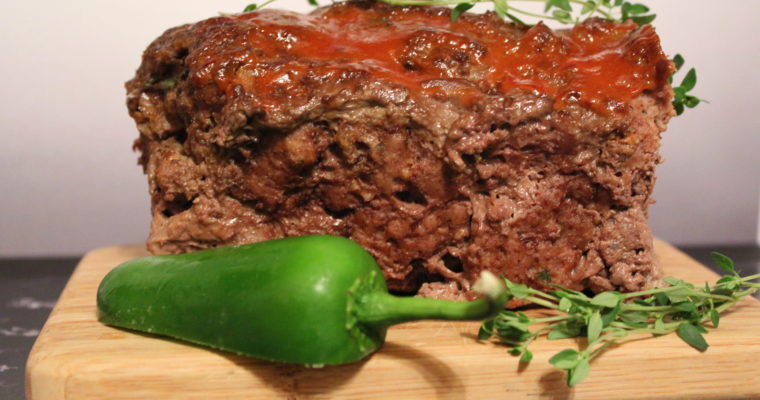
I’ve been craving meatloaf the last few days! Meatloaf has always seemed like a Sunday meal to me. It’s comfort food that satisfies everyone at the table. I have made it a hundred times over the years and every time I make the first cut …
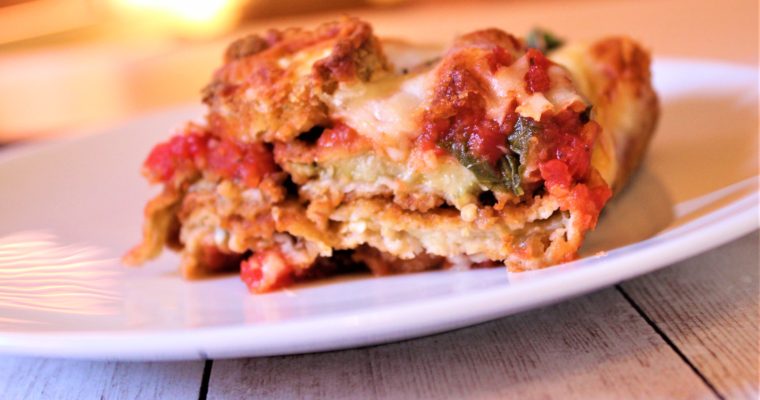
Eggplant Parmesan transforms eggplant from an ordinary vegetable into a dinner that will receive rave reviews. Dale and I share the cooking responsibilities in our home. There are meals that I do well, and he has his. I tend to be more adventurous when it …
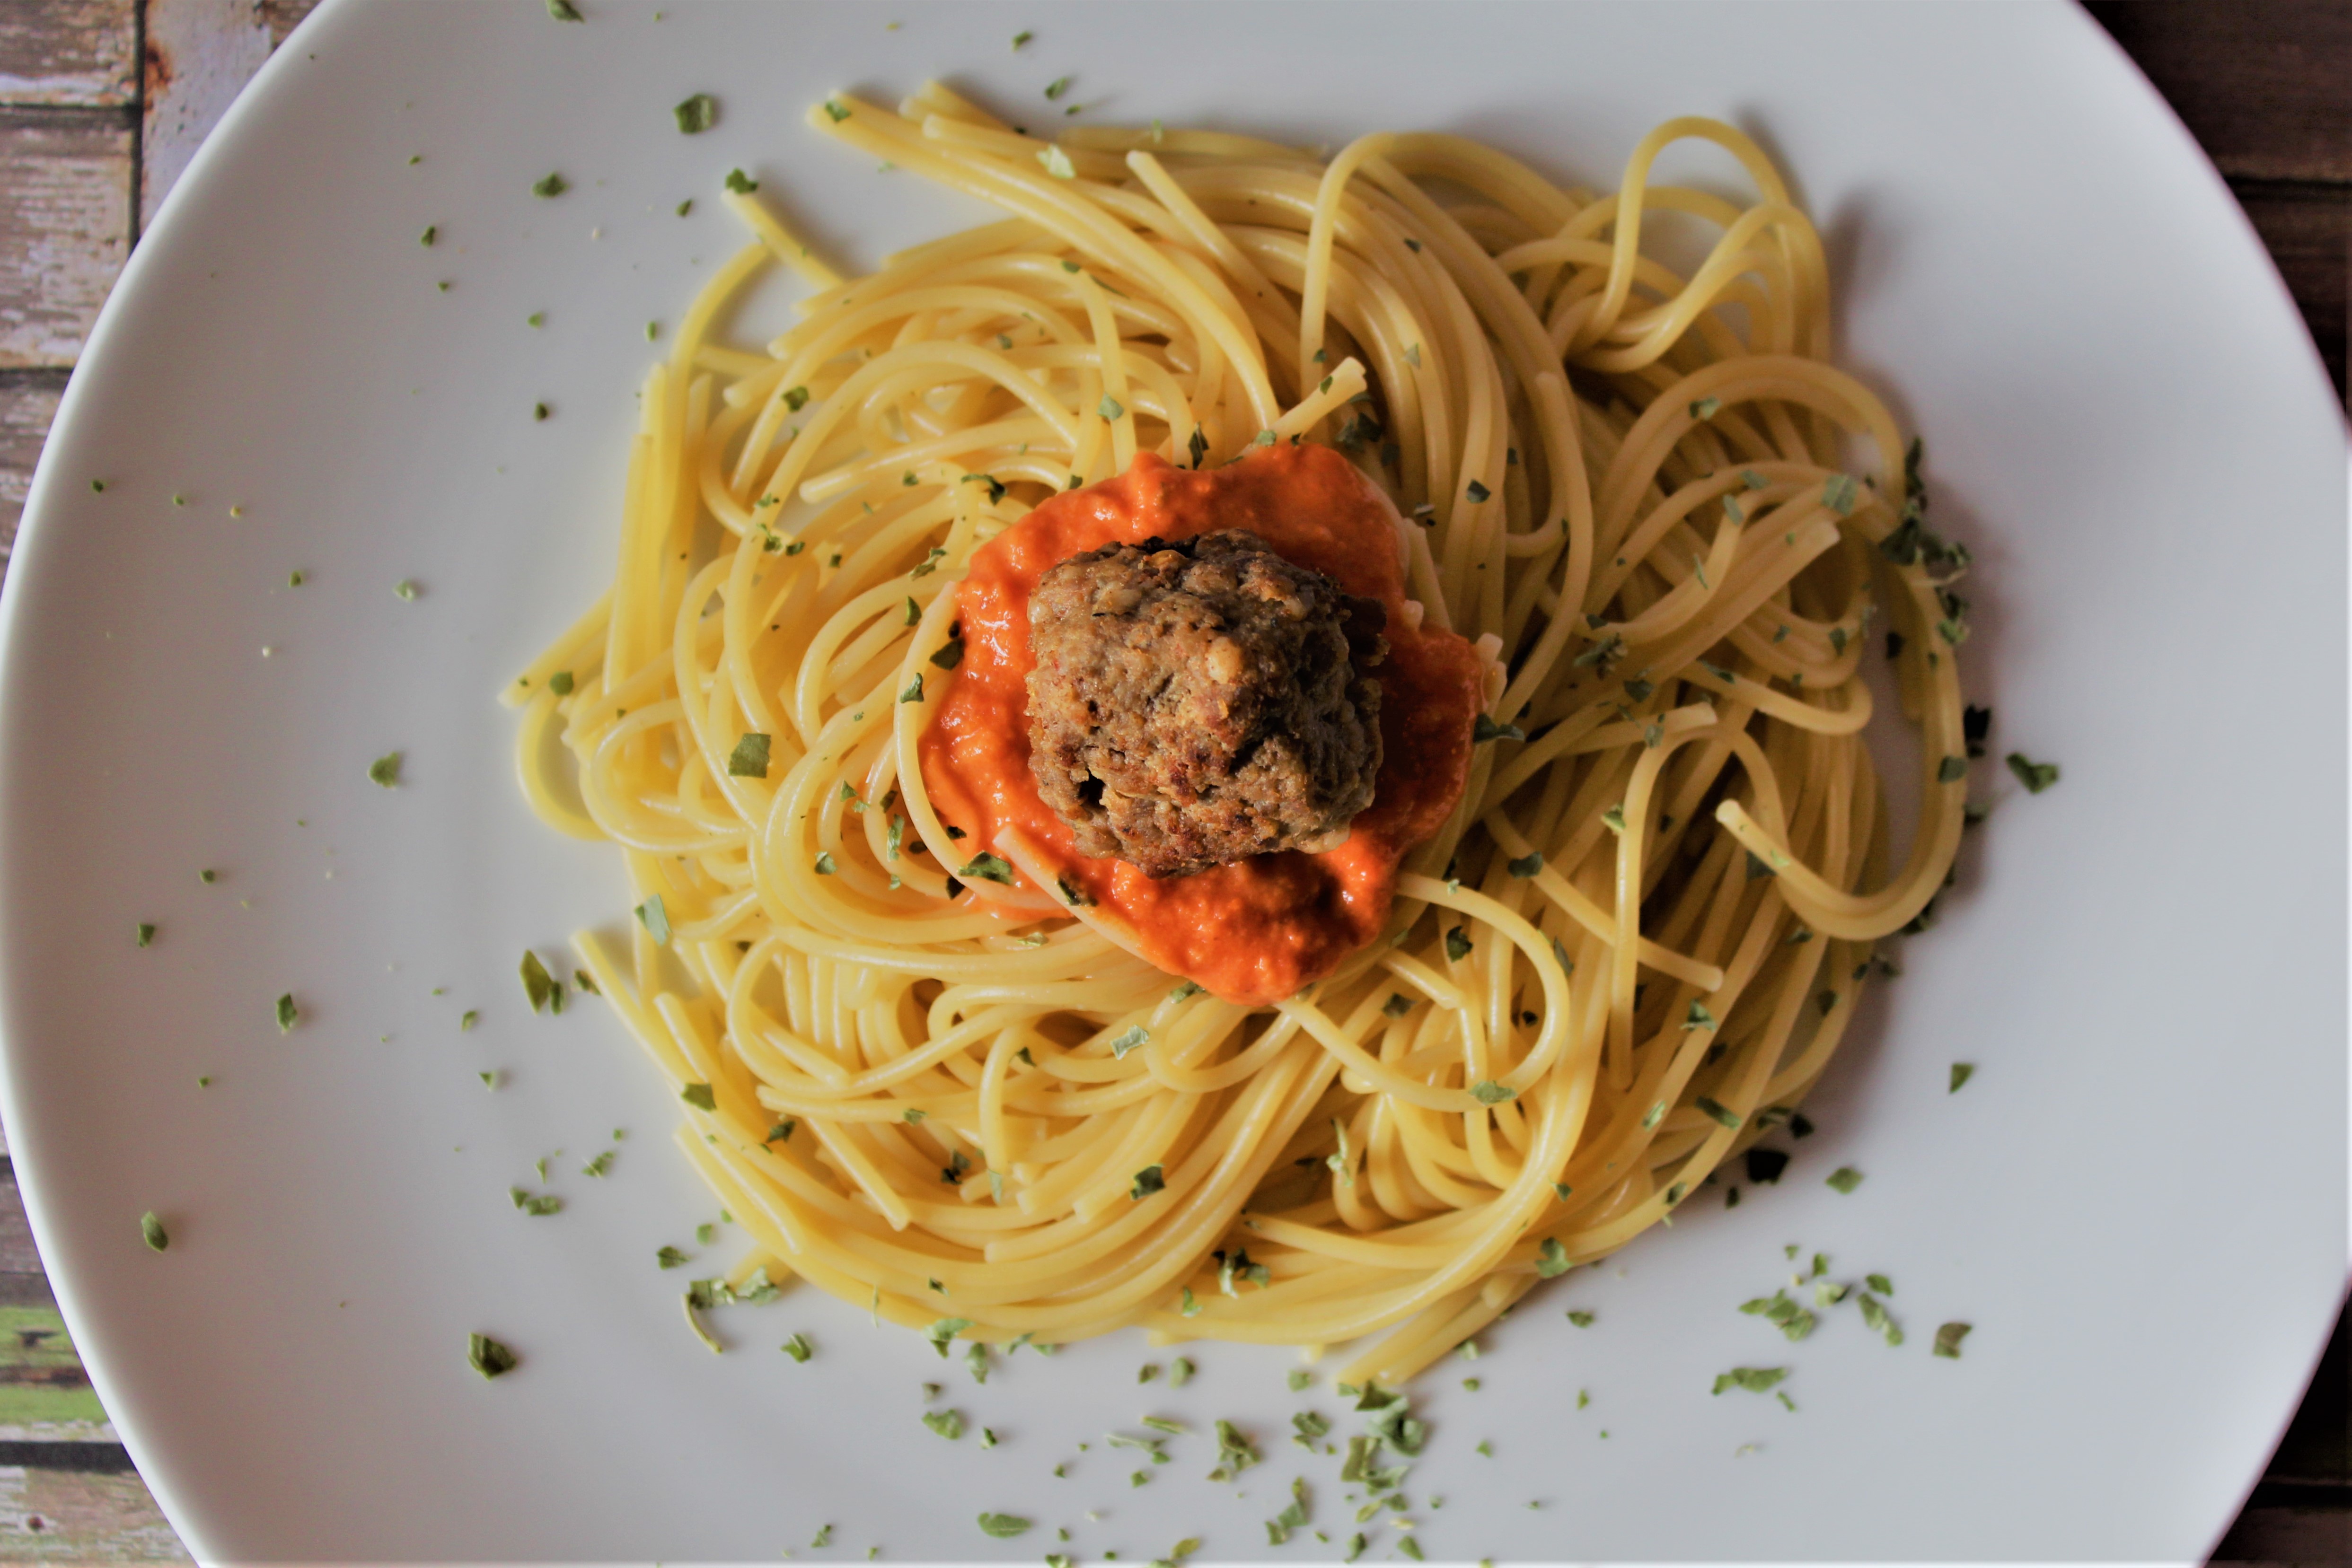
I love meatballs! I only eat spaghetti when it’s littered with them. When I make meatballs, sometimes they are great and sometimes not so good. Recently I started my search for a fool-proof recipe that turns out perfect every time.
 While online I stumbled upon a social media group where descendants of Sicily can post recipes handed down from generation to generation. What a crazy group this turned out to be! After joining, I realized that members posted recipes and questions at their own risk.
 Let me say, my Sicilians are a spirited bunch of people. They are passionate about all things Italian. The biggest argument among them is, what is the correct name for the tomato topping on spaghetti noodles?
There are two camps on this topic. One camp says the correct name is “sauce” and the other says it’s “gravy.”
 The first post I read when I Joined was from a member named Gina. Her post simply said, ” My Grandmother’s recipe for gravy calls for it to cook on the stove for eight hours. Does that sound correct?” Instead of answering her question, my Sicilians started a “comment” war.
Gina’s simple request turned into 532 responses. Here is a sampling of the comments left for Gina, “gravy is for biscuits”, “Your grandma wasn’t Sicilian,” and “leave her alone, she can call it what she wants.” I checked the thread every hour to keep up with the name calling and verbal abuse.
 Recently a member named Margret asked what everyone’s favorite sauce was from a jar? Oh my, I can not repeat the language used in the responses, you see, a Sicilian would NEVER use a sauce from a jar.
From this online group, I have found a sense of community, like a family. As in all families, they have dysfunction, but they have the same goal they want to share their story, their passion, and recipes.
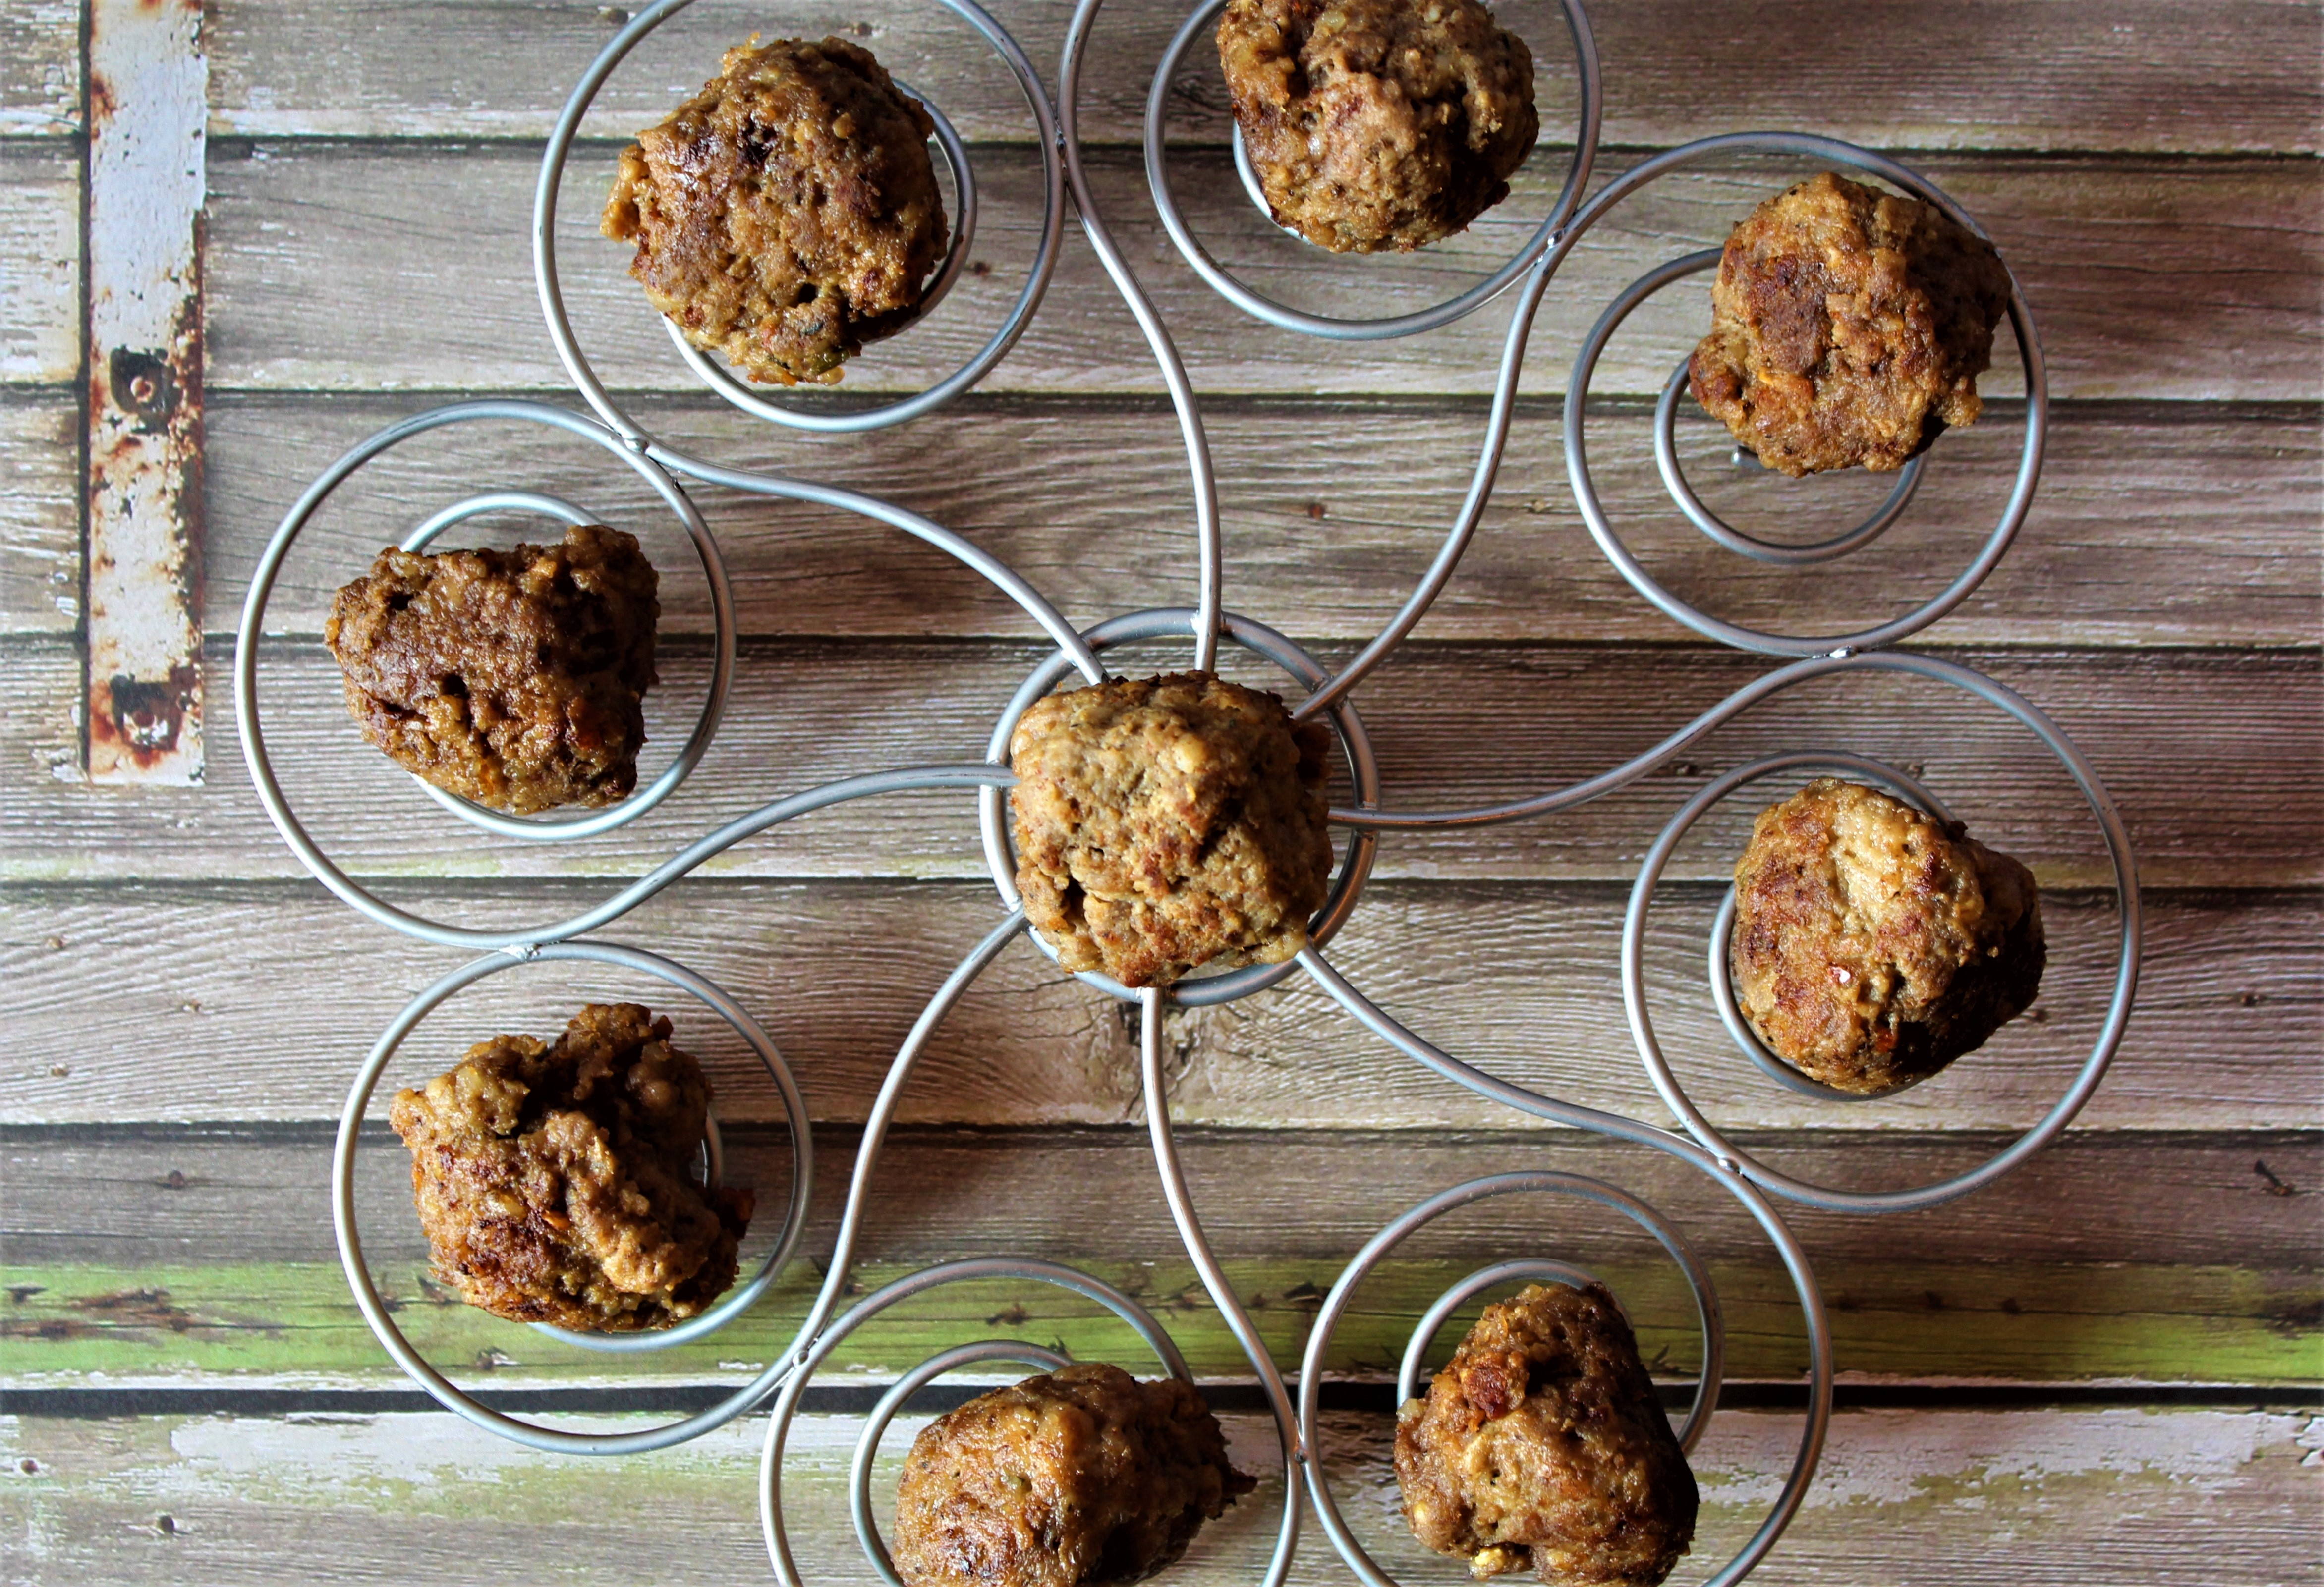
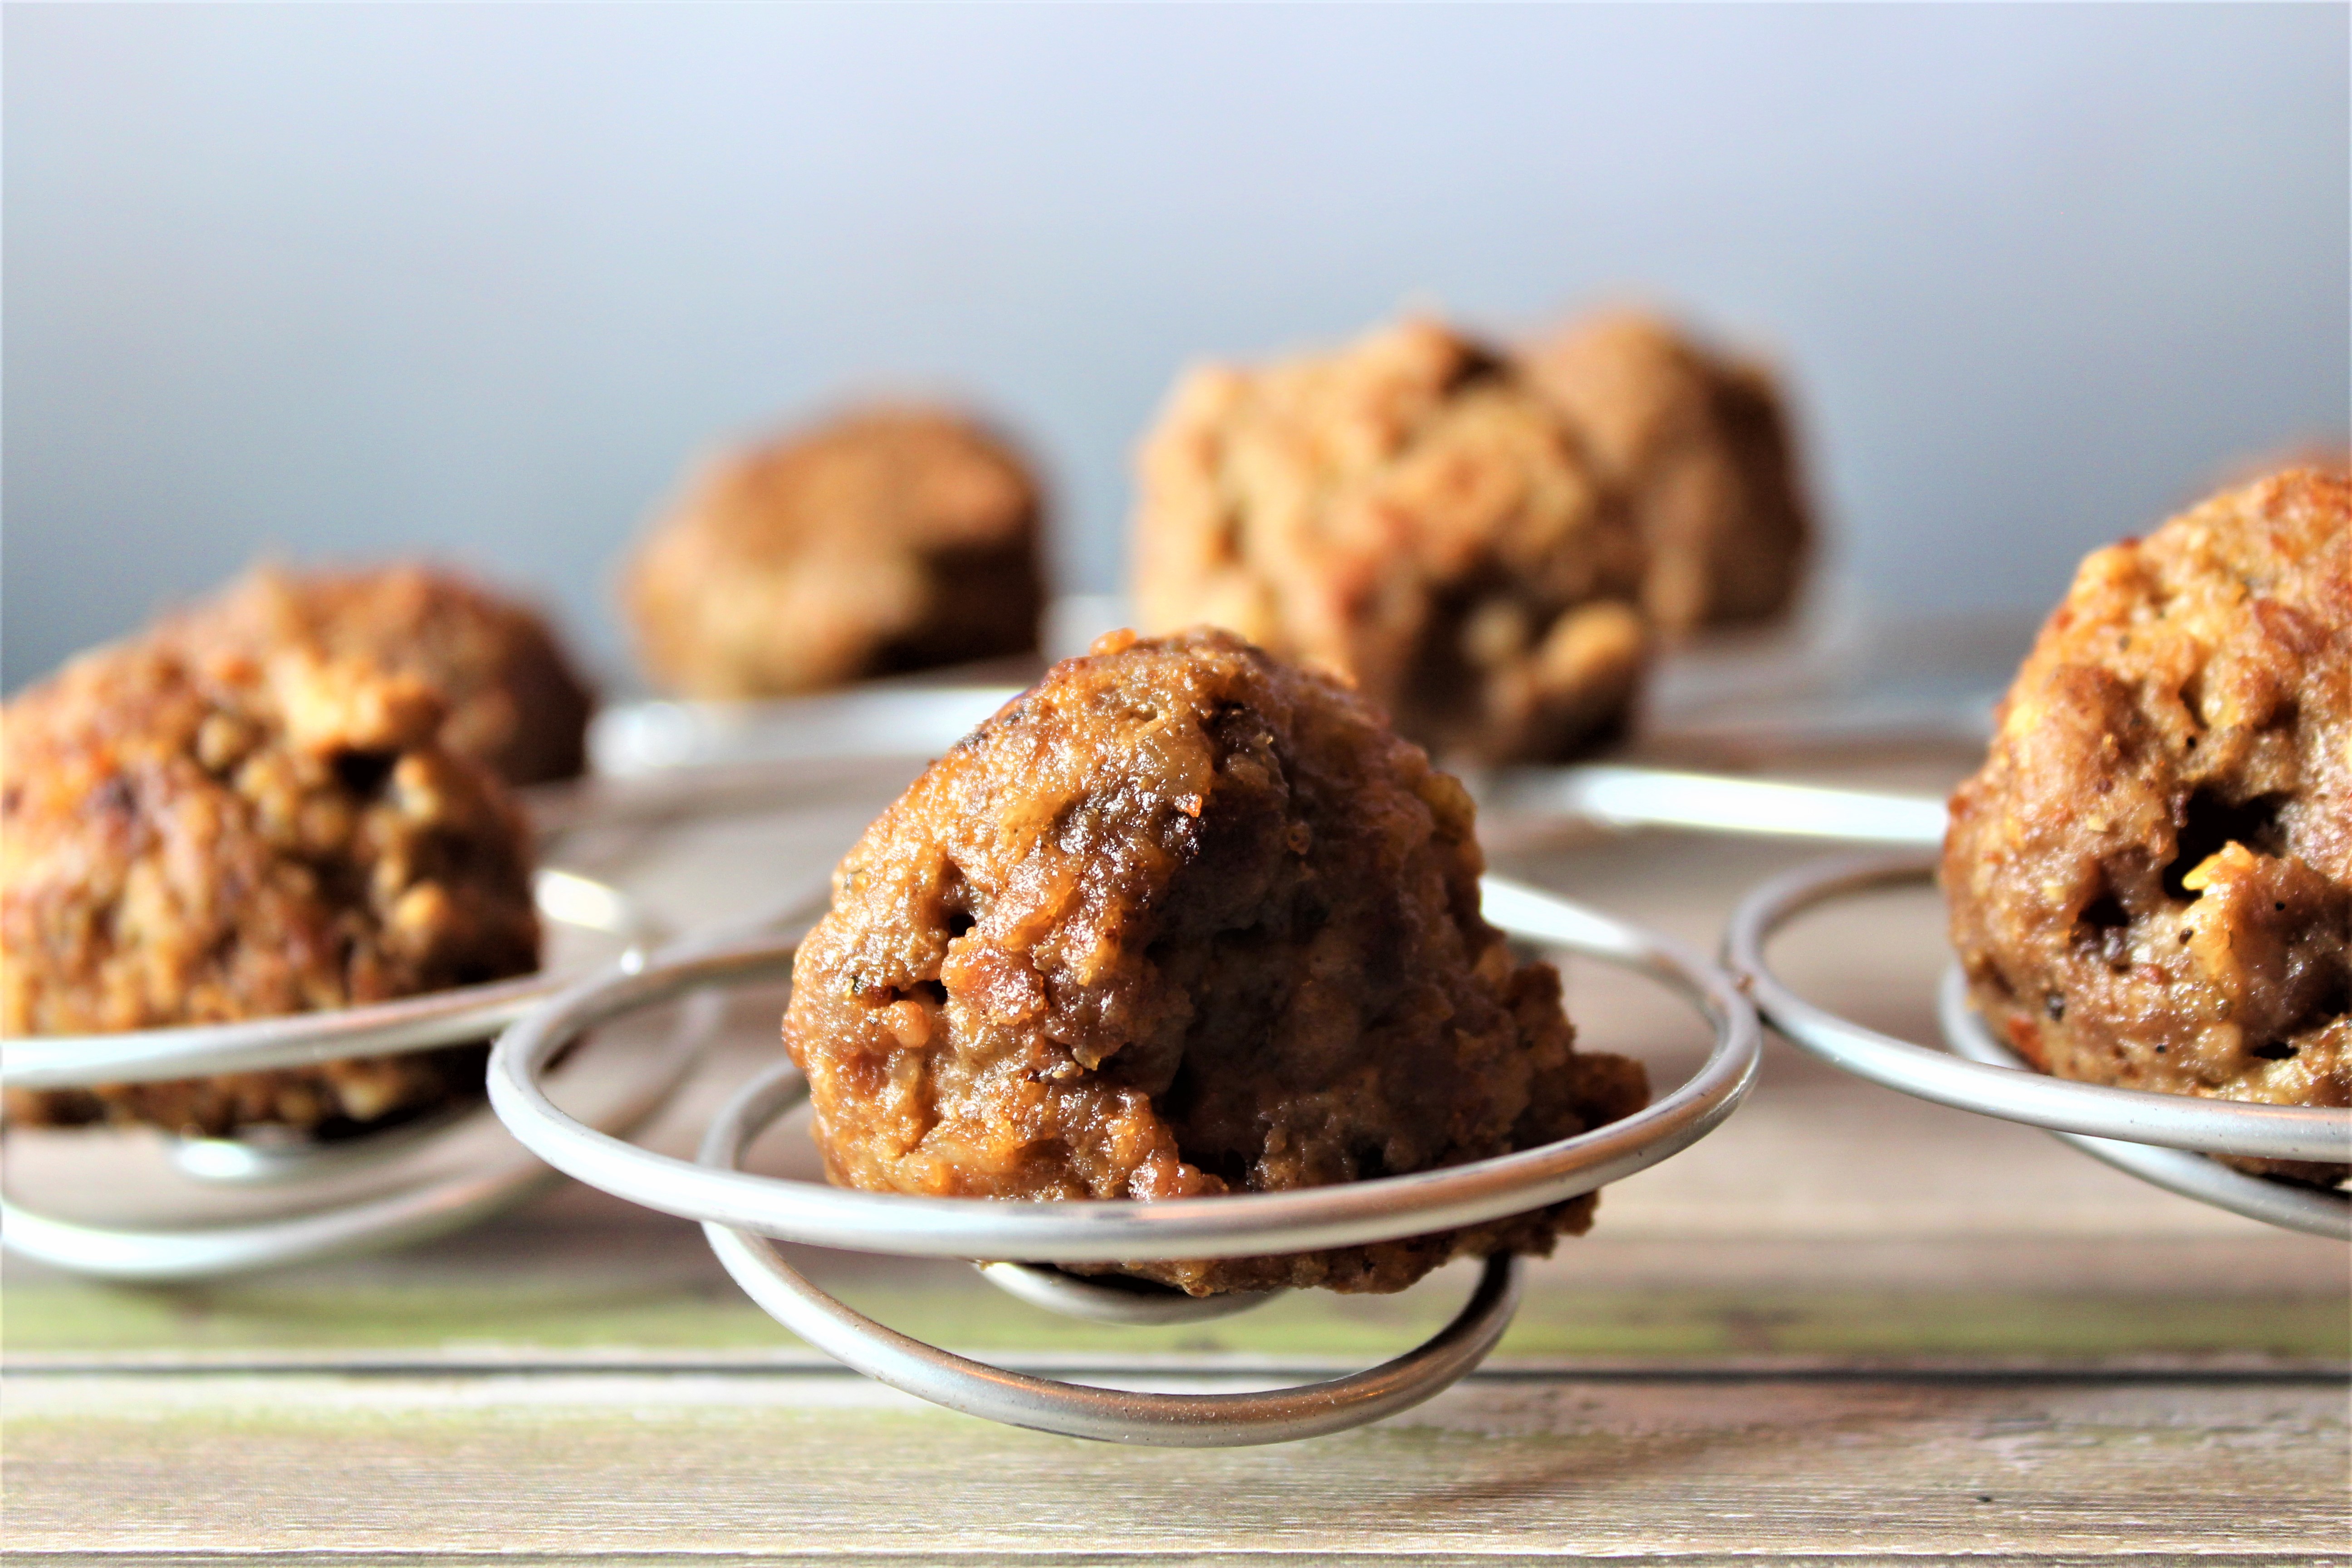
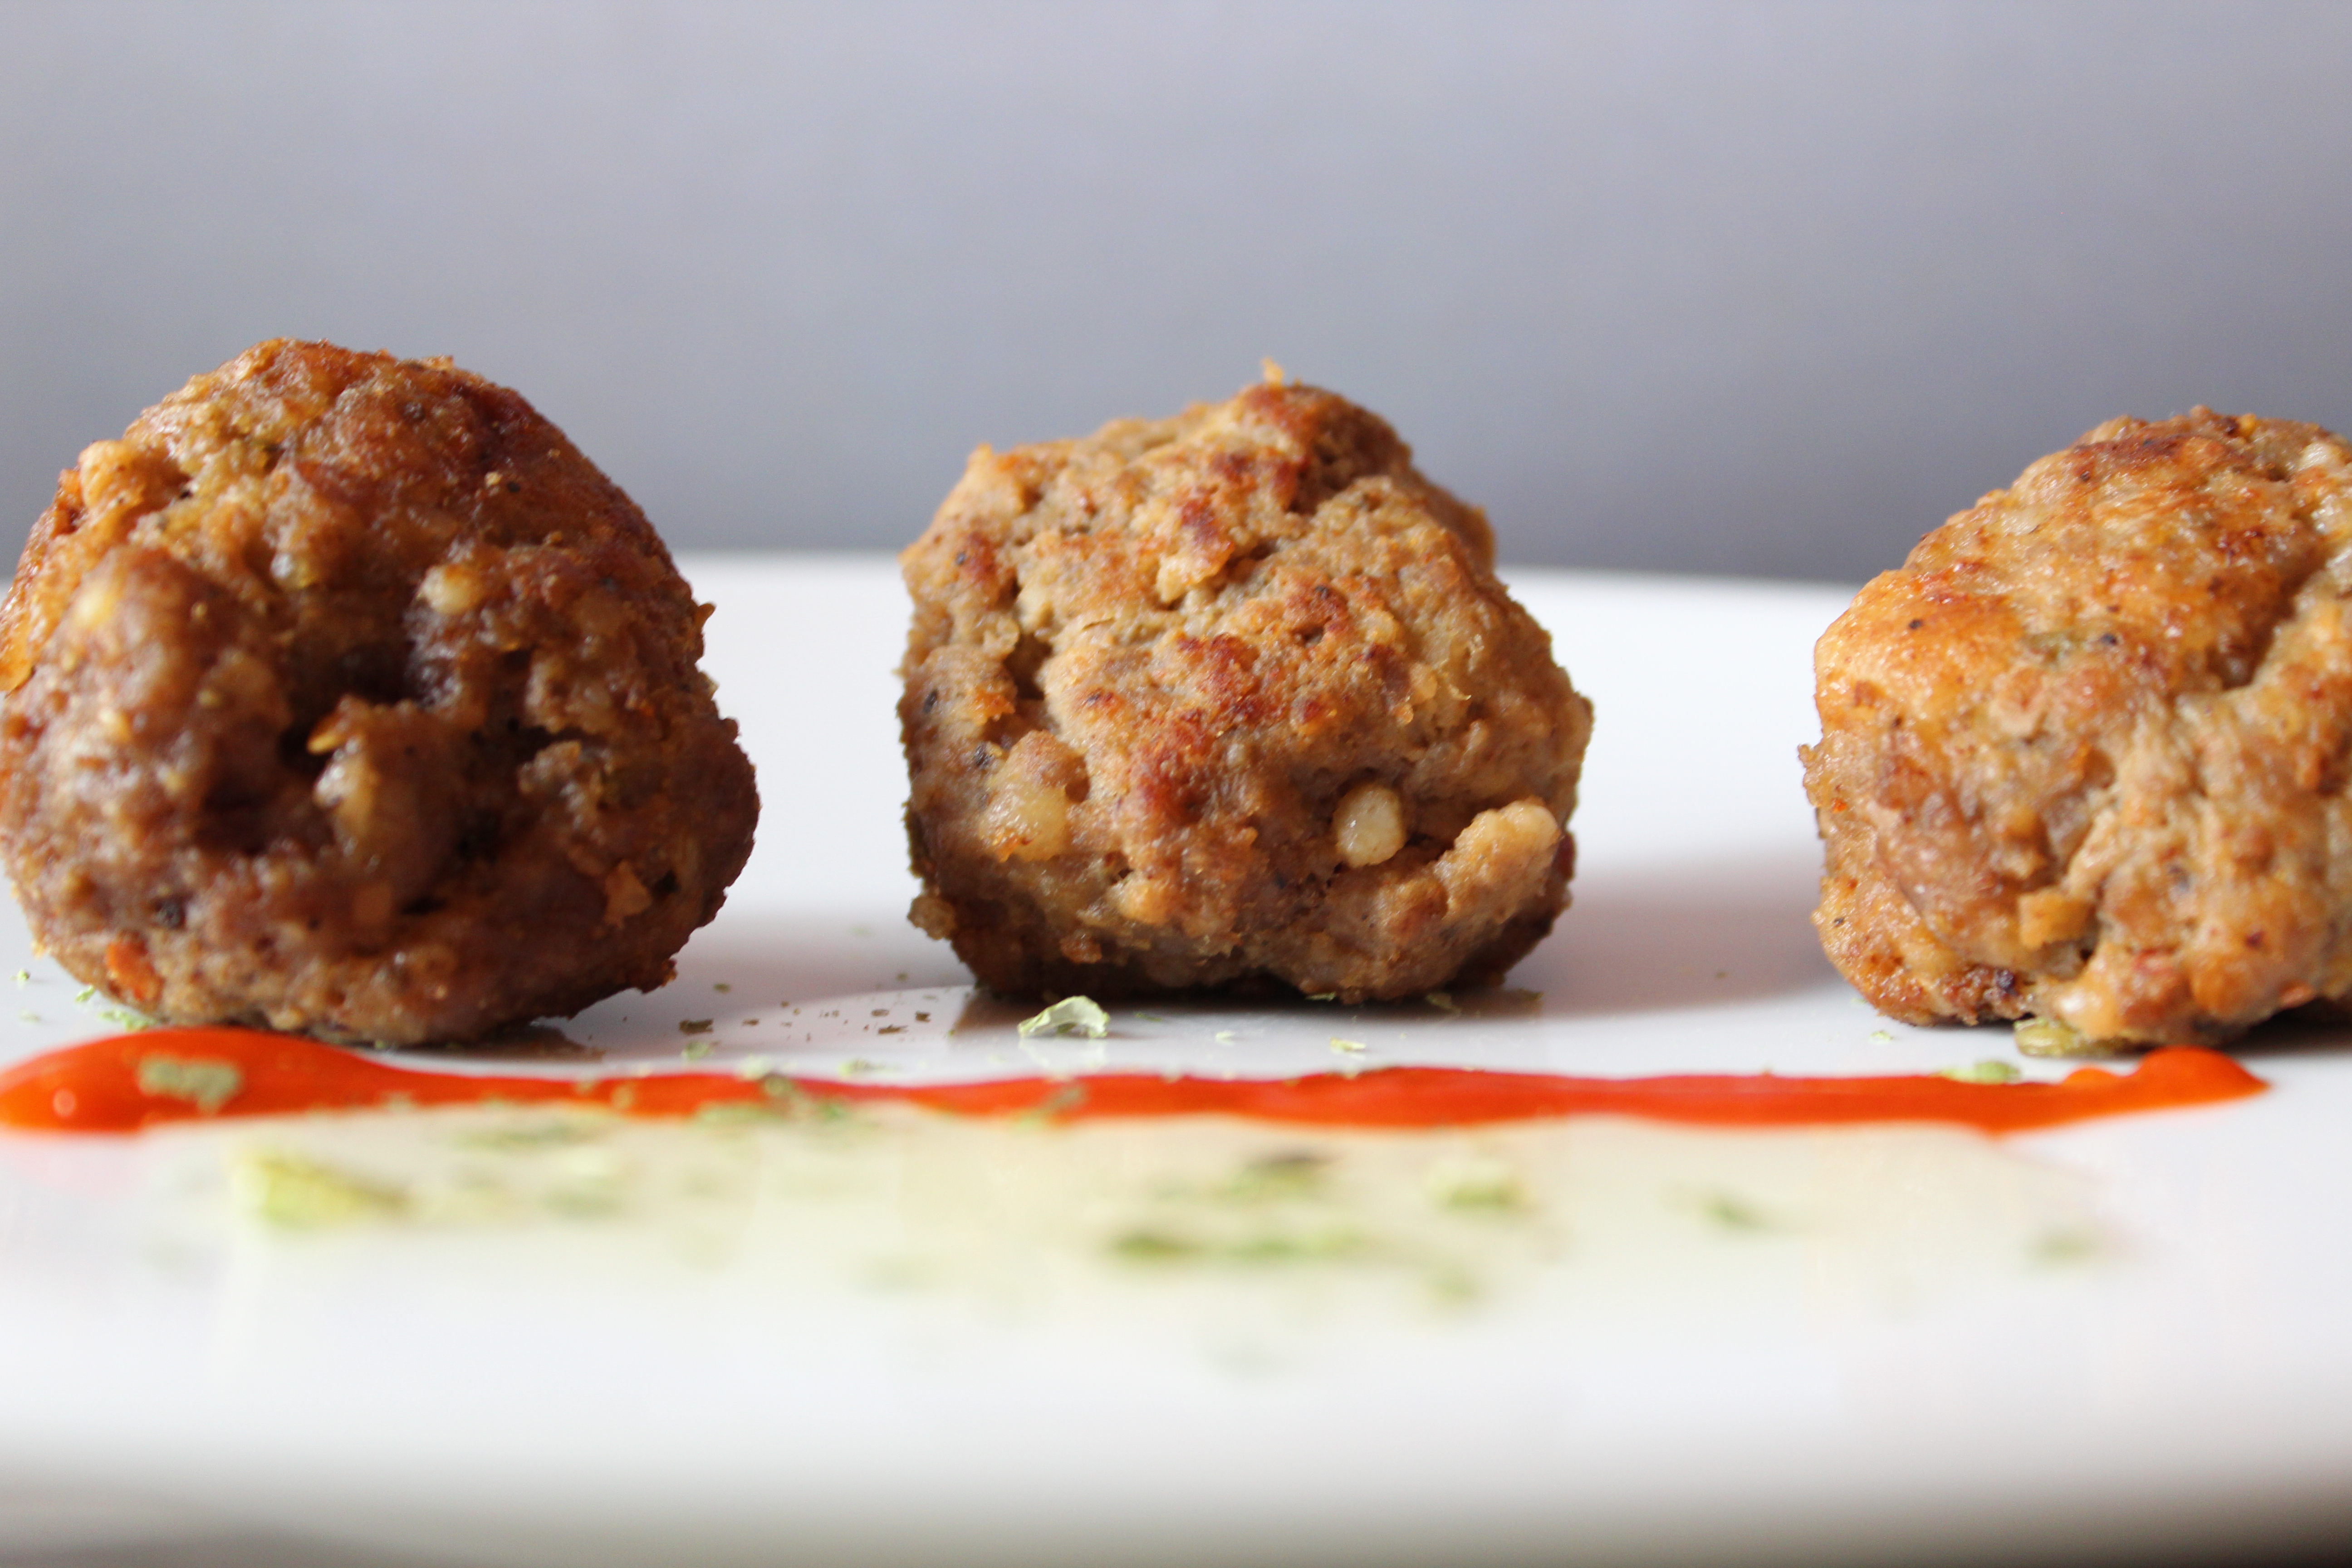
My Old World Sicilian Meatball recipe is from Tony Albano. His Great Grandmother brought this recipe with her from the old world. The meatballs come out perfectly every time.
 As always, if you try this recipe, snap a photo and post to Instagram with #dougbakes. Feel free to leave a comment below, however, do not ask me if I call it sauce or gravy. I am neutral in this argument.
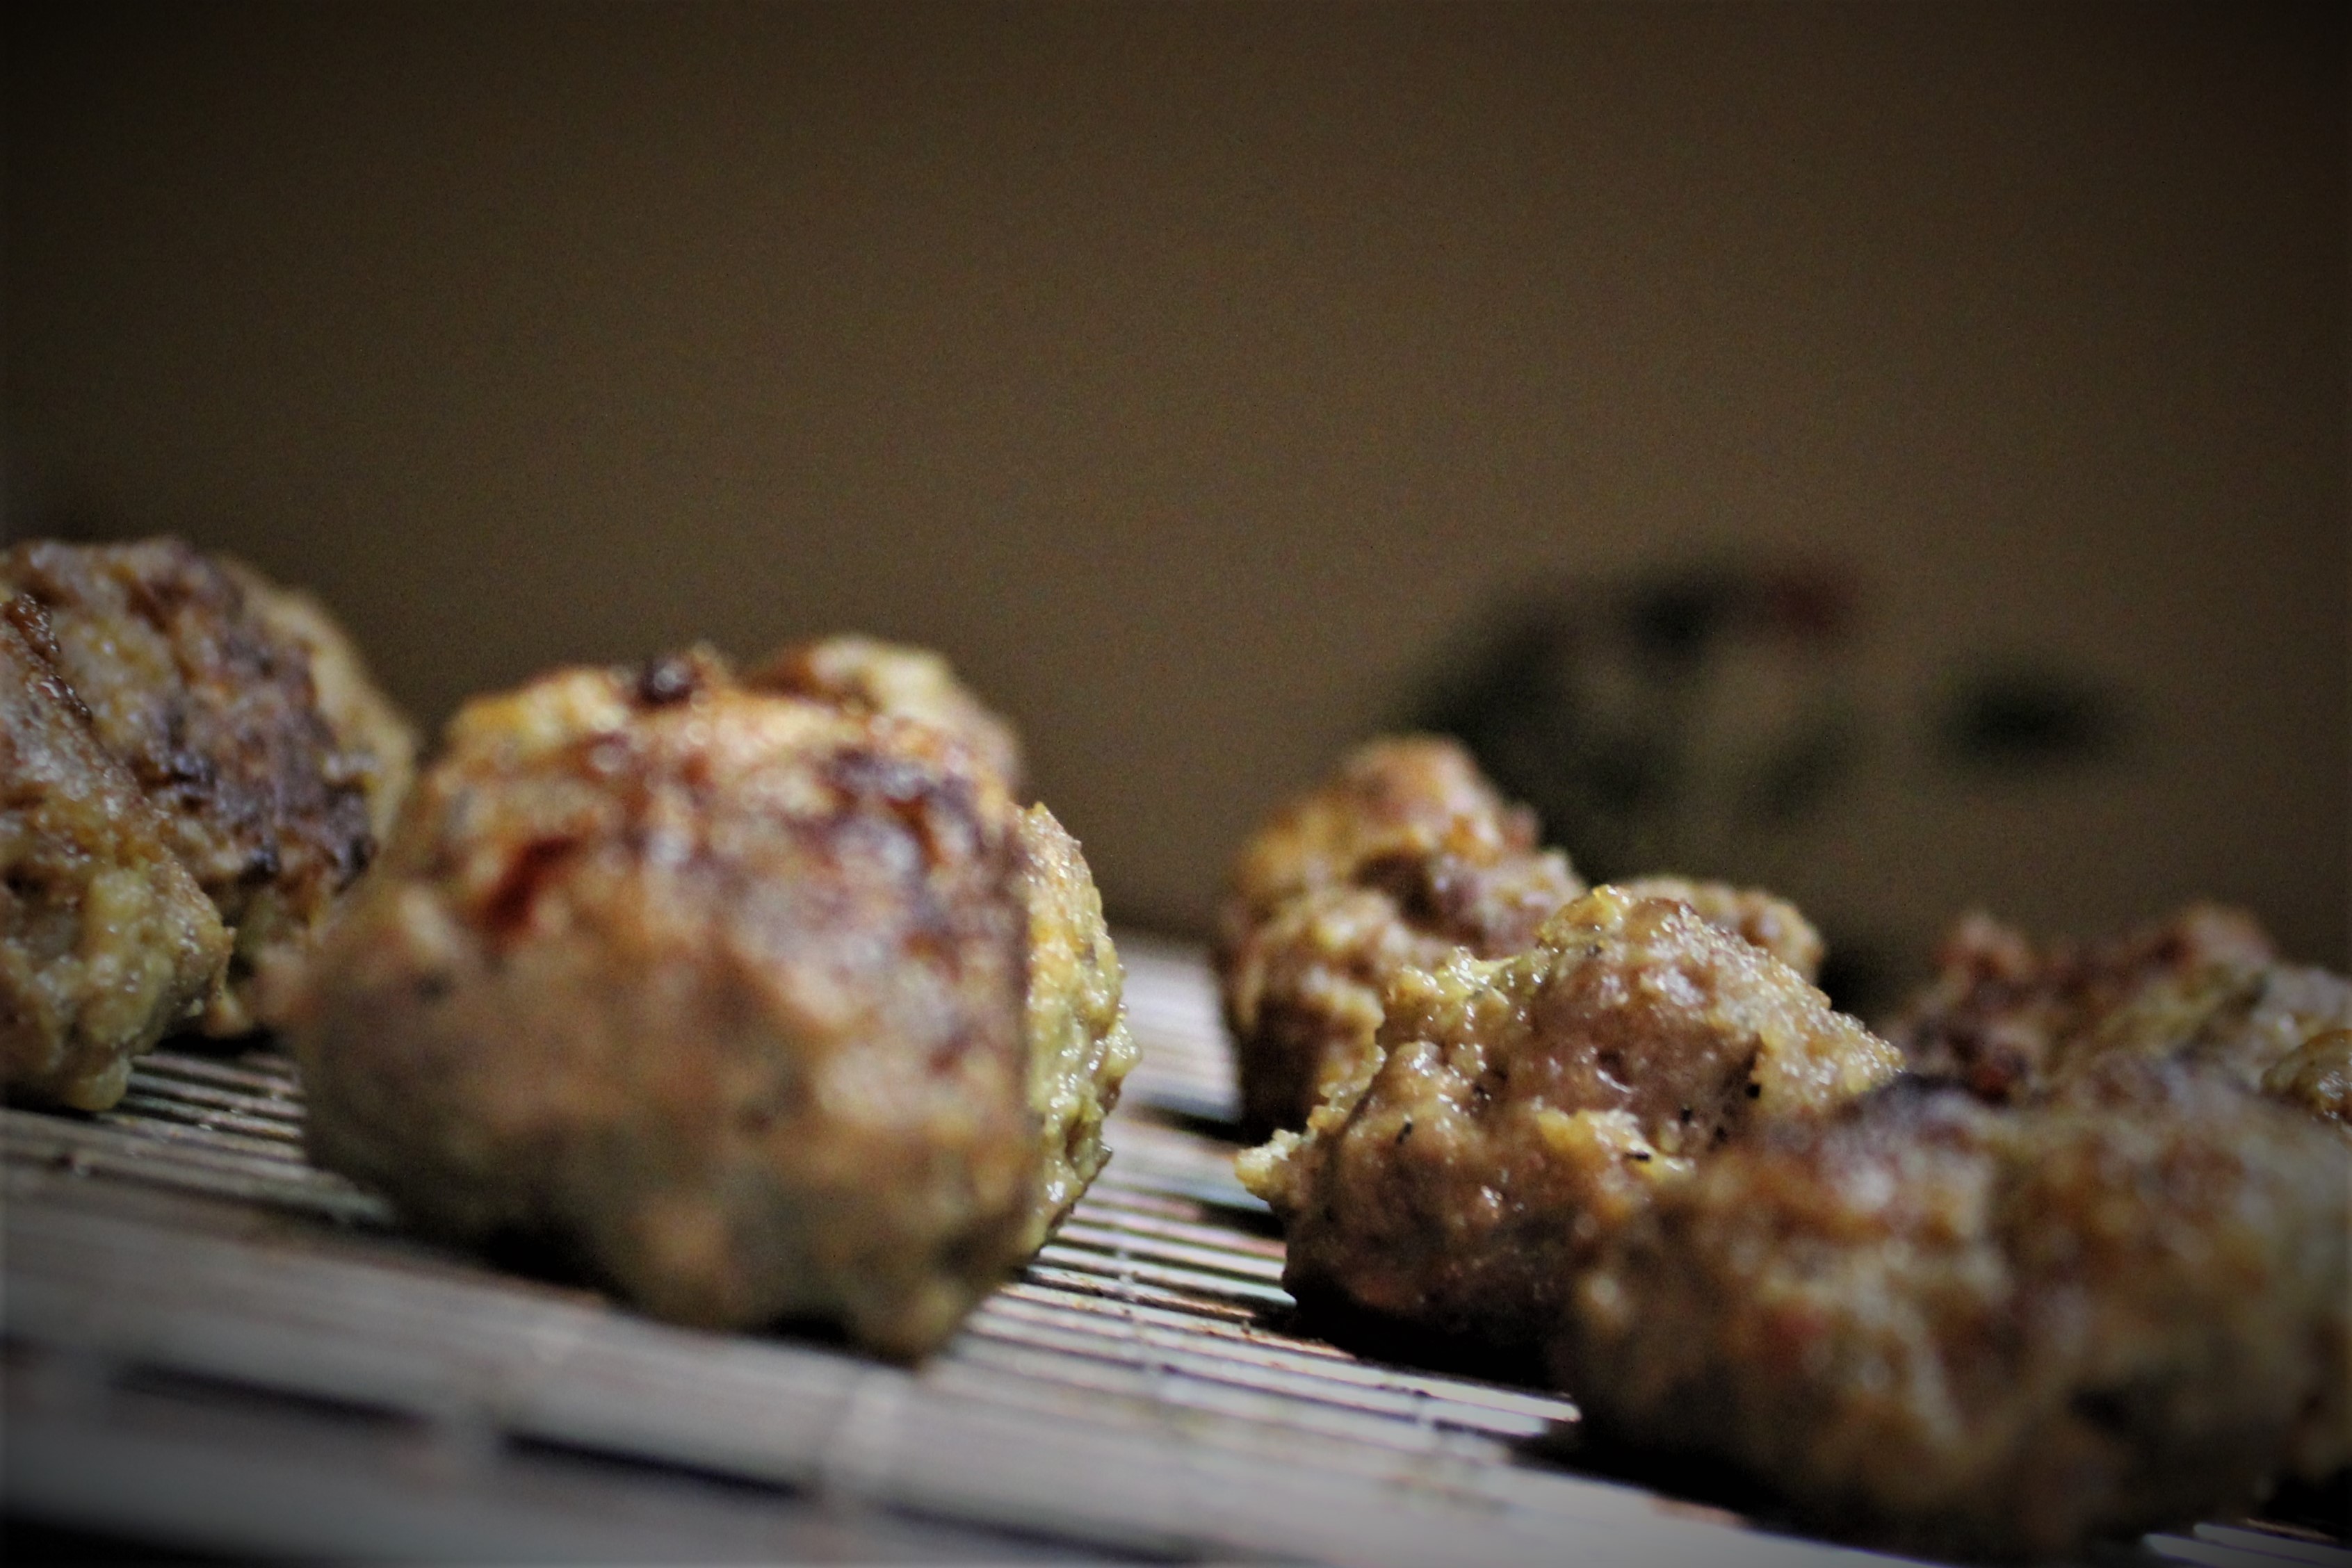
This is a classic meatball recipe. Tender, crispy on the outside and moist inside. An old recipe to treasure.
Combine bread and milk or water in a medium bowl.
Let bread soak for a couple of mins and ring out most of the milk.
Break up the bread into small pieces.
Remove the casings from the sweet sausage and break the sausage up until it matches the consistency of the ground beef.
Mix ground beef, sausage, eggs, onion, Romano cheese, basil, oregano, bread, and salt and pepper to taste. Form golf ball-sized meatballs; place into refrigerator for 2 hours to firm up.
Heat oil in a large skillet. Add meatballs to the hot oil making sure not to crowd them. Cook meatballs in batches.
Cook on all sides until the centers are no longer pink. 5-6 mins.
Allow draining on paper towels.
When I was a kid, my mom received the grocery store sale-bills in the mail. She would read them like they were a Danielle Steele novel. She’d make a list of the stores that had specials on items she needed then she would formulate her …
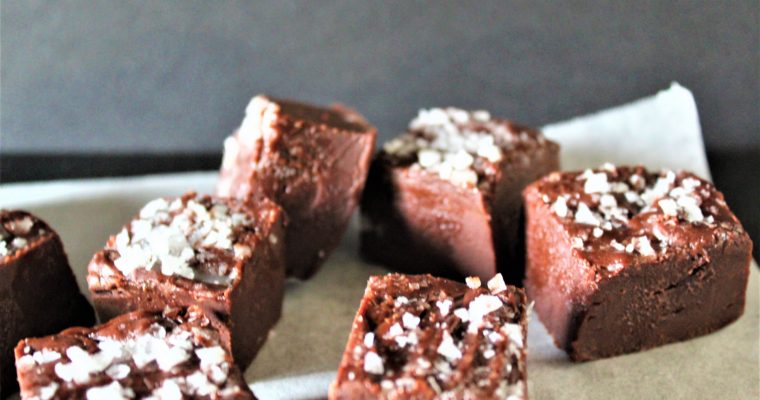
This a story about Fudge! When I was a kid, my family lived several miles in the country on gravel roads. My parents owned several rental properties on their farm. I remember that the tenants didn’t stay long, usually just the winter. All these years …
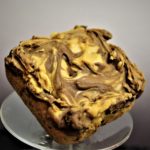
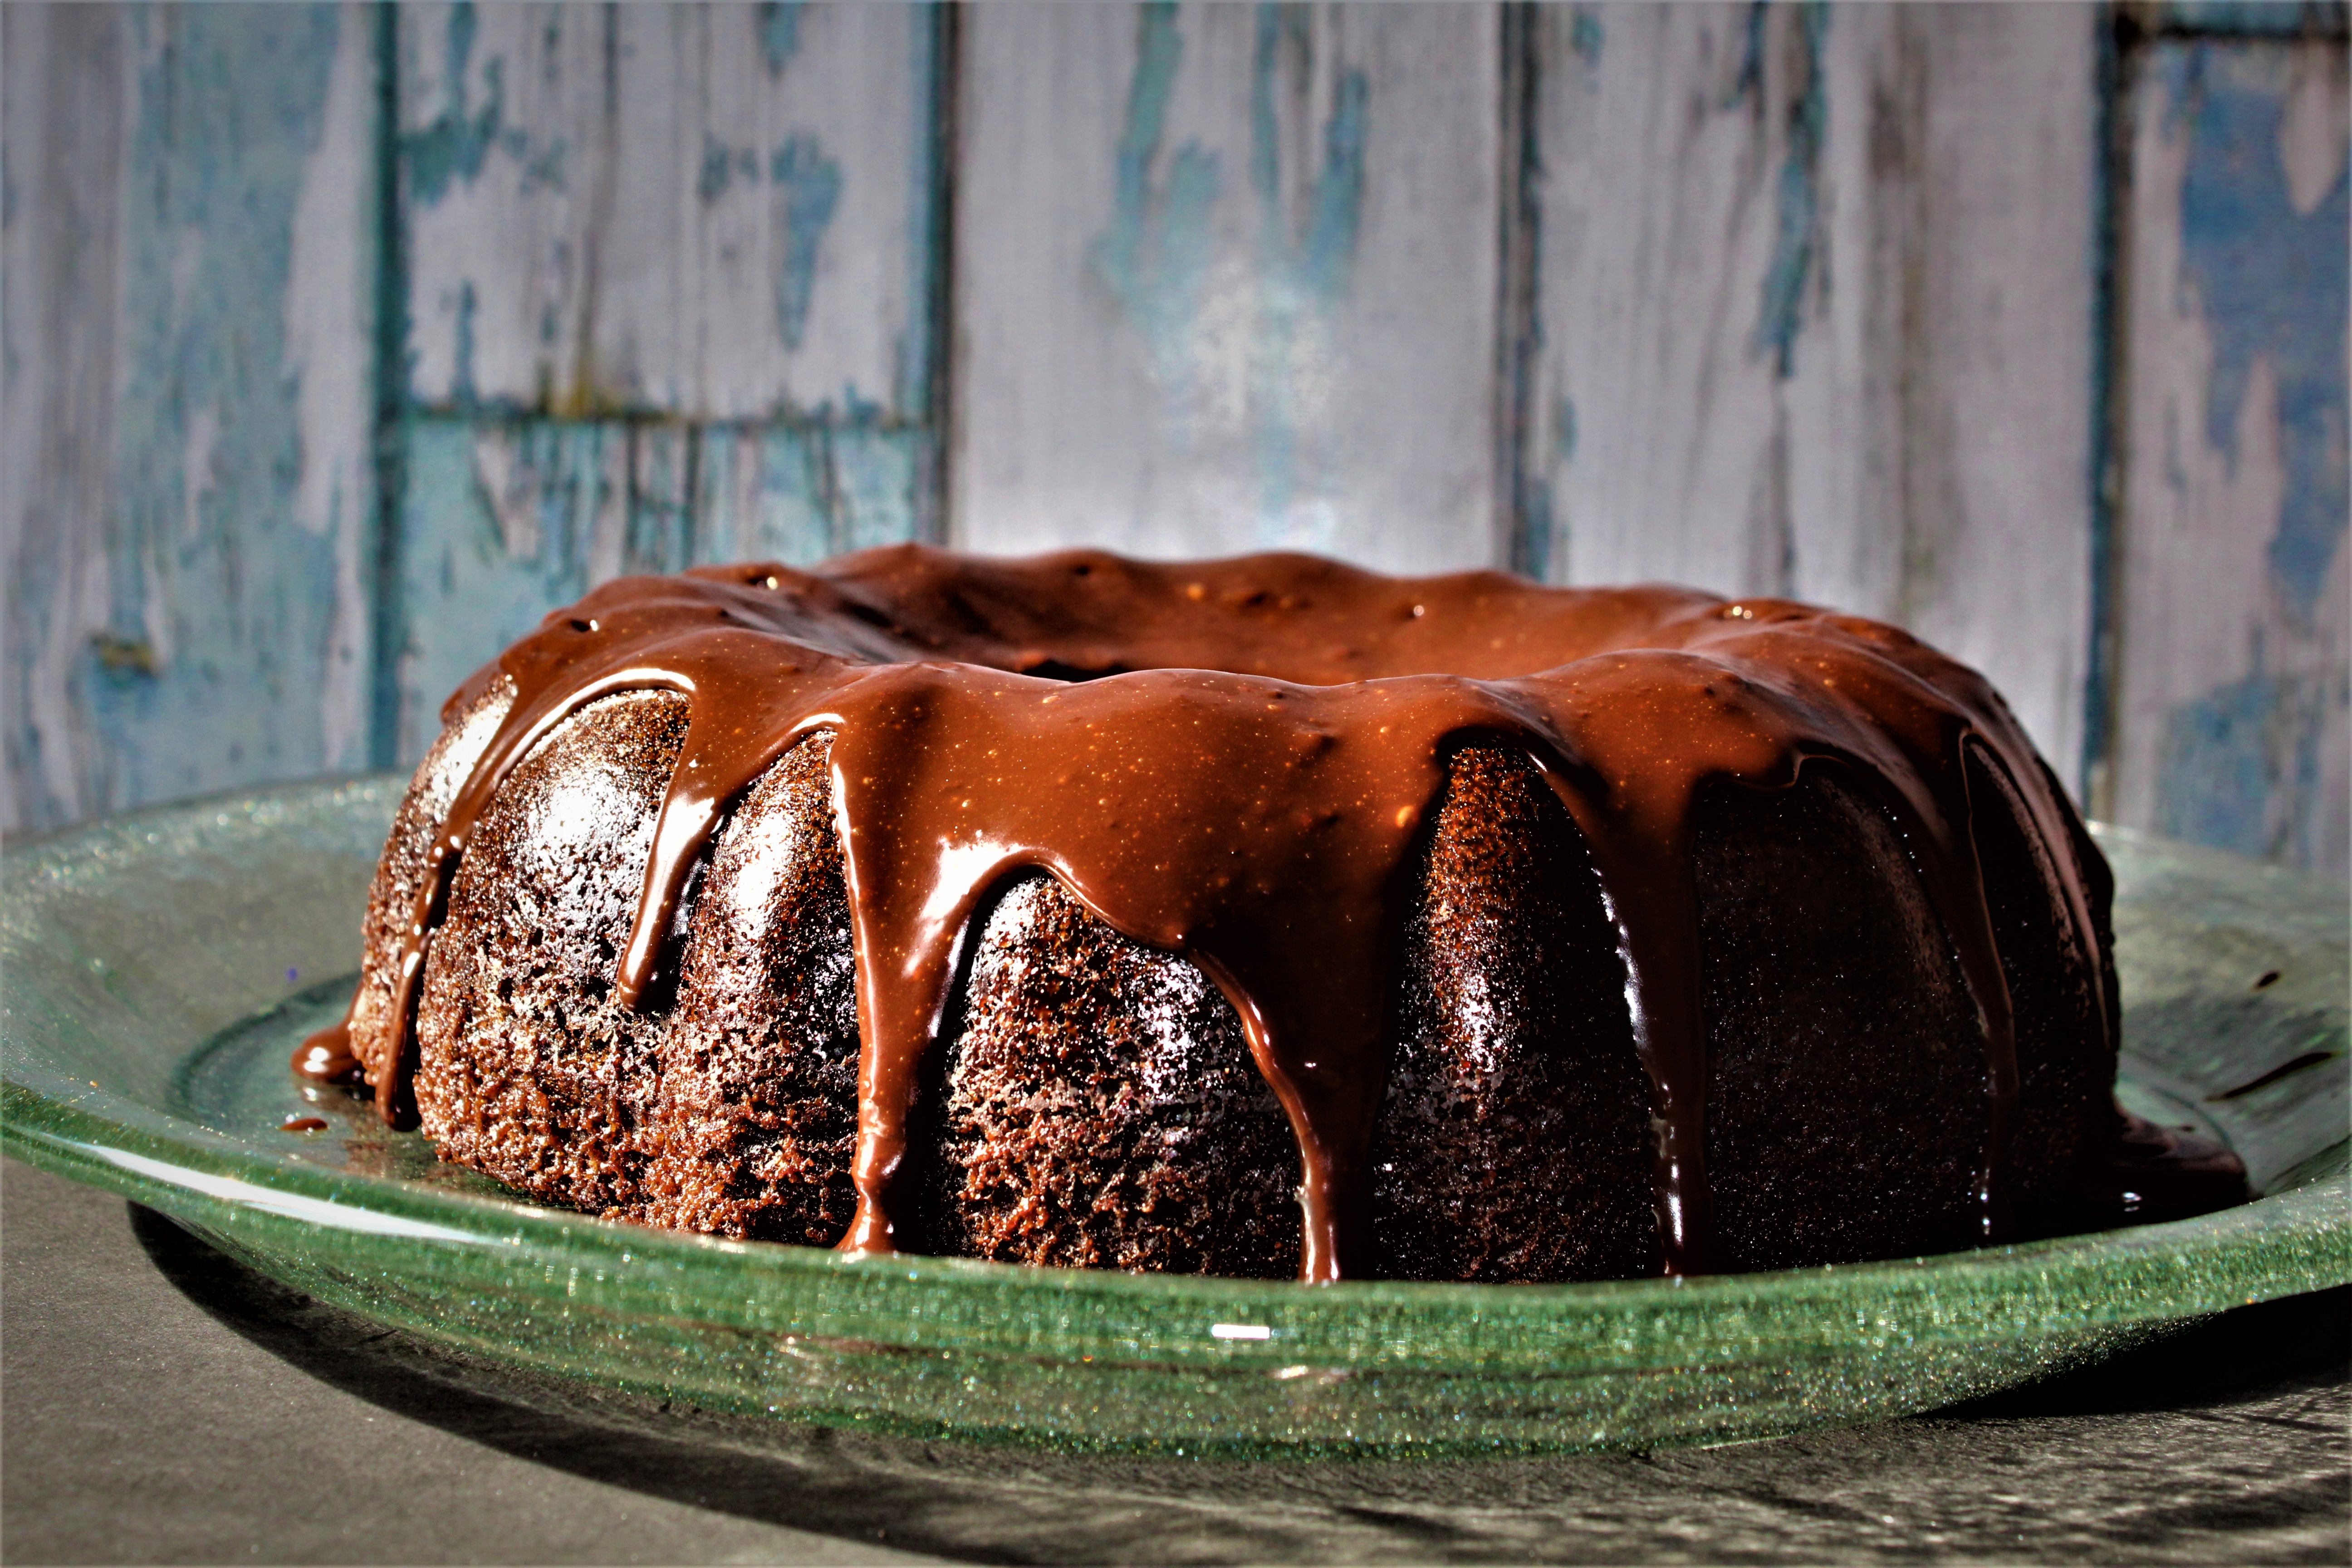
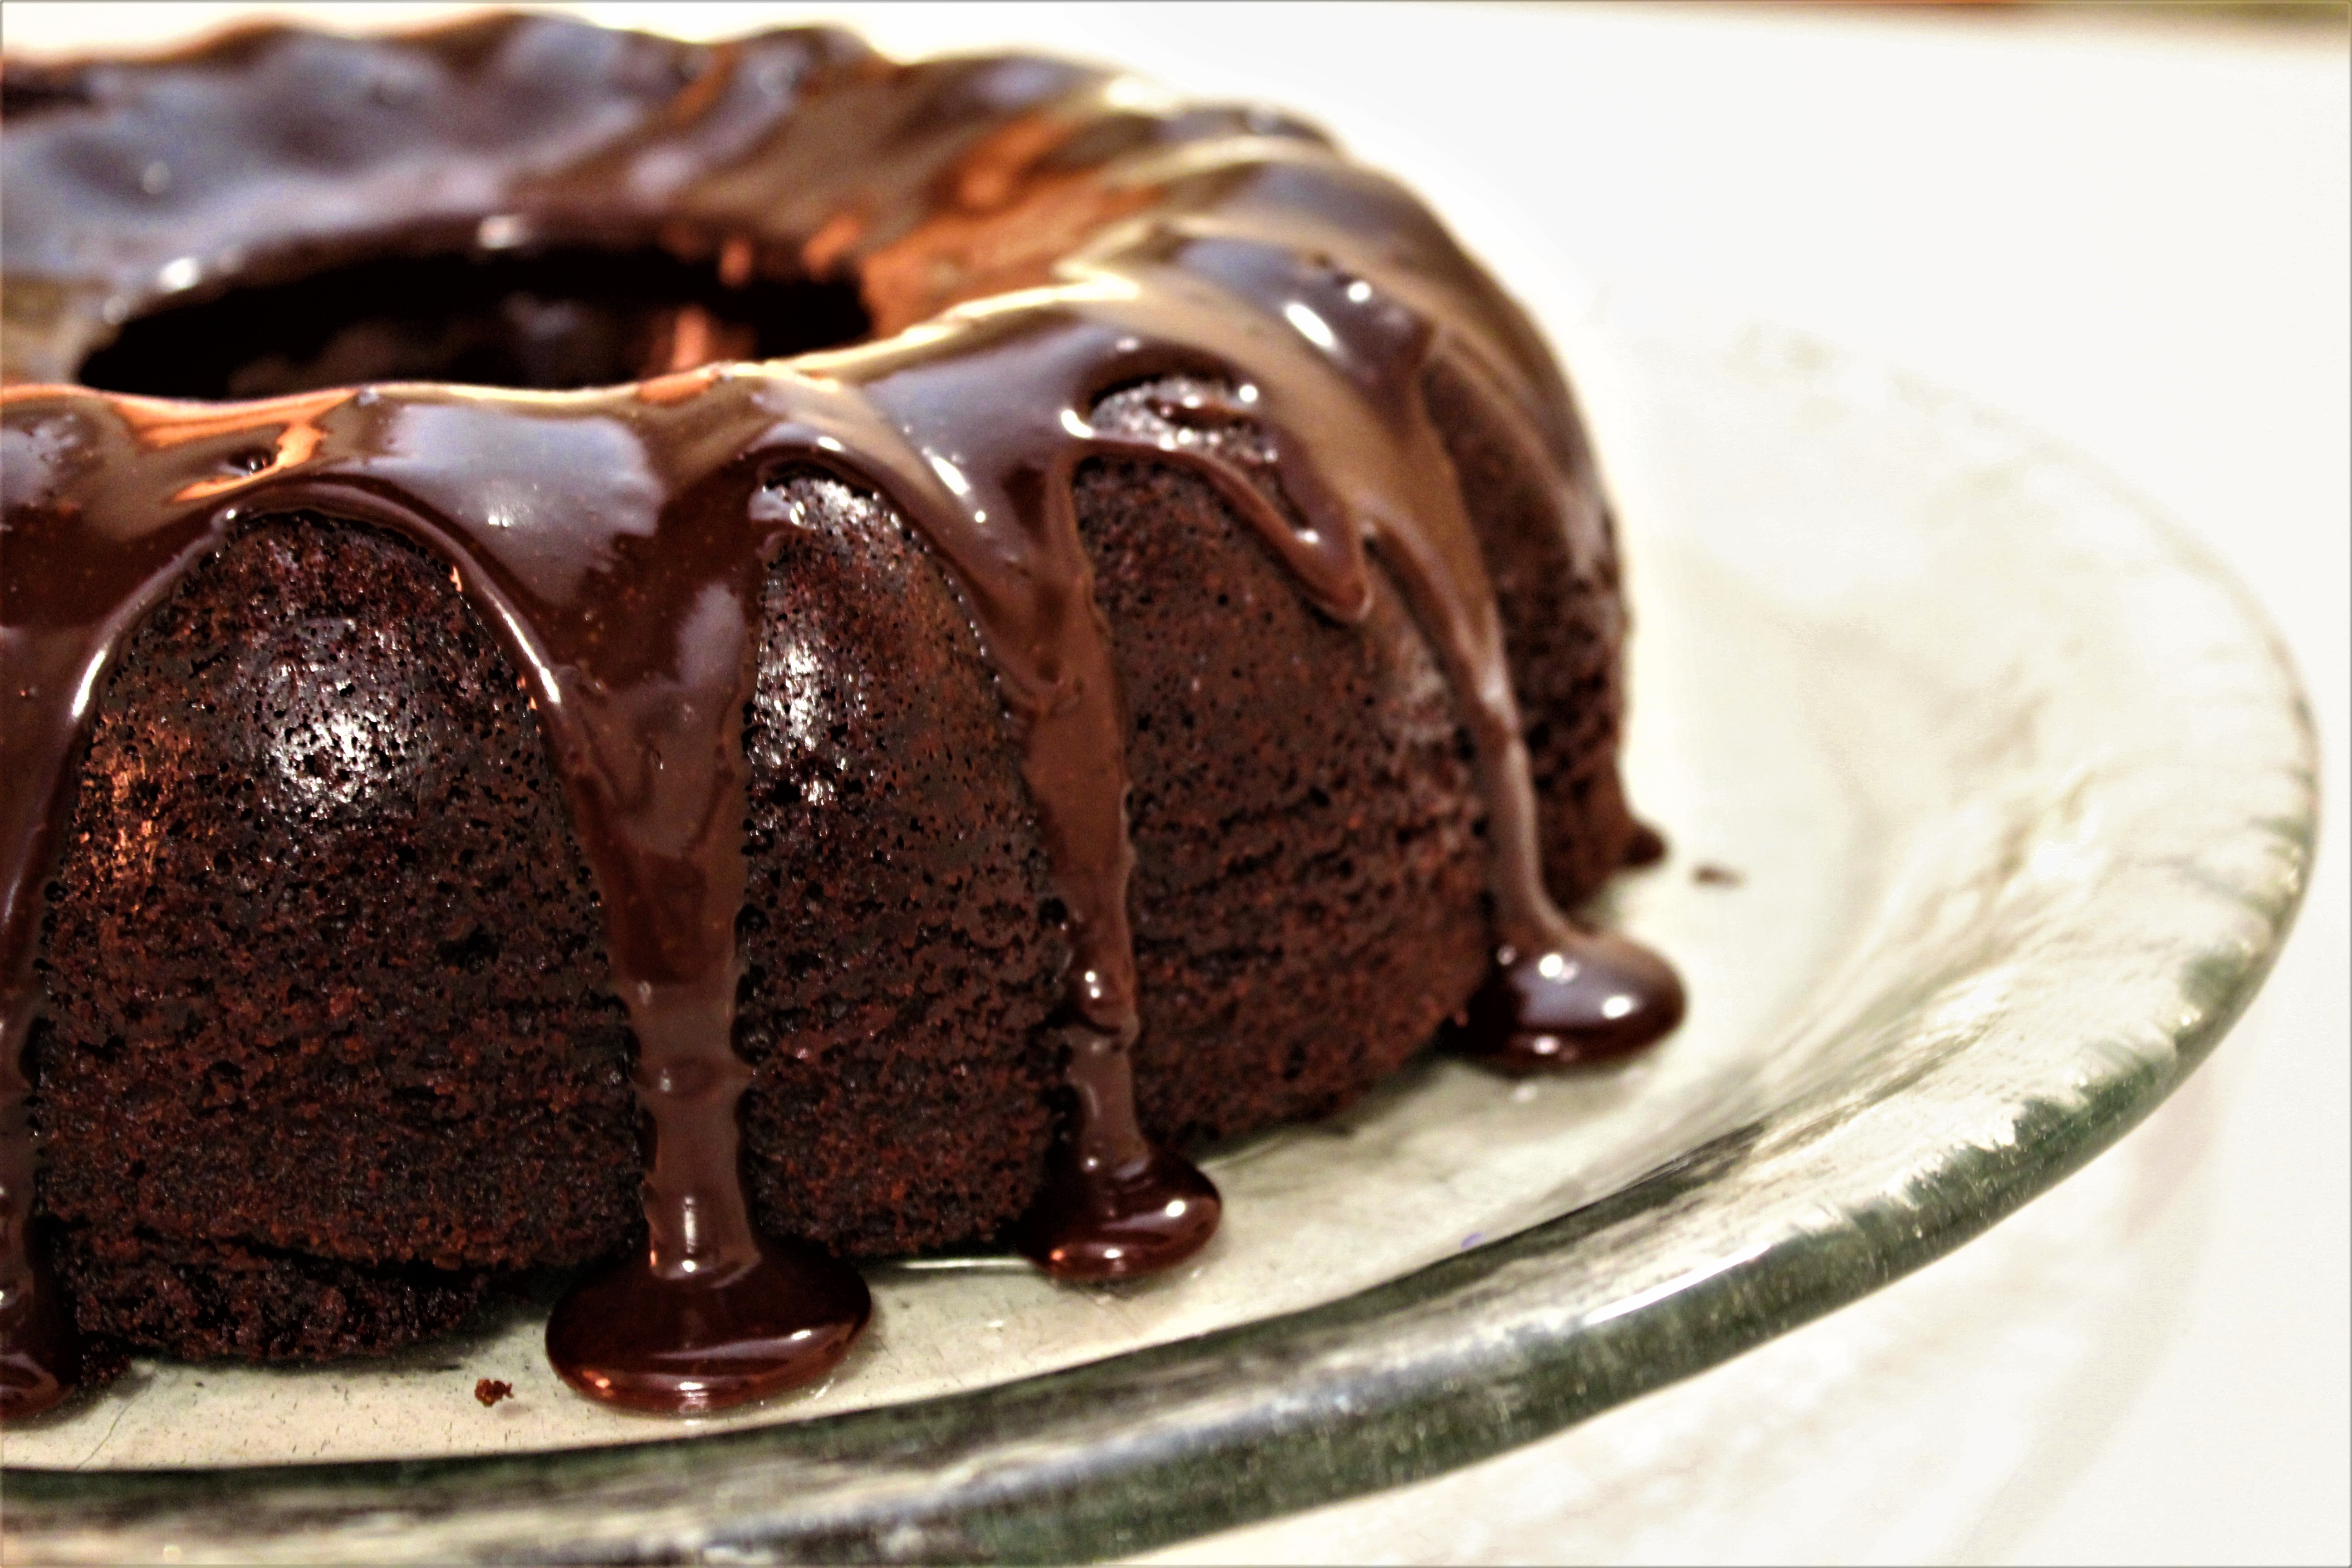
This Nutella Drizzled Bundt is made up of an intense chocolate cake and a luscious Nutella cream drizzled down the sides. A cake perfect for all seasons.
I am a HUGE chocolate fan, with an emphasis on chocolate cake. I find few things more comforting than a slice of decadent chocolate cake.
We made this cake today and I have to admit that our plan was to make a spice cake but after a little persuading, my sweet husband agreed to a chocolate cake instead.
We love to bake together and do it often. I remember early on when we tried to work together in the kitchen, it usually ended in disaster. Cooking/ baking, like other areas of a relationship it’s about given and take.
We now know each other’s strengths and play to them, After years of practice, we work well together.
This sinful Nutella drizzled cake is incredibly delicious. The drizzle soaks into the cake, forming an amazingly moist and nutty topping. We prepared the cake in a Bundt cake and poured the Nutella cream on top and let it run down the sides.
Bake this cake for a birthday party or take it along to a potluck dinner. Everyone will thank you, and ask for the recipe.
If you make this beautiful cake, and you should! Make sure to snap a photo and post on Instagram and use #dougbakes. Comment below and join the fun.

The sweet creamy Nutella drizzle finds its purpose when poured over this luscious chocolate bundt cake.
For The Cake:
Preheat the oven to 350°F.
Place the coffee, butter, and cocoa in a medium saucepan. Heat, stirring, until the butter melts. Remove from the heat, and whisk until smooth. Let cool for 10 minutes.
While the chocolate is cooling, Combine the sugar, baking powder, baking soda, salt, and flour into a mixing bowl
Pour the cooled chocolate mixture into the bowl with the dry ingredients, and mix until combined.
In a separate bowl, whisk together the vanilla, eggs, and sour cream or yogurt. add to the chocolate batter, stirring until combined.
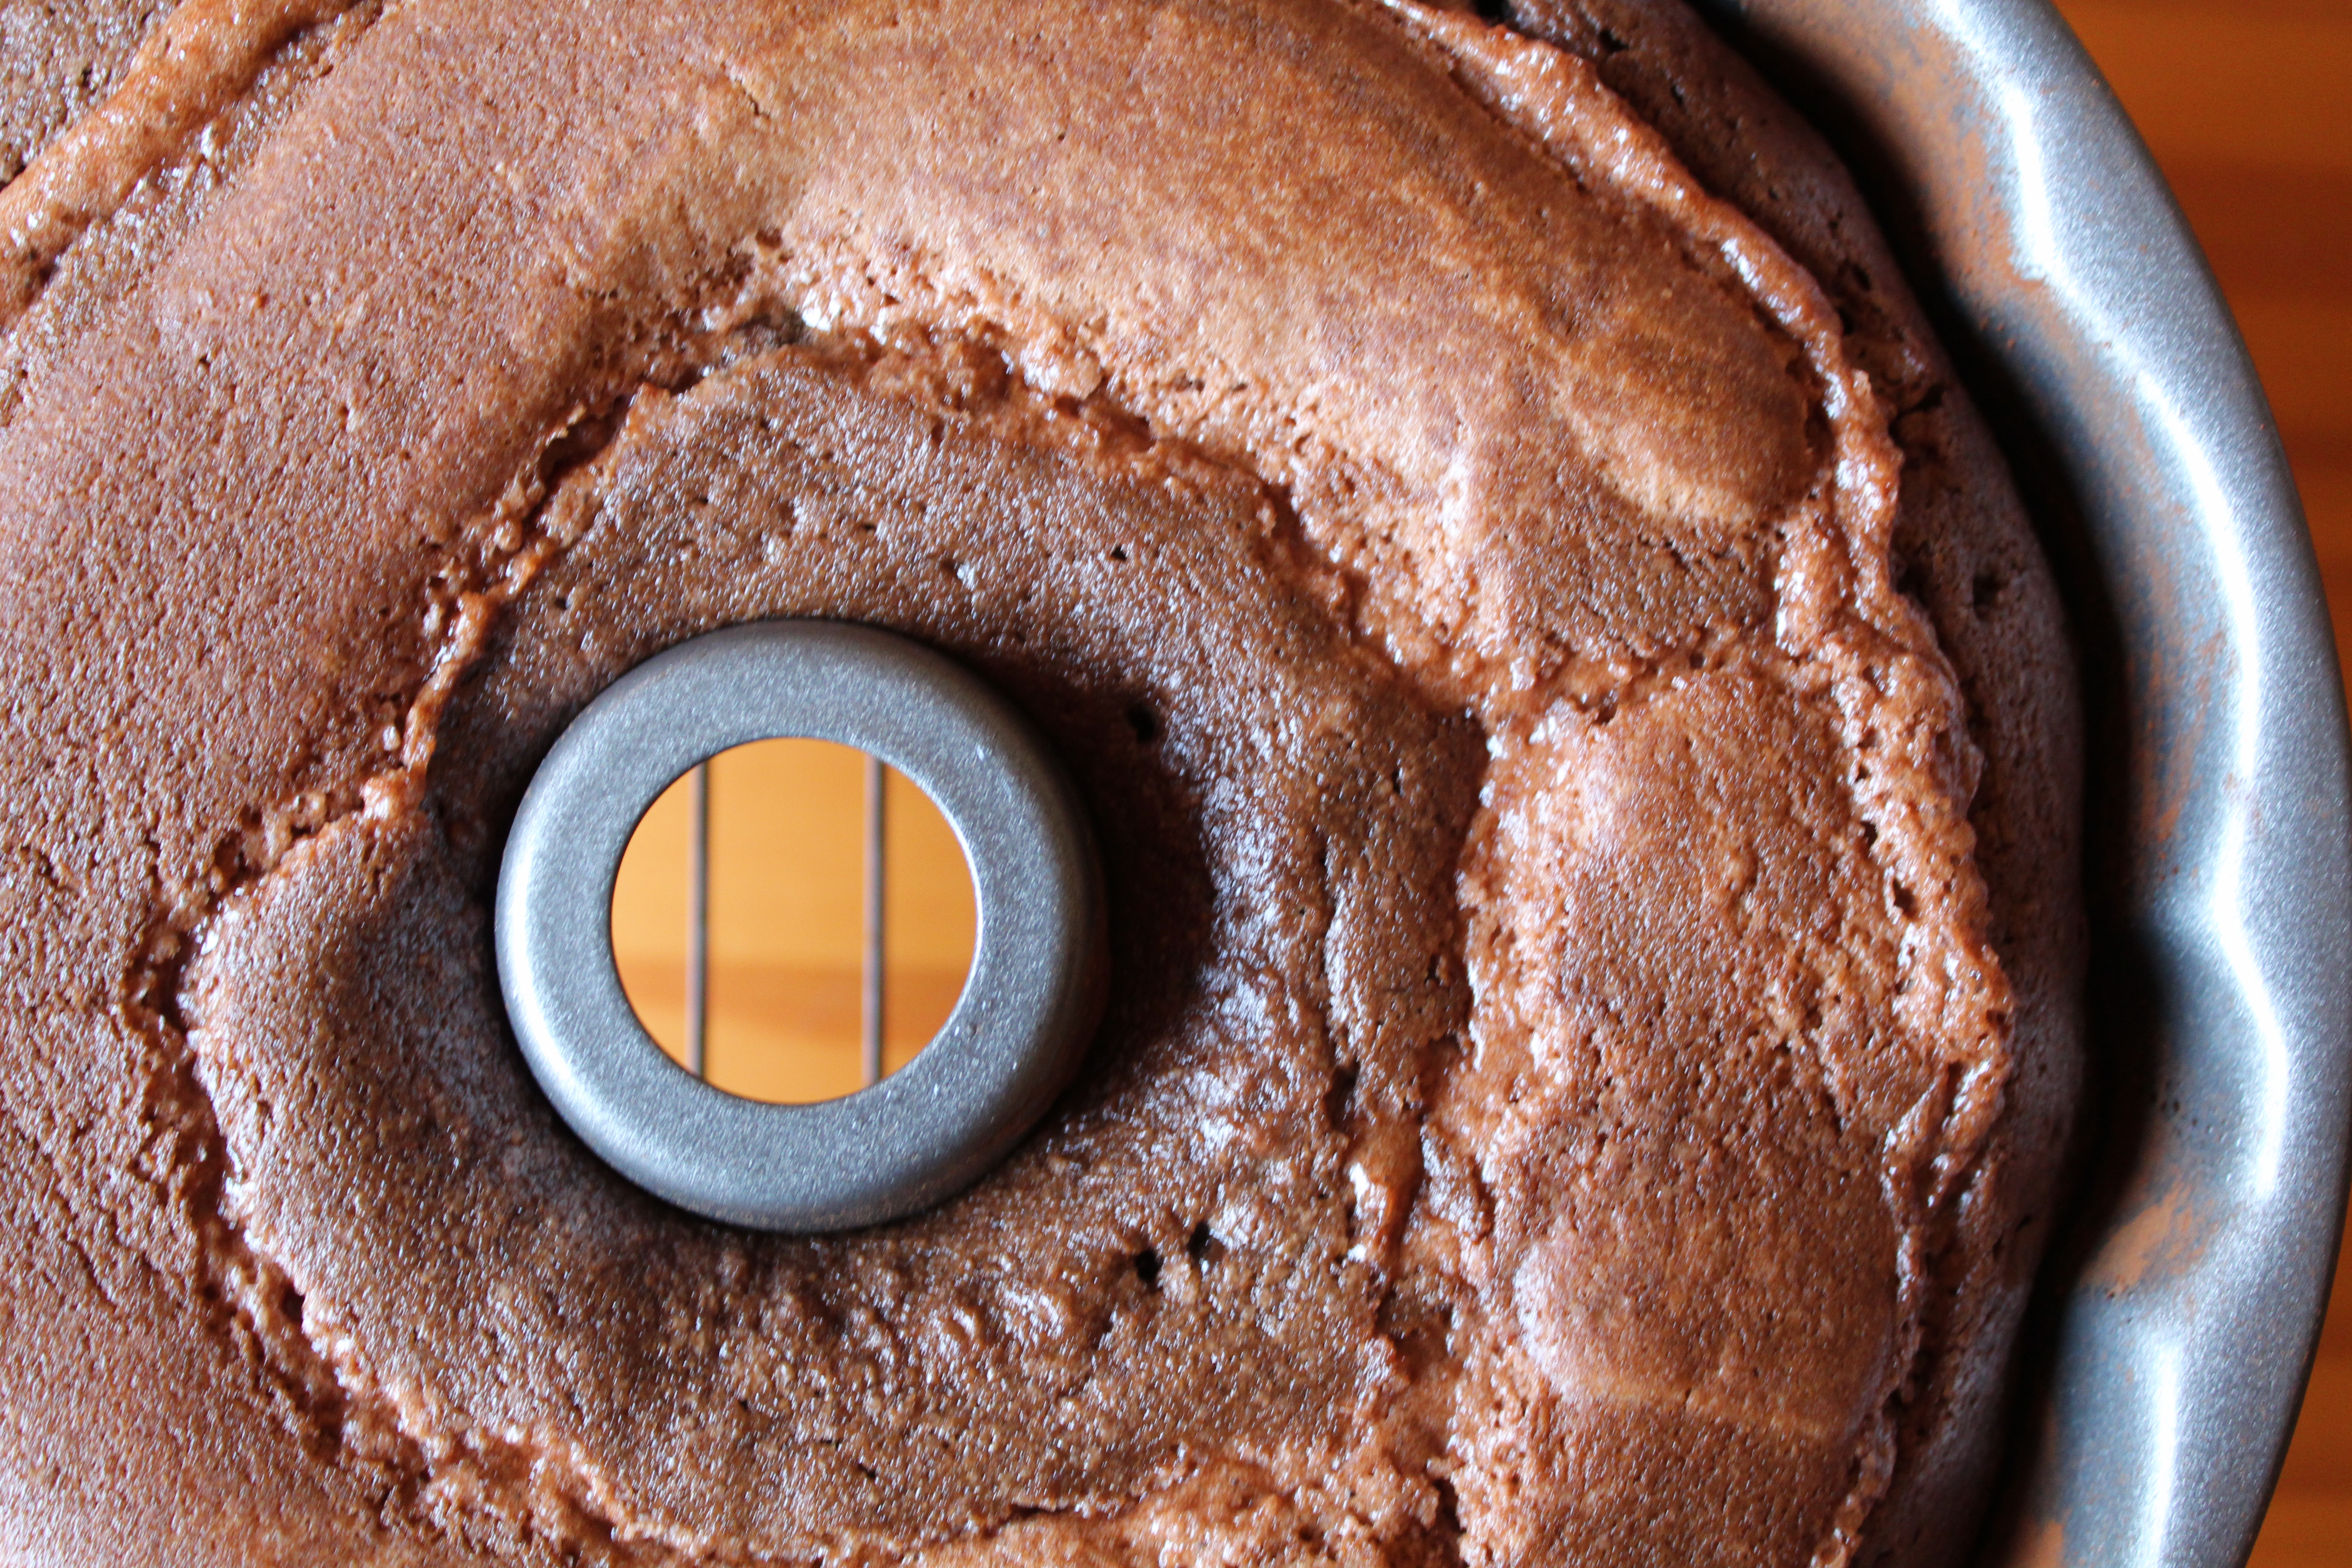
Grease a 10- to 12-cup Bundt pan, preferably non-stick.
Pour the batter into the prepared pan. Bake the cake for 50 to 55 minutes, until a toothpick inserted into the center comes out clean.
Remove the cake from the oven, wait 5 minutes, and turn the pan over onto a cooling rack. After another 5 minutes, lift the pan off the cake. Let the cake cool completely before drizzleing
The Custard Pie seems to have gone out of style. Creamy custard is from a time of black and white televisions and the idea that all grandmothers set their freshly baked pies on the window-sill to cool. We live in a different time now. …
The next time you are at a party or a get together that includes food, keep an eye on the appetizer table. You will notice that the platters with assembled appetizers will go first. Anything on a toothpick or dip that is already on …
Do you ever have those days when your mind goes back to the memories of a great vacation you’ve had? That’s where I am today. It’s not like I am over stressed at work or in any area of my life, but damn I could use a vacation and a loaf of banana bread.
Dale and I are fortunate that we go on vacation every year. We love San Francisco and have been 13 or 14 times. We’ve been on cruises for people who love classic movies. We even had lunch in Mexico with Shirley Jones from the Partridge Family. Yes, vacation is about creating memories, but it’s also about discoveries.
This past January we vacationed in Maui for the fourth time. We were having breakfast in an outside cafe when the infamous missile text alert was sent to everyone on the island.
The message said that a ballistic missile was heading toward Maui and to take shelter. At that moment you are frozen in time. We didn’t have a shelter; we were away from our friends. The cell phone lines, as expected were jammed. We were facing our mortality on an island halfway across the world from home. You never know how you will respond when faced with this kind of news. Some of our friends told me that they would sit on the beach and be at peace with a ballistic missile heading toward them. I guess some could take the laid-back approach, but for us, we were terrified. With the help of several other diners from the cafe, we broke into a nearby closed shop and waited. There were 25 – 30 people just waiting.
It was a surreal moment, but luckily, sending the alert was a mistake made by an employee in emergency management. I’m happy to say that whole incident became just another vacation memory.

On Maui, I am fascinated by the roadside stands that sold fruit, trinkets, and crafts. Cars pull off the road to buy pineapple, wood carvings, and even BBQ chicken. We pass these stands and the people that make their living by providing not only Maui goods, but an experience for the travelers as well. Most of the stands sell their version of Maui banana bread. Everyday we would take back roads to the beach and pass many stands with stacks of bread wrapped in plastic wrap. 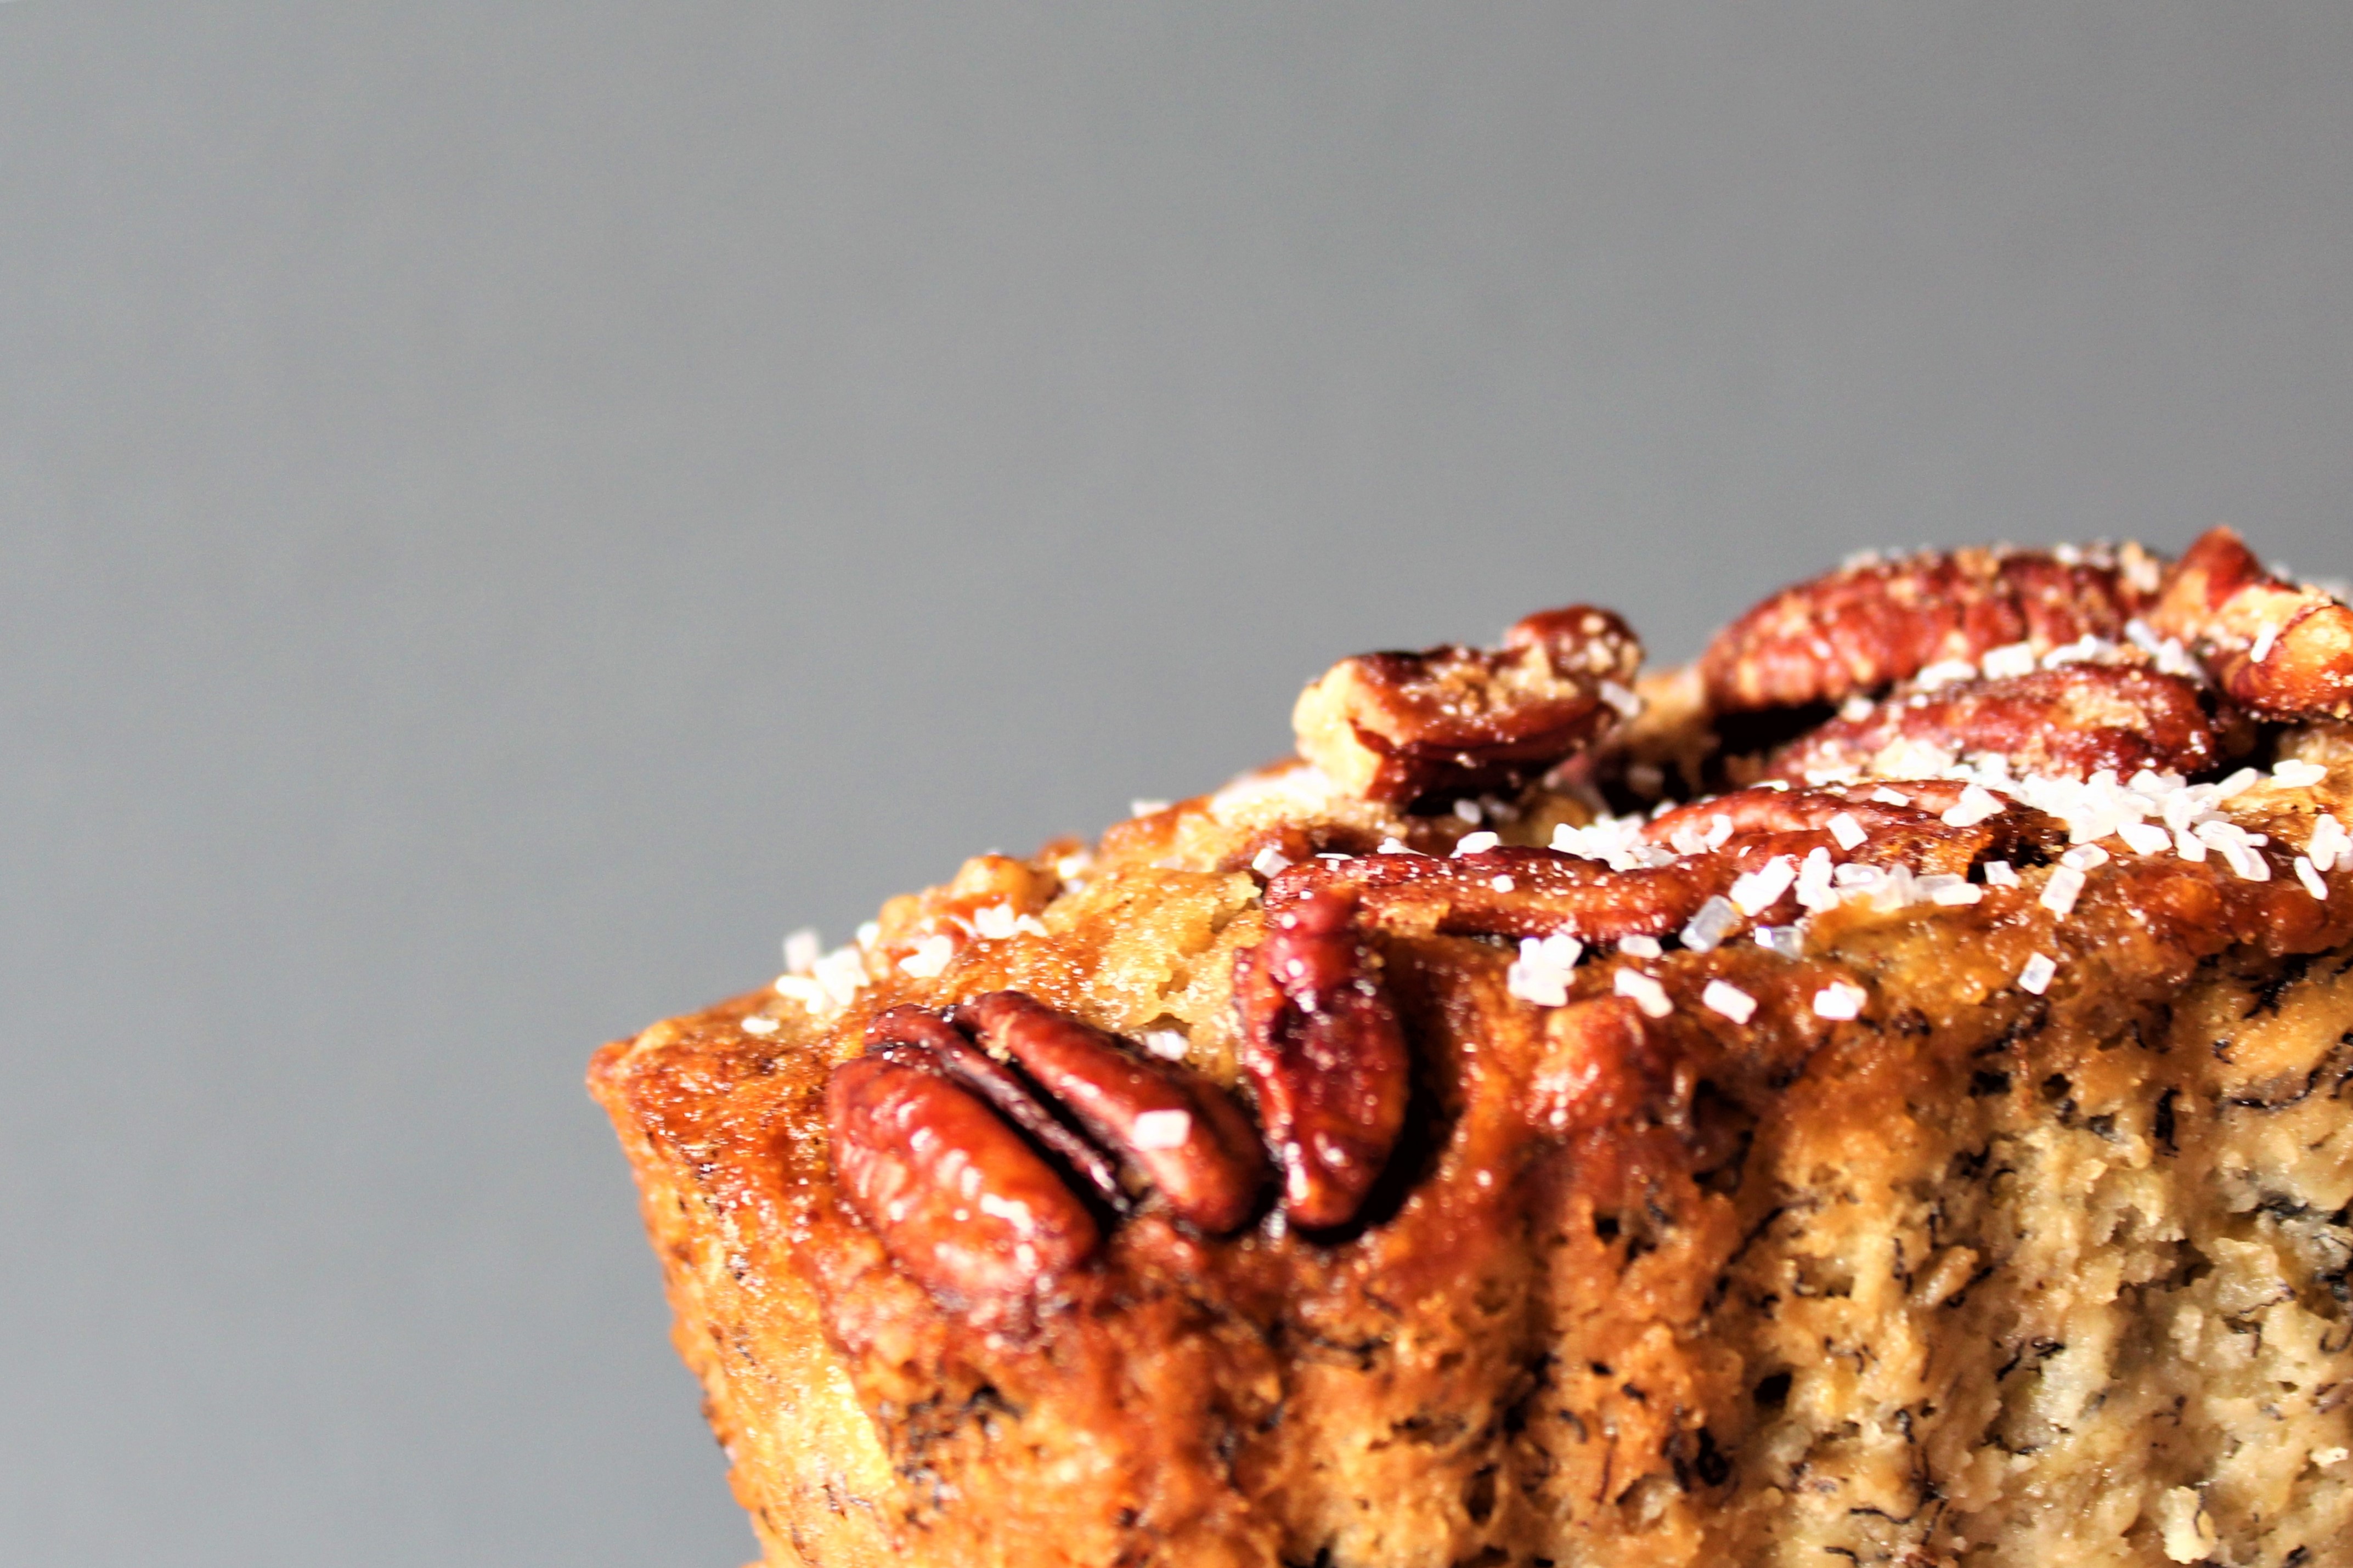
To truly understand why I found this so intriguing, it’s important to know that most of the roadside stands are crudely put-together with signs made of plywood painted with what must be leftover house paint used to write “Banana Bread for sale.”
The first time we stopped at a roadside stand was to buy a pineapple, but by the time we got back to the car, we had two pineapples, a wood carving of a turtle, and a loaf of Banana Bread. We are not long on patience, we broke into the bread as soon as we made it back to the car. We sat in the air-conditioned rental car, crumbs everywhere, enjoying the best homemade bread ever.
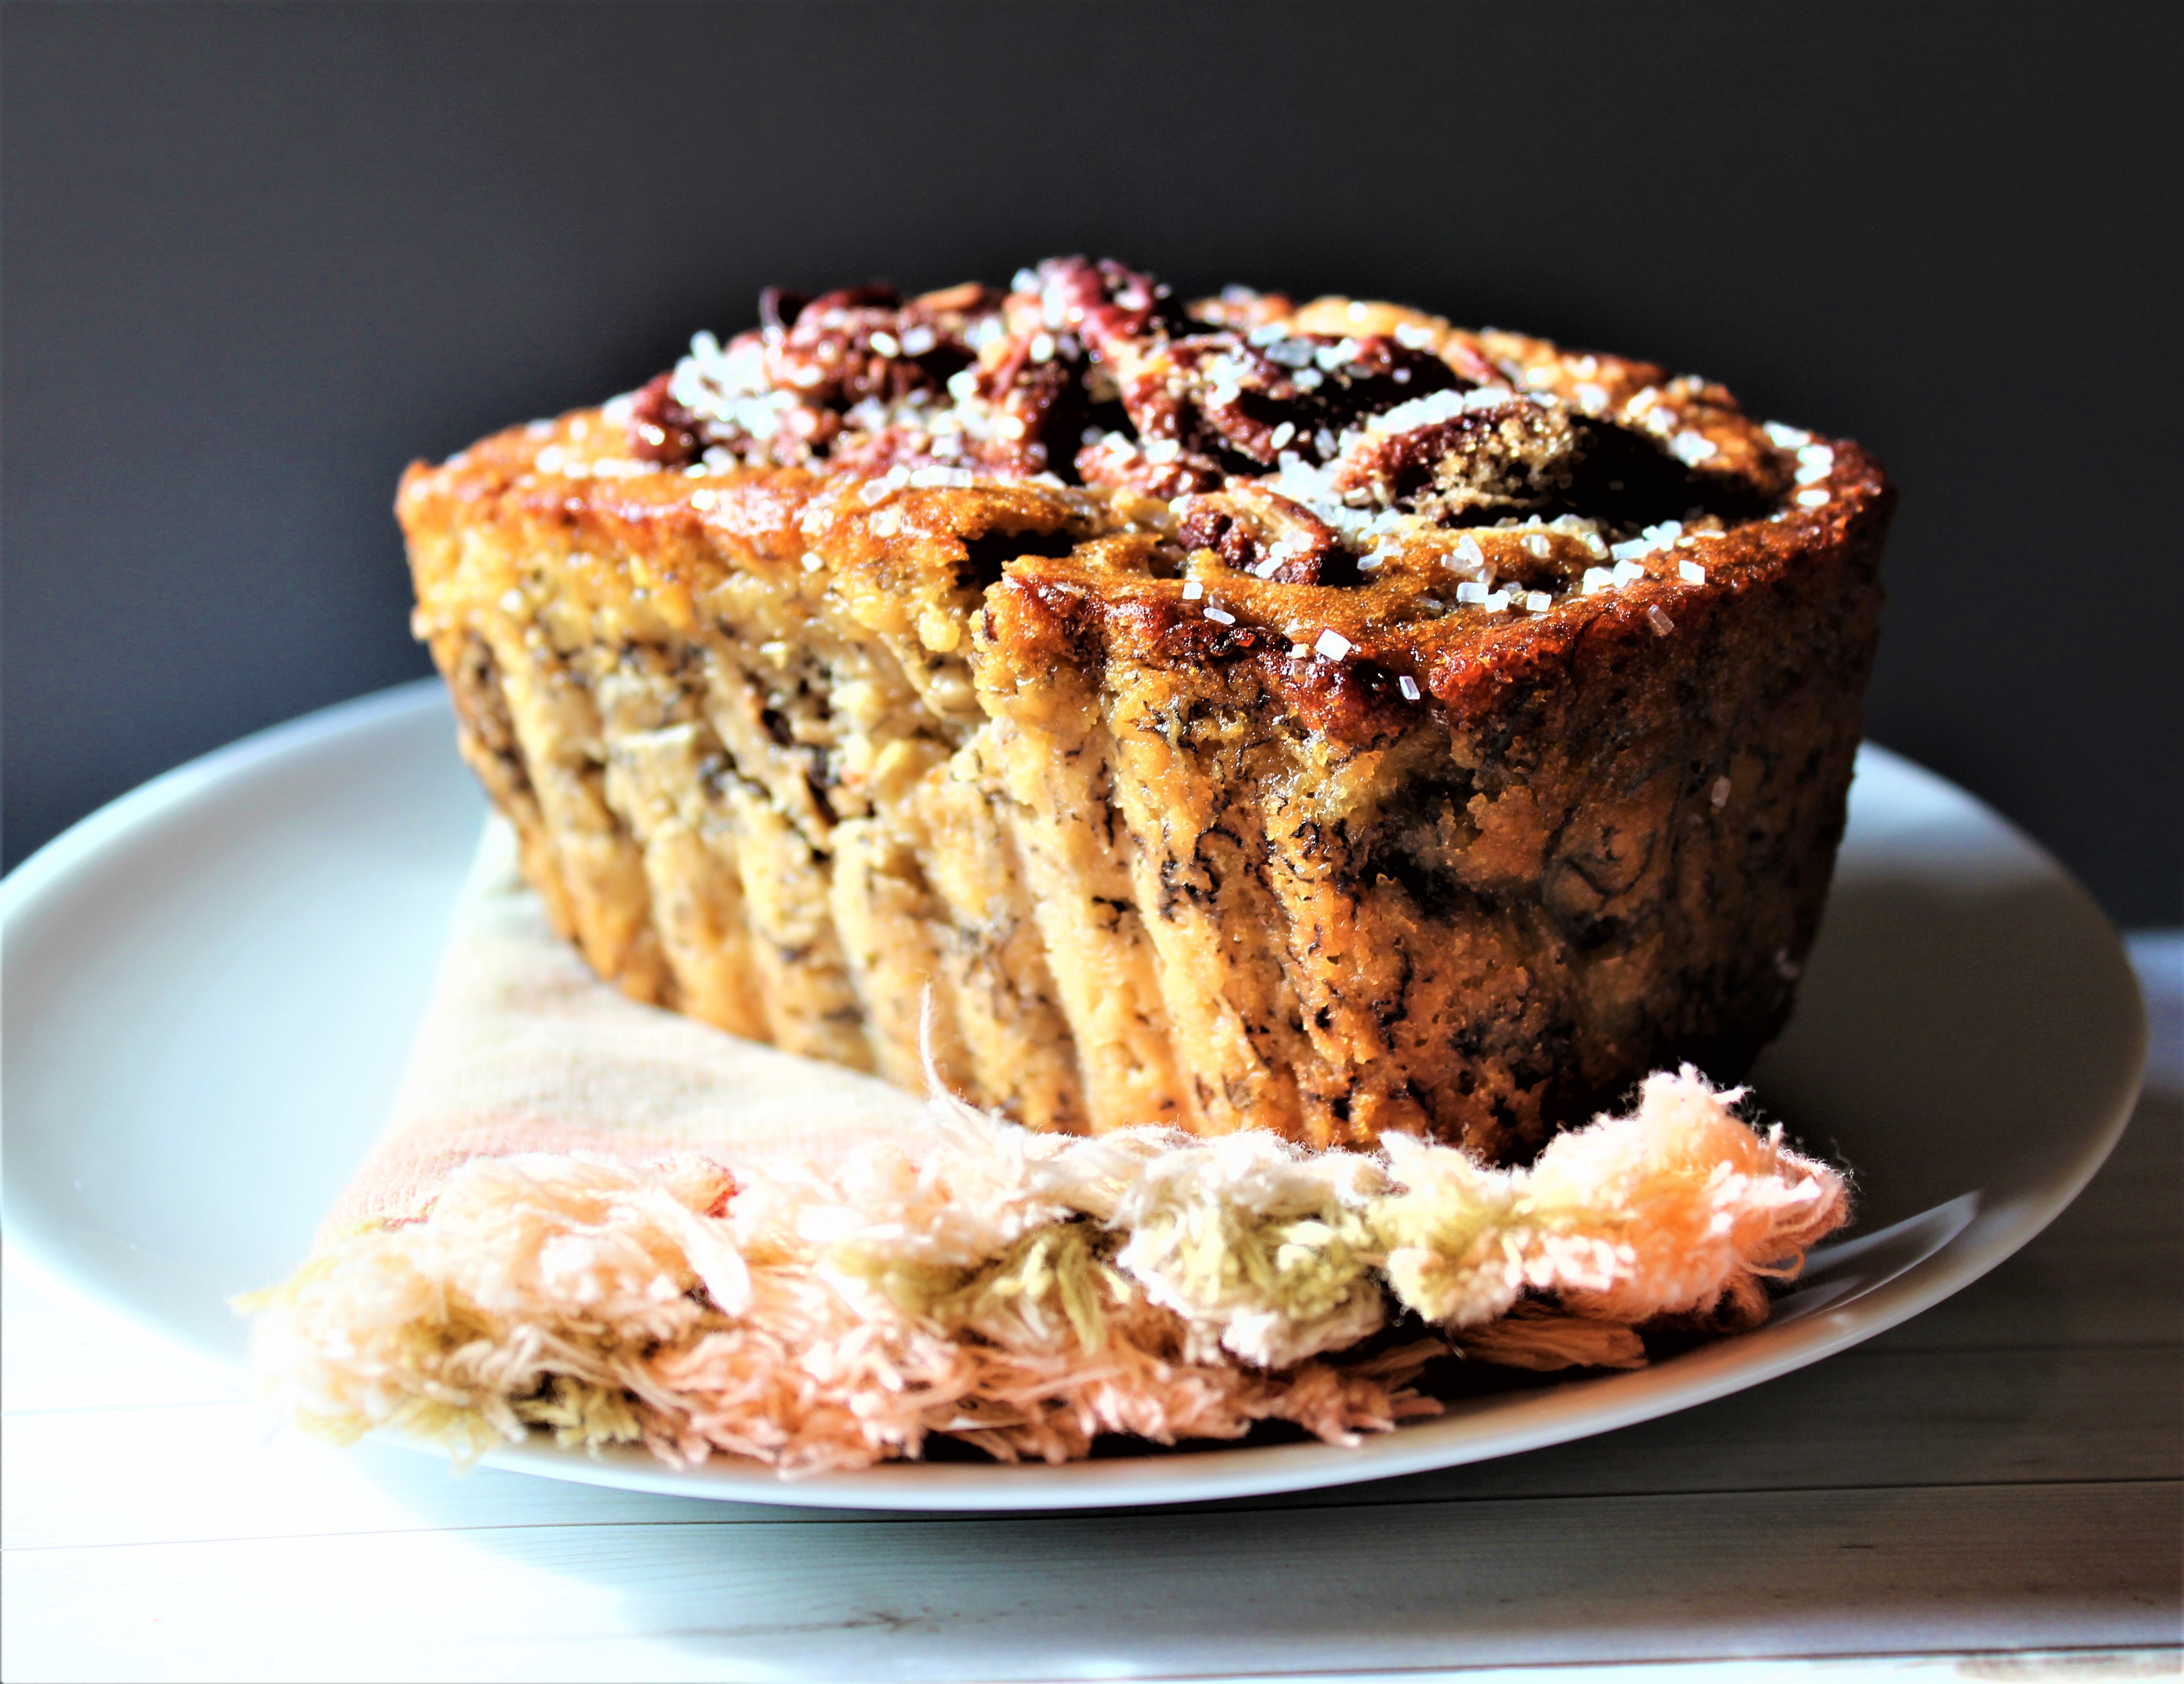
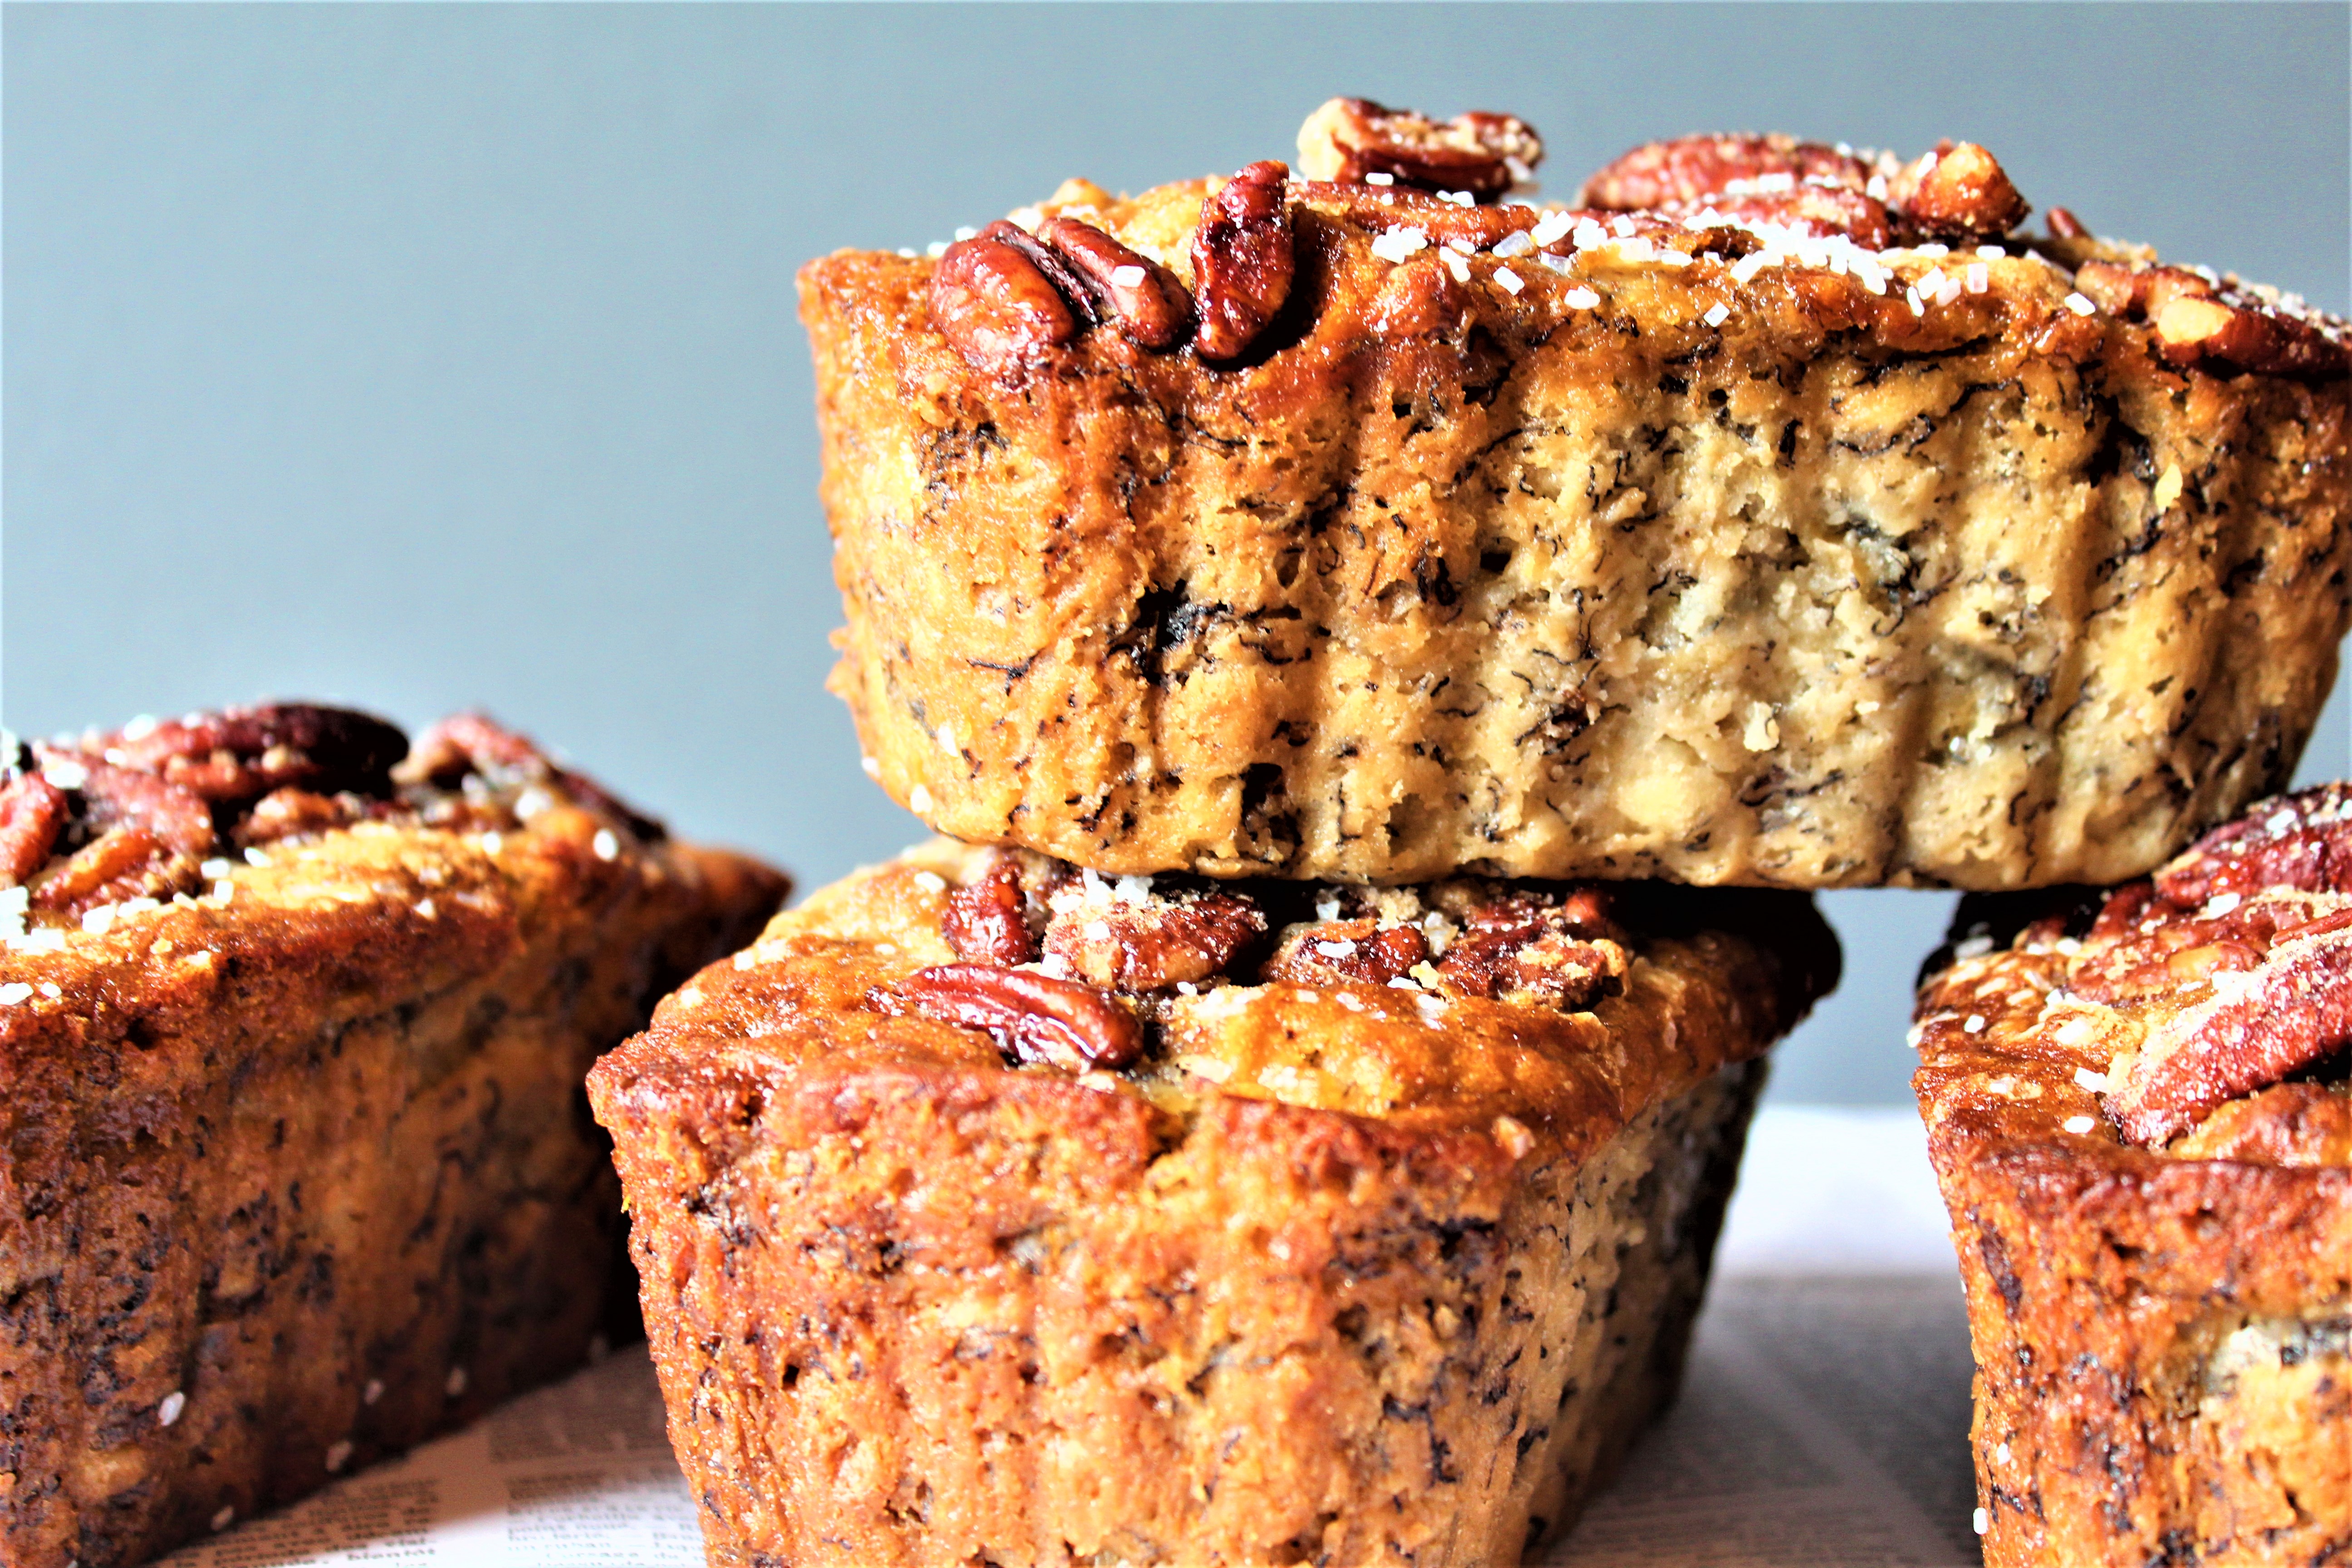
I have worked hard to create a recipe that will remind us of that day, and I think this recipe is close. Our Banana Bread is moist, and has a velvety texture. The candied pecans add crunch and another layer of sweetness. The secret to a flavorful banana bread is allowing the bananas to become over-ripe. I have been know to freeze them so I can use them later.

Does our Candied Pecan Crusted Banana Bread taste like the Maui banana bread? It has the same warm flavors, but their is nothing like sitting in the car, on the way to the beautiful Maui beach, eating authentic Maui Banana Bread. Just like the missile alert, our first road-side banana bread is now only memory. Until we return to Maui, I will enjoy our recipe and I hope you will too.
Feel free to comment below. We love to hear from you! Mahalo!
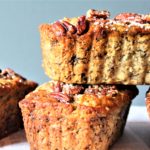
Candied pecans are the stars of the sweet, moist banana bread, A crunchy sweet topping and deep banana flavors, how can that be bad?
Preheat oven to 350 degrees
Lightly spray a 9x5 inch loaf pan with vegetable spray
In a large bowl, mix together: flour, baking soda and salt.
In a separate bowl, cream together butter and brown sugar. Stir in eggs, one cup of pecans, diced, and mashed bananas until blended. Stir banana mixture into flour mixture; stir just to moisten. Pour batter into the loaf pan and top generously with the reserved cup of whole candied pecans.
3. Bake in preheated oven for 60 to 65 minutes, until a toothpick inserted into center of the loaf comes out clean. Let bread cool in pan for 10 minutes, then turn out onto a wire rack.
In a skillet, add all ingredients except the pecans and cook over medium heat for a minute or two, until the sugar dissolves and the mixture is bubbling.
Add the pecans and cook for an additional 3 minutes, stirring to coat the pecans in the hot mixture.
Remove from the heat, and spread the pecans out on parchment paper, trying to separate them and let them cool completely.
Break apart any that dried together,
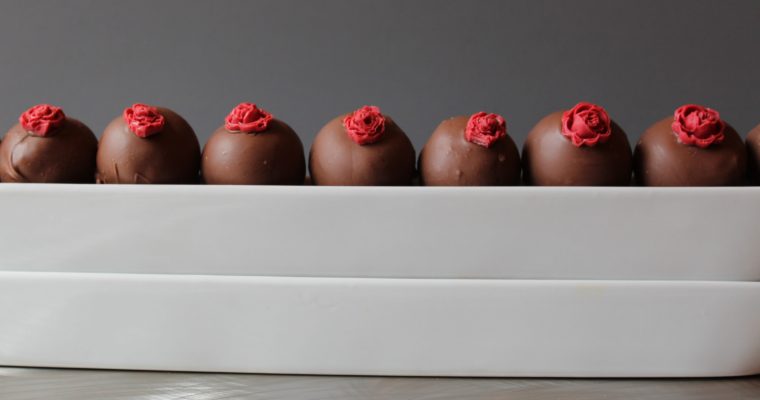
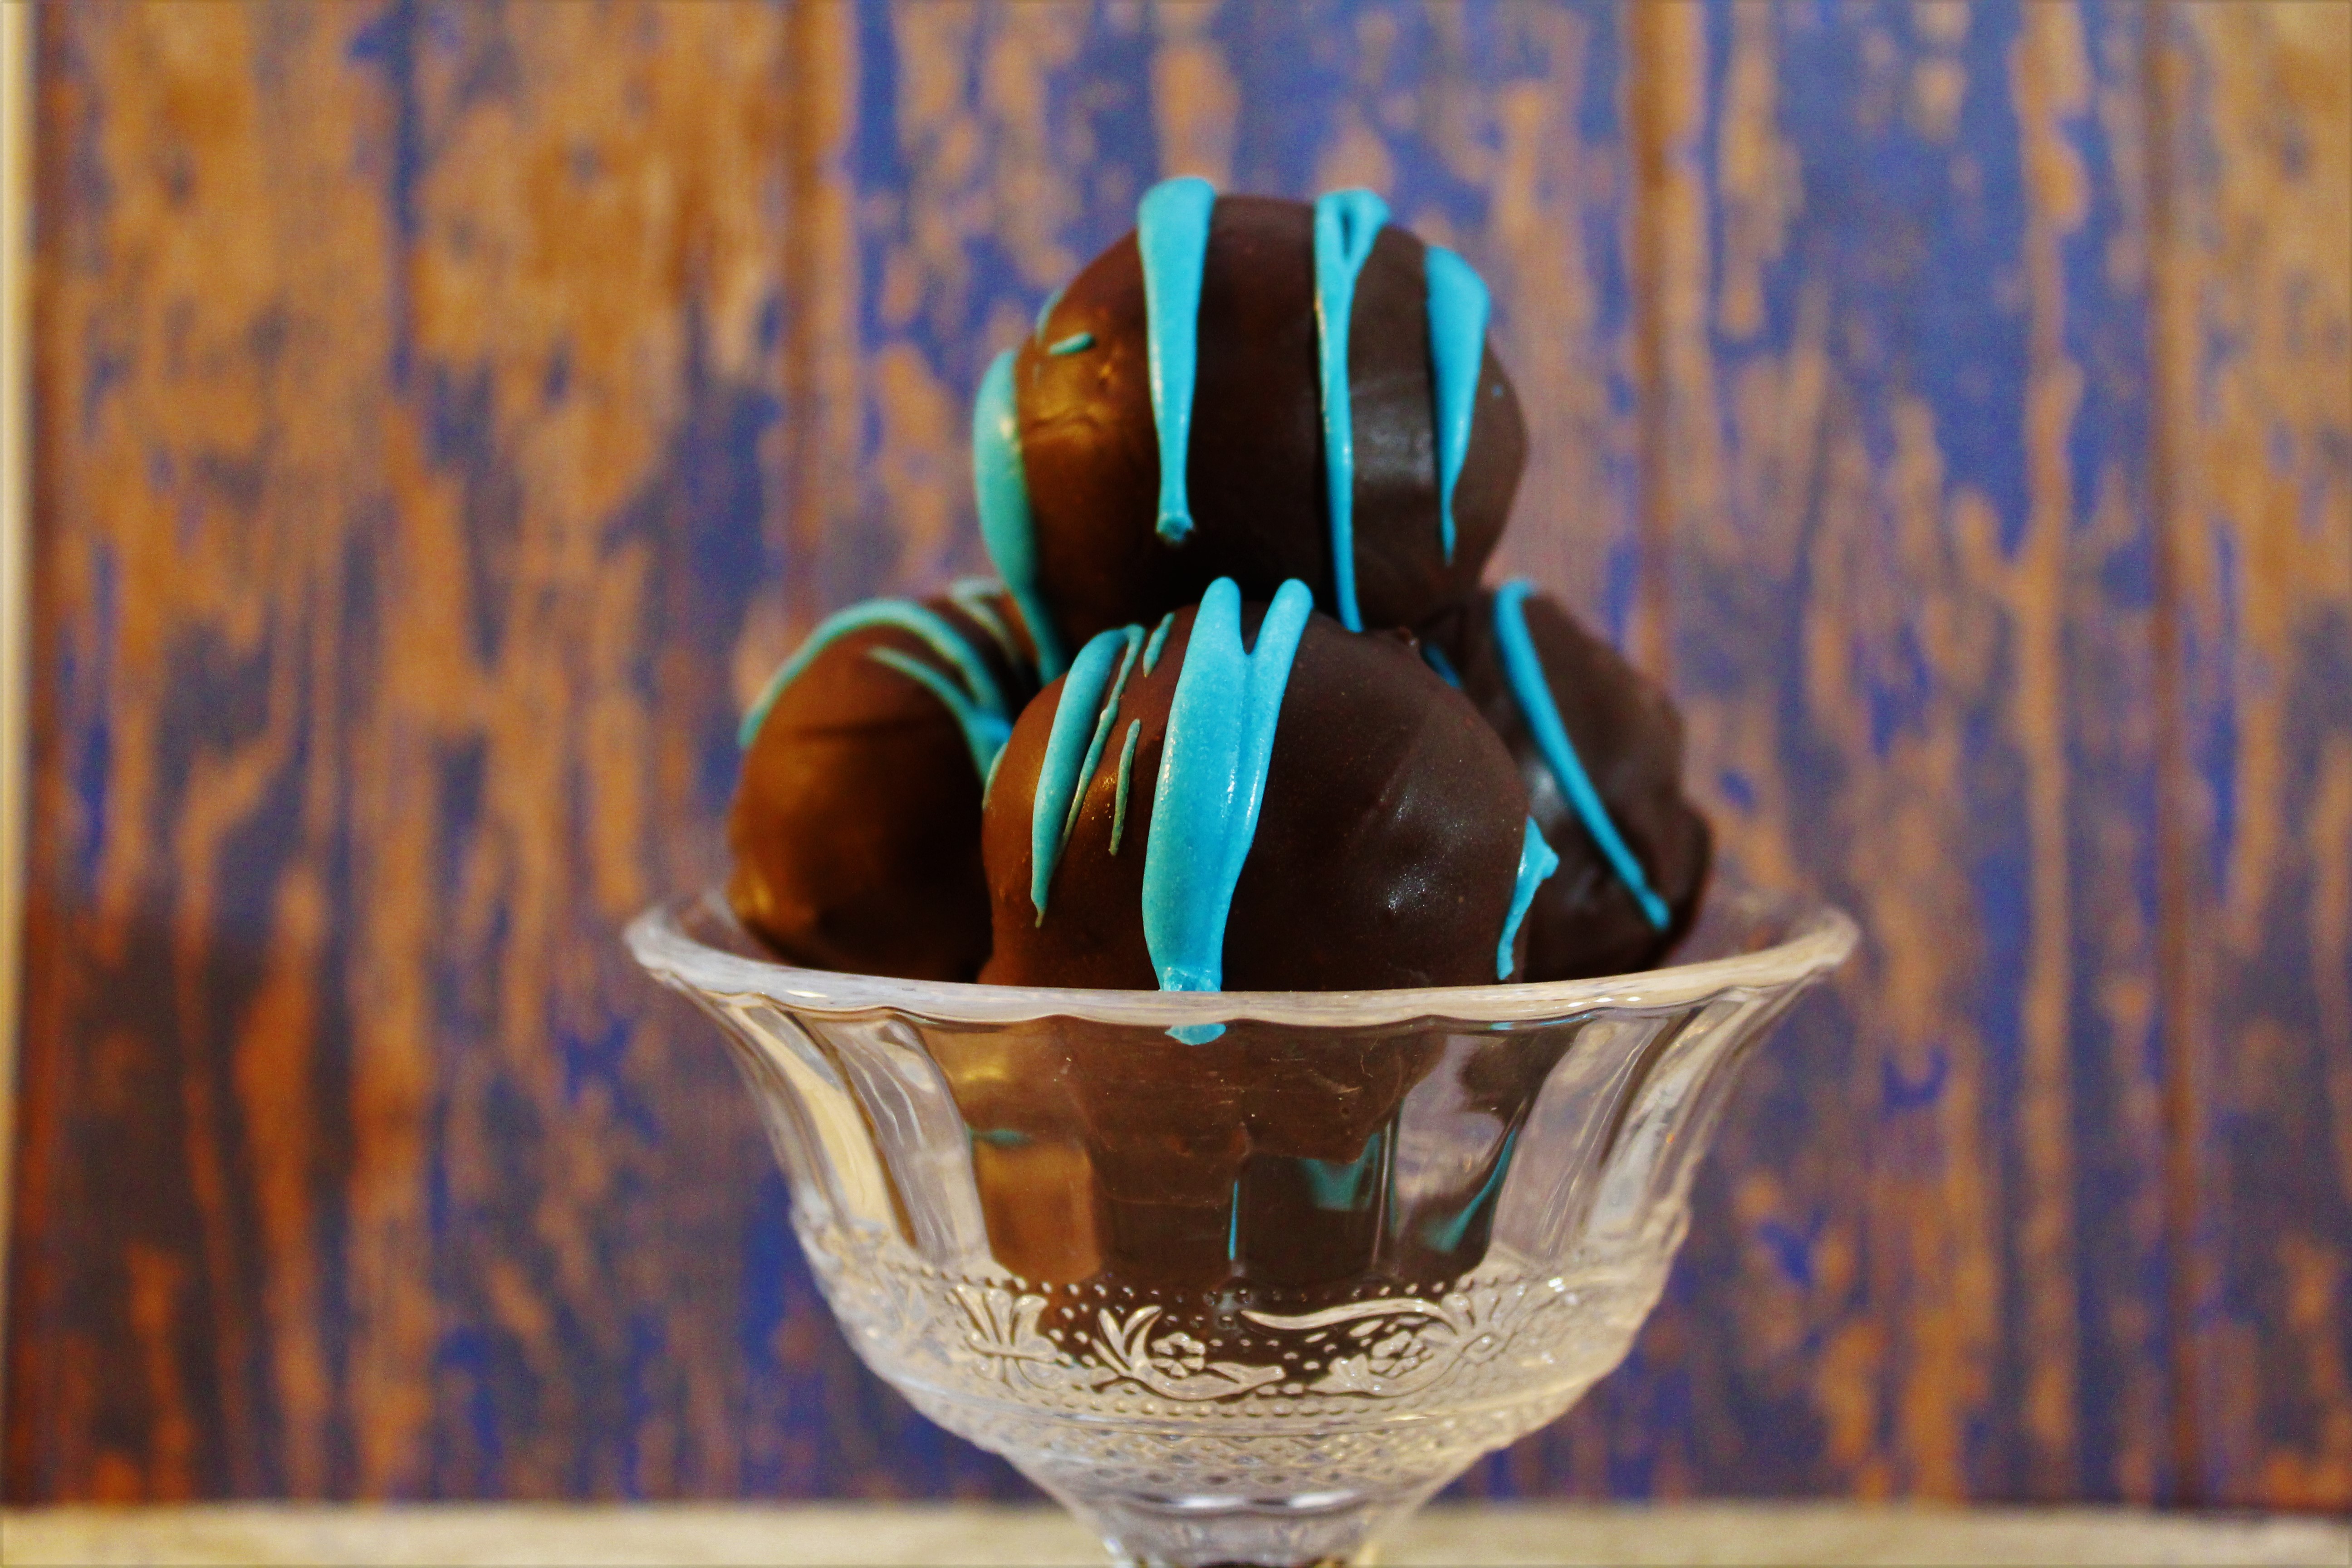
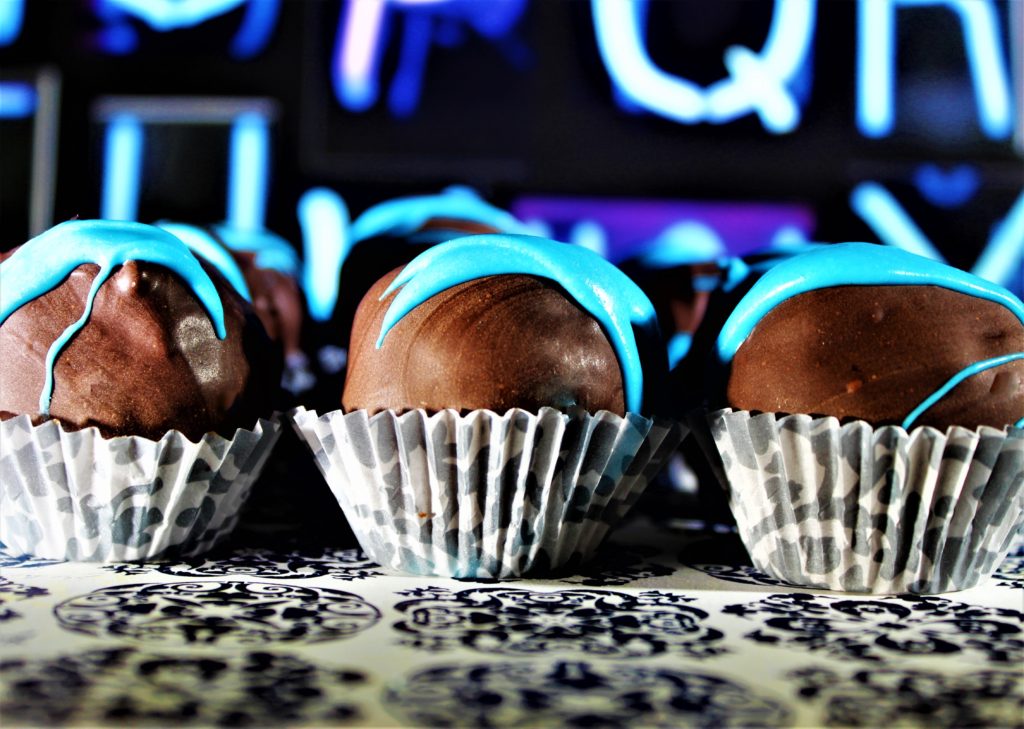
Our Raspberry Truffles are rolled small, pack a raspberry punch, and they are a decadent masterpiece. Our Friend Kelly makes fantastic truffles and is the inspiration behind this recipe. Her truffles are creamy, rich and sweet, in the right balance. If she ever decides to …
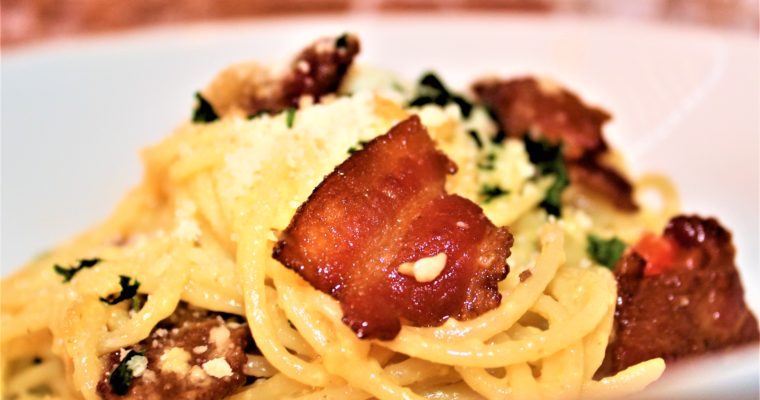
“Carbonara” in Italian means pasta coated with eggs and Parmesan cheese. I have read a lot of comments on recipes for this dish that was less than favorable. Man, people get upset when traditional recipes are changed. In traditional carbonara, eggs, and parmesan cheese …
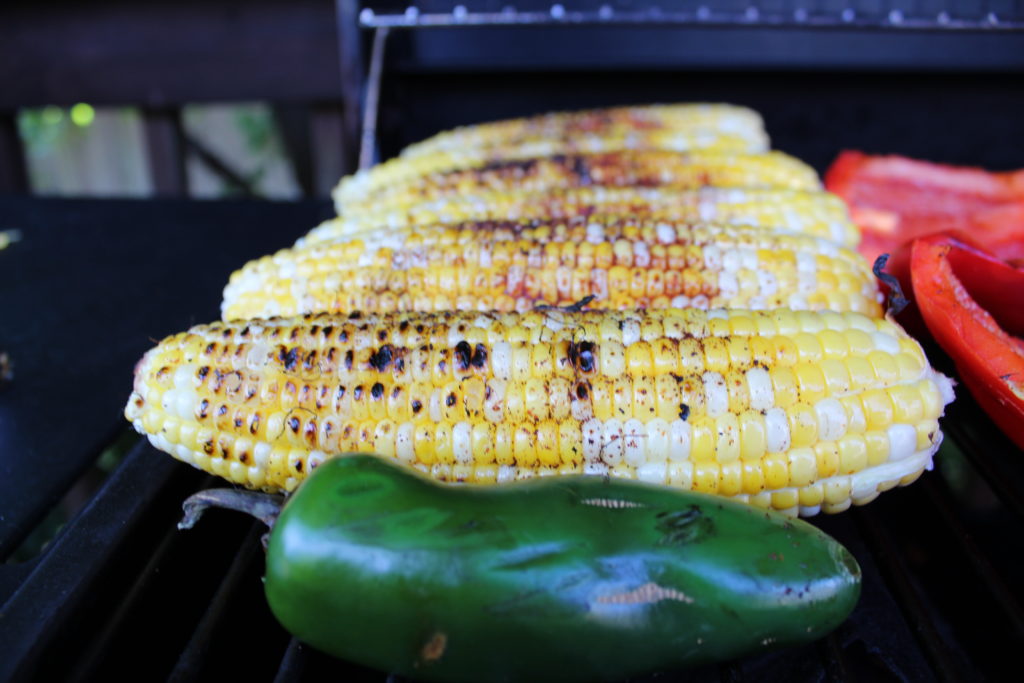
The first time I tried Mexican Street Corn was at a mid-summer festival. Everywhere I looked, I saw people eating corn on the cob, but it didn’t look like the same corn I was raised eating. The corn was encased in spices and looked terrific. The deep red color of the chili powder and the creamy cojita cheese put me on a mission to find the source. A mother and her two sons operated the small stand. They were preparing the corn from the same recipe that was handed down from past generations, so they said. This little family had the longest line, makes sense, right?
One bite, and it was over! I became an instant fan.
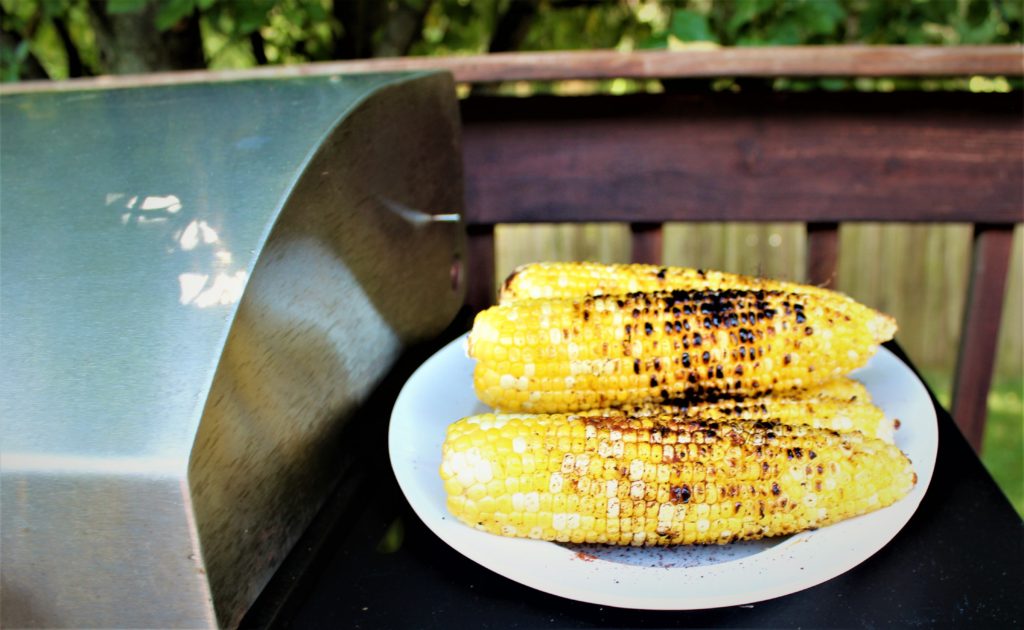
Corn on the cob is a midwest summer staple, but adding the Mexican spices turns this staple into something crazy good.
During the summer, we attend more bbq’s, cookouts, and pool parties then I can count. We usually bring a dip of some sort, and we have several that we rotate in and out.
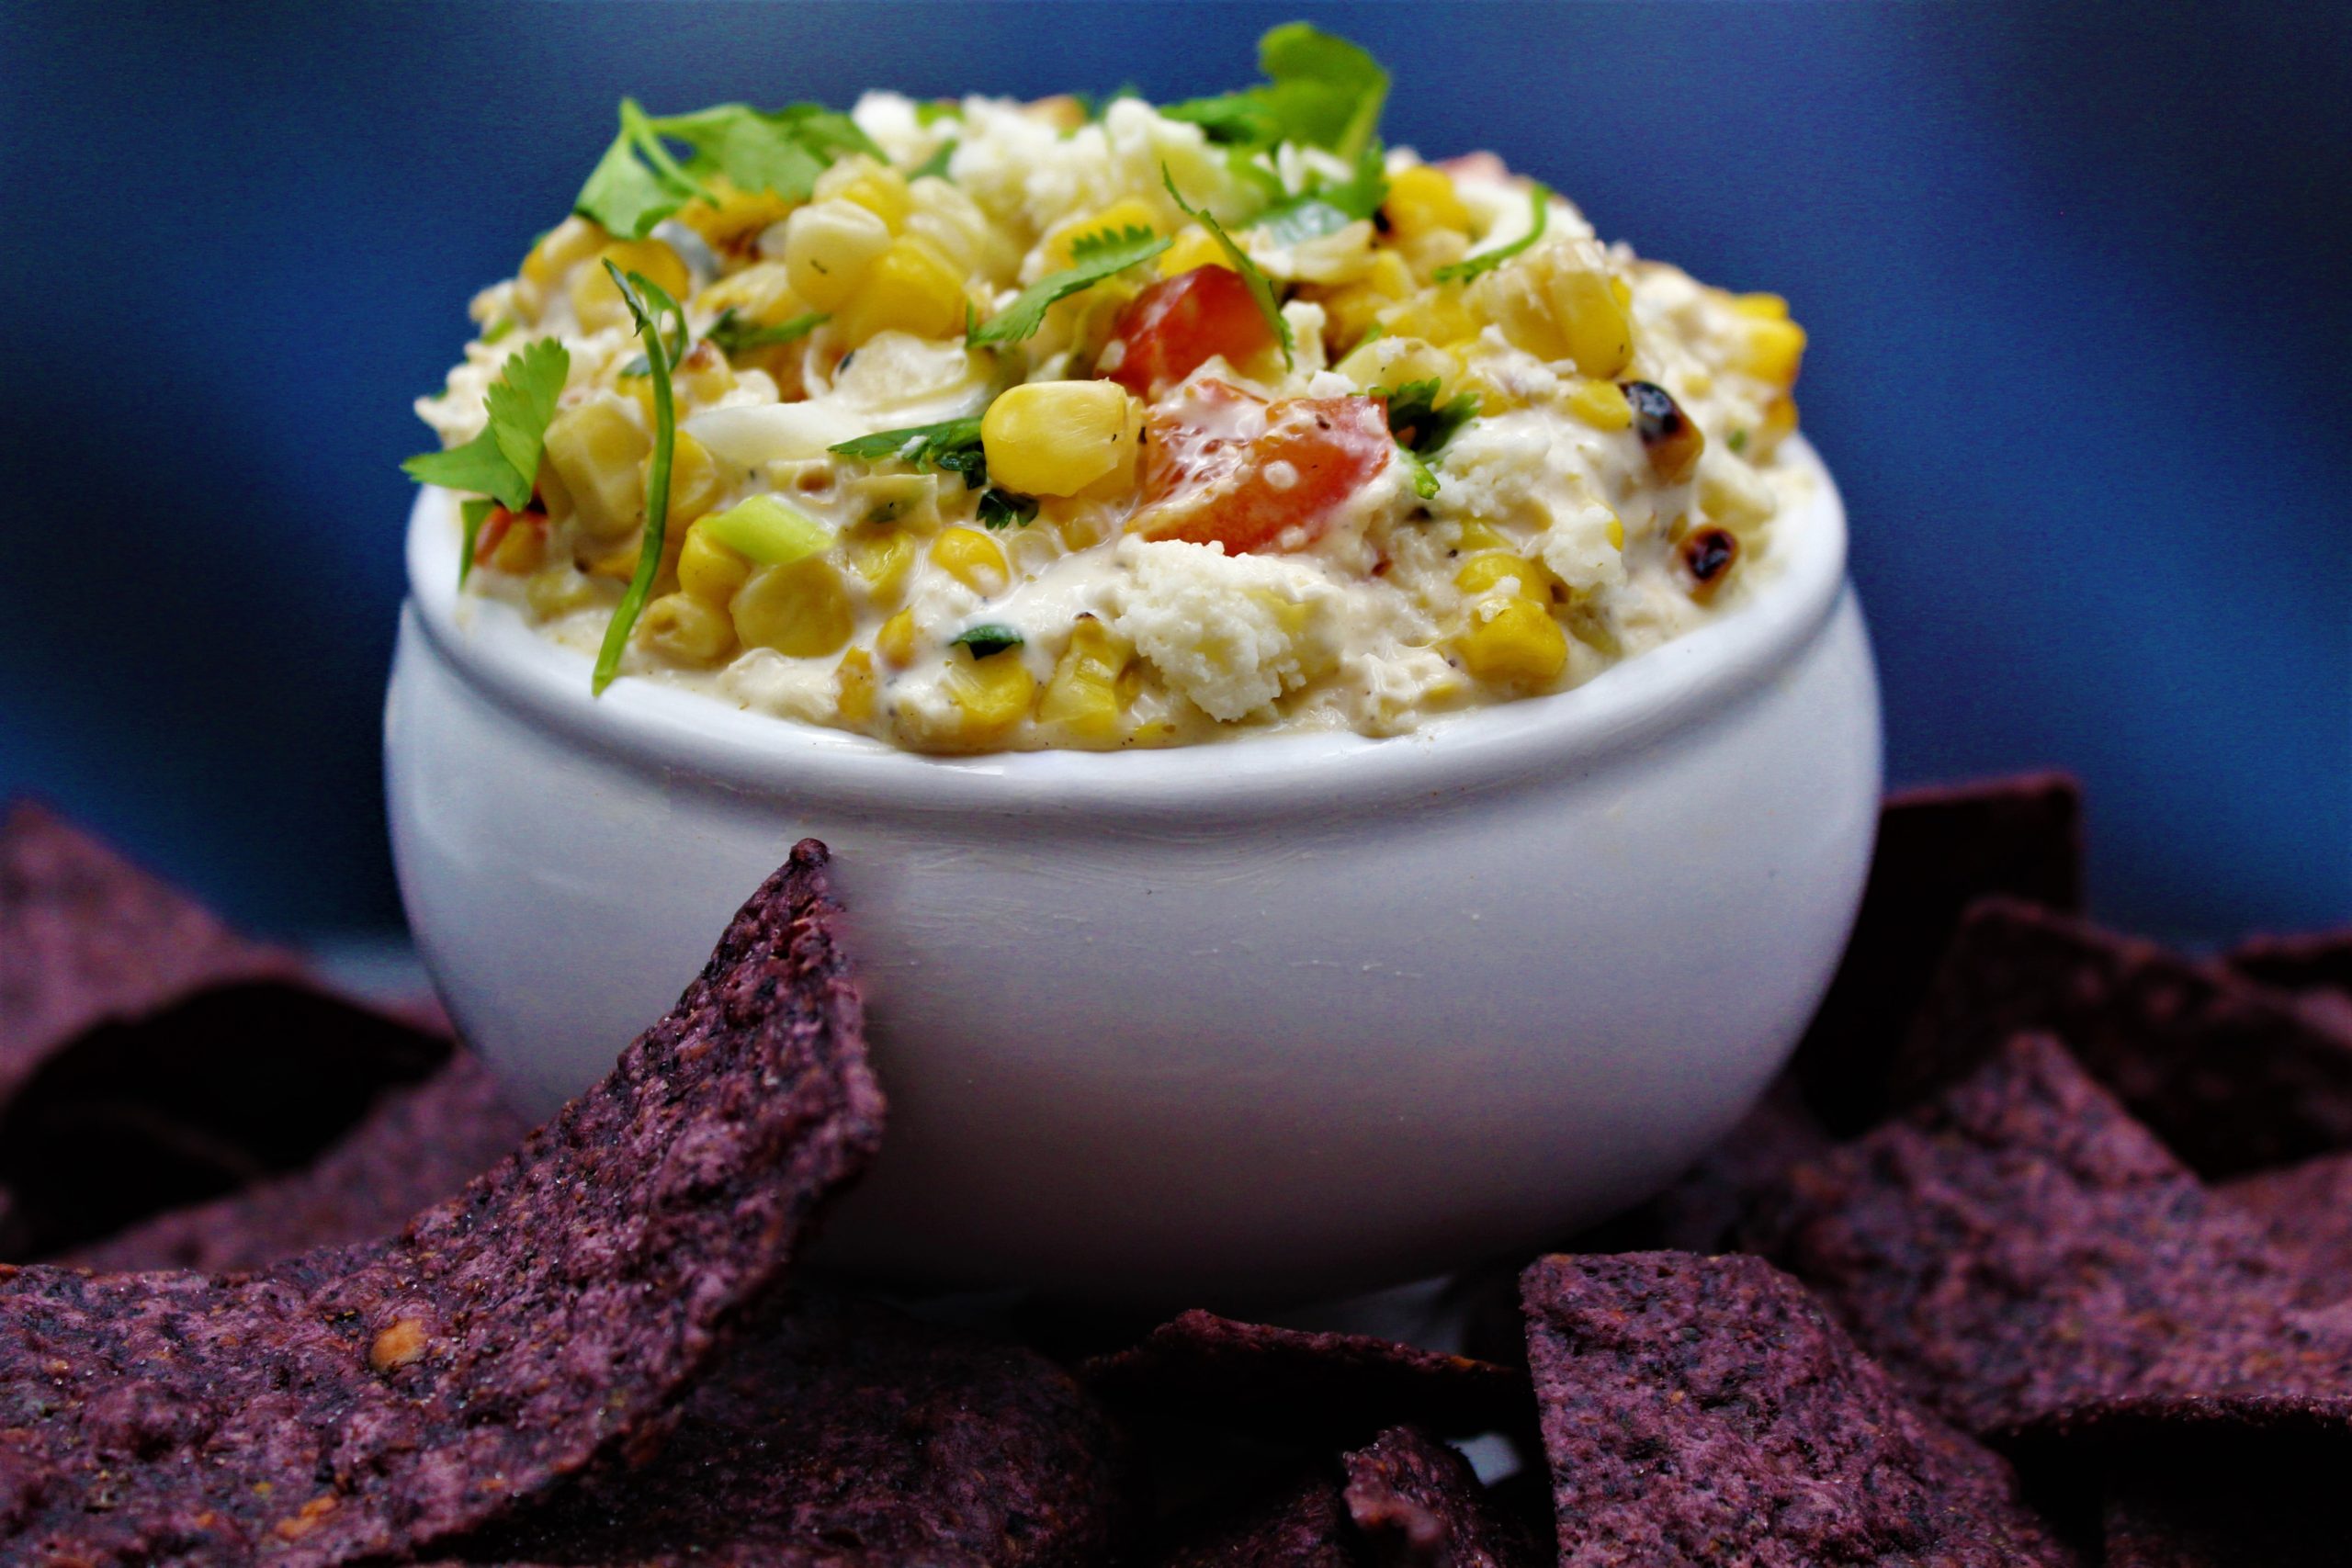
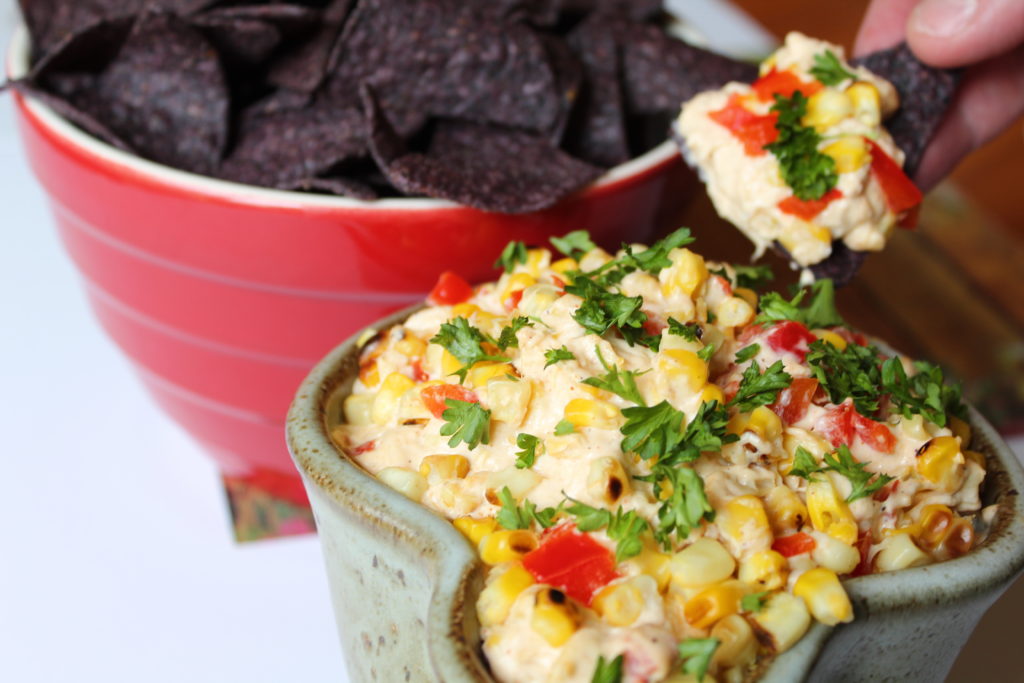
Our Mexican Corn Dip is always a hit. It’s creamy from the cream cheese and sour cream base, sweet from the farm fresh corn, and spicy from the Mexican spices. It’s perfect!
You can find different recipes, but I like the spice blend and the creaminess of this Mexican Street Corn recipe best. Don’t get me wrong; this is a great recipe to make your own. In the past, I have added mild green chilies, bacon, sharp cheddar cheese, and anything else I have on hand. I find that when adding vegetables to a dip like this, a small dice works best. The flavor comes through, but the texture stays the same.
Cojita cheese is available in most grocery stores, but a good substitute is parmesan cheese.
I bet our Mexican Street Corn Dip will be the best part of your next cookout. Pair it with your favorite chips; I especially like the blue corn tortilla chips, for an unbeatable combination.
Enjoy and leave a comment below letting me know how your Mexican Street Corn Dip turned out.
In a skillet, melt the butter over medium heat and saute garlic and jalapeño for two mins.
Add the corn and cook for three mins. Remove from heat and transfer to the bowl with the cream cheese mixture. Mix in ¼ cup of cotija cheese and 2 Tablespoons of cilantro.
Serve with tortilla Chips.
When it comes to sweets in our house, we try to practice moderation, but when it comes to mini peanut butter cups, that goes out the window. To make these Smashed-Up Peanut Butter Cup Brownies, I had to hide the bag of peanut butter cups. …
Most people already have their favorite recipe for chocolate chip cookies. That doesn’t seem to stop us food bloggers from posting hundreds of new recipes every year. My recipe is an original, I did not change one single thing, I guess you can say that …
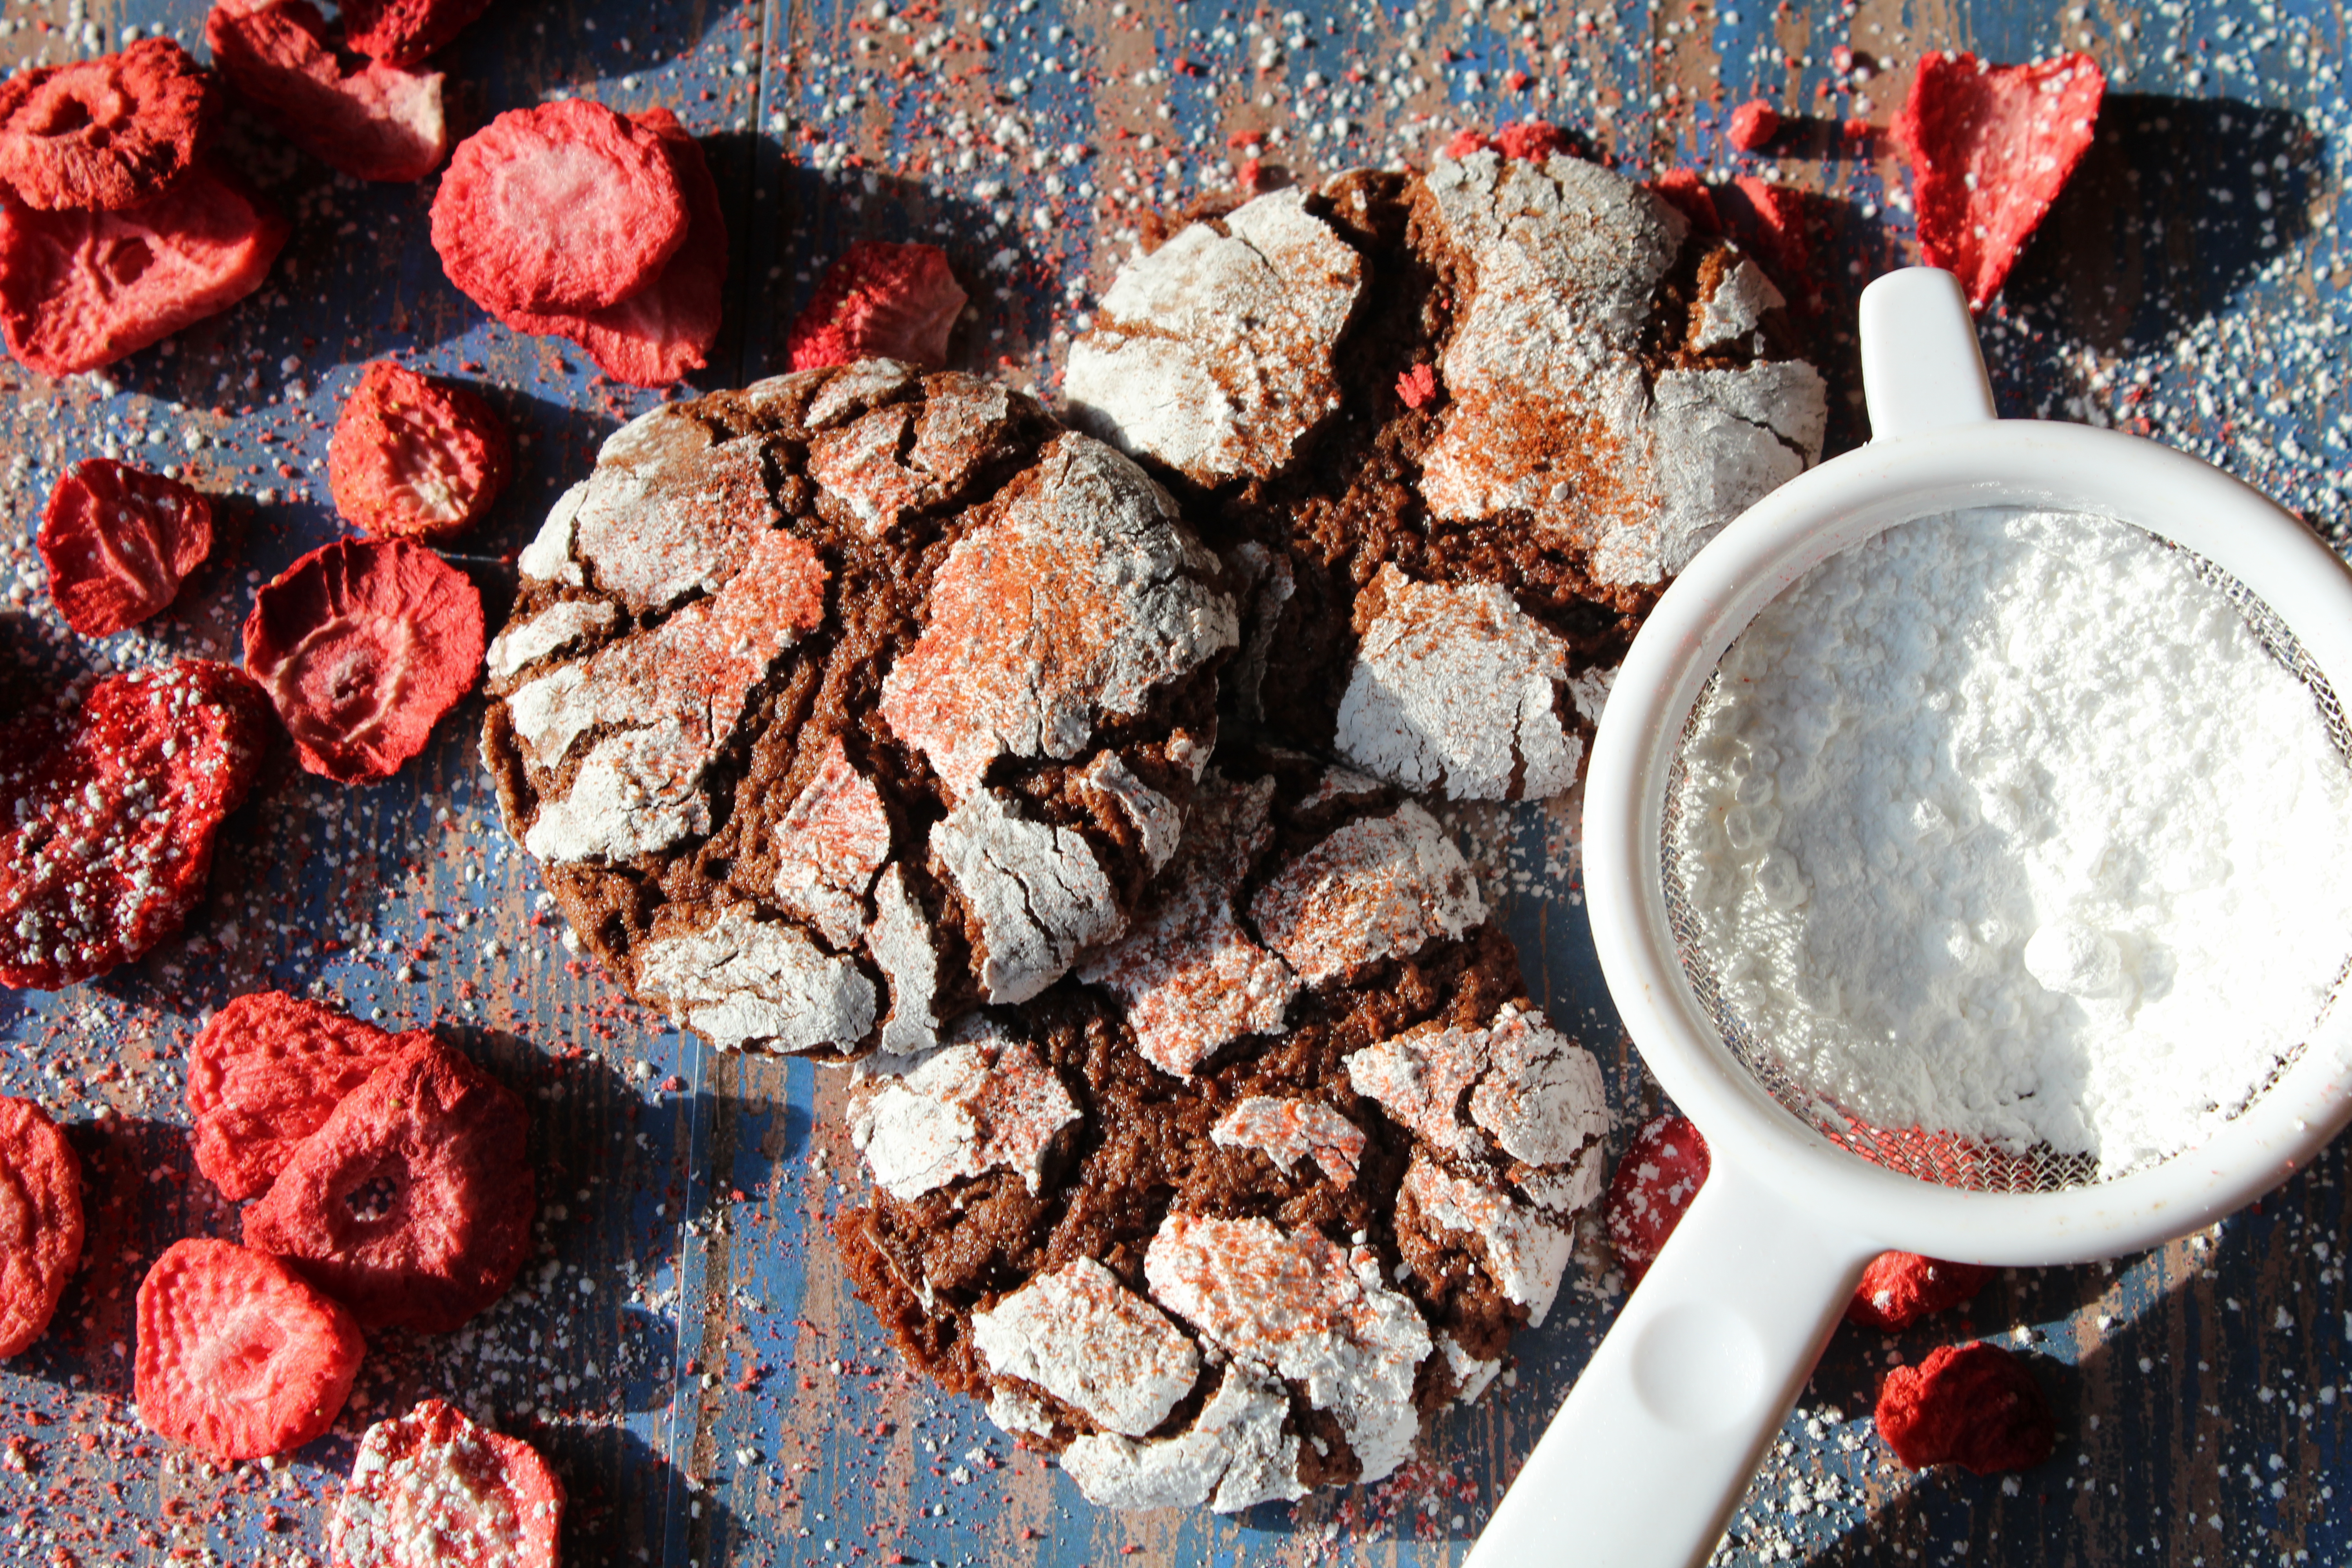
When I started thinking about creating a strawberry-chocolate cookie, it was clear that I wanted the flavor to come naturally without making the cookies too dense and moist because of the water content in strawberries. After a few attempts, I came up with the perfect strawberry chocolate cookie. Here is the secret!
Instead of adding extracts or flavorings, I added freeze-dried strawberries. Grinding them to a powder in a food processor allowed the flavor to come through without adding to the texture. I started with a basic crinkle cookie recipe and added the strawberry powder for a flavor boost.
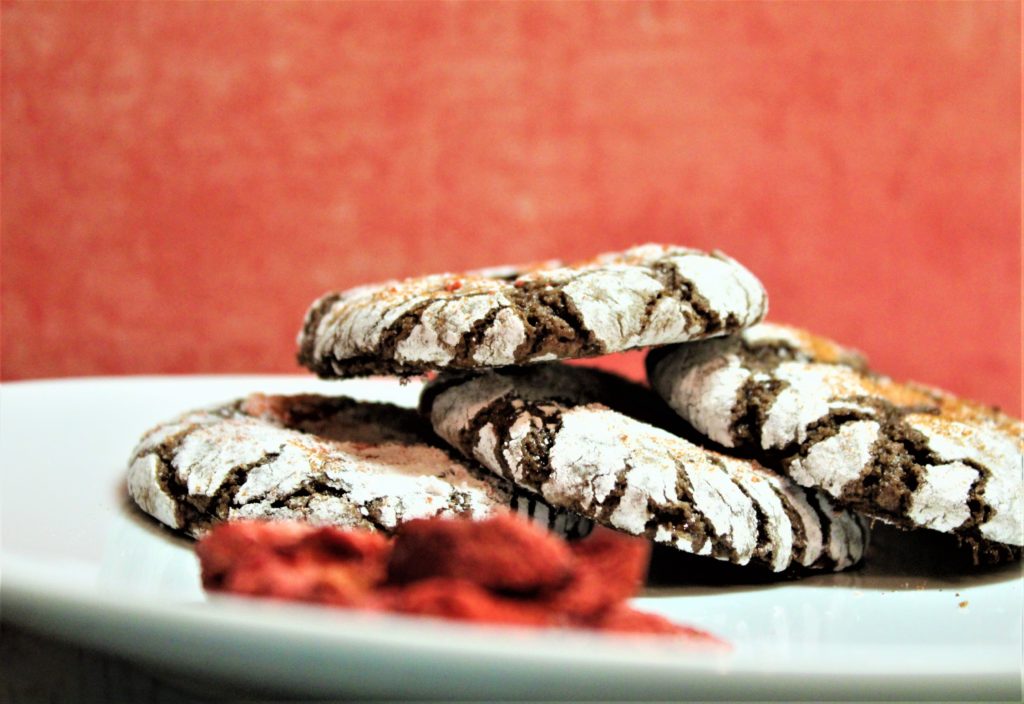
I used a basic crinkle cookie recipe and added the strawberry powder. The result is a fudge lovers dream. The powdered sugar and strawberry dust coating helped create a beautiful cookie.
Our taste testers agreed that the flavor combination was on target. I think you will also agree that our strawberry chocolate crackle cookies are the stuff dreams are made of.
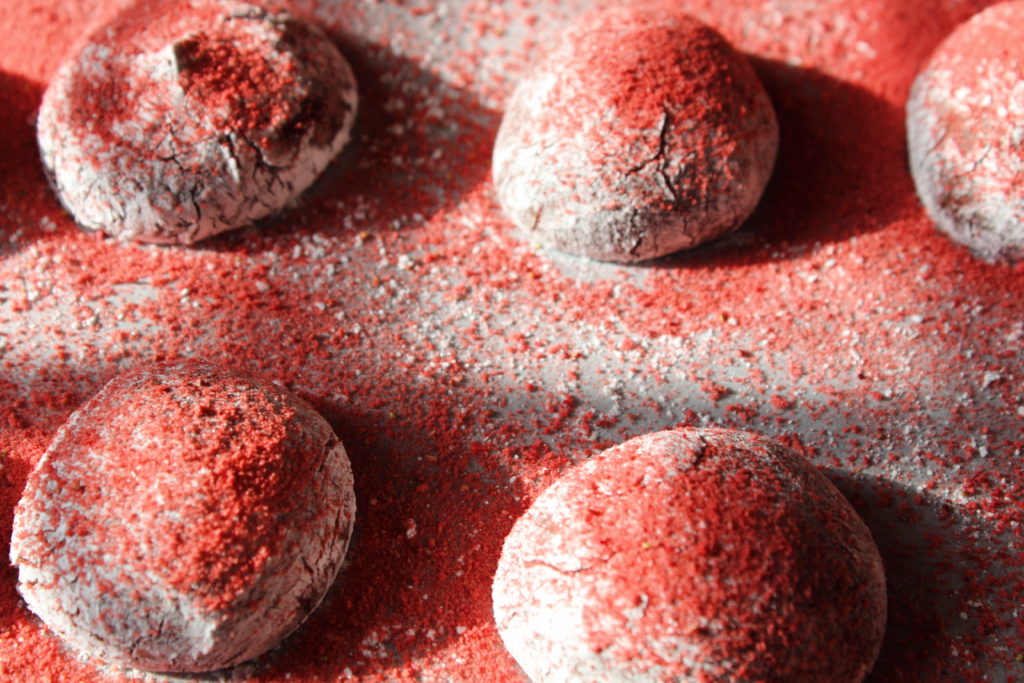

Everyone loves chocolate covered strawberries. Now you can enjoy those two great flavors in this fudgy, irresistible cookie!
Pulse 1 1/2 cups dried Strawberries in a blender or food processor until reduced to a powder.
Once blended mix in eggs one at a time, waiting until each addition is incorporated before adding the next.
Add flour; mix on low speed until combined. Cover with plastic wrap. Chill 4 to 8 hours or overnight.
Preheat oven to 350 degrees and line a baking sheet with parchment paper.
Using two separate small bowls, add confectioners' sugar in one, and the remaining powdered strawberries in the other.
orm the dough into 1 1/2 inch balls and roll each in powdered sugar and then dust with the powdered strawberries.

Piñata Cupcakes? Seriously? But, have you ever seen anything so festive? Me either! I love whimsical deserts. Bright, bold colors, flavors that seem crazy together, but work seamlessly. Cupcakes, in general, are whimsical. They are casual, yet perfect for weddings. When I’m at a party …

Thumbprint Jam Cookies are great for the busy baker! Is it me or is this year passing by at lightning speed? I swear it was January last week. I find myself over scheduled most days. What, with working, blogging, and running our online record store …
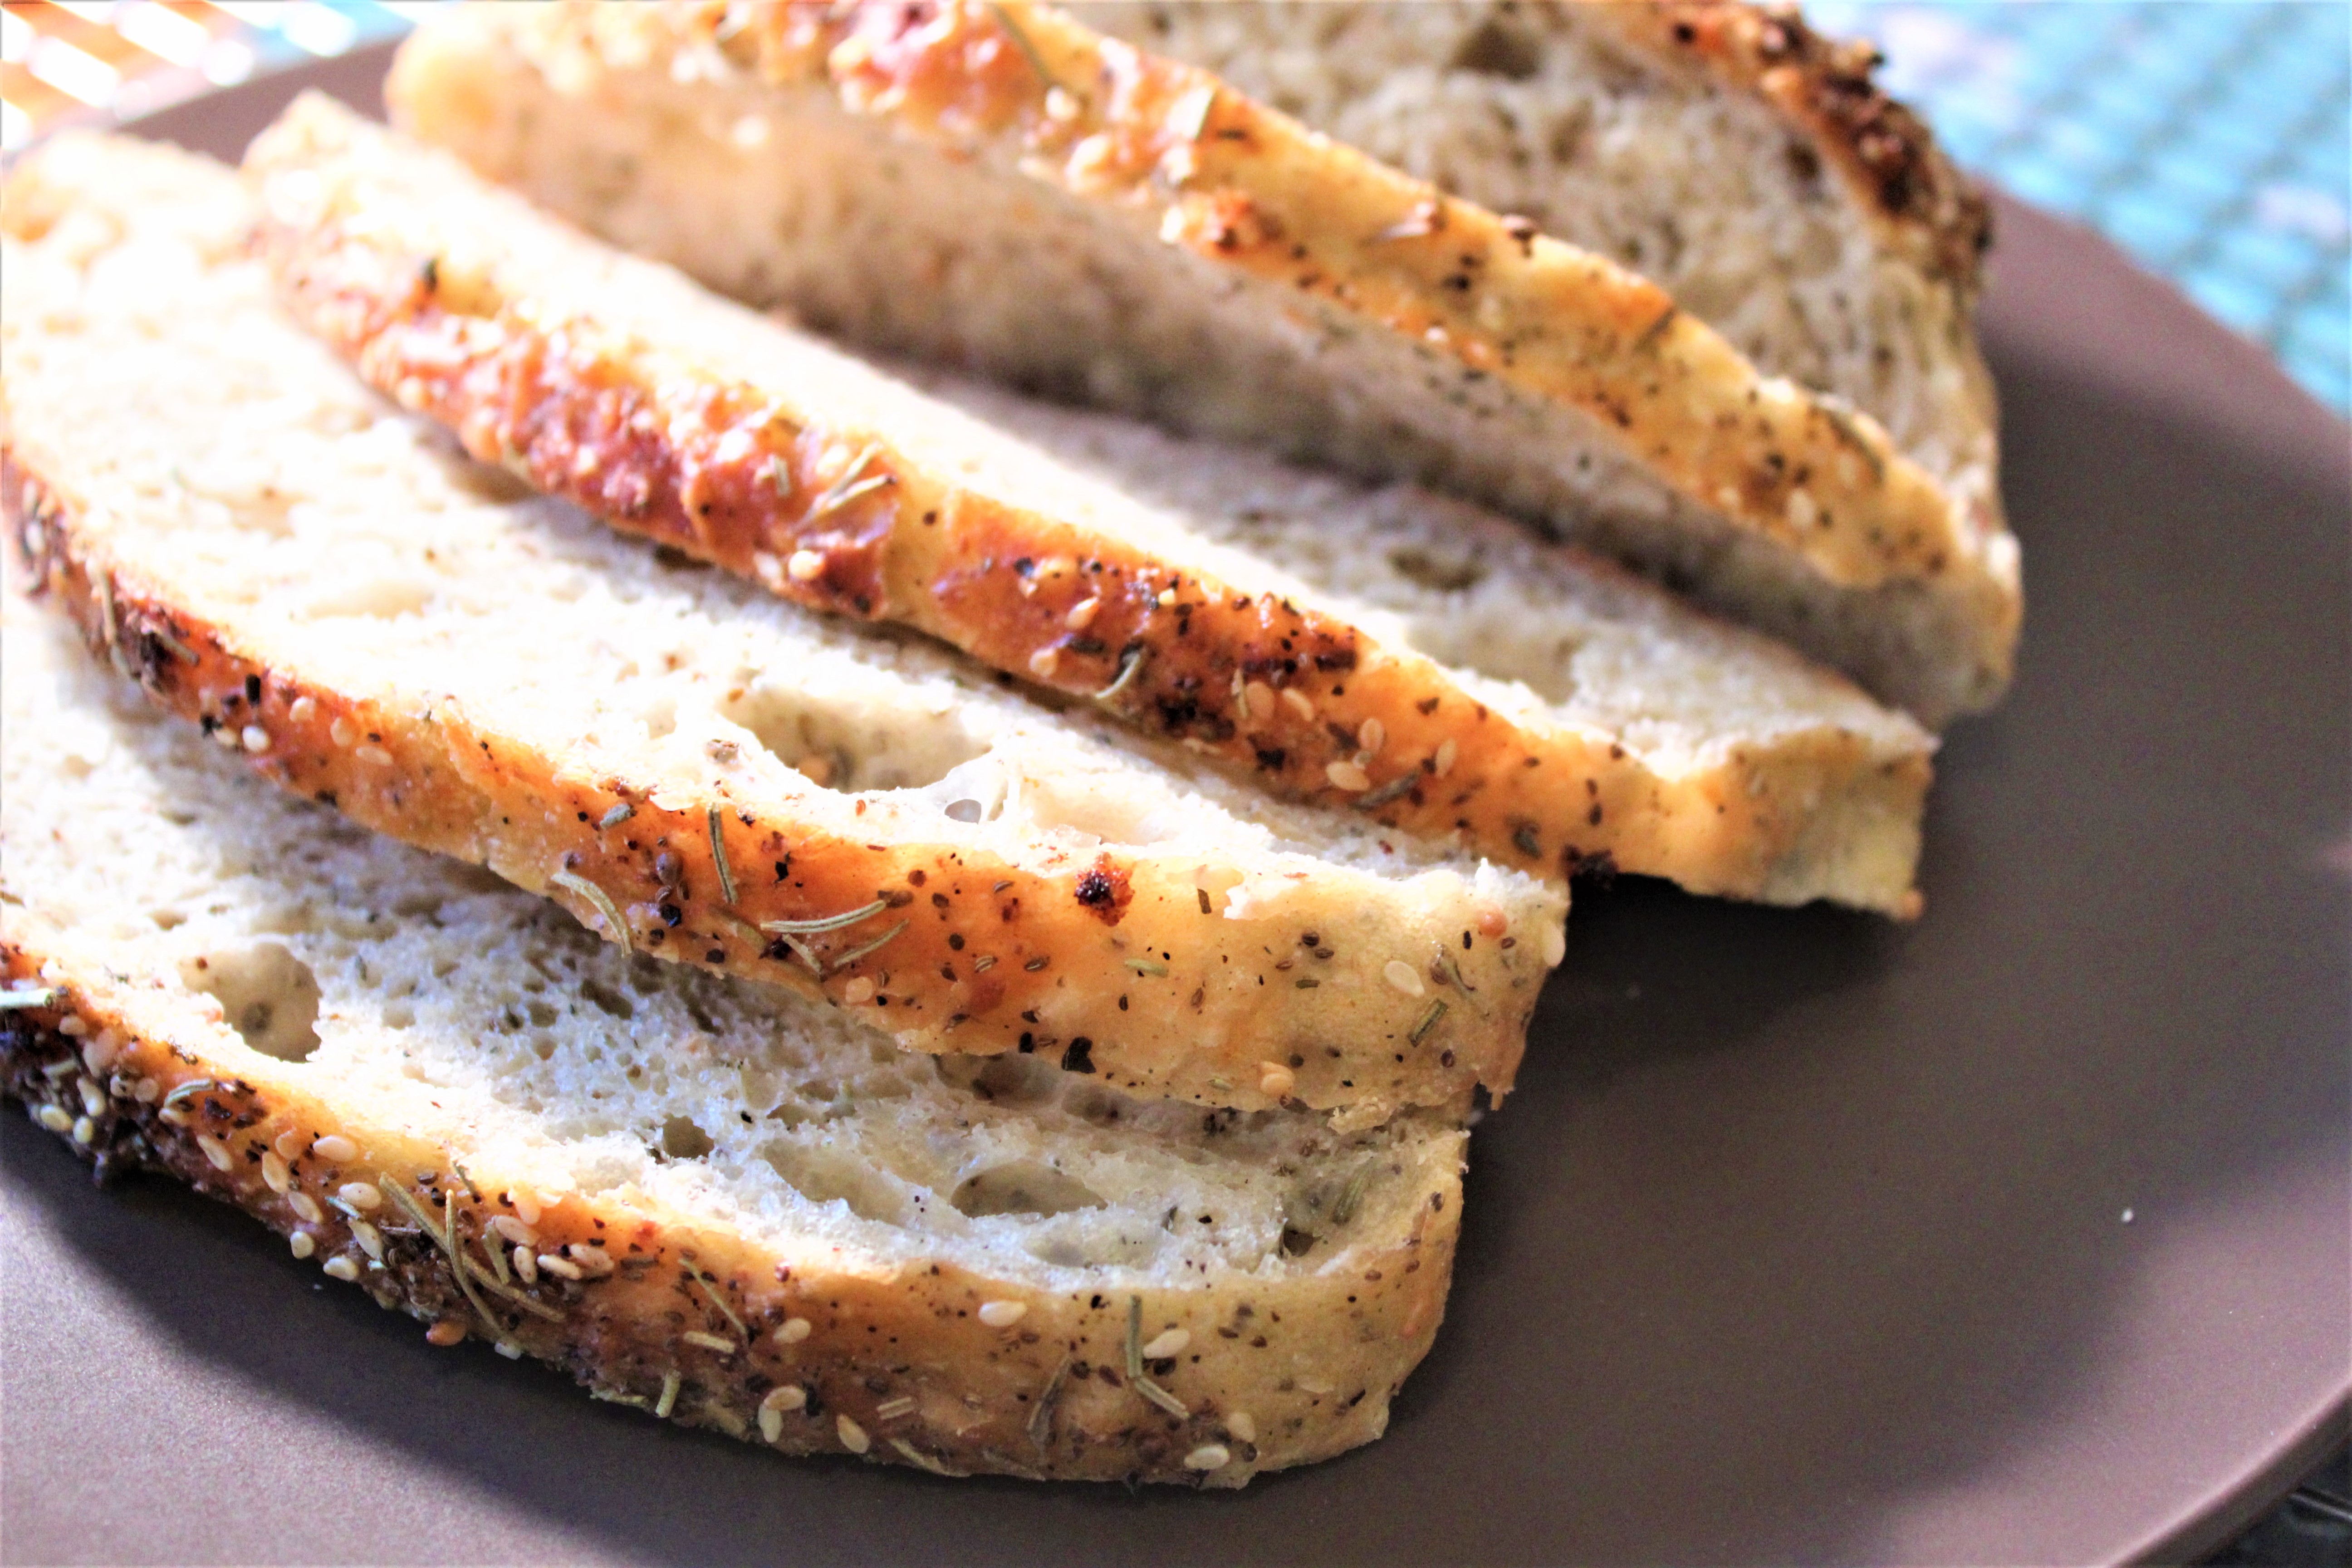
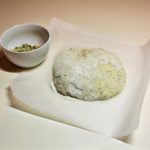
Our No-knead “Everything” Bread is the perfect easy bread.
Most bread recipes never turns out like they should. The bread is heavy like a brick, or the crust is so hard that you cant cut through it. I’ve had my share of bad bread through the years.
When I first moved from my small town to the city many years ago, I had a roommate that had moved from his small town too. He was a great roommate, but struggled with homesickness and would visit his mom most weekends.
He always bragged about his mother’s homemade bread. He made it sound as if the heavens would open when she pulled it from the oven.
When he would return to our apartment after a visit with her, he would have a loaf of her homemade bread that she send with him to share with me.
To say this bread was terrible, was an understatement. I’m not sure why Nick loved it so much, other then it was the only homemade bread he knew.
As time went on, even he grew tired of the weekly loaves, and eventually, he would toss the bread into the trash when walked in the apartment without even opening it. I asked him why he didn’t ask his mom to stop baking them.
He said he would rather throw them away than hurt her feelings. I think she raised a nice person!
I know one thing for sure, NO ONE will throw away our No-Knead “Everything Bread”.
I love the “no-knead” method. Mix the ingredients and let the yeast do its thing. It does take planning because of the resting time. I have found that waiting the full 18 hours produces a more delicate loaf.
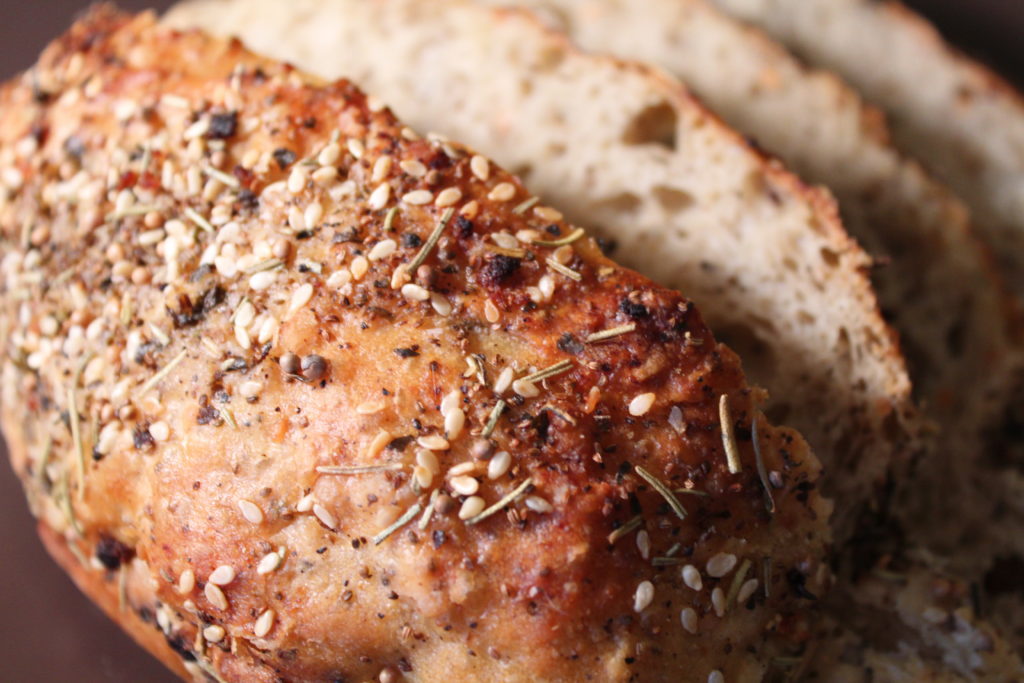
The heavy dutch oven with a lid is essential as well. The bread is steamed in the dutch oven as it bakes, producing a soft crust.
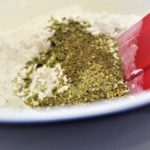
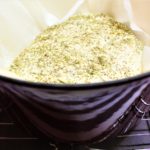
The idea of “everything” bread came from my favorite bagel. Now, it has become my favorite bread. Oh, here is a tip: you can change the spices in the topping to whatever you have. I use this recipe to clean out my spice cabinet.
Happy Baking!
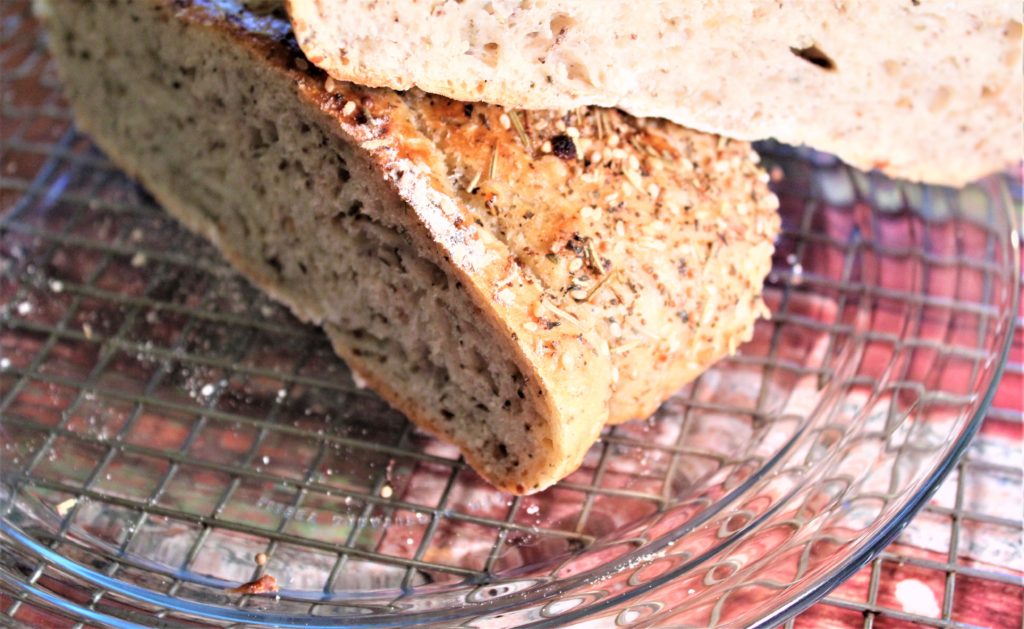
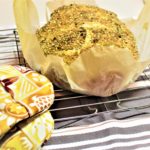
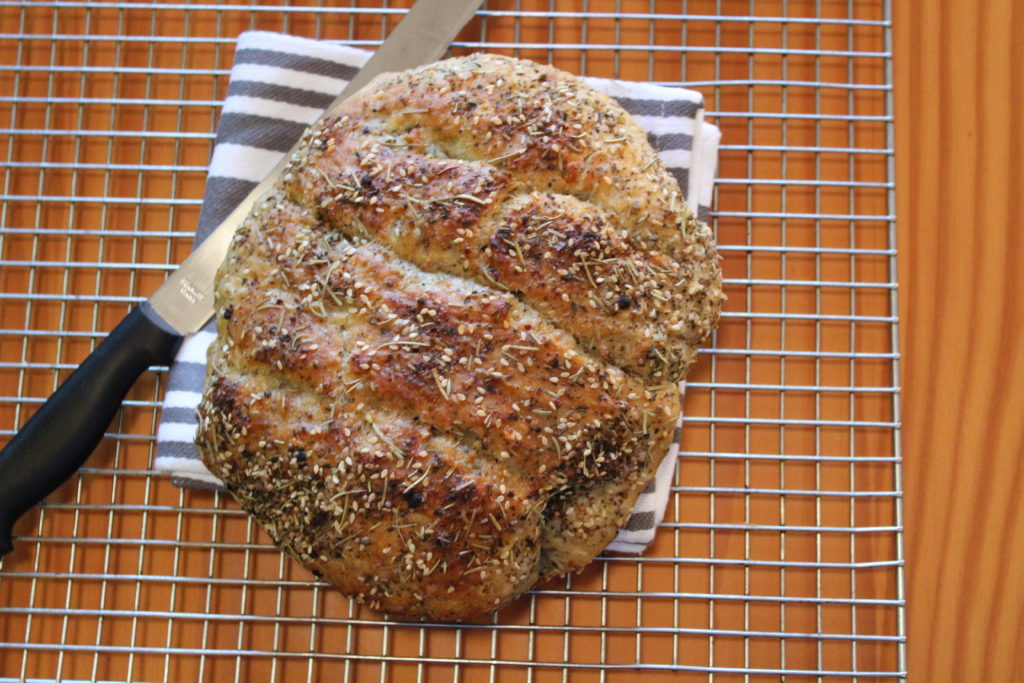
This is the easiest bread you will ever bake! After mixing the ingredients, the yeast does all the work. Your bread will have a golden crust on the outside and soft and flavorful inside. It looks and tastes like an artesian loaf of bread.
In a large bowl; mix flour, salt, half of 'everything' mix and yeast.
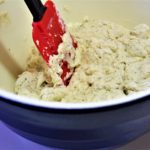
Add water to the bowl; using spatula, mix the dough until it is fully incorporated.
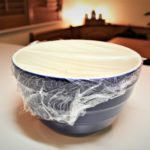
Cover with plastic wrap and let rise at room temperature for 13 to 18 hours. The dough will develop small bubbles on top when ready to proceed, but wait a minimum of 13 hours and a maximum of 18 hours.
When ready to bake, preheat oven and your dutch oven with lid on to 450 F degrees.
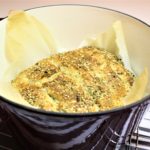
Remove the dough from the bowl and lay it flat on a lightly floured work space. With floured hands, Pull right and left edges up toward the middle of dough, pull top and bottom edges up toward middle of dough forming a ball shape. Flip the dough over on work surface. Using your hands to shape dough lightly dust the bottom of the dough ball with flour. Using kitchen sheers, Slice 3 slashes into top of bread dough, spritz with water and sprinkle on remaining 'Everything' Topping. Transfer dough to parchment paper.
Remove pot from oven when preheated, and remove the lid
Carefully, holding all corners of parchment paper, Place ball of dough into the pot. Cover the pot with the lid, making sure all parchment paper is inside pot and place it back in the oven.
Being very careful, remove dough from the dutch oven to a cooling rack. Brush with melted butter. Set on cooling rack (brush with a bit of melted butter, cool before slicing.


I have tried every Blueberry Muffin recipe out there, and this one is the best. The blueberries are cooked and smashed into a jam, and the whole blueberries give an old fashion muffin feel, at the same time, the blueberry jam boosts the flavor assuring …
I love brownies, all kinds of brownies! They are casual enough for a pitch-in lunch at work, or as the centerpiece at a dinner party. At our house, my husband, Dale and I argue over the size of squares to cut the brownies. I am …
Making Chocolate Butter Cream Frosting is easier then you think. I use a Kitchen Aid Mixer. I’m not paid to say that I love their products, but I DO love their mixers.
I do not use shortcuts when I bake, I don’t use baking mixes and such, but beating this frosting by hand doesn’t sound fun to me.
My friend Natasha gave me this recipe for Incredible Chocolate Butter Cream Frosting a few years ago, and it has become one of my favorites.
The trick is making sure the butter is completely soft. I let it sit on the counter for a few hours before I need it.
This fudgy, creamy, silky icing is perfect for cakes, cupcakes, and, cookies, Weather you use a mixer or elbow grease, you are going to love this frosting.
This sinful brownie will have everyone begging for the recipe. These stuffed brownies are easier to cut if they are chilled in the refrigerator.
n a medium bowl combine butter, powdered sugar, cocoa, vanilla, cream/milk, and salt and beat for 5-7 minutes until light and fluffy.

Have you ever sat in an all-day meeting at work that seems drain your soul? I mean, the idea of sitting in a hot meeting room with people you don’t necessarily like spending time with, is the worst and don’t get me started about …
What can I possibly say about Whipped Cream that hasn’t already been said? The only thing I can think of is I F’ING LOVE WHIPPED CREAM!!!!!!!! I’m not talking about the stuff from the can with a list of ingredients you’ve never seen before. Our …
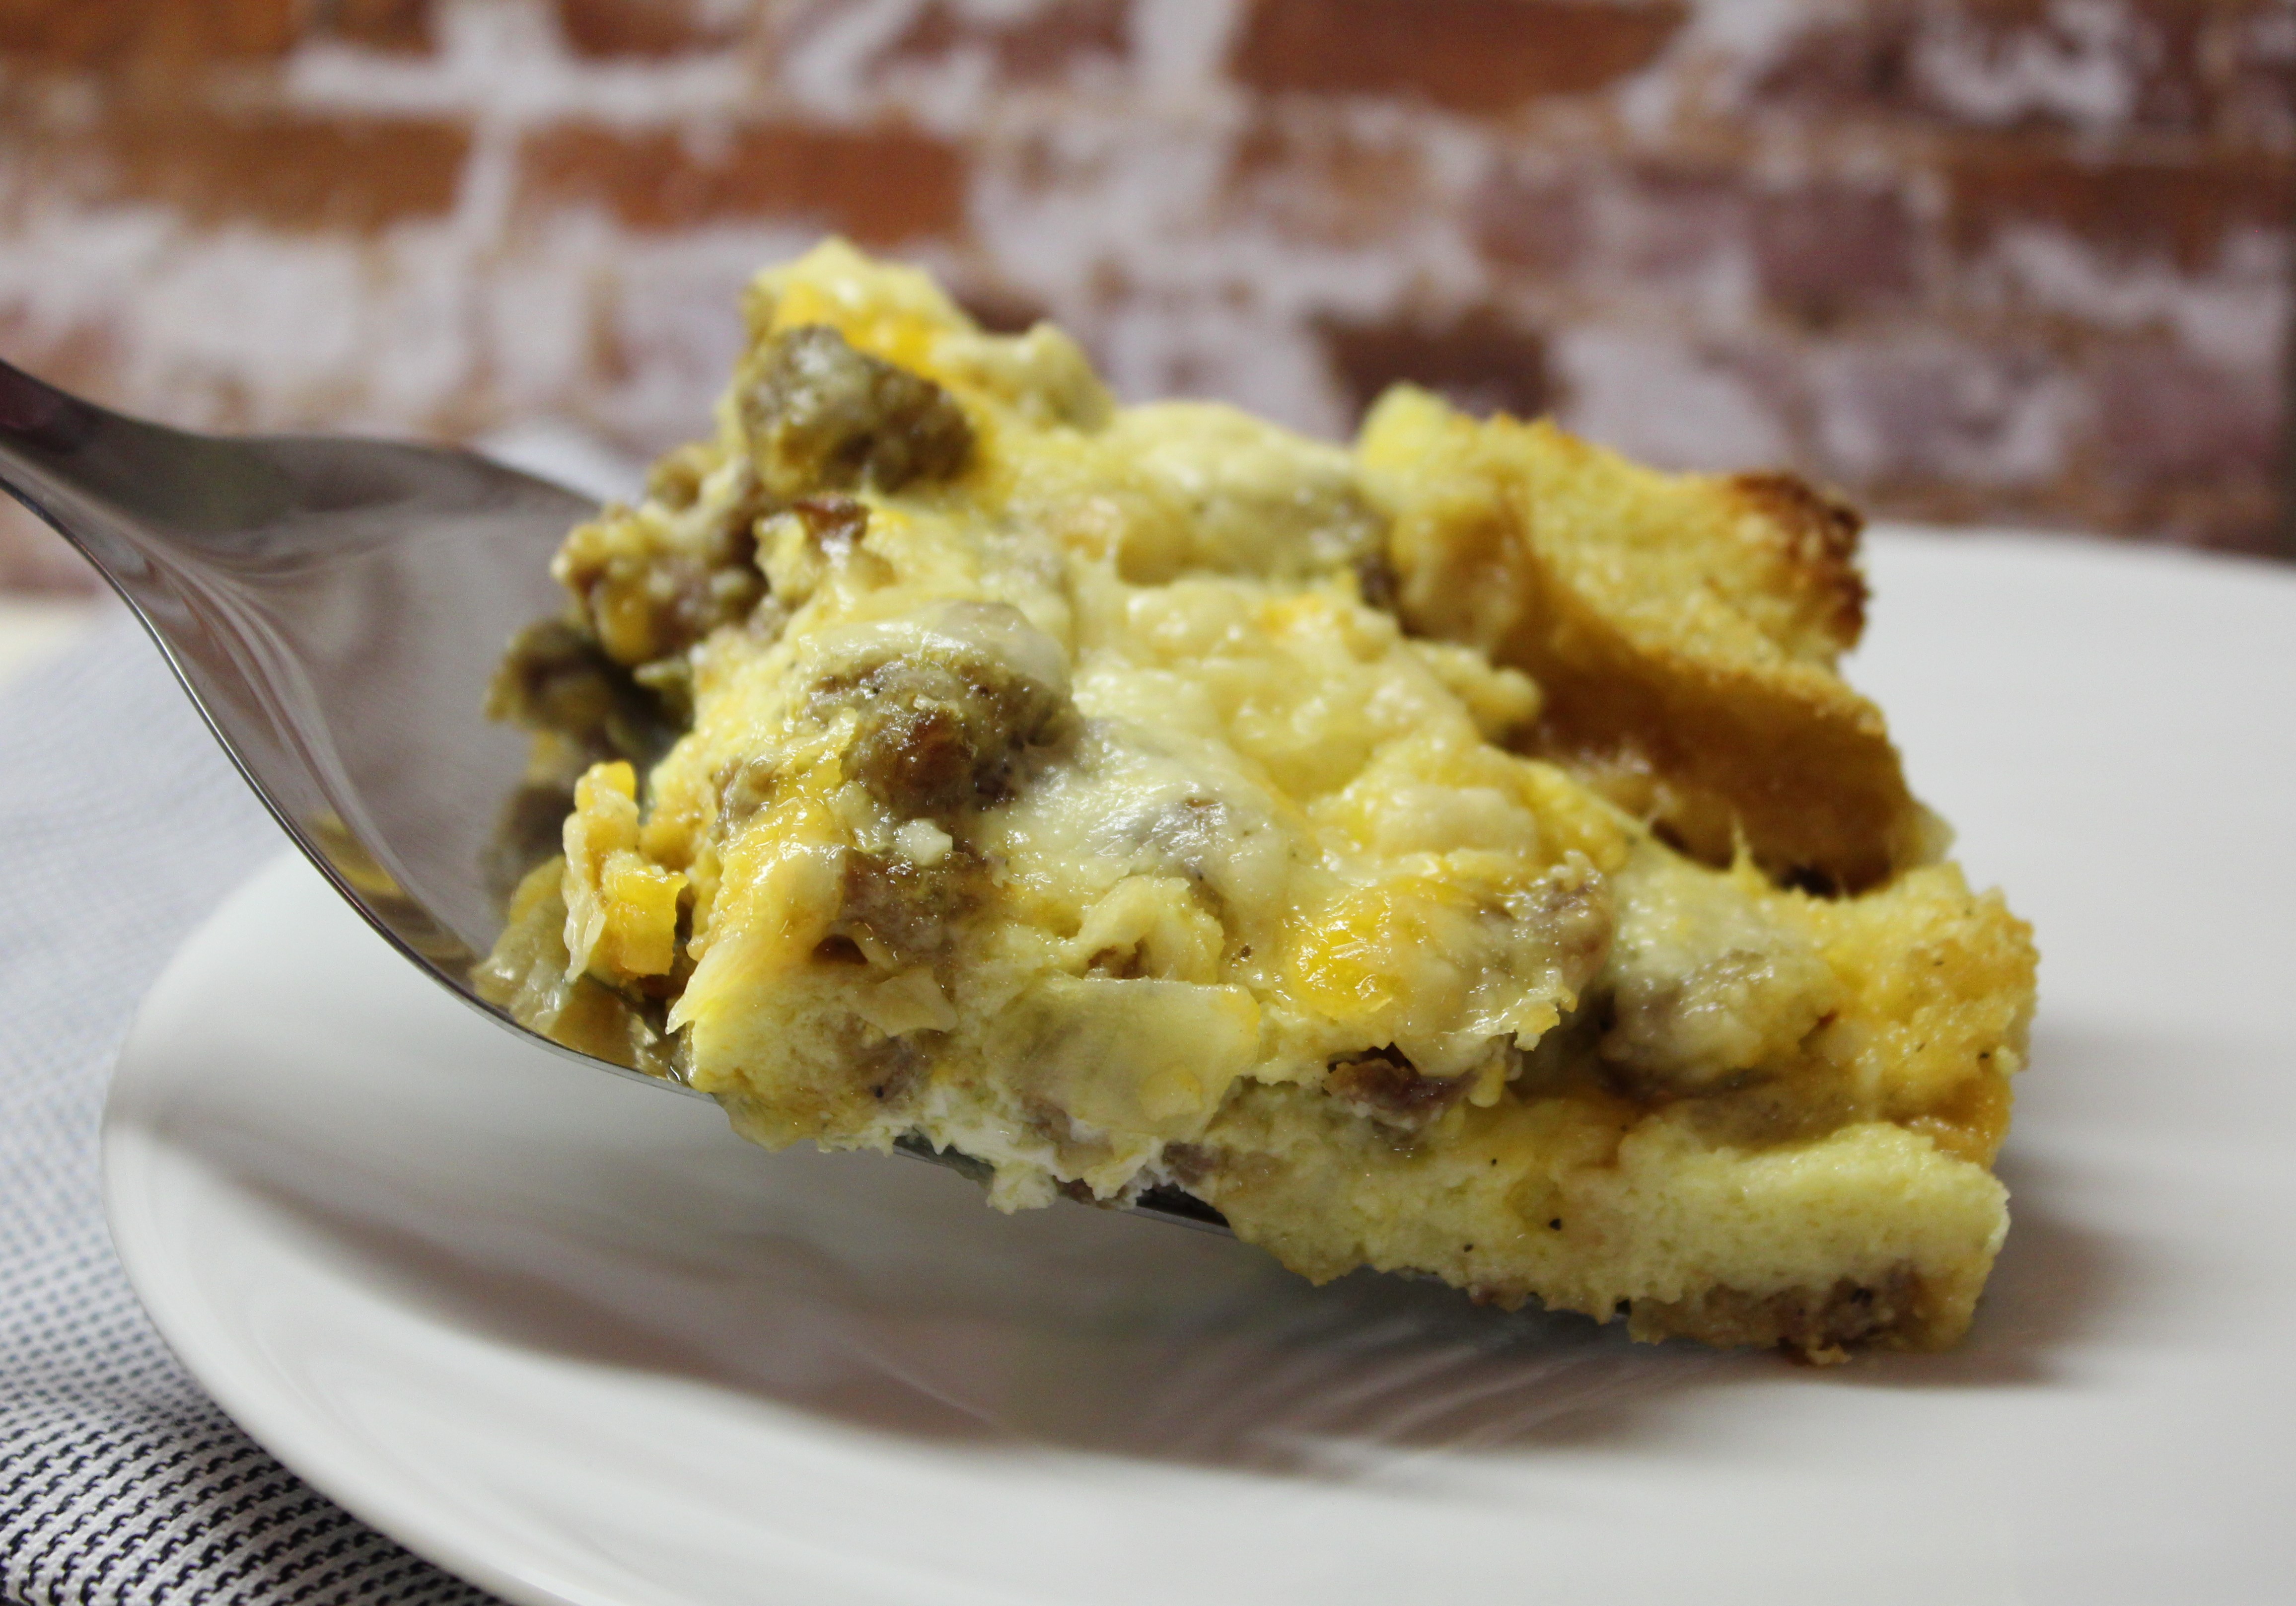
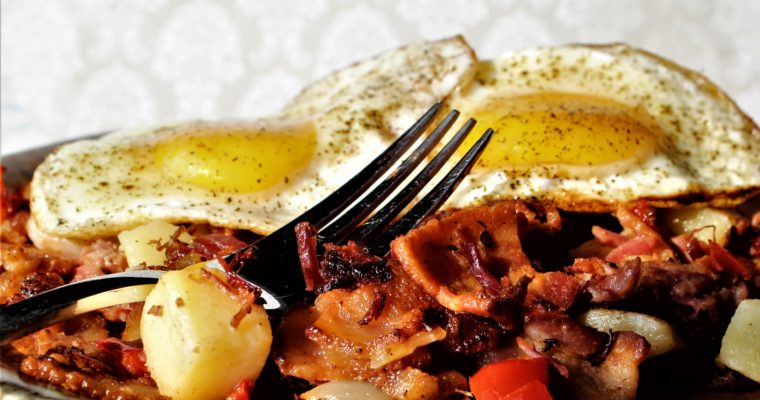
Everyone should have a good egg bake recipe up their sleeve. The Rustic Sausage Egg Casserole is ours!
My husband Dale and I have been together for 20 years. In the beginning, it was about accepting our differences, but after all these years it is about celebrating them.
Dale is a breakfast guy. He likes to take his breakfast to work and eat at his desk. I, on the other hand, am not much for eating in the mornings. Coffee is my jam! it makes me very happy, but Dale hates coffee (GASP).
Over time, I started waking early to make and pack his breakfast so he could take it to work. In turn, He started prepping my coffee the night before and even sets the delay timer. Every morning I have a perfect pot of coffee.
I guess it would be just as easy for him to make his breakfast and for me to make my coffee, but the way we see it is there is love in every bite for him and every cup of coffee for me.
It’s these little things that keep the spark alive in a relationship.
Our Rustic Sausage and Egg Casserole is absolutely delicious. It’s meaty, Cheesy, and hearty. It starts with day old French loaf, or any artisan bread you have on hand. The large pieces of sausage adds to the texture. The tangy mix of cheddar and parmesan cheeses create a crispy crust that is perfect for a family breakfast or a dinner with a salad. Since its just the two of us, we have a lot of leftovers which I pack up for Dale. It’s a win-win!
Look to the right. See the button that says “subscribe”? You should do it. You will receive new recipes from, and nothing more. You never know what will come out of our kitchen, so don’t miss out.
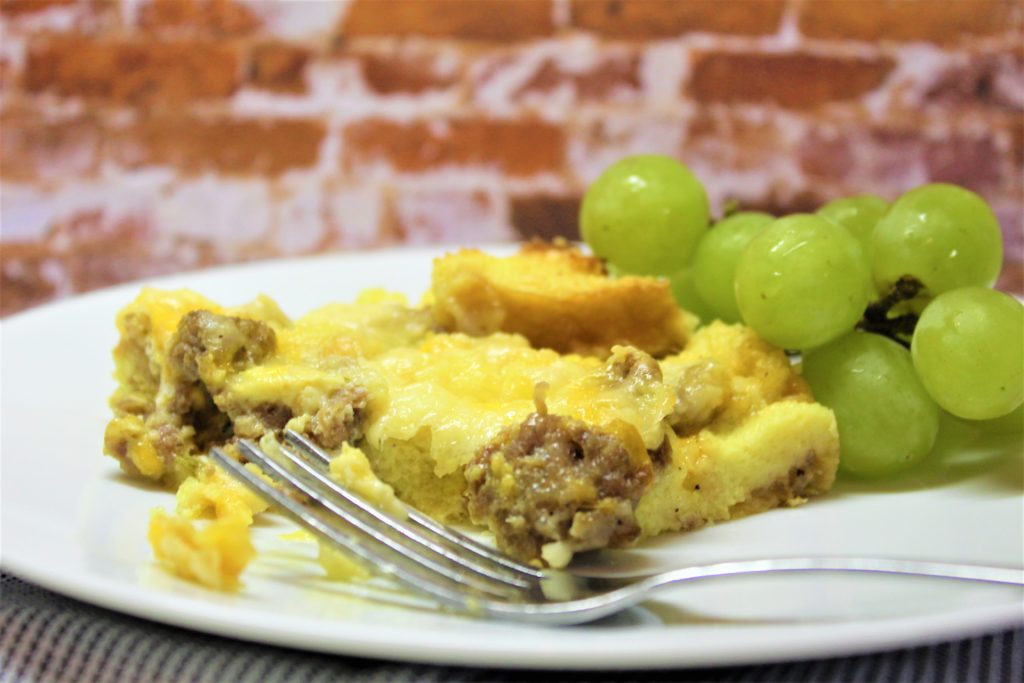
If you wake up and craving the comforting combination of hearty french bread, tangy cheddar cheese, and irresistible country sausage, this casserole is for you. It is perfect for brunch with a salad or cut fruit.
Preheat oven to 350 degrees. Prepare a 9x13 casserole dish by spraying it with vegetable spray.
Remove the sausage from the container being careful to keep pieces in one-inch pieces. Cook in a large skillet with onion and red pepper until the sausage is no longer pink and the onion and peppers are soft. Drain on paper towels.

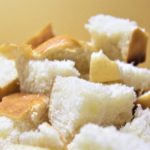
While sausage mixture is cooling, cut french bread into one-inch cubes and toss into the prepared dish.
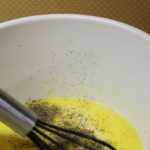
In a small bowl, whisk eggs, milk, seasoning salt and chopped sage.
Pour the egg mixture, sausage mixture, cheddar cheese and parmesan cheese over the bread cubes. Mix all together taking care to coat the bread cubes thoroughly.

Spread the mixture evenly and bake for 60 minutes. Tent with foil for the last 30 minutes. Casserole will be brown.
Serve warm and refrigerate leftovers. Store in a convenient section of your refrigerator so you can quietly grab it for a midnight snack without waking three chihuahuas, oh no, I think I shared too much!

I freakin love Whiskey Pumpkin pie! I’m a big guy so; you’d probably guess that right away, and I know my way around a kitchen which wouldn’t surprise you either. Around the holidays we are like most and attend a lot of pitch in dinners. …
If I’m honest with you, I have never made these Double Chocolate Chunk cookies. It wasn’t until today that I even saw the recipe. My husband, Dale bakes them and is known far and wide for this chocolate masterpiece. It is a recipe he has …
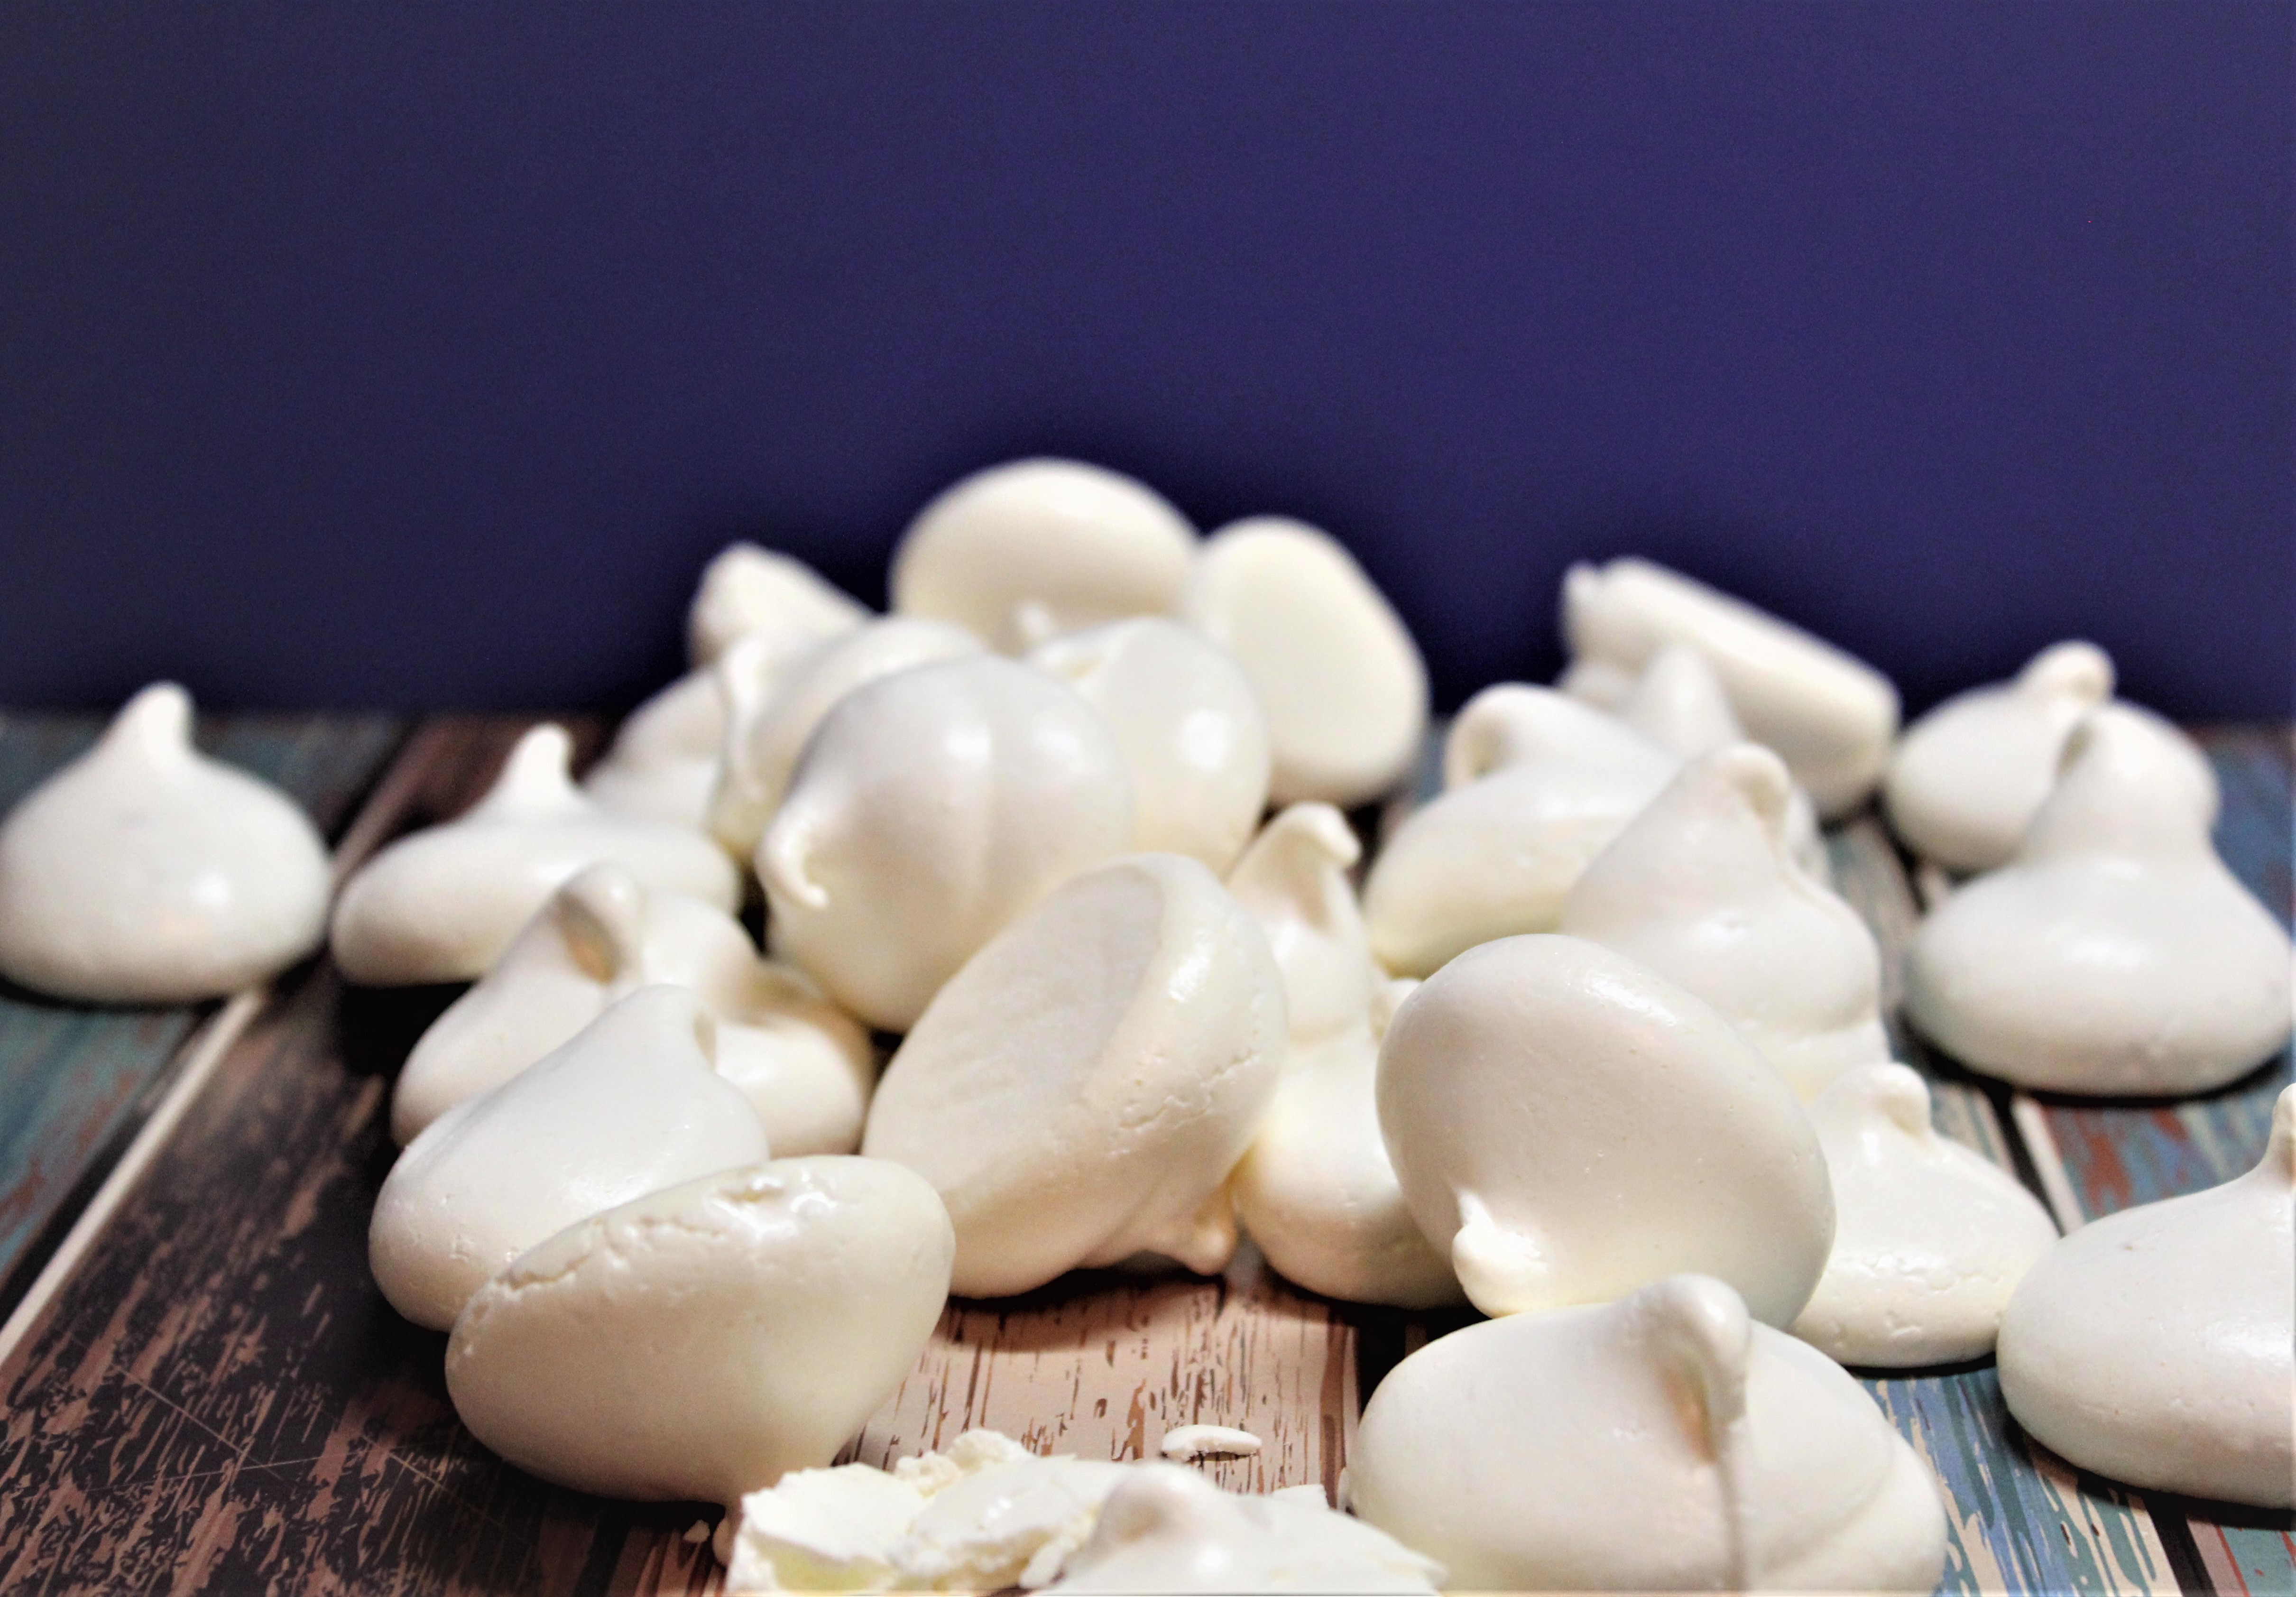
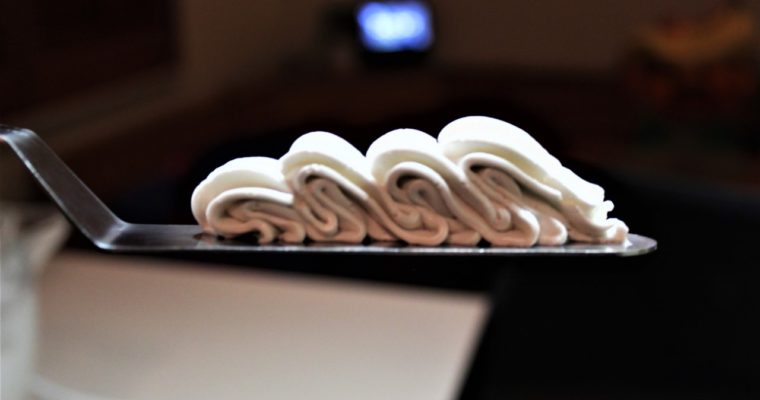
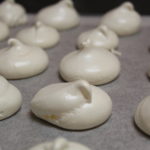
I like to think of French Meringue Cookies as the angel food cake of cookies. They are light, slightly sweet, and easy on the calories.
The origin of Meringue is traced back to the 17th century in a Swiss village. Over the next few hundred years, the idea has been changed and has become very versatile.I couldn’t imagine a world without mountain-high lemon meringue pie. French Meringue cookies are less famous than their counterpart but just as love
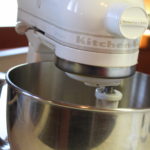
Some tips for making these guys are separating the egg whites from the yolks, take great care not to allow ANY yolk to mix with the egg whites.
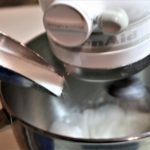
ALL fats will interfere with the meringue forming, so extremely clean mixing bowls are the utmost importance. Baking them at a low heat for an hour and leaving the oven door ajar as it will produce a crispy cookies.
Grocery store bakeries sell meringue cookies now in assorted colors and flavors, but for me, fresh is the way to go. I love their simplicity, and they are so simple to make.These Cookies are light and delicious. I like to decorate cakes using lightly colored meringue cookies to make a finished look.

Light as air, a slight crisp and so addictive, you can't stop at one.
add cream of tarter and vanilla as egg whites are whipping.

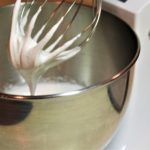
Pipe the meringue in 1-inch circles and pull up on the bag to create a tip on the cookie. Fill the baking sheet with piped meringue leaving a space of 2 inches apart.

The cookies should be shiny and easy to remove from the parchment paper. At this point, leave the cookies in the oven, turn oven off and crack the door. Allow the cookies to dry and cool.
Store these bad boys in an airtight container for two days. These cookies show us that healthy snacking can be damn good!

Now, Start separating your eggs as I sit down with a cup of coffee and a couple… umm I mean a few cookies and enjoy the afternoon.