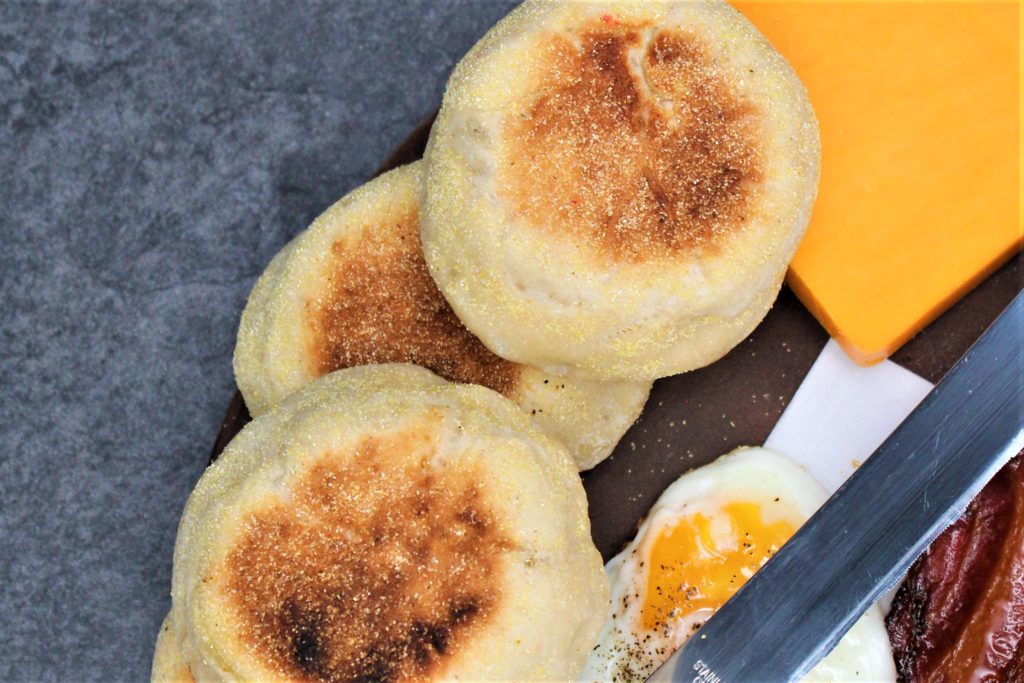
English Muffins

I went crazy with this recipe! I had never made English Muffins before, and after four attempts and tweaking the recipe, you can make them in only one try.
When I was a kid, I thought English Muffins were what old people ate for breakfast with their coffee. I found them tasteless and boring.
Two things changed my opinion.
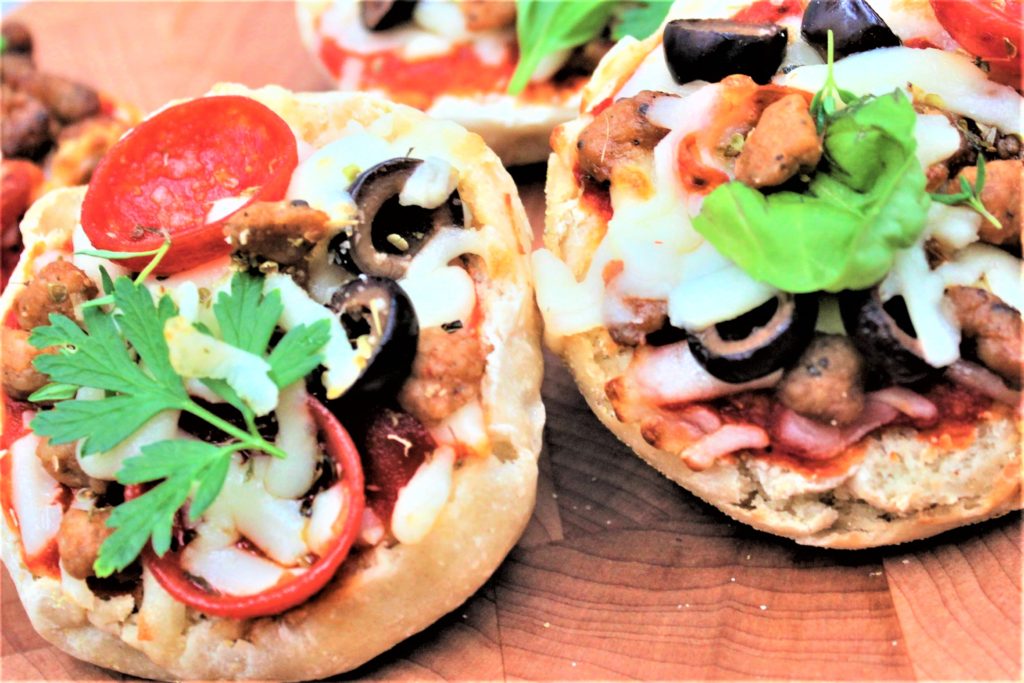
The first was my first English Muffin Pizza at a sleepover at my friend, David Mugg’s house when I was nine years old.
I became obsessed with making them for years to come. I still believe David’s mom made the best English Muffin Pizza’s, so damn good.

David passed away in a car accident when he was 16. I think about those sleep-overs from time to time, and I smile.
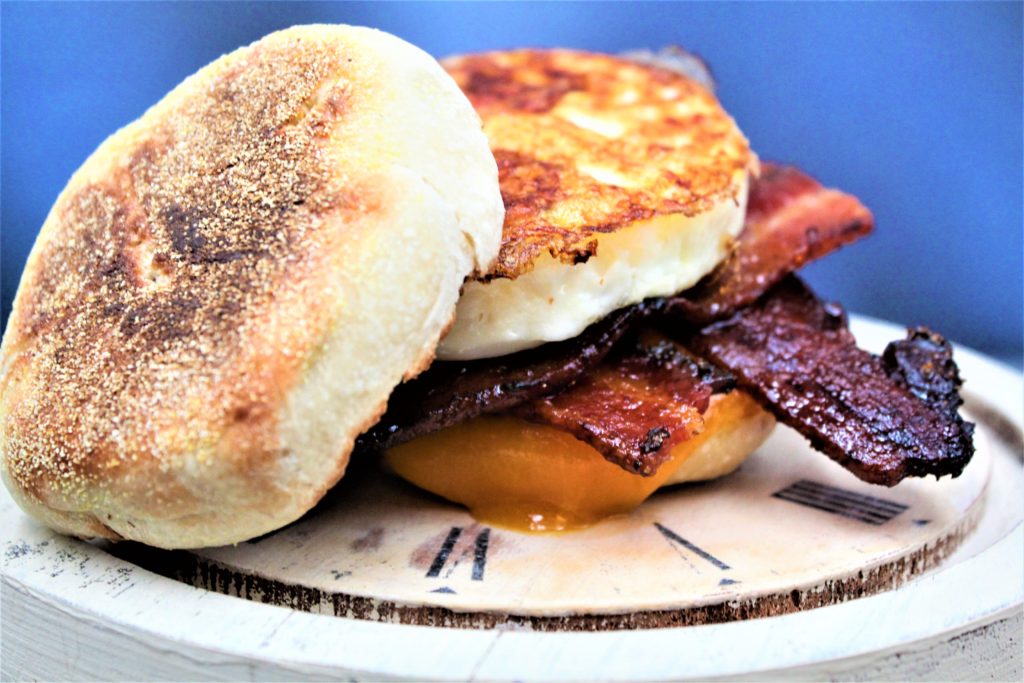
The other thing that helped change my opinion of English Muffins was the introduction of the Egg McMuffin in 1973.
I instantly became a fan of Egg Muffins for life.
Who could resist a perfectly round egg sitting on a perfectly round slice of Canadian Bacon, and topped with a slice of American Cheese? Not me!
I realized that for me, the English muffin was a vehicle for fun food, like pizza and egg sandwiches.
So, when I recently made this batch of muffins, I could not resist creating my old favorites. I made my version of an Egg McMuffin, complete with maple crusted bacon, thick-sliced cheddar, and yes, a perfectly round egg.
My English Muffin Pizza was perfect with melted mozzarella cheese, and pepperoni’s that form little grease bowls once they are baked. I wish I could make one for David. I think we would both agree that my version is a close second to his mom’s.
English Muffins
All the nooks and crannies you love made by you with with my Homemade English Muffins recipe!
Ingredients
- 550 grams all-purpose flour, plus more for dusting surface
- 20 grams fine sea salt
- 1 gram dry active yeast
- 20 grams unsalted butter, melted and slightly cooled
- 350 grams warm water (105 degrees F)
- 1/2 cup semolina flour
- 227 grams clarified butter (see recipe note, below)
Instructions
-
In a large bowl, whisk together the flour, salt, sugar, and yeast.
-
In a separate small bowl, combine the melted butter and warm water. Slowly pour the wet ingredients into the dry ingredients, and mix with a wooden spoon to combine.
-
Lightly flour a work surface, turn the dough out onto it, and knead by hand for 4-5 minutes, until it forms a smooth dough. Let rest for 15 minutes.
-
Meanwhile, lightly coat a baking sheet with semolina flour. Set aside.
-
Divide the dough into 12 equal portions (about 85 grams each).
-
Using floured hands, palm a portion of dough in your hand, and and rotate it in a circular motion while pressing down on the dough. This will create a ball with no seams. If the dough gets sticky, coat your hand with a little bit more flour. Coat the ball with semolina flour, then place it on the semolina’ed sheet tray. Repeat with the remaining portions of dough.
-
Cover the tray with plastic wrap and let the dough proof for at least 2-3 hours. The dough balls will just about double in size. At this point, you can let the dough proof at room temperature for up to 24 hours; if you need more time, you can place the dough in the refrigerator for up to 3 days.
-
Position your Baking Steel Griddle on the stove-top. Preheat on medium heat for 10-15 minutes, looking for a surface temperature of about 275-300 degrees F, or until droplets of water sizzle when dripped onto the surface.
-
Brush or pour some of the clarified butter over the surface of your Griddle. Be generous: you really want to coat the entire surface as well as you can without the butter sloshing over. The butter should begin to lightly bubble as soon as you apply it to the surface. Vegan option use Avocado Oil.
-
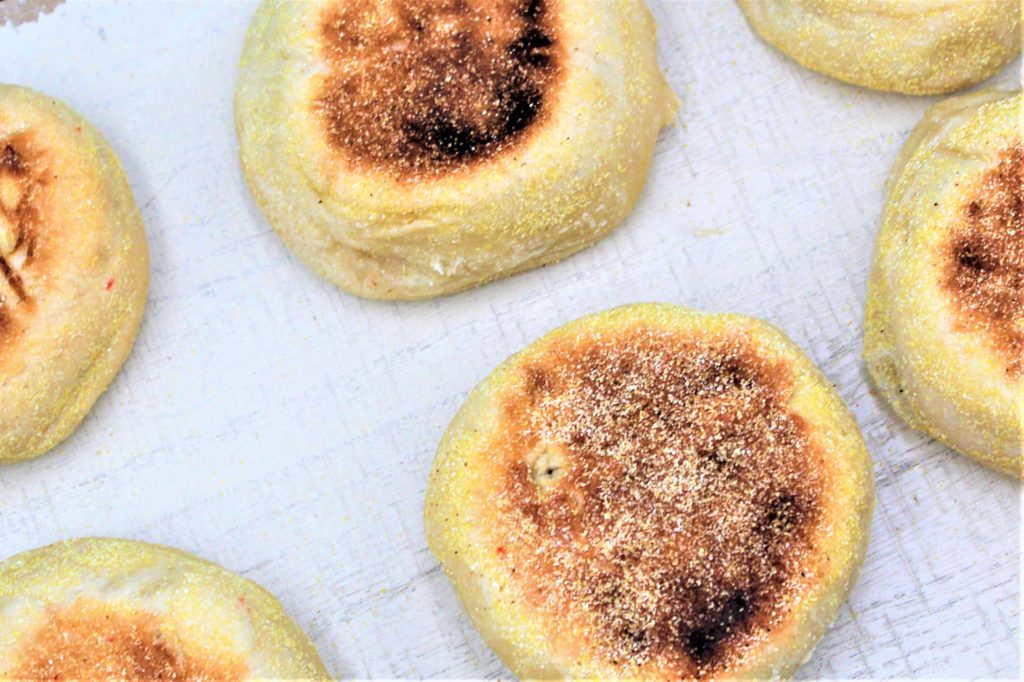
Place the dough balls on the Griddle, a few at a time, and cook for 4 minutes. Once golden on the bottom, flip, adding more clarified butter as needed to allow the dough to swim slightly in butter. After you flip, gently press down on the dough with your spatula to flatten into the signature English muffin shape.
-
Once the second side is golden, remove and transfer to a wire rack to cool.
-
Note: This recipe calls for clarified butter, or butter from which the milk solids have been removed, leaving pure butterfat. No, this isn’t just to be fancy. Removing those milk solids gives clarified butter a higher smoke point, which in this recipe helps ensure that you don’t end up with blackened English muffins. If you don’t have clarified butter, you can go vegan and substitute in avocado oil anywhere we ask for clarified butter in the recipe.
Hi Gail,
Yes, I think coconut oil would work great. Send pictures…I would love to see how they turn out. -Doug